CGM Cover in PLA for the Dexcom Stelo or G7

Print Profile(1)
Description
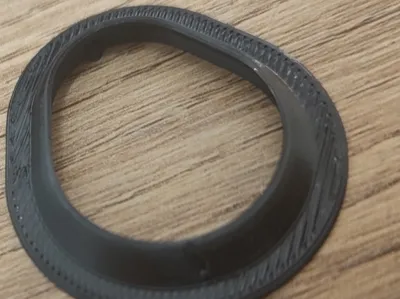
This is a protective cover designed for the Dexcom Stelo and Dexcom G7 Continuous Glucose Monitors (CGM). Its main purpose is to shield your sensor from catching on clothing or getting knocked loose during daily activities, saving you from a painful snag and/or a wasted sensor.
How to Use It
Simply place the 3D-printed cover directly over your CGM sensor, and then apply your adhesive patch right over it. It is designed to be used with:
- The standard "donut" overpatch included with the device.
- Any preferred 3rd-party CGM overpatches.
File Options & Fit
The project file contains two different print plates so you can choose the tolerance that works best for your printer setup:
- Snug Fit: Fits tightly against the sensor for maximum stability.
- Loose Fit: Offers a tiny bit more clearance while still keeping the sensor completely secure.
- Print Speed: I printed at 50% speed on the H2C to avoid adhesion failures.
Compatibility & Material Notes
- Material: Rigid PLA filament.
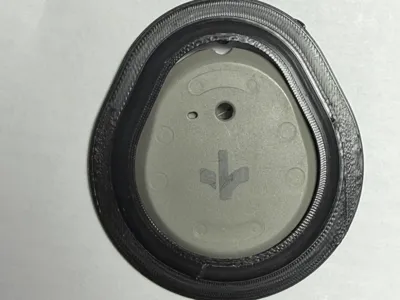
- Compatibility: Tested and pictured on the Dexcom Stelo. Because the Dexcom G7 shares the exact same exterior dimensions, this cover works perfectly for both models.
Credits & Design Remix
Huge credit goes to zfox for the fantastic original G7 cover design meant for TPU only.
The original version relies on the flexible nature of TPU and has that "give" built into the model. Since I didn't have any TPU on hand, I used an old sensor and some trial-and-error test prints to successfully rescale and remix the design to work with rigid PLA. If you have TPU on hand, then I recommend using the original design.
Note: The sensors shown have the sticker on the backside removed. This is so you get a clear view of the fit of the sensor body from the bottom view.


Comment & Rating (1)