Drawer Label with Filament Sample IKEA ALEX


Print Profile(1)
Description
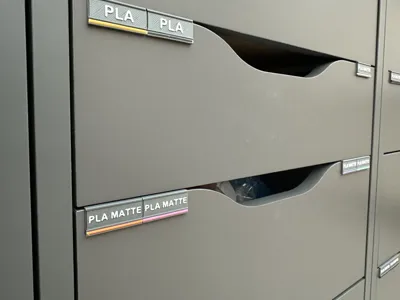
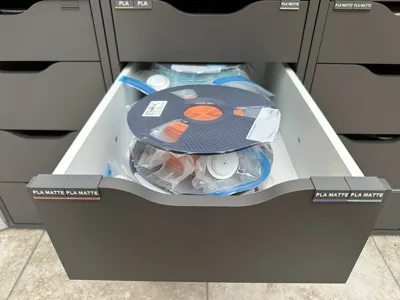
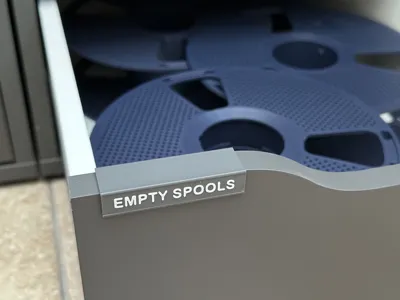
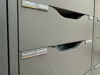
I use the IKEA ALEX drawers to store my filaments, so I created this simple label holder complete with a slot for a small sample of filament so I could easily see my stock.
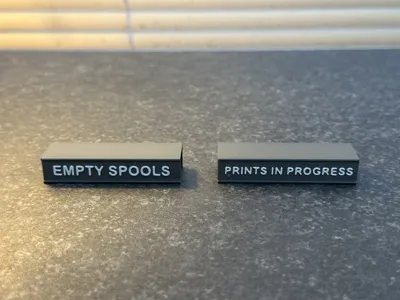
The minimalist design is super quick to print and the generic labels can be printed ahead of time in standard colours to save time. I like to print my holders and labels in grey to match the drawers, then use the sample slot to identify the colour of the stored filament, but you could of course print in the label in the sample of your choice if preferred.
The IKEA ALEX drawers that I use can hold up to 4x 1kg standard reels, so I use up to 4 of the 30mm labels on each drawer for easy identification of what's inside. The label holders fit the IKEA ALEX drawers perfectly, but it will also work fine for other drawers that have a 15mm front.
If you'd like a basic label without the filament sample, there's also a 60mm version of the label holder along with a blank label template included in the profile just
TIP: If you'd like a longer or shorter version of either of the labels/holders:
- Select the desired label holder then scale of the Z-axis to your desired length, making sure the ‘unifrom scale’ option box is unchecked.
- Select the sample label then scale of the Z-axis to your desired length, making sure the ‘unifrom scale’ option box is unchecked.
Edit text as required as per below.
CUSTOMISING THE LABEL TEXT
- Double-click the text on any of the sample labels (or go into ‘Objects’ and select from there).
- Edit the text as required in the Text control panel:
- update the required text in the Input text field.
- You can play around with fonts if you like, but I recommend Arial Rounded MT Bold.
- Adjust size as required, but I wouldn't go less than 5mm.
- I'd recommend leaving all other settings as per profile.
- To ensure the new text is aligned to the label base, with the text still selected, click the MOVE icon in the toolbar:
- Make sure Align Object is selected in the drop-down box.
- Click the Align left-right centre (X) button.
- Click the Align front-back centre (Y) button.
Comment & Rating (0)