Rotating capacitor - Configurable capacity


Print Profile(1)
Description
To assemble the capacitor, you'll need a few additional components. These are easy to find at any hardware store.These days, it’s becoming increasingly difficult to find so-called variable capacitors. It seems they are no longer being manufactured. That’s a real shame, because for electronics enthusiasts and radio hobbyists, variable capacitors are an important and versatile component.
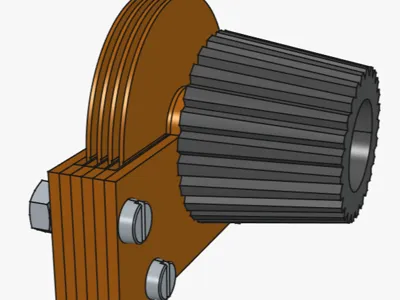
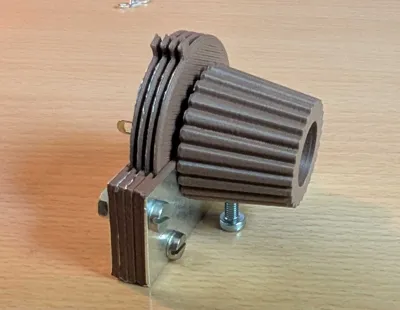
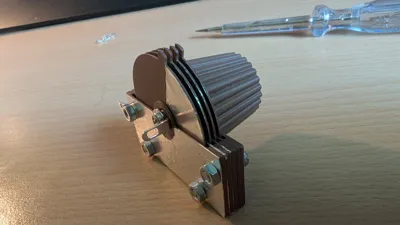
That’s why I’ve designed a variable capacitor that you can print yourself. The rotor and stator consist of identical modules that can be assembled as many times as needed, depending on the desired capacitance. Self-adhesive aluminum tape is used as the electrode and is applied to the printed parts.
With 4 rotor elements, a capacitance range of approximately 7–115 pF can be achieved. With 8 elements, the capacitance is already around 250 pF.
To assemble the capacitor, you'll need a few additional components. These are easy to find at any hardware store.
- Aluminum adhesive tape
- 4 x- M3 x 12 screw with nut
- 1 x distant bolt
- 2 x solder taps
Note:
Since PLA is sensible for heating, it is strong adviced to solder the taps first, before assembling the capacitor!


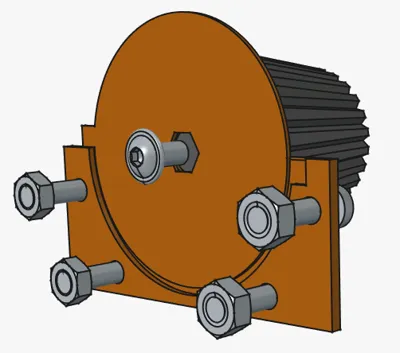
This is a single the rotor and stator element. You can attach as much of this elements as you need to achieve the final capacity. For more packages, you need of course longer srcews and a longer distant bolt.

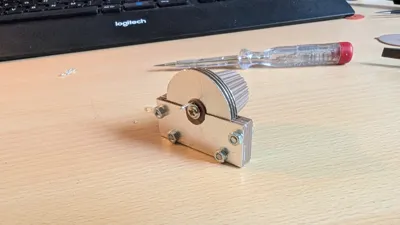
Here are the single parts, taped with the aluminum foil. After taping, don't remove the foil over the holes. When the capacitor is later completed, it works as connection between the rotor- or stator packs. When the screws get pushed through the 4 holes, some parts of the foil will crank into the holes. It si enough to achieve a reliable electrical connection. For this reason, please avoid removeing the screws after final assembling!

This is how the single parts must be assembled.

Comment & Rating (0)