
Midea Portasplit - variable air distributor
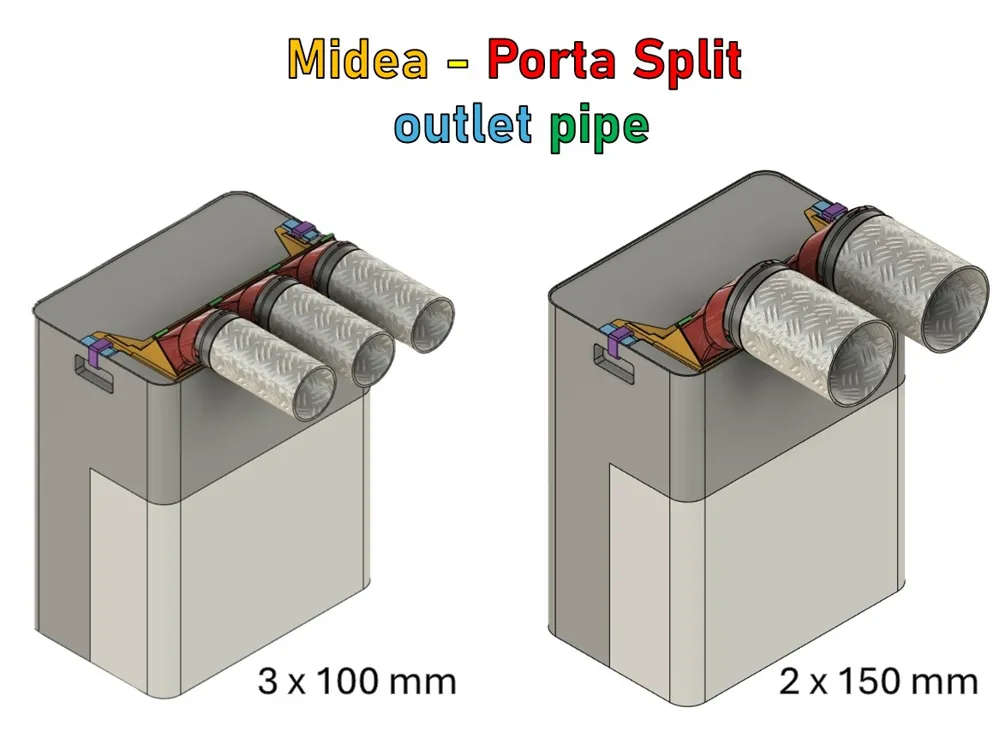
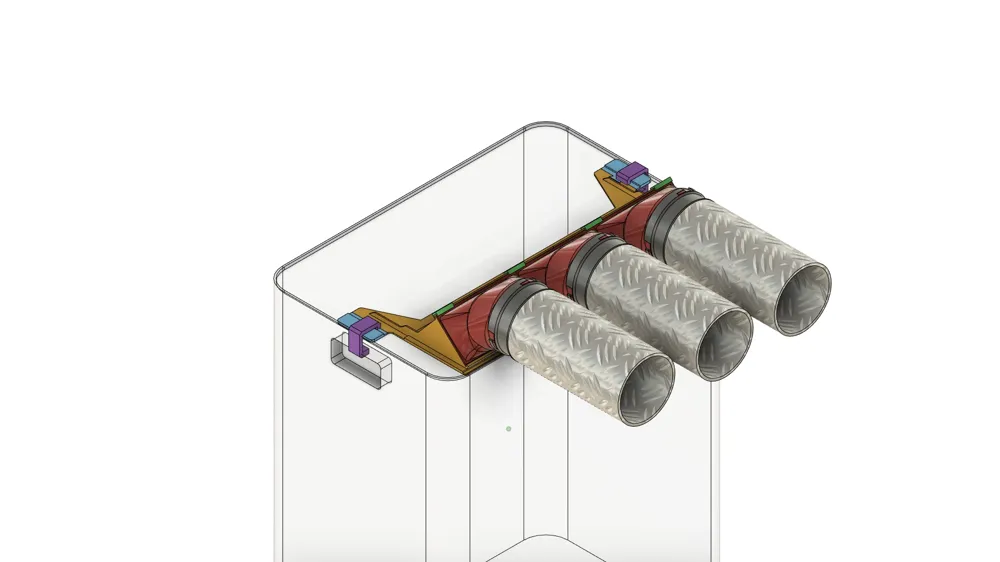
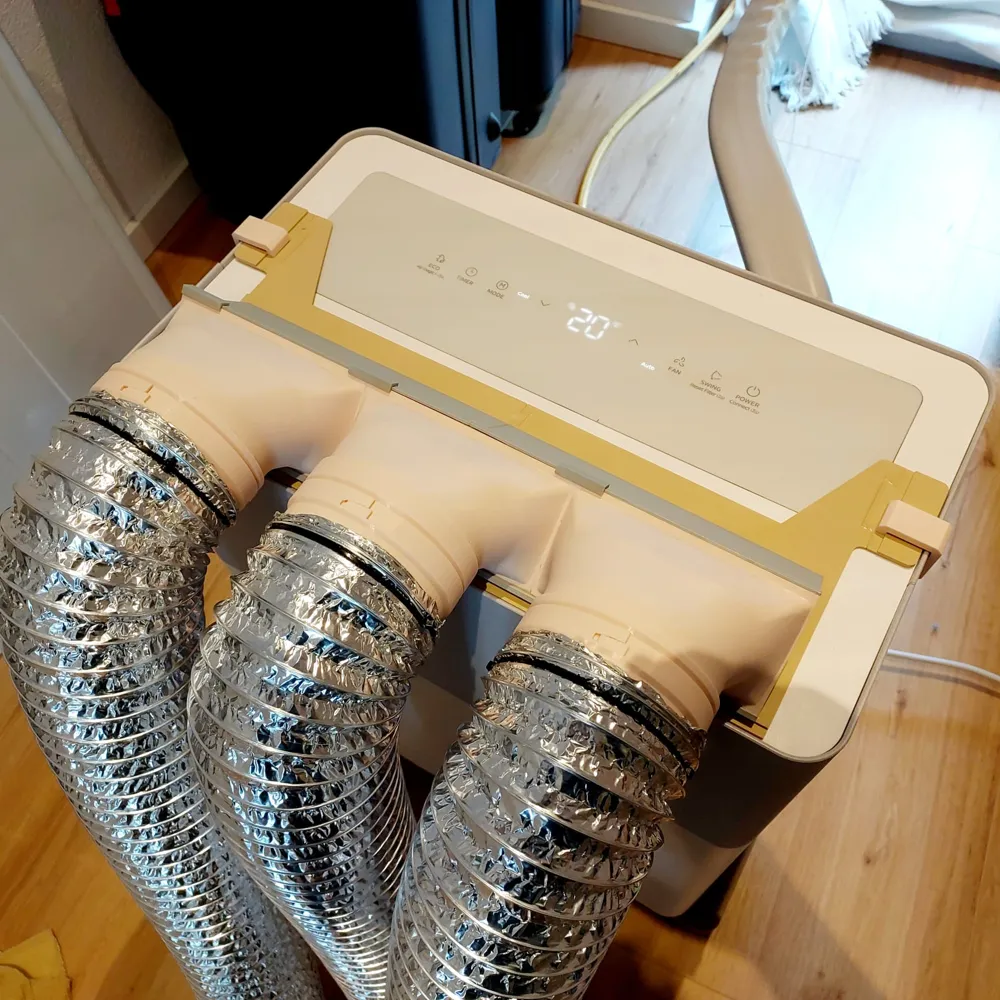
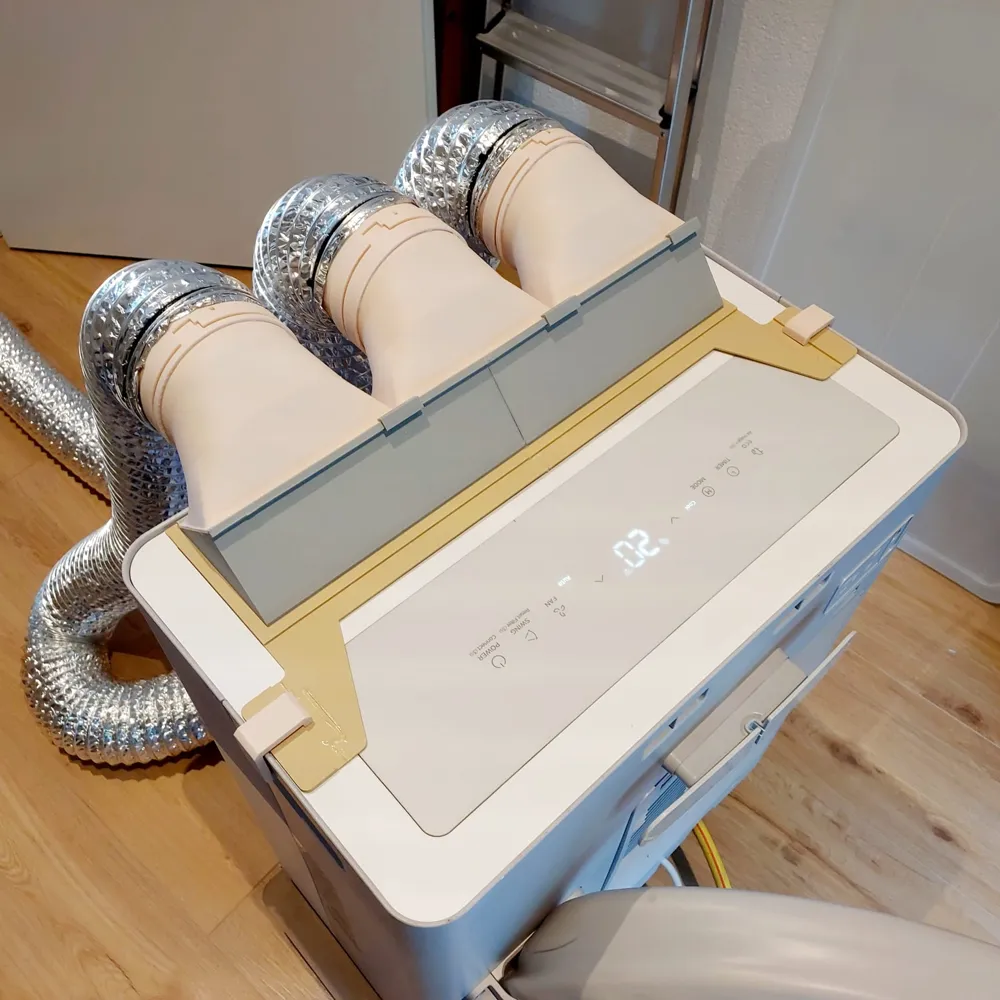
Print Profile(4)
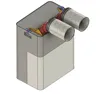
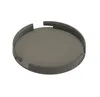
Bill of Materials

Description
Hello and Welcome to 3DEraTec!
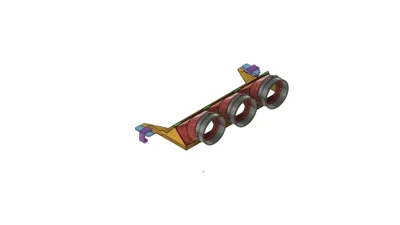
a variable air diffuser for your Midea Porta Split.
This allows you to distribute the cold air in 3 different directions and thus cool your apartment or house even more in summer.
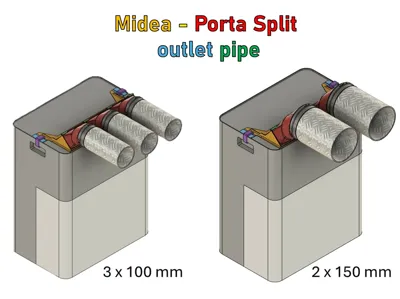
The two variants are 2-way (Ø150mm) or 3-way (Ø100mm) diffusers. You can find a link to the 100mm hose HERE and for the 150mm hose HERE
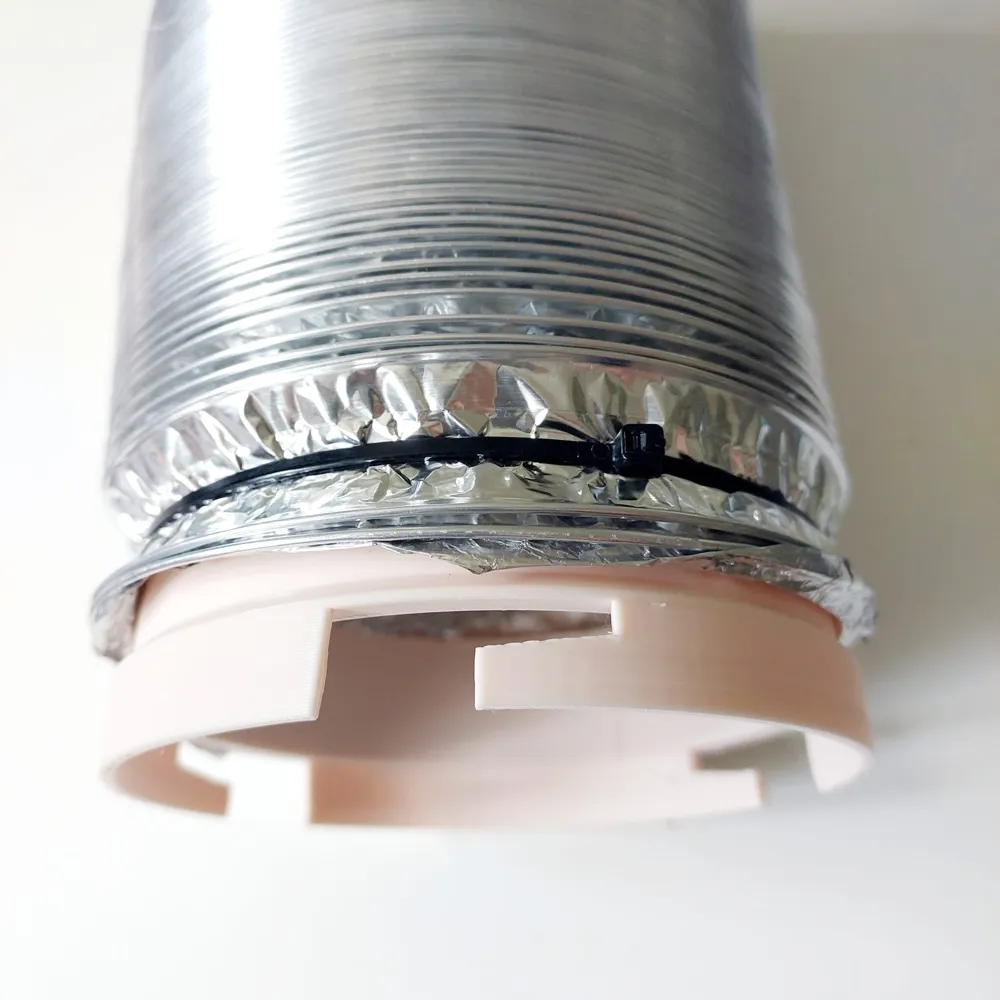
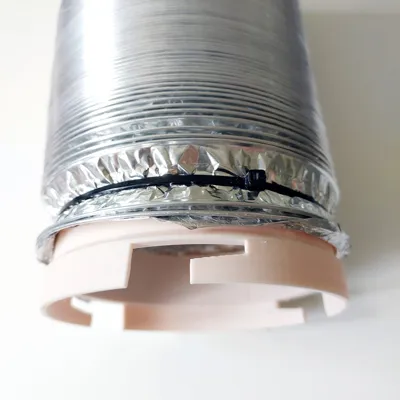
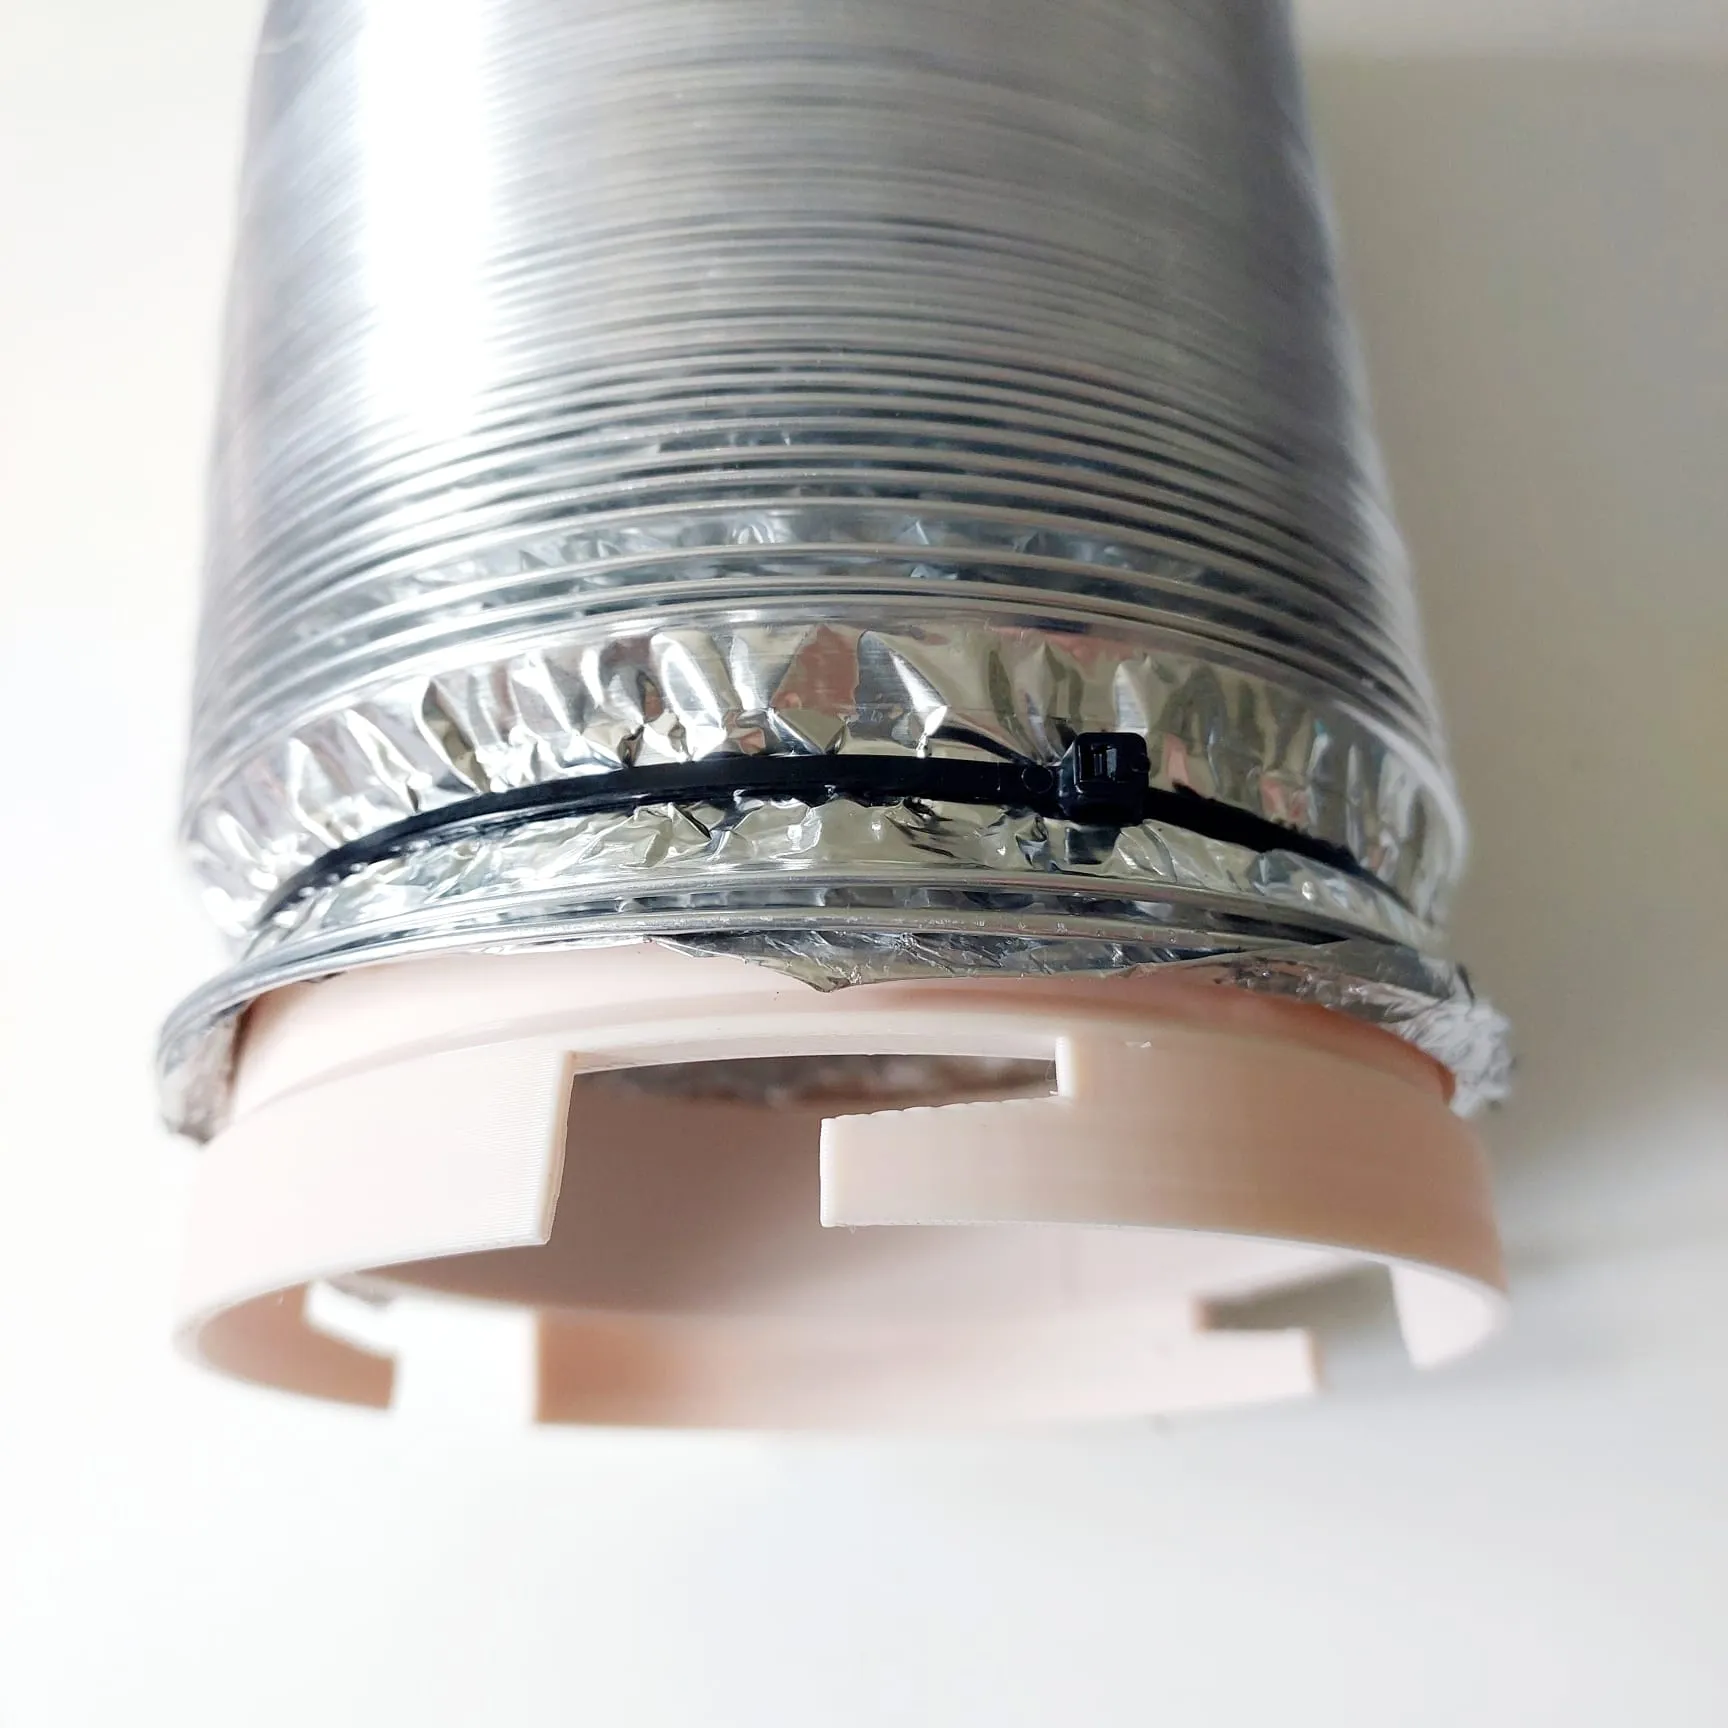
To attach the hose to the diffusers, you only need cable ties or suitable clamps.
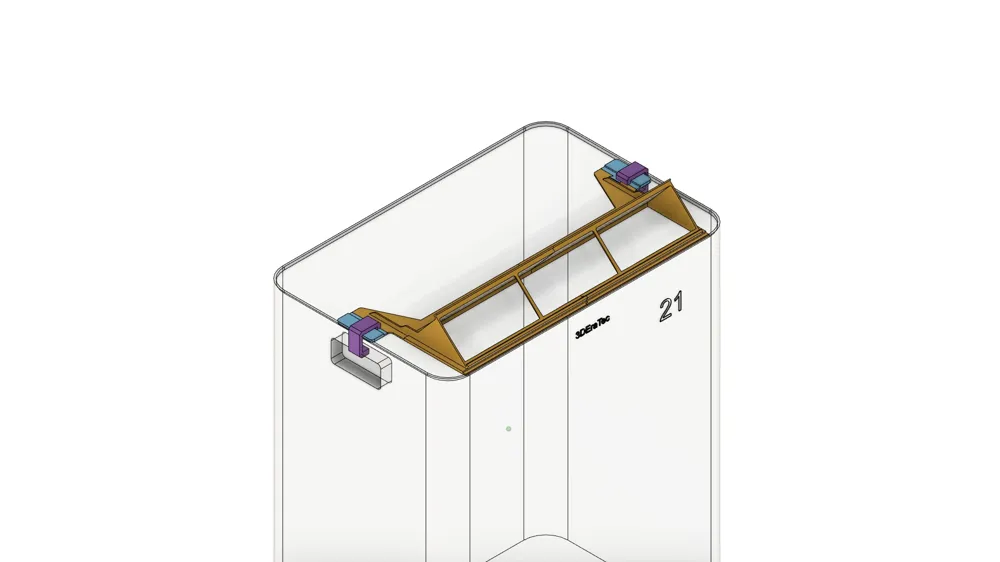
Here is a picture of the assembly with a small cable tie.
All parts are included in the print profile, depending on which variants you choose.
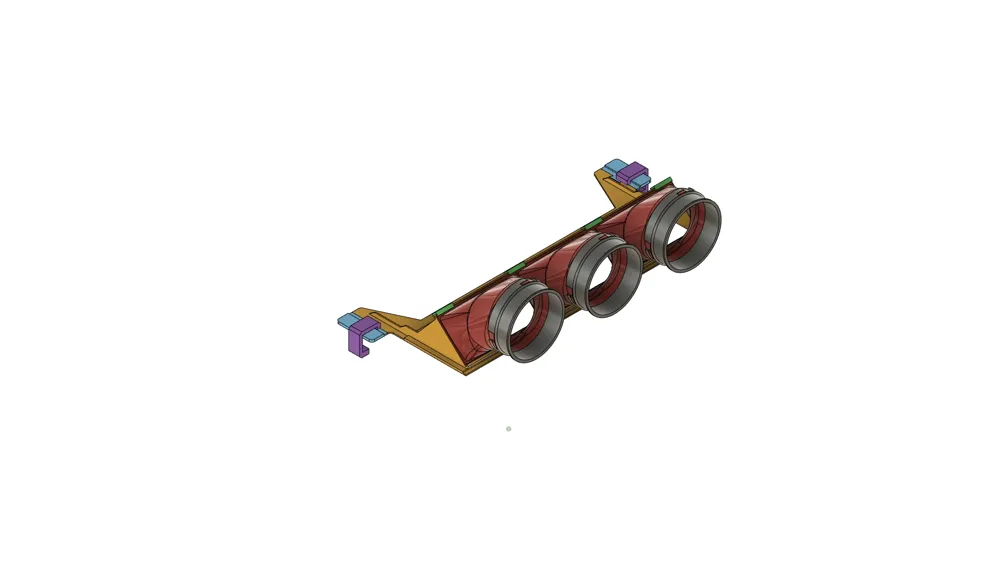
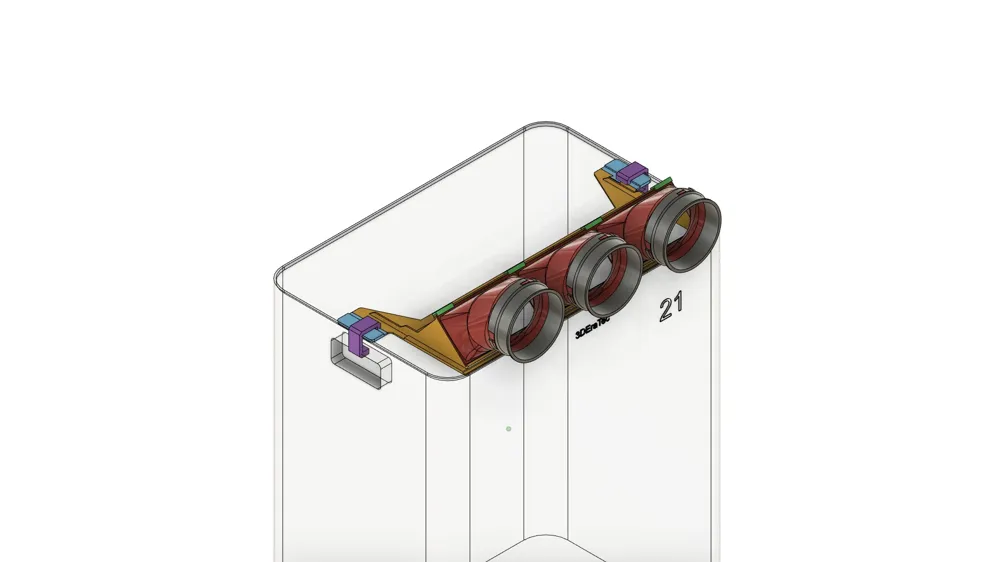
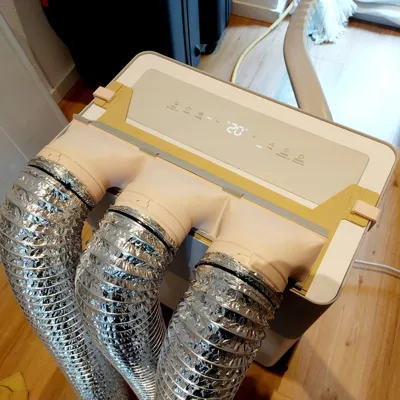
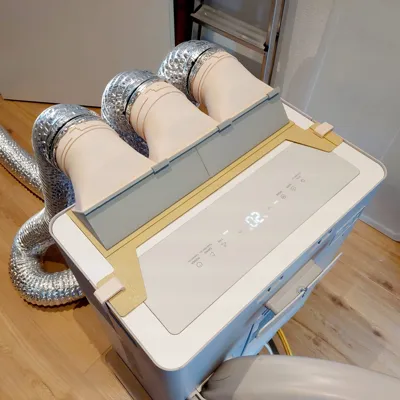
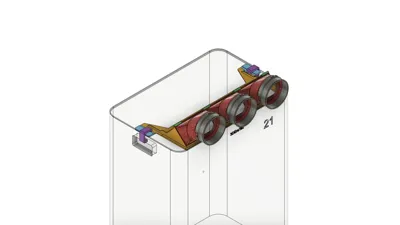
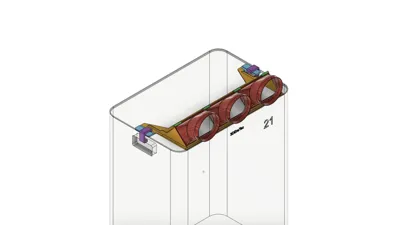
When assembled, it looks like this. The pipes are removable, and the AC is also usable with these pipes.
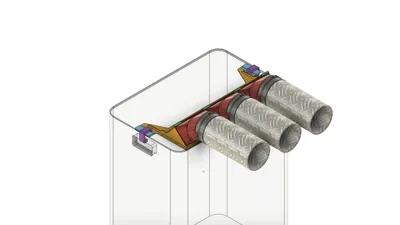
Example of 3 x 150 mm pipes.
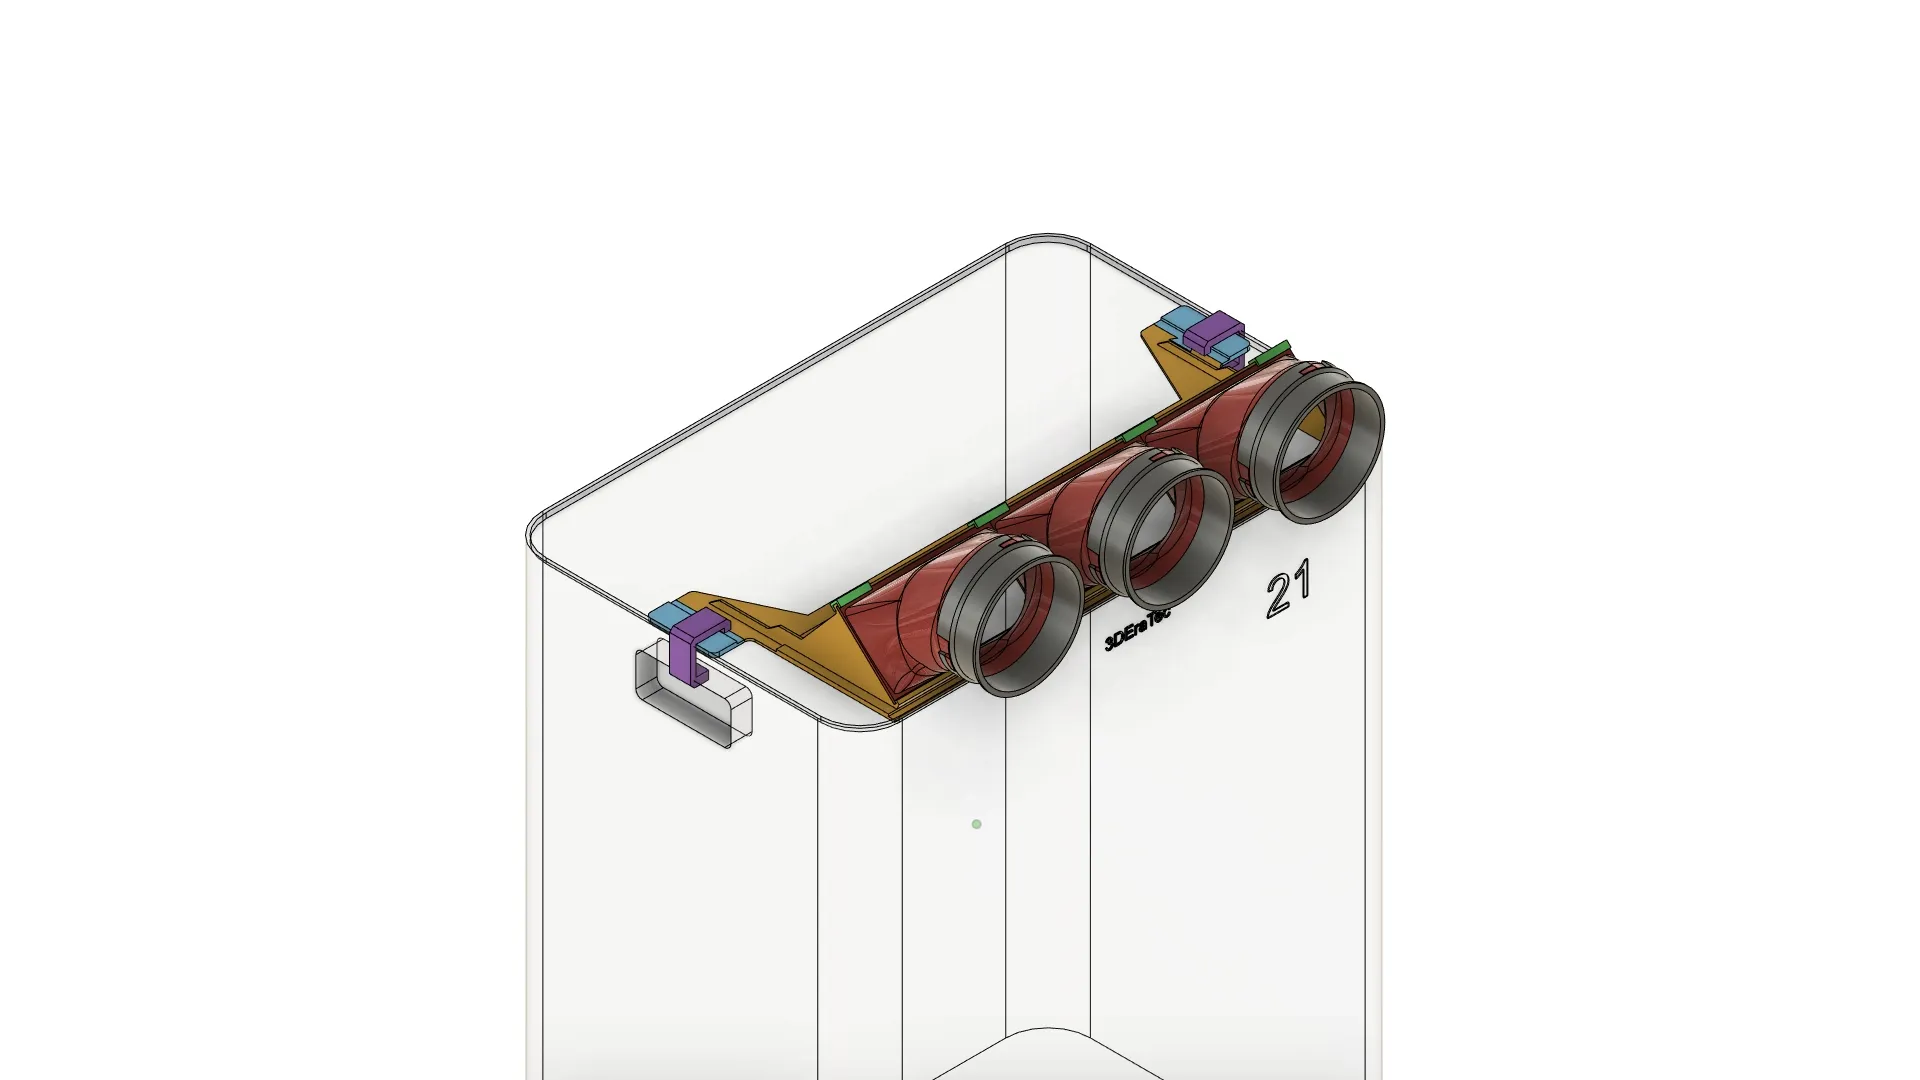
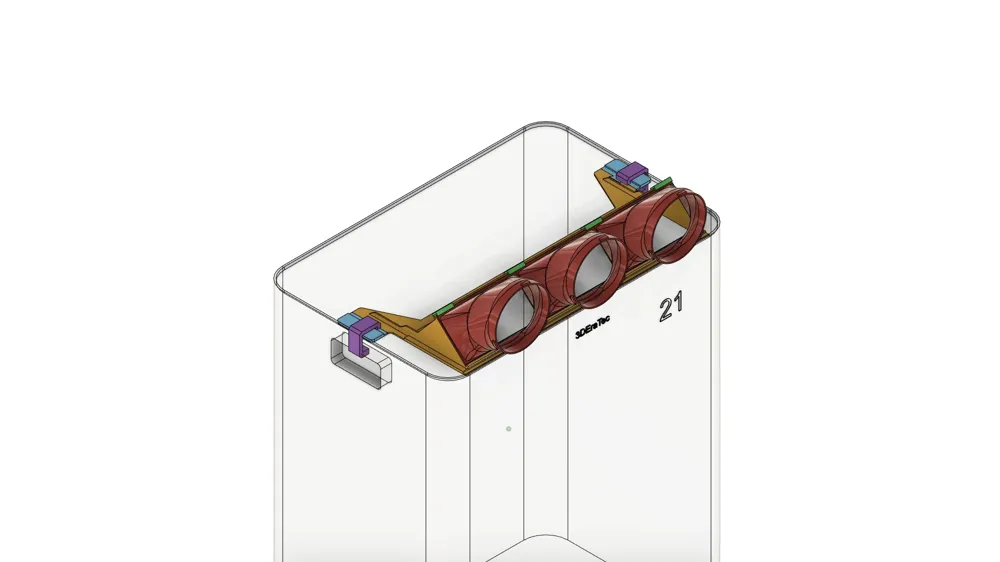
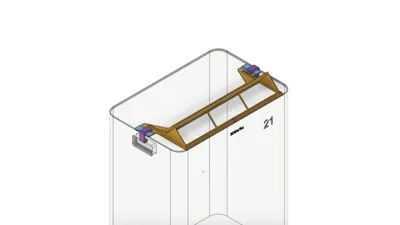
Cross-section, optimal airflow, flap opens 100%.
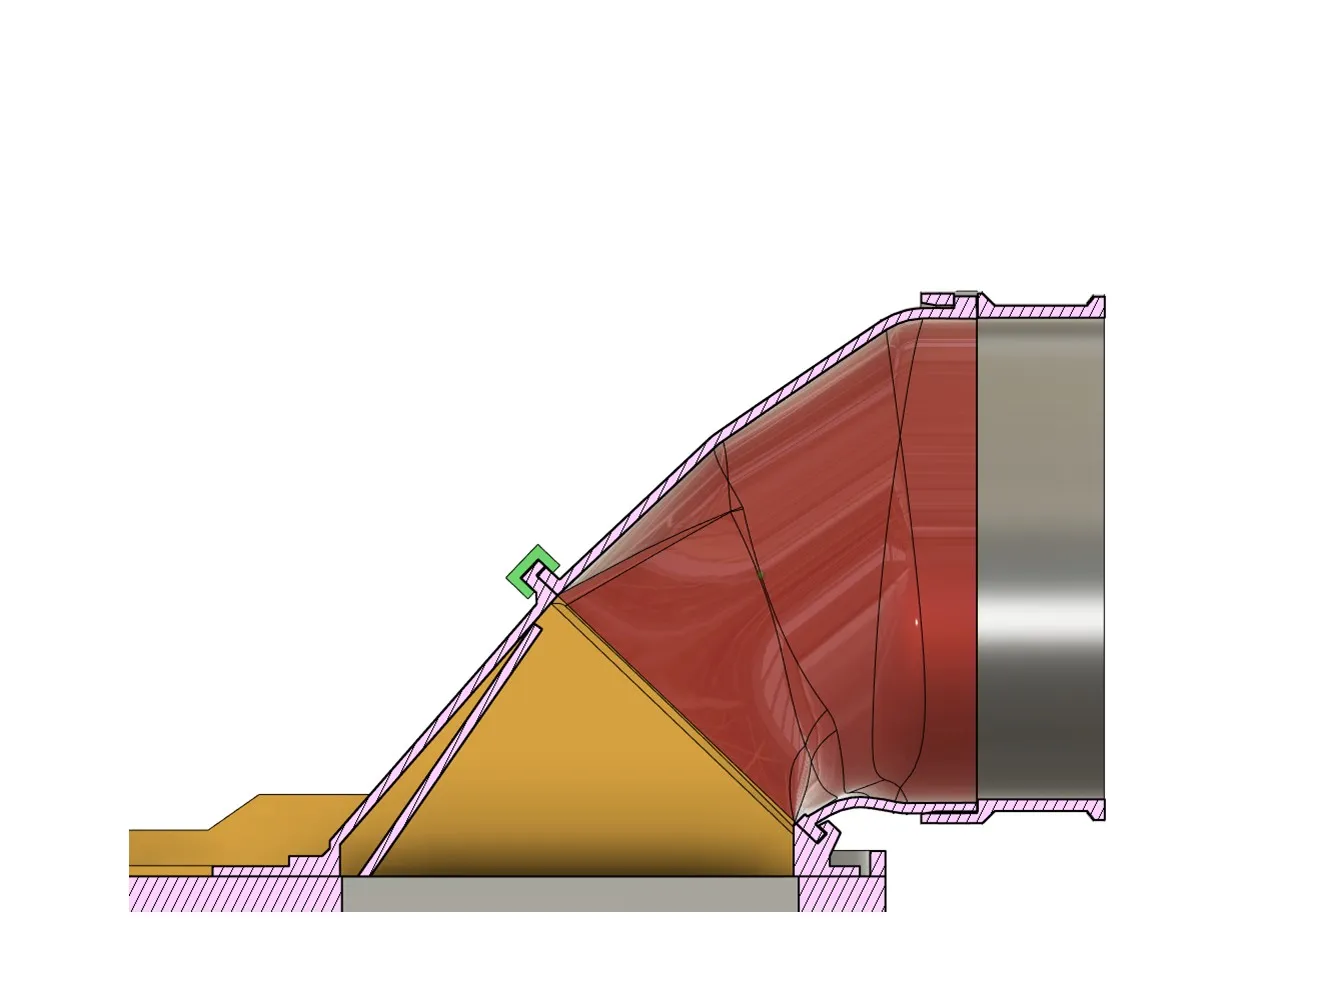
🔧Assembly / Instructions:
A somewhat challenging assembly, step-by-step in pictures. Superglue is necessary.
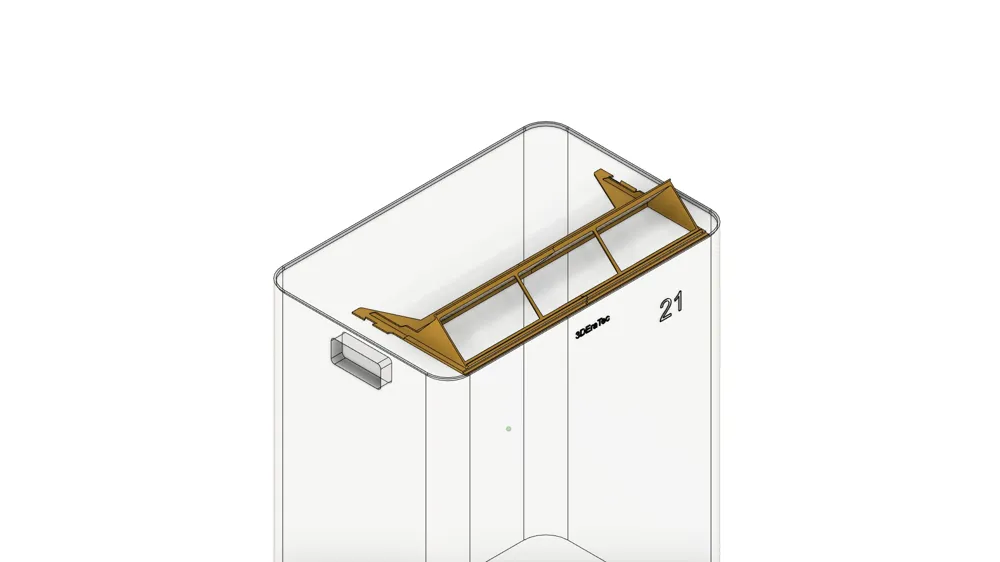
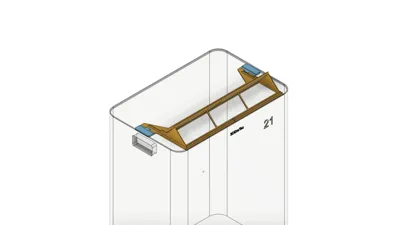
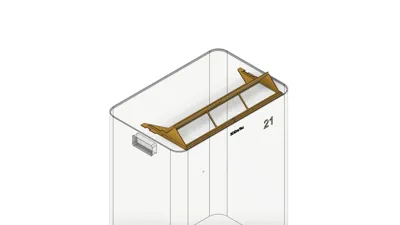
Step #1: Join the two parts of the main body (yellow) and connect them with superglue.

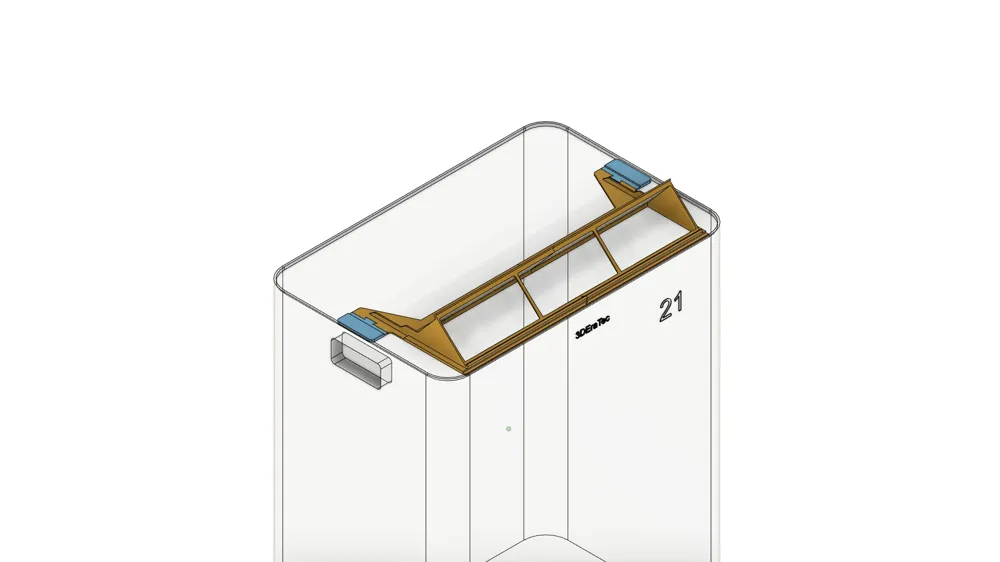
Step #2: Add both wings (blue) to the main body (yellow) and connect them with superglue.
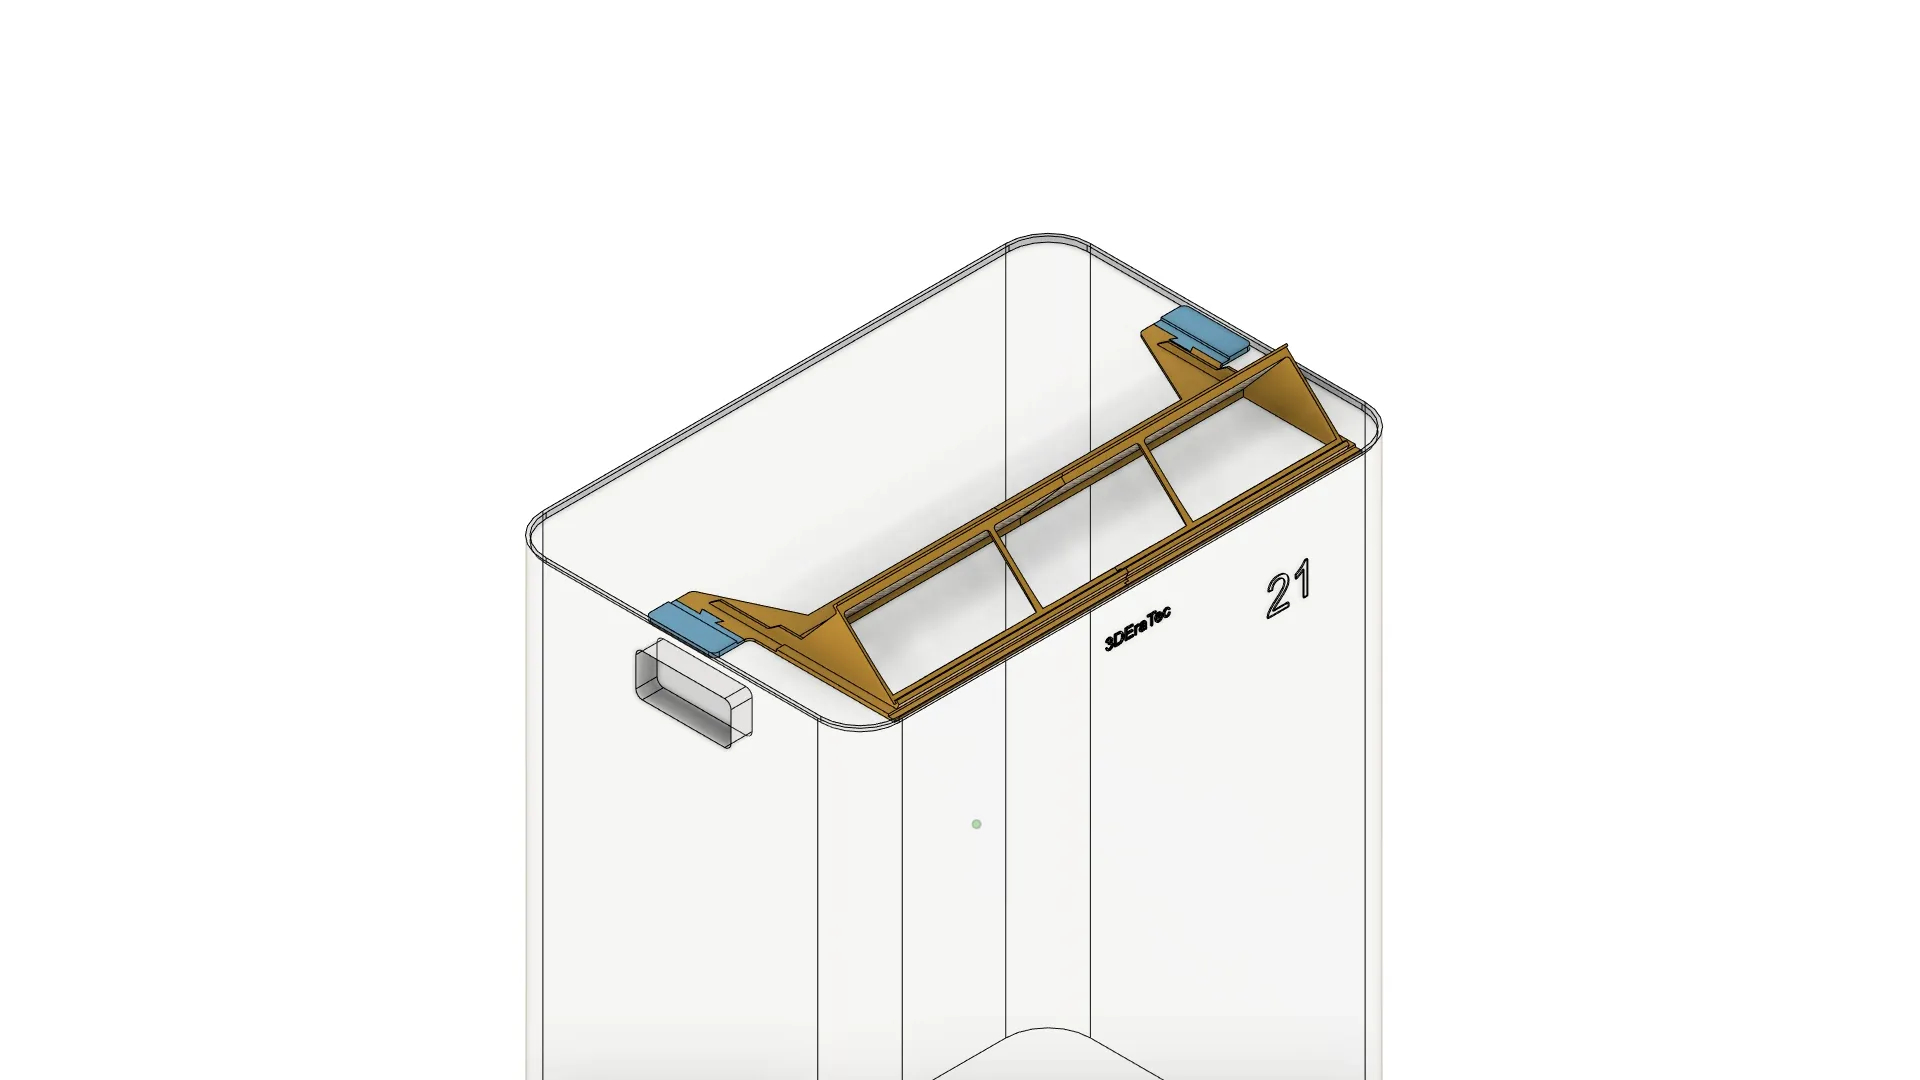
Step #3: Insert the 2 or 3 outlet flanges (red, depending on the variant) into the tongue and groove of the main body (yellow) and connect them with superglue. The 4 clamps (green) are assembly aids.
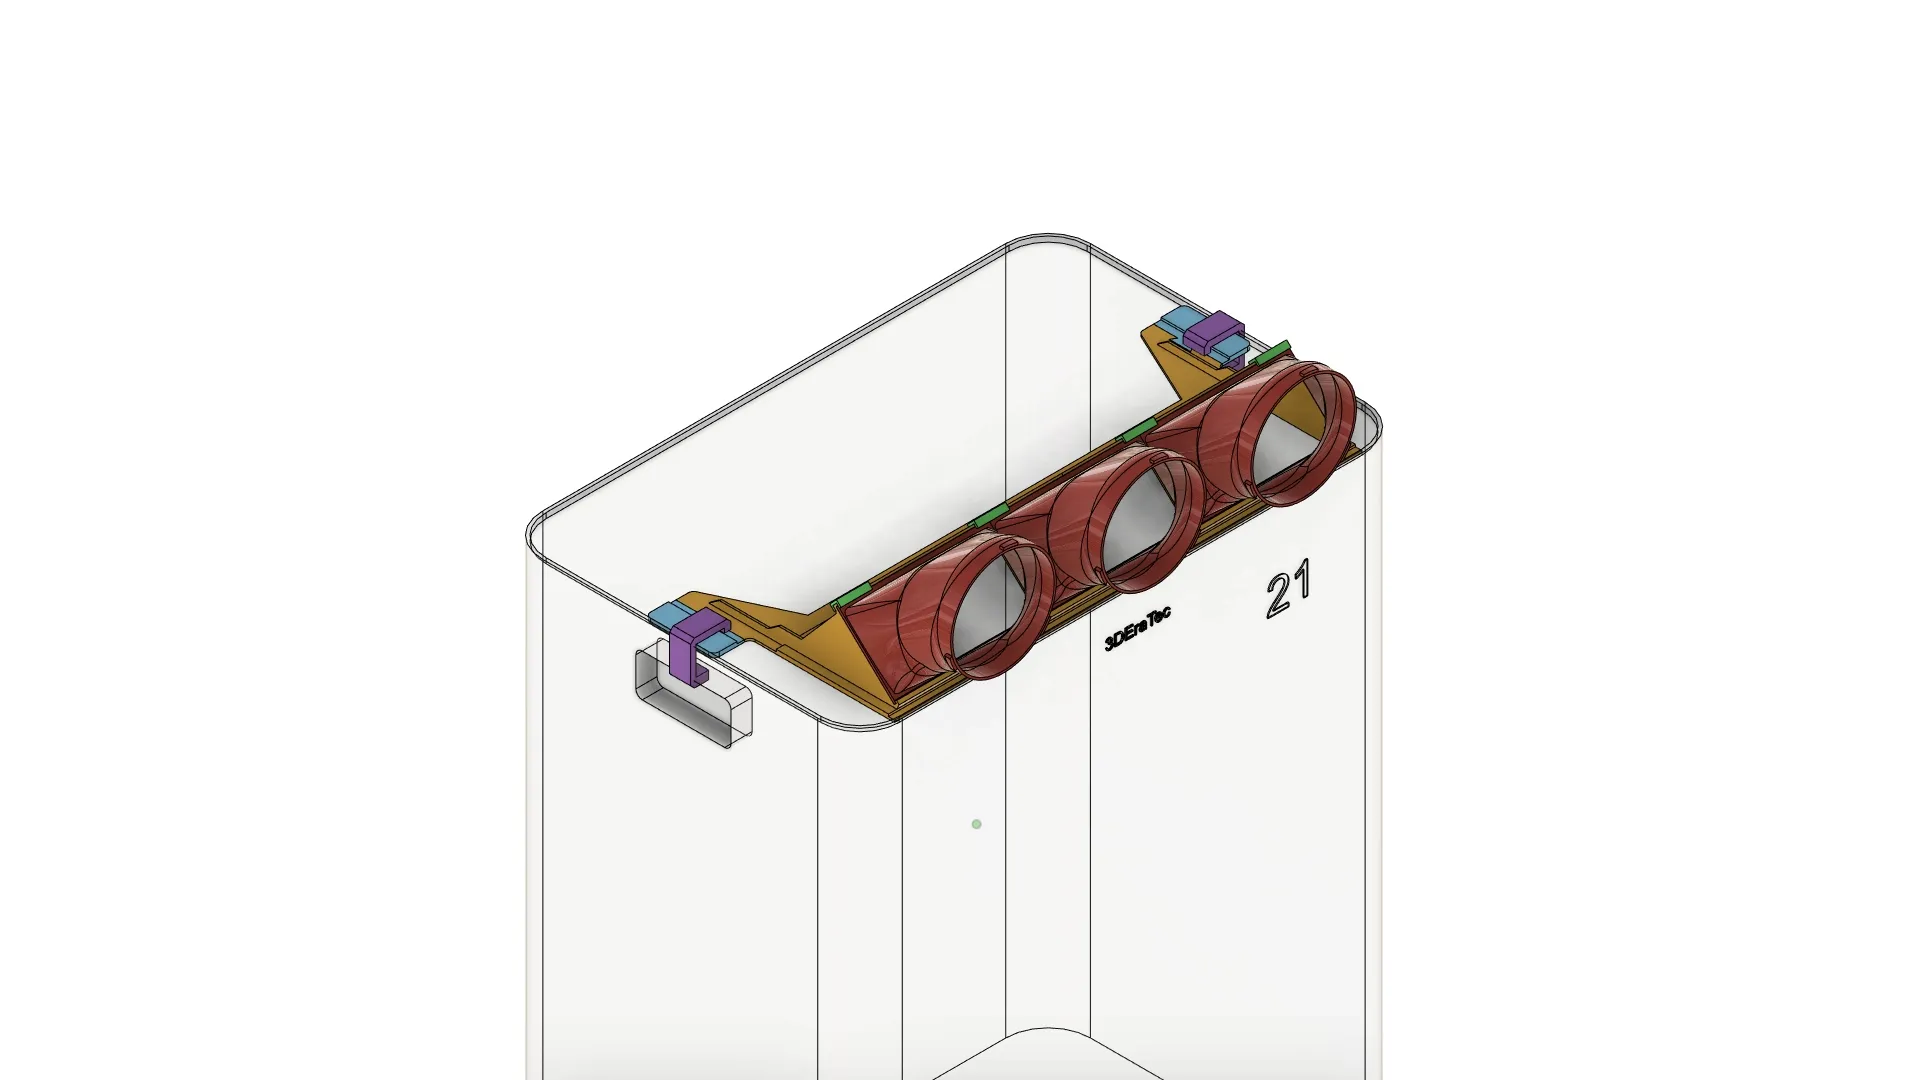
Step #4: Now assemble the aluminum pipes with the pipe connectors (gray) and ....
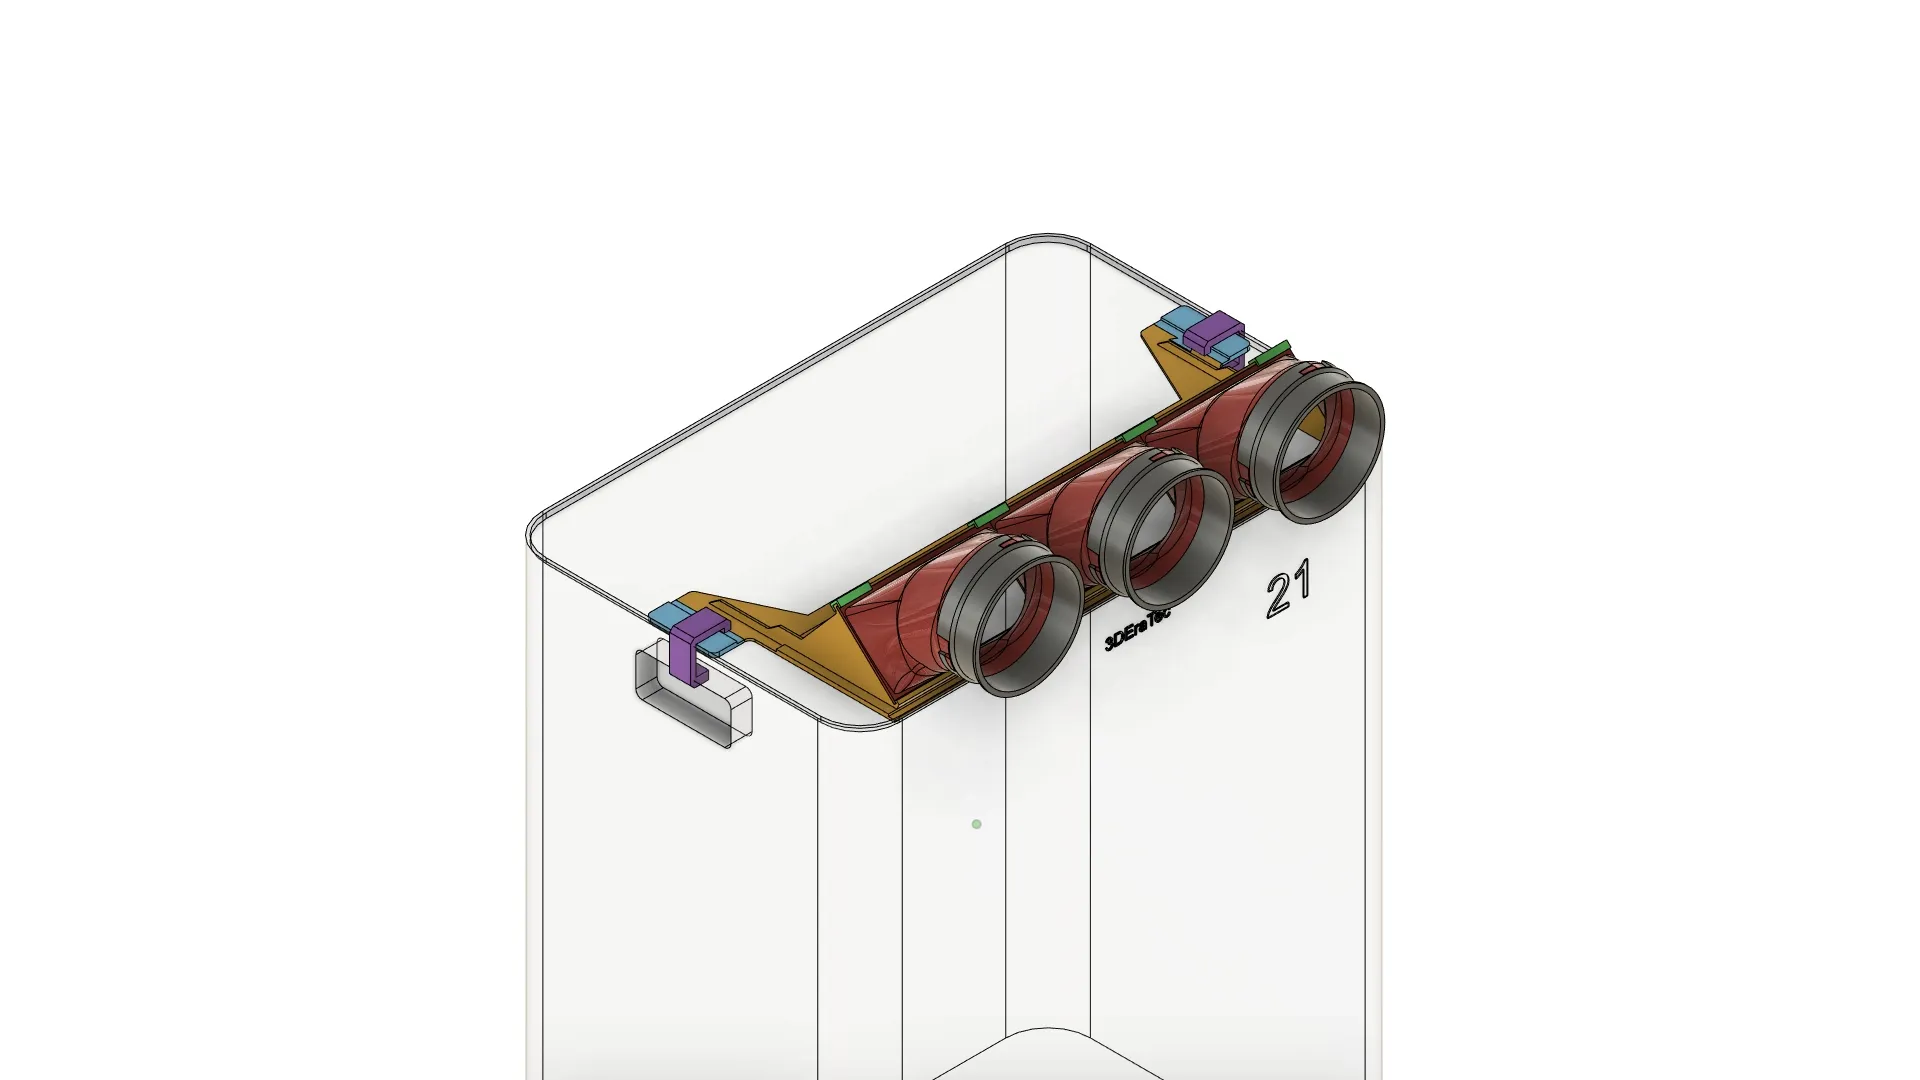
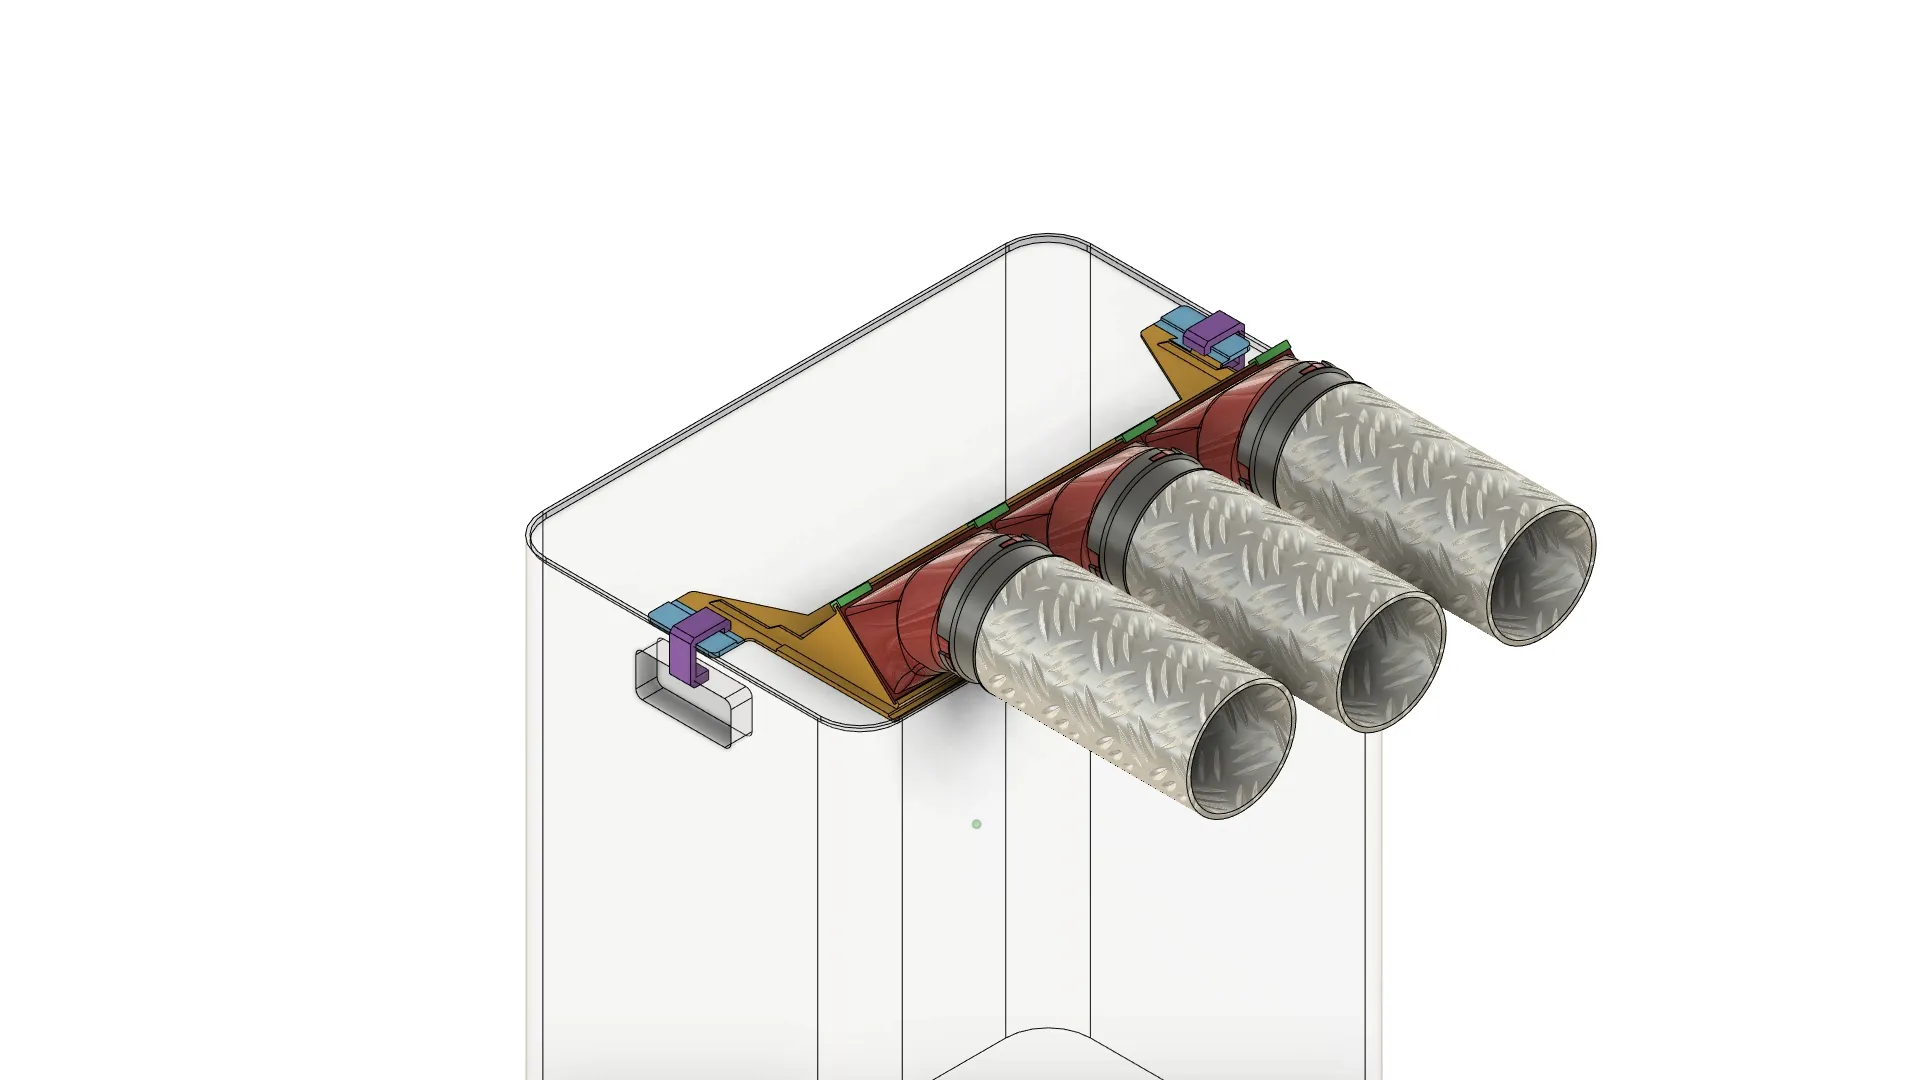
.... DONE!!
🔧Printing:
There are a total of 5 plates. The entire design is constructed to require as few supports as possible. The individual parts are optimally positioned on the print plates, and the optimal parameters are set in the print profile. Please do not change anything here!
License

You shall not share, sub-license, sell, rent, host, transfer, or distribute in any way the digital or 3D printed versions of this object, nor any other derivative work of this object in its digital or physical format (including - but not limited to - remixes of this object, and hosting on other digital platforms). The objects may not be used without permission in any way whatsoever in which you charge money, or collect fees.

Comment & Rating (33)