
BambuLED Autonomous WiFi Status & Progress Display
Print Profile(1)
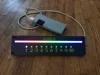
Description
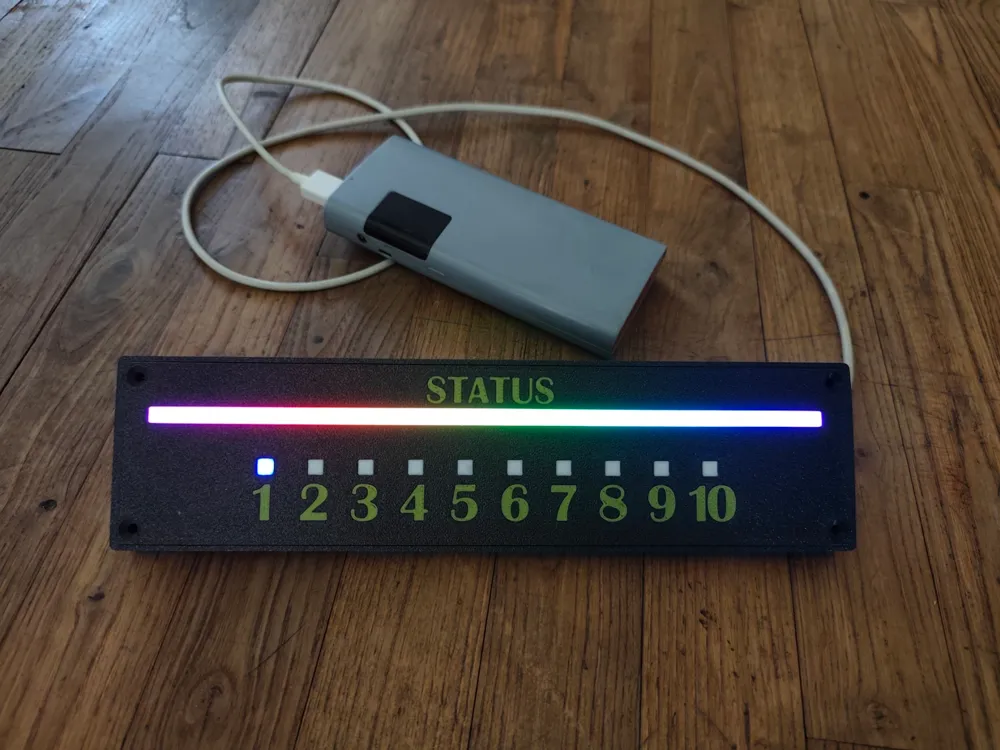
BambuLED ESP32 V2
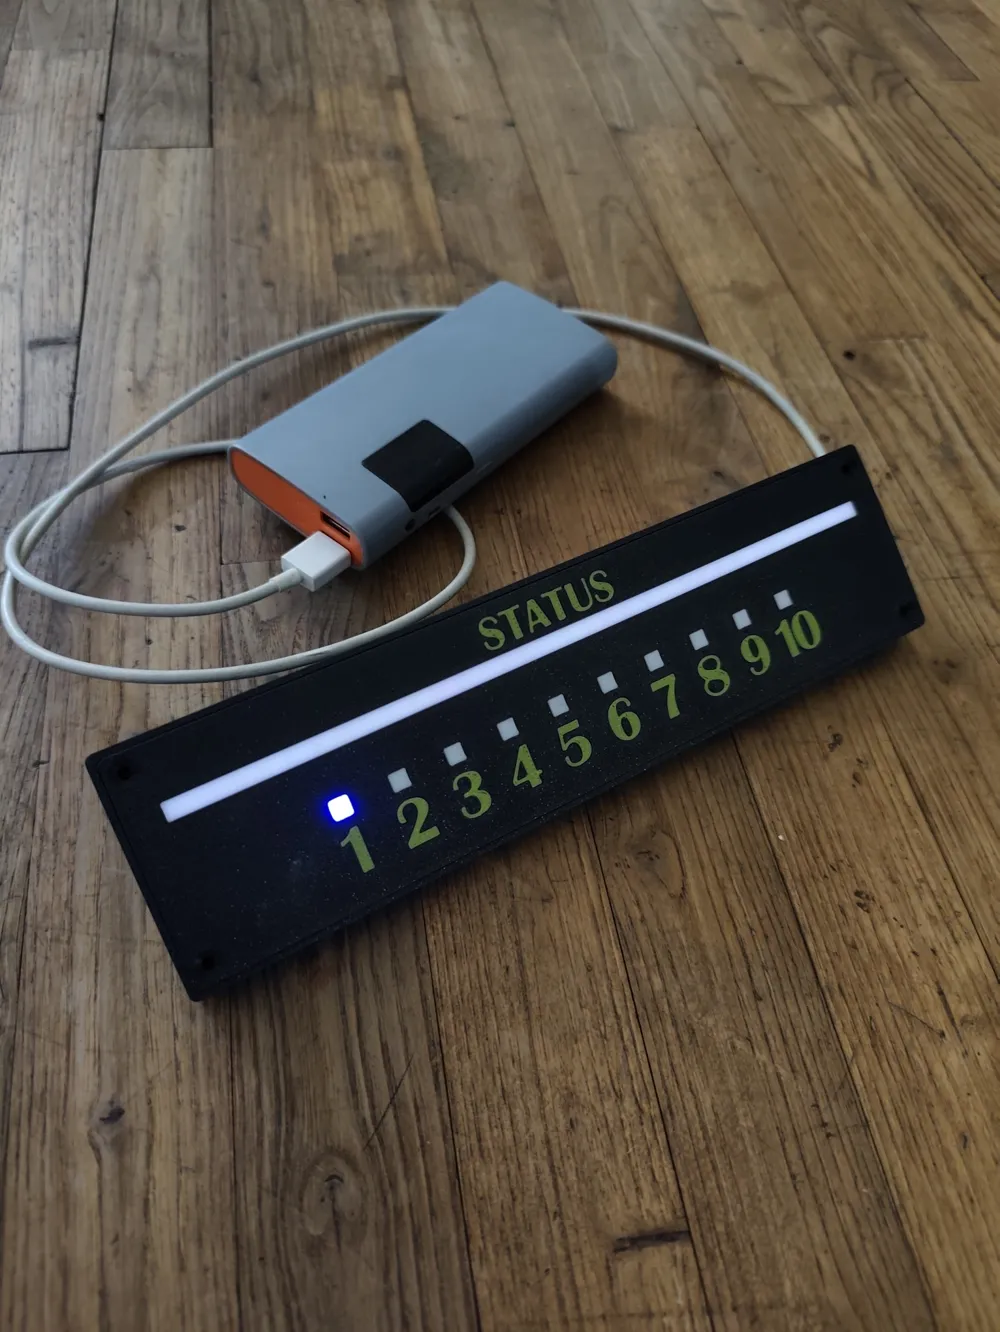
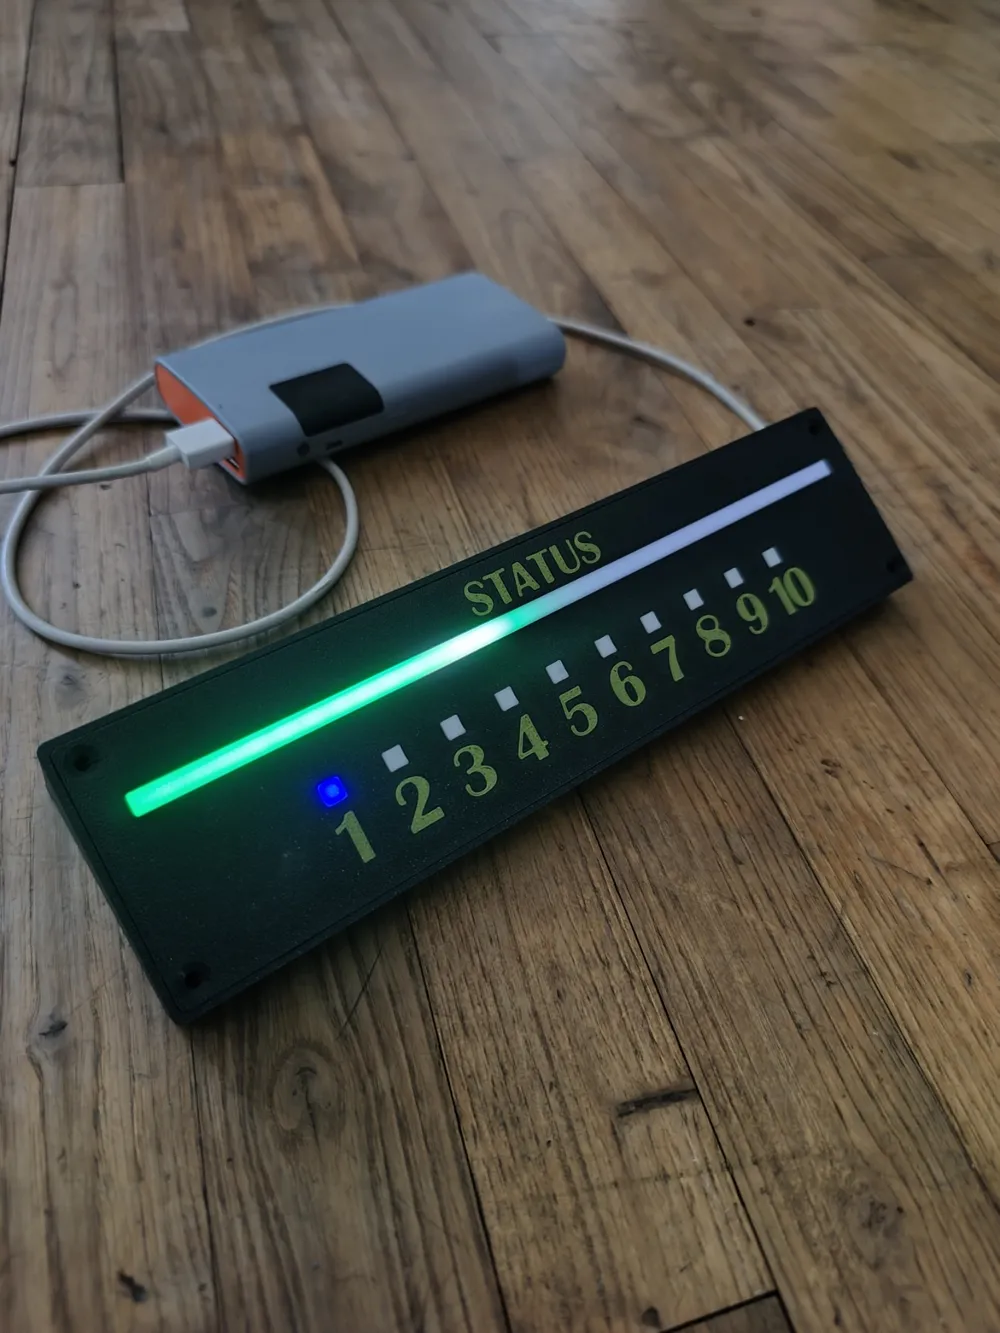
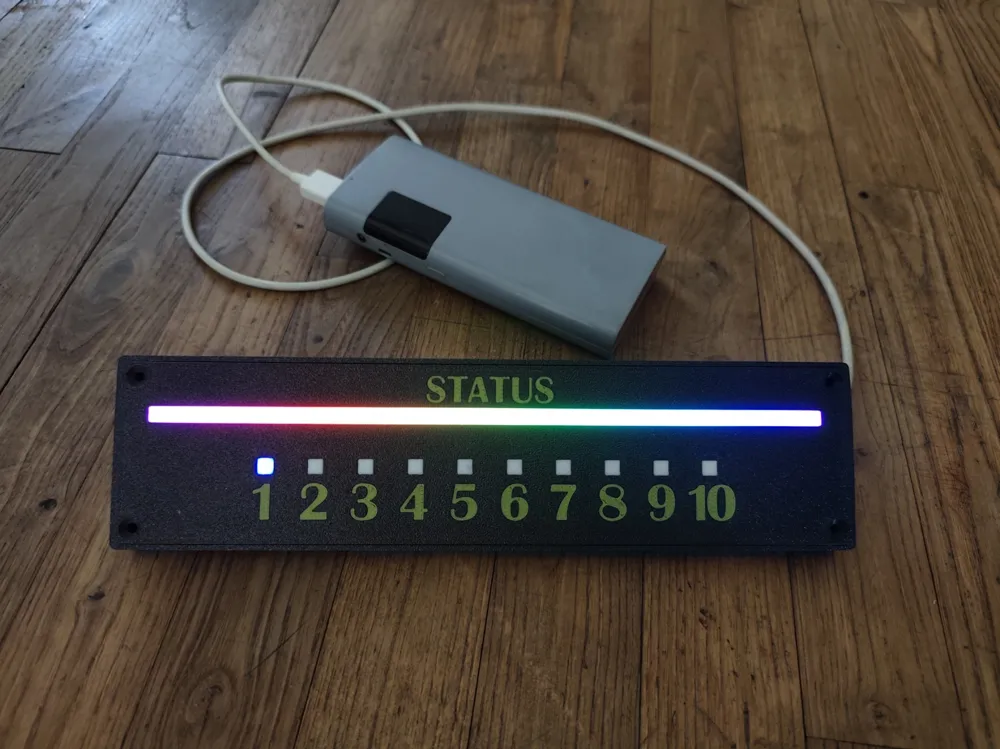
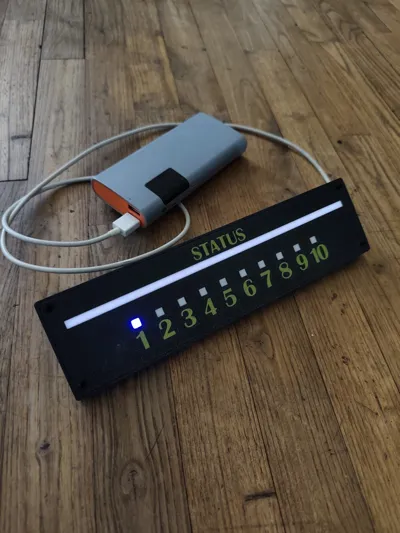
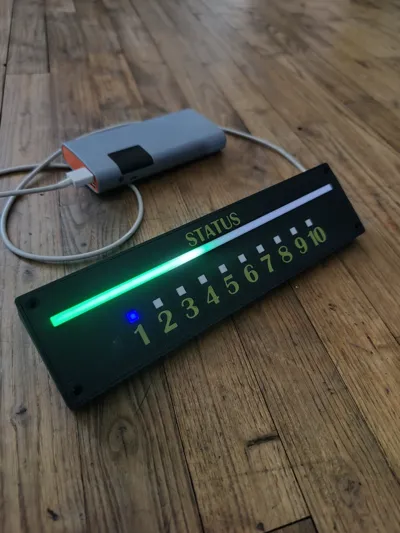
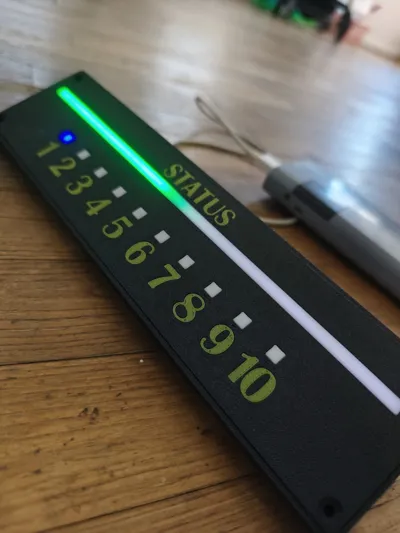
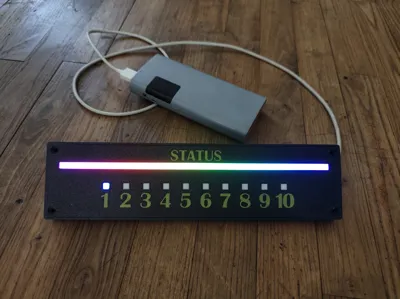
An autonomous WiFi LED display system for Bambu Lab printers using an ESP32 and WS2812B LED strips.
No Raspberry Pi, no PC software running in the background, and no cloud service required. Simply connect the device to the same WiFi network as your Bambu Lab printers, configure your printers once, and the system works completely autonomously.
The device displays:
- Printer status
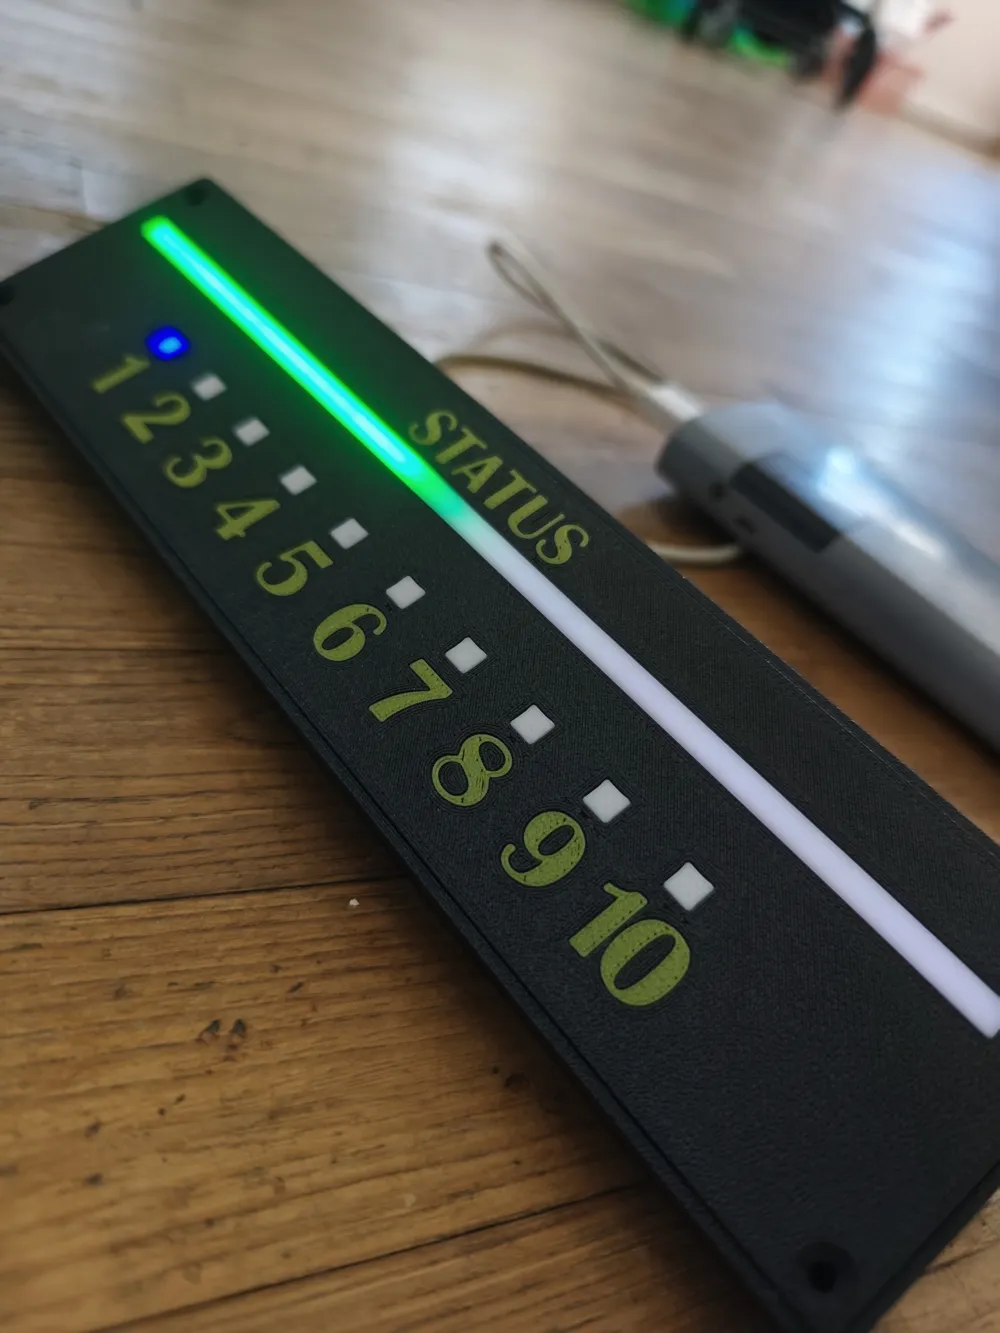
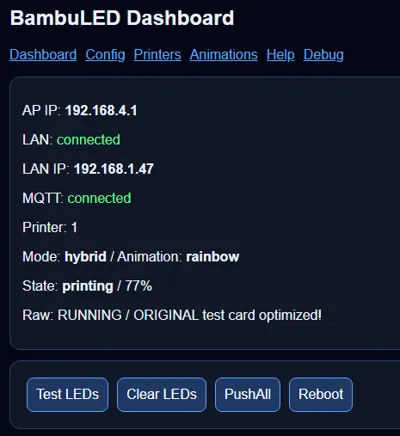
- Print progress
- Heating state
- Paused state
- Errors
- Finished prints
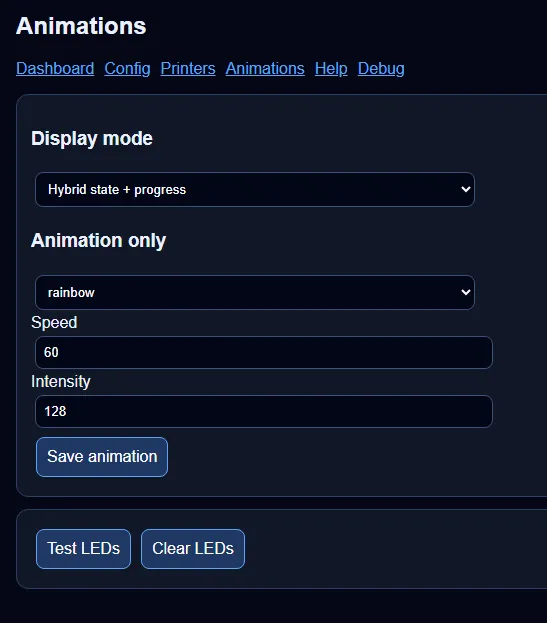
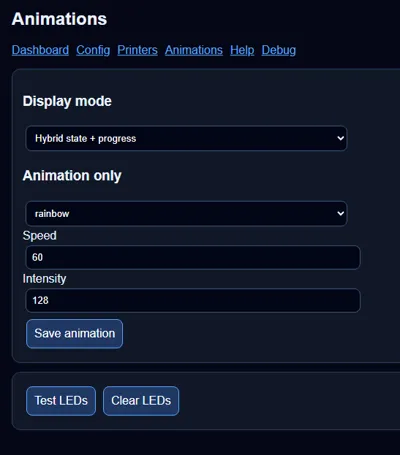
- Custom LED animations
The project is designed to be:
- Low cost (typically under €20 excluding printed parts)
- Easy to assemble
- Easy to configure
- Portable, powered by a simple USB power supply
- Standalone, allowing installation anywhere in the house or workshop
Features
✅ Fully autonomous operation
✅ Works over local WiFi network
✅ No Raspberry Pi required
✅ No PC required after setup
✅ Supports up to 10 Bambu Lab printers
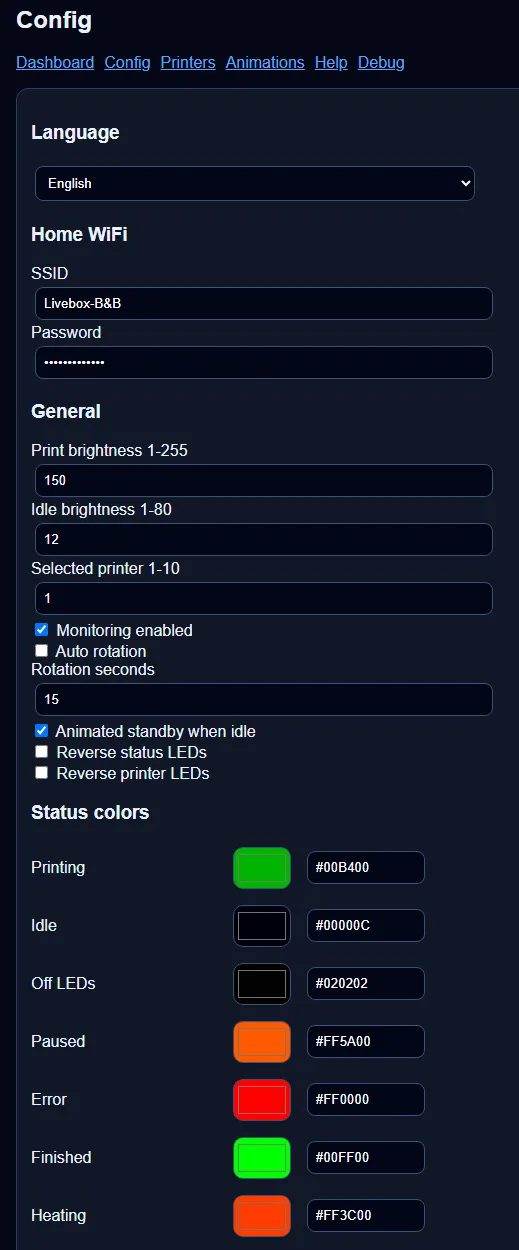
✅ Custom printer colors
✅ LED progress bar
✅ Multiple display modes
✅ Built-in LED animations
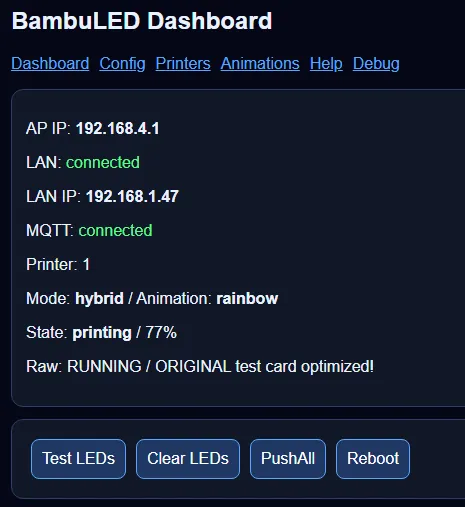
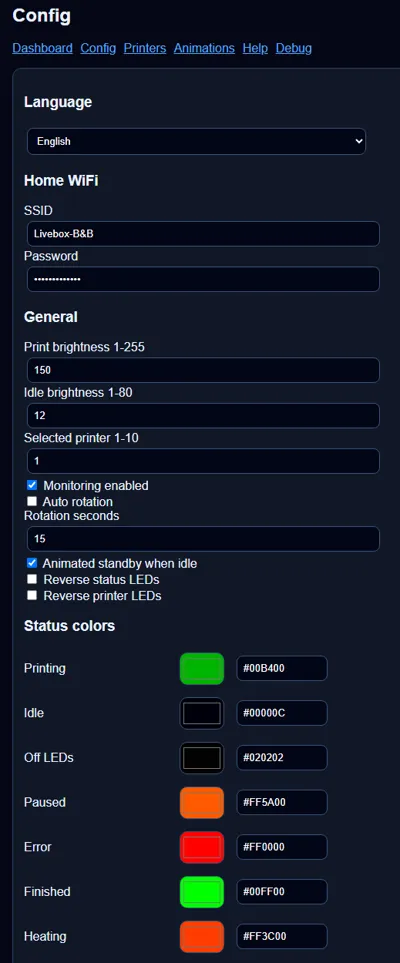
✅ Web configuration interface
✅ Multi-language interface (English/French)
✅ Powered by any standard USB charger
Required hardware
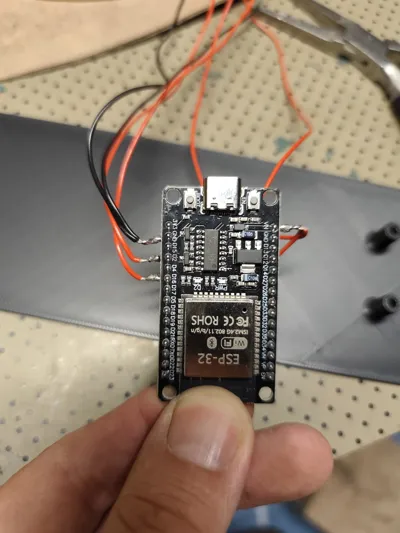
- 1 × ESP32 DevKit V1
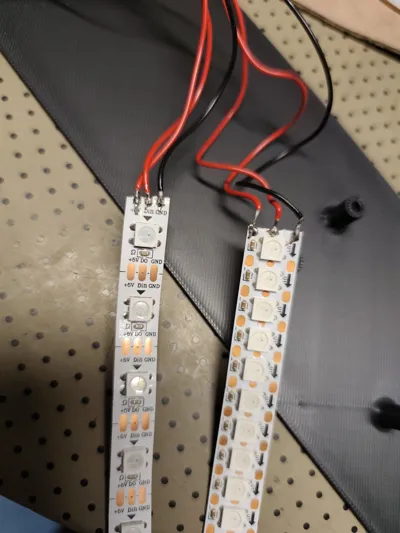
- 1 × WS2812B 5V LED strip (144 LEDs/m)
- 1 × WS2812B 5V LED strip (30 LEDs/m)
- M3 screws and threaded inserts
- USB-C cable
- Approximately 200 g of PLA
Estimated hardware cost:
Less than €20
Assembly
The project is designed to be easy to build:
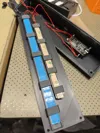
- Print all parts
- Install threaded inserts
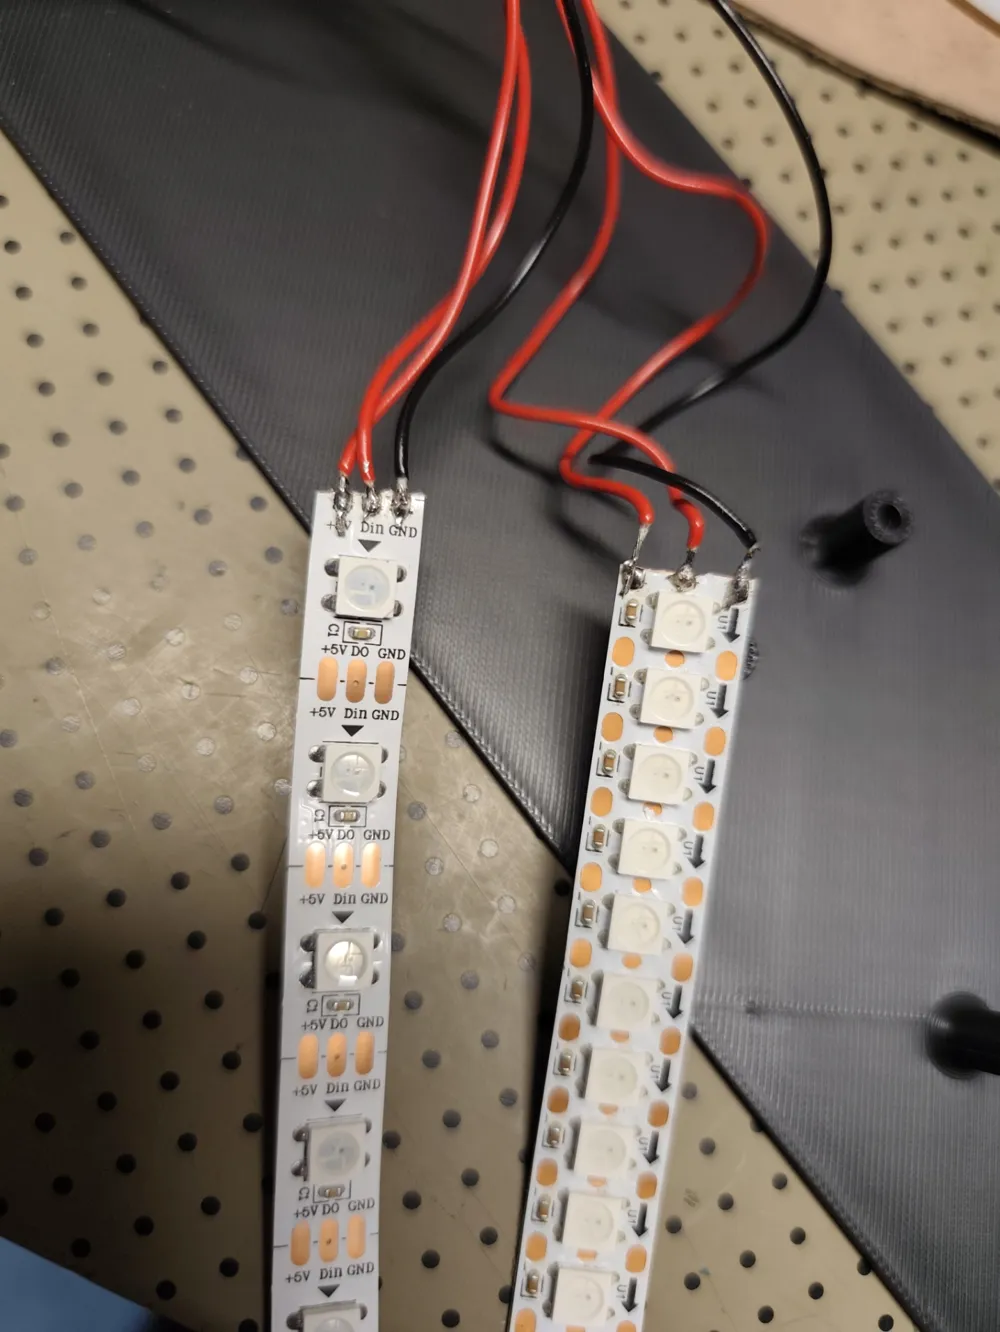
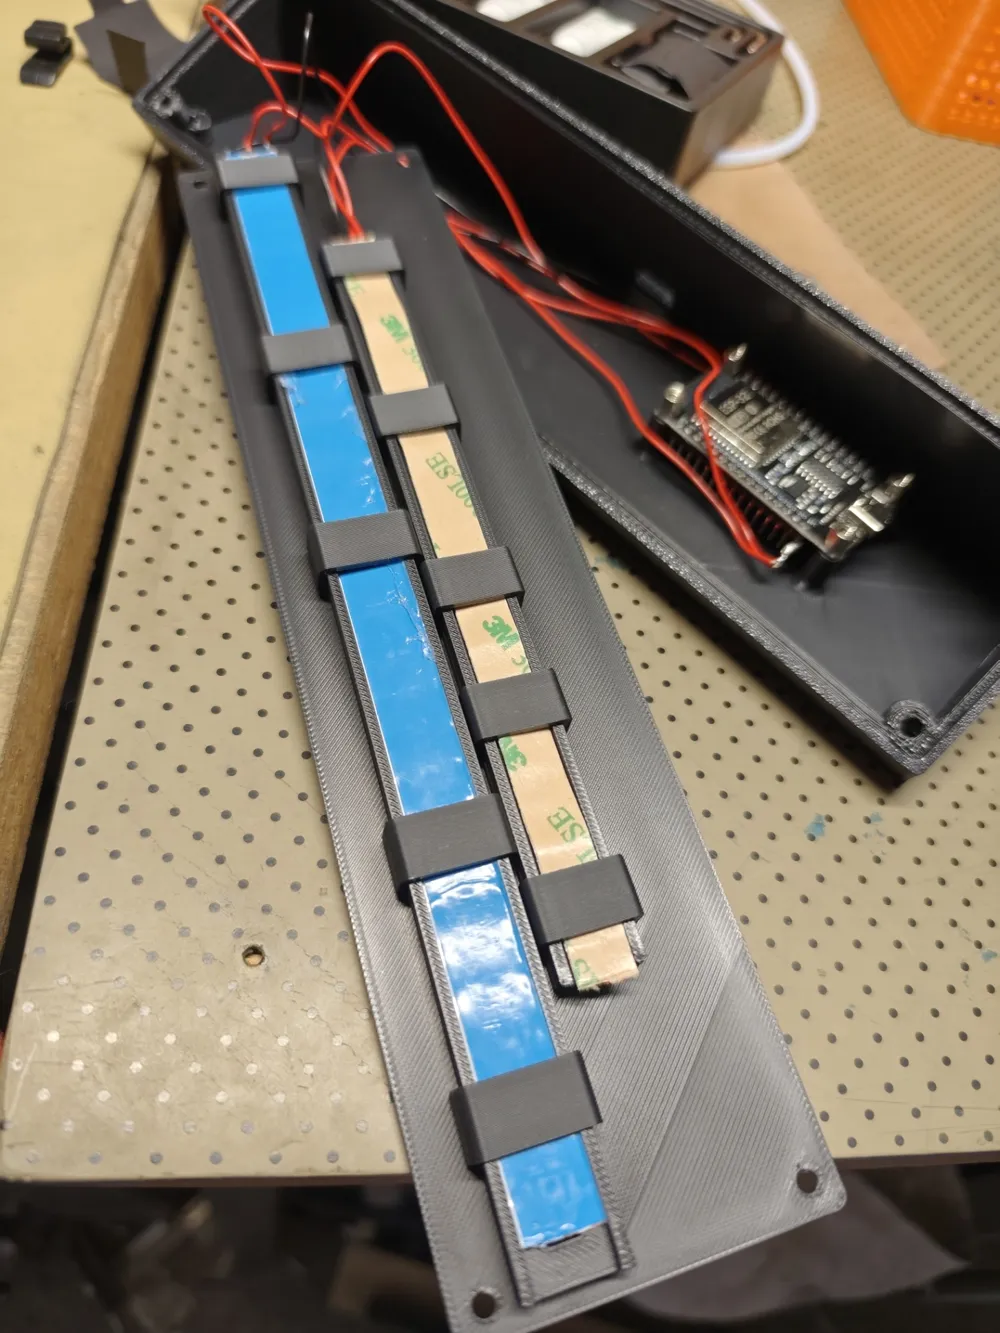
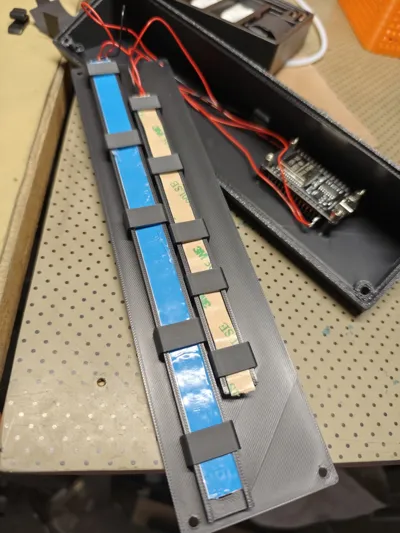
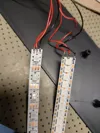
- Install LED strips
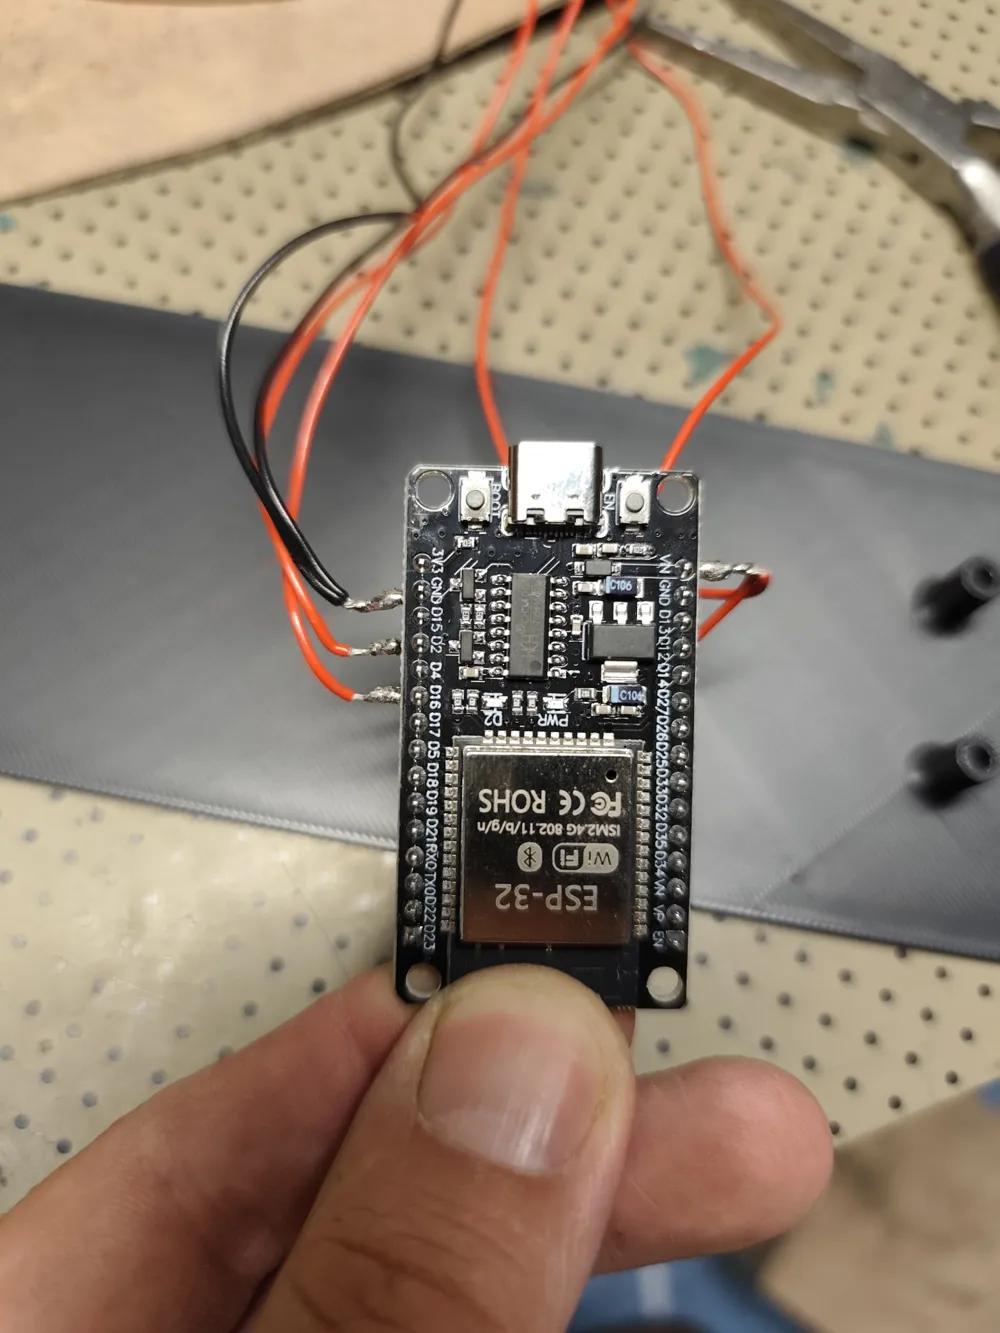
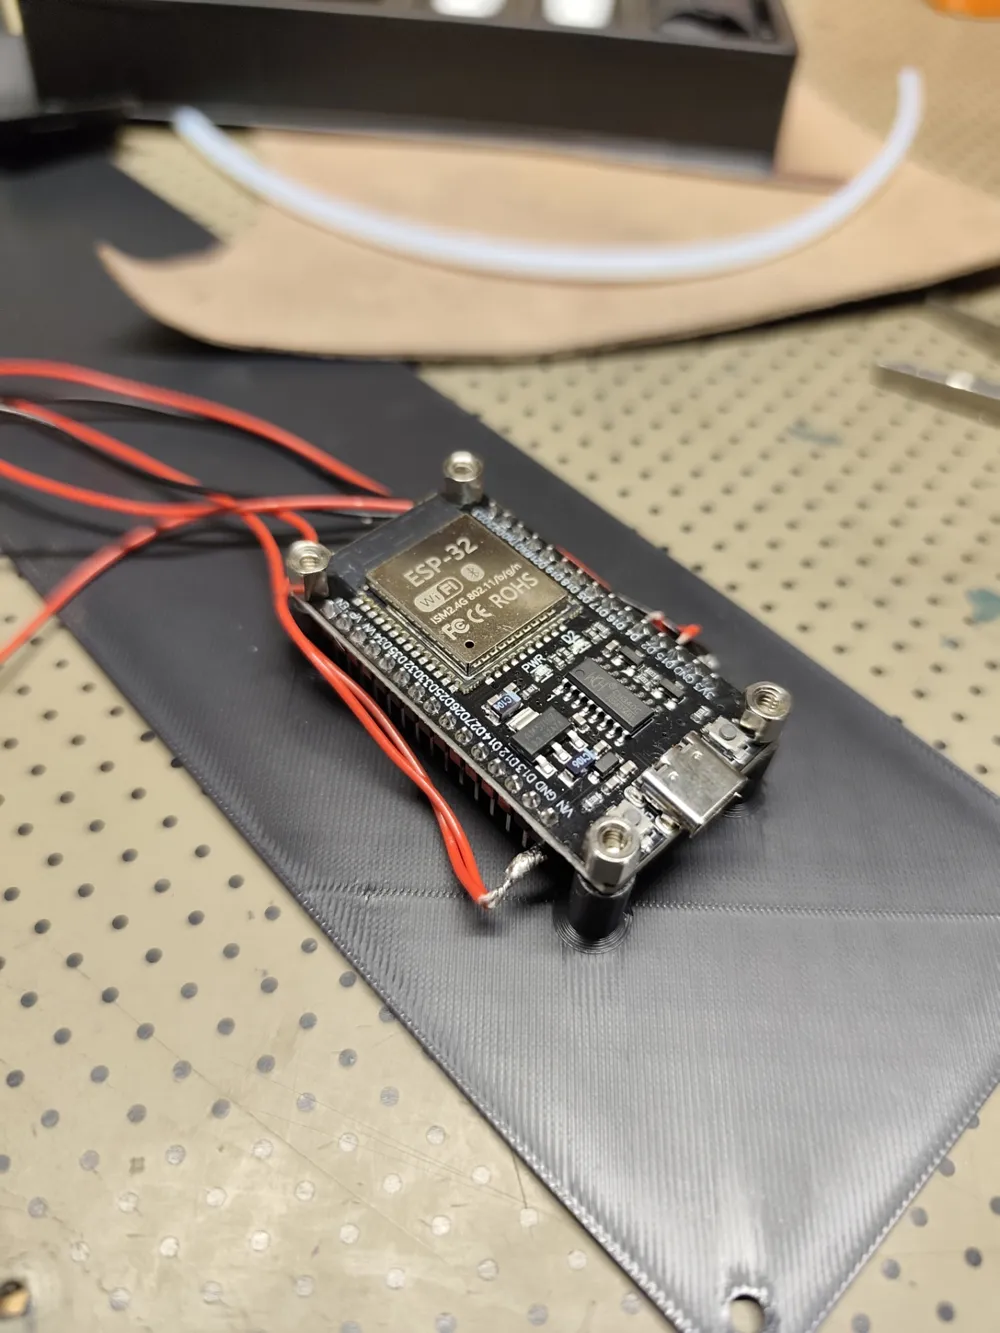
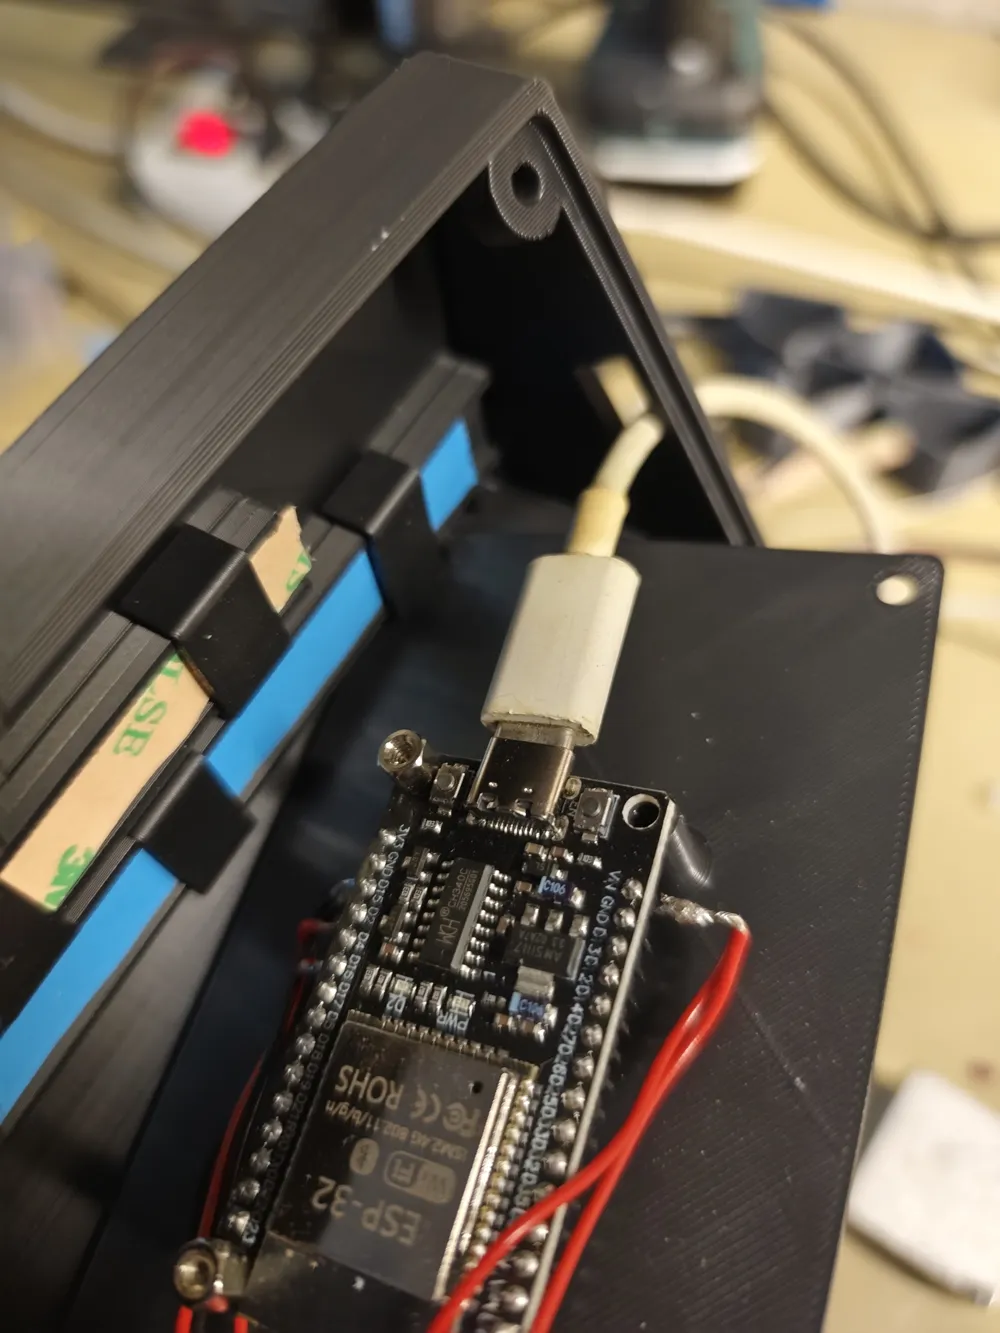
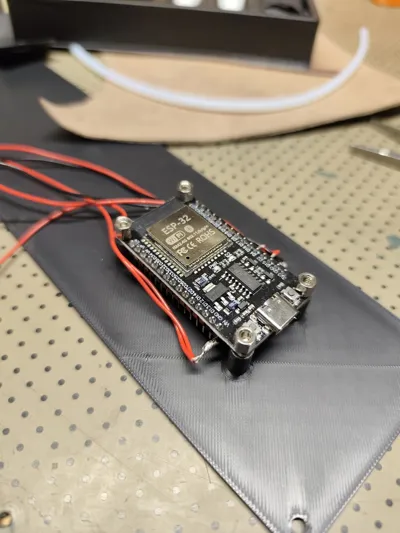
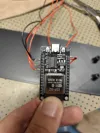
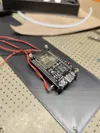
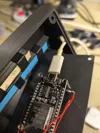
- Mount the ESP32
- Solder the wires
- Upload the firmware
- Close the enclosure
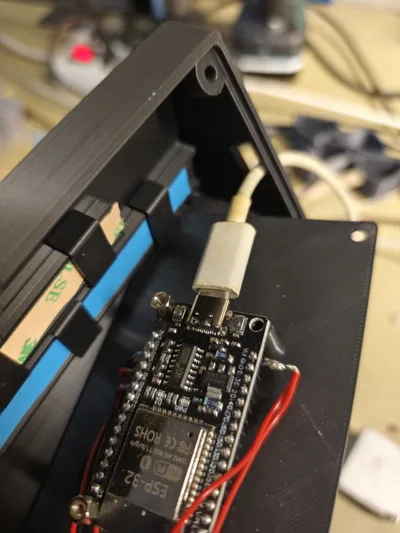
- Connect the USB cable
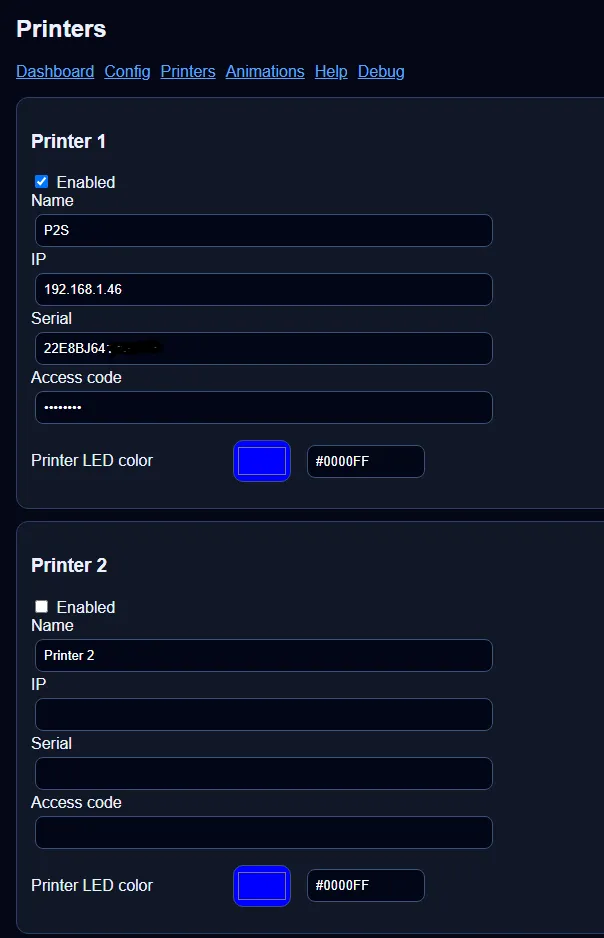
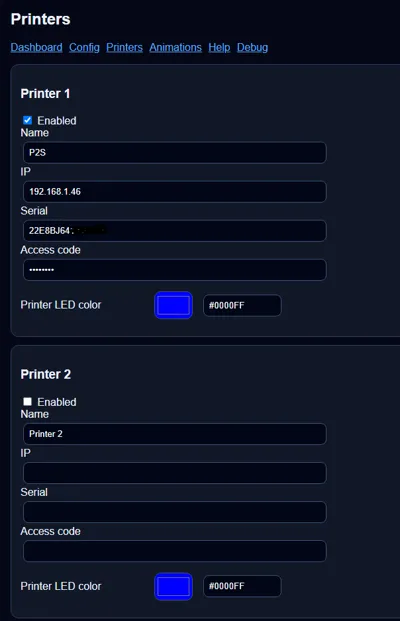
- Configure your printers
Detailed assembly, wiring, BOM and configuration guides are included.
Setup
Simply:
- Connect the device to your home WiFi network
- Enter your Bambu printer IP address
- Enter your printer serial number
- Enter your Bambu LAN access code
That's it.
Documentation (10)
License

You shall not share, sub-license, sell, rent, host, transfer, or distribute in any way the digital or 3D printed versions of this object, nor any other derivative work of this object in its digital or physical format (including - but not limited to - remixes of this object, and hosting on other digital platforms). The objects may not be used without permission in any way whatsoever in which you charge money, or collect fees.


Comment & Rating (4)