
QRP Spool Antenna - 40m EFHW
Print Profile(1)
Description
Note: This is a new design. I had issues with tuning when insing a 3:21 UnUn. Once I went to 2:14 - it worked great. If you build and use this, I'd love feedback!
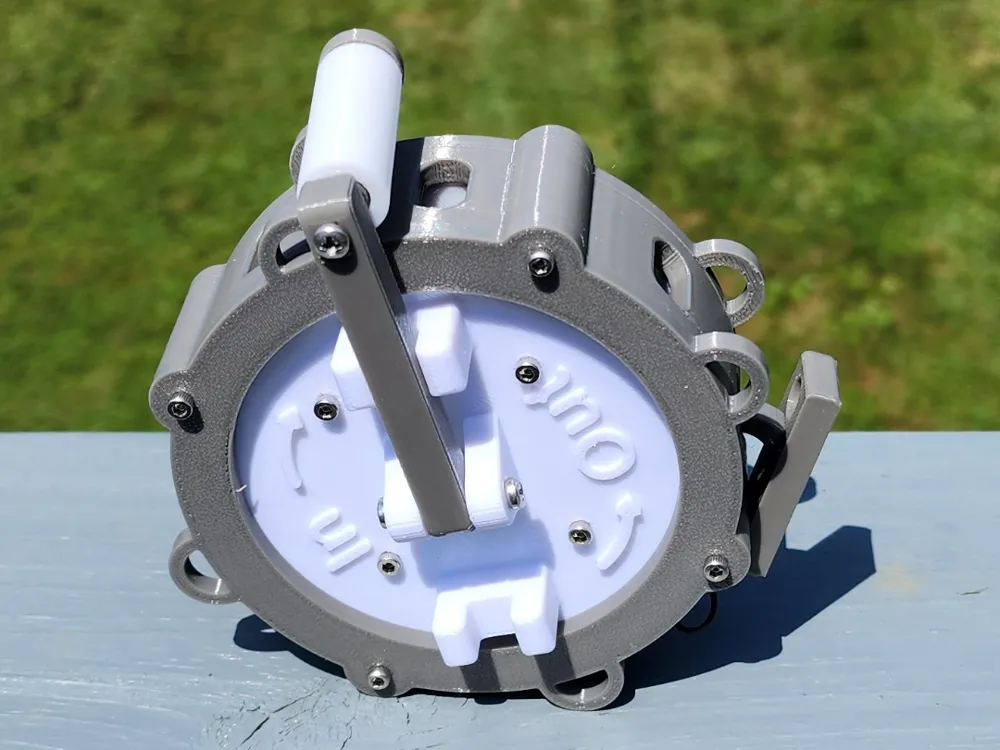
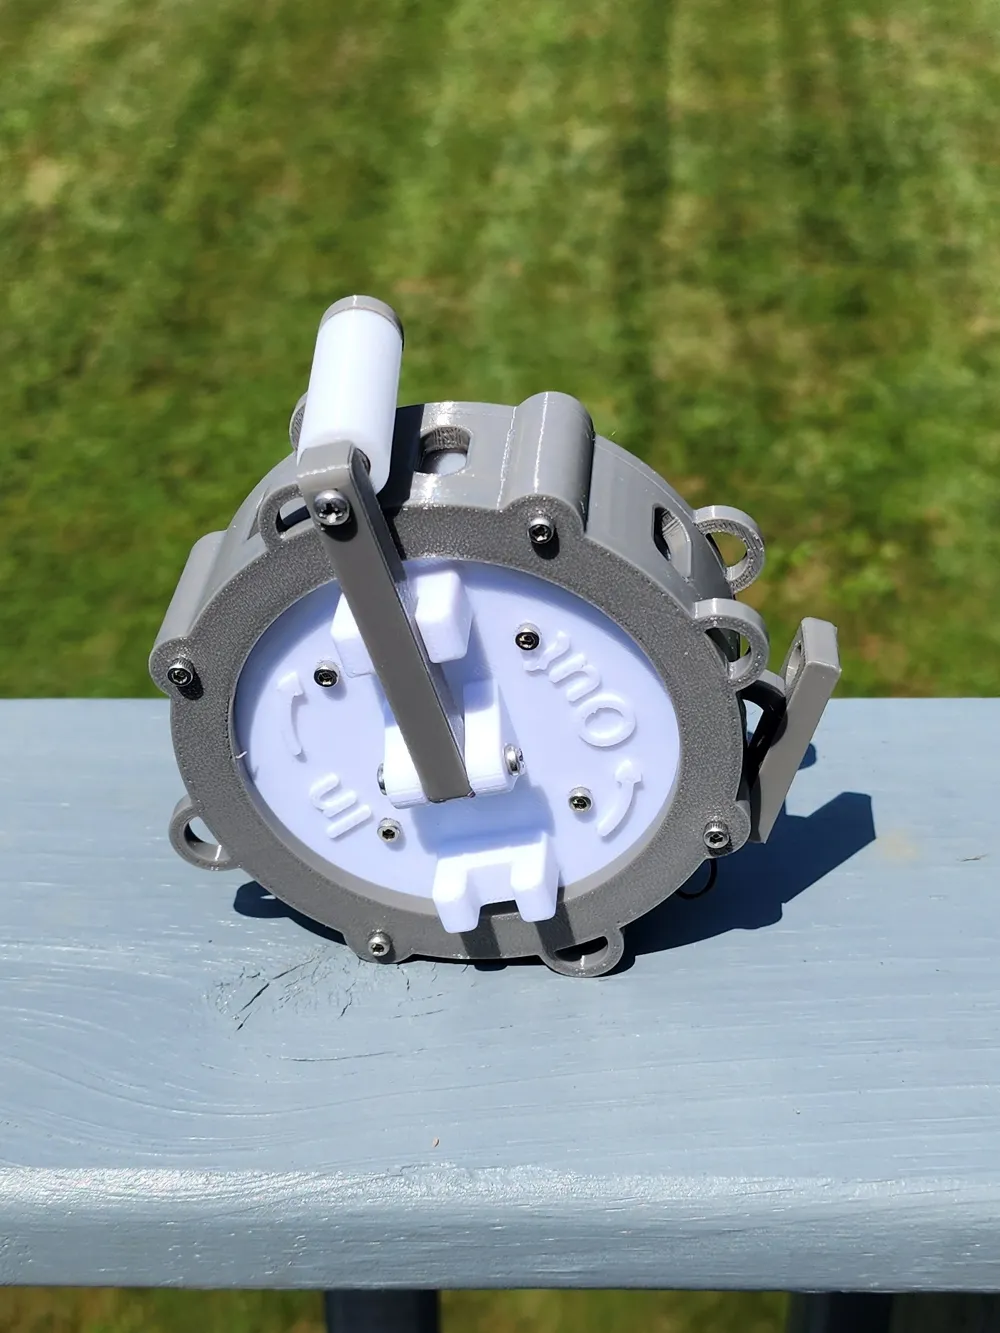
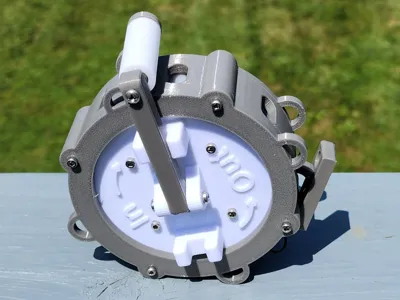
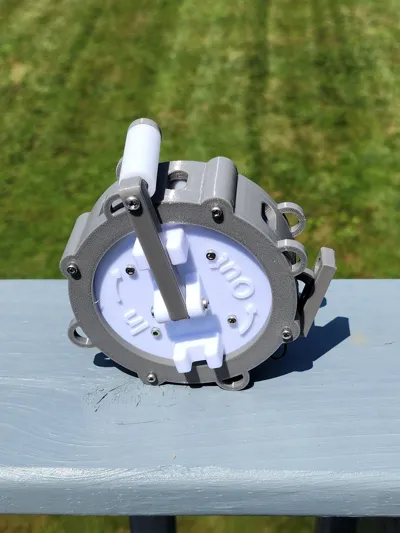
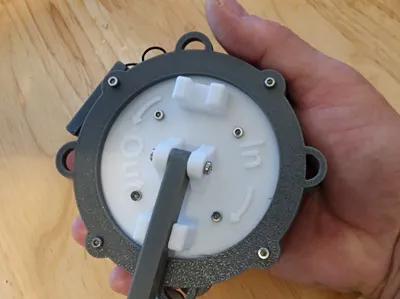
This is a very compact low power 40m End Fed Half Wave (EFHW) antenna with an integrated 49:1 UnUn.
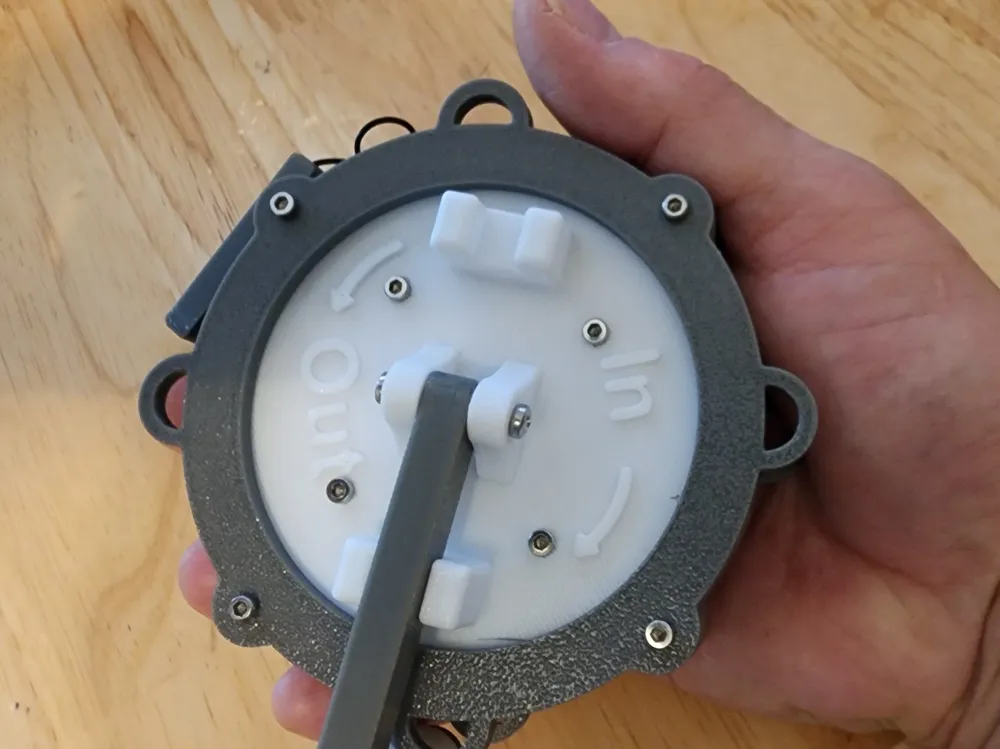
- It's compact, it fits in your handle easily
- It's lightweight, weighing in at under 6 ounces (170 grams)
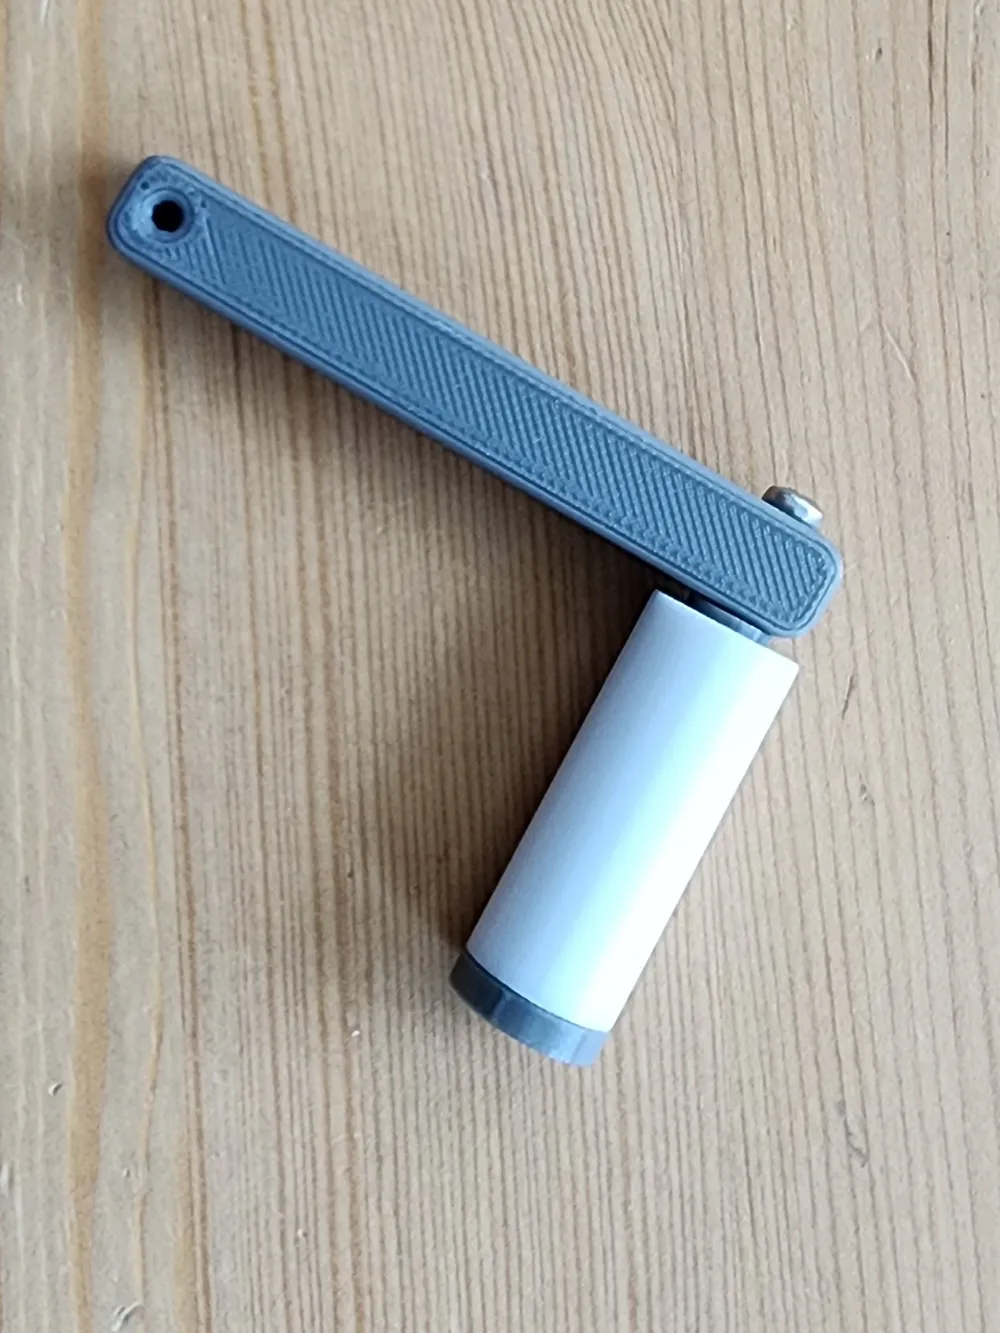
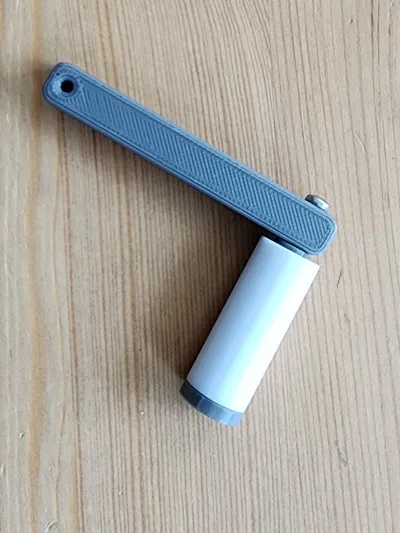
- It has a convenient handle for deploying and stowing the antenna
- When stowed, the handle prevents the reel from unspooling
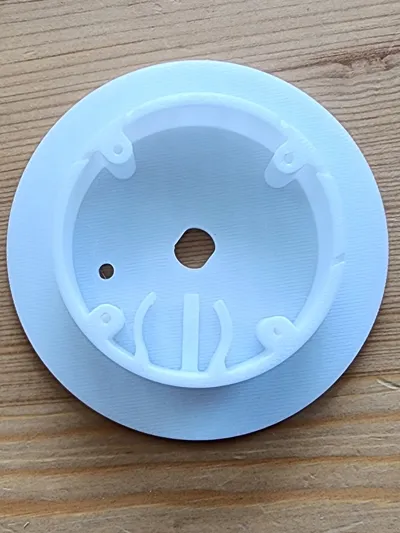
- Simple/easy to print model, prints with default settings (it will be quieter if the sizes are printed on a smooth PEI plate, but it's not necessary)
- It provides a connection for a counterpoise
To get the small size and light weight, it uses DX Engineering's Stealth Wire (https://www.dxengineering.com/parts/dxe-santw-150). This is a 26 gauge wire with a 24lb break force. So, you need to support the reel so undue stress isn't placed on the wire.
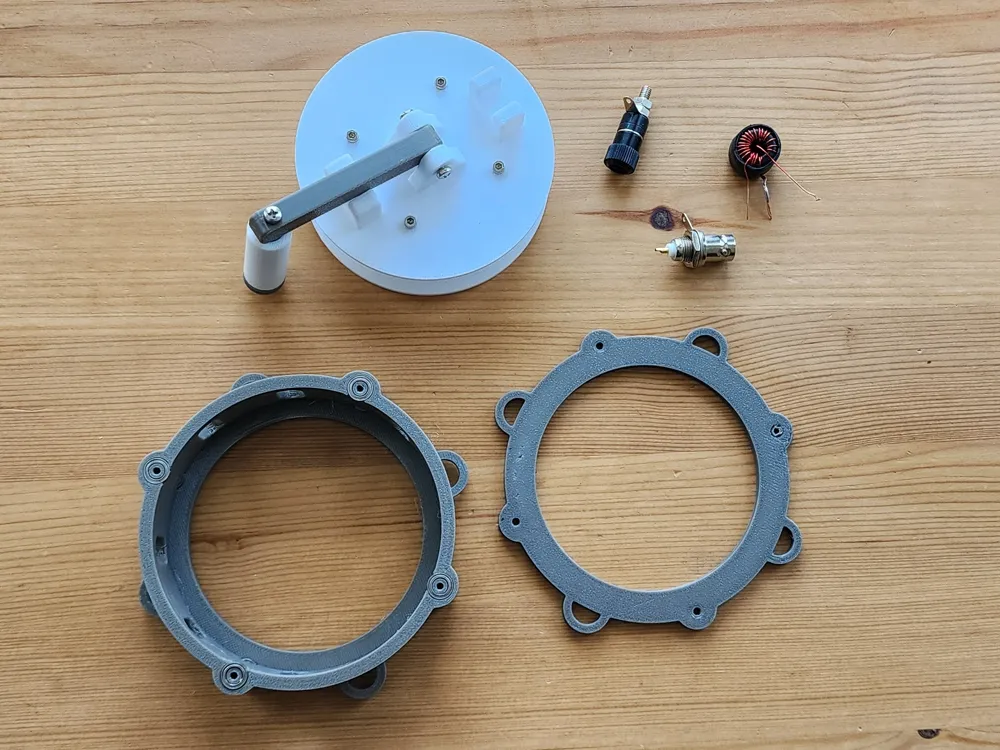
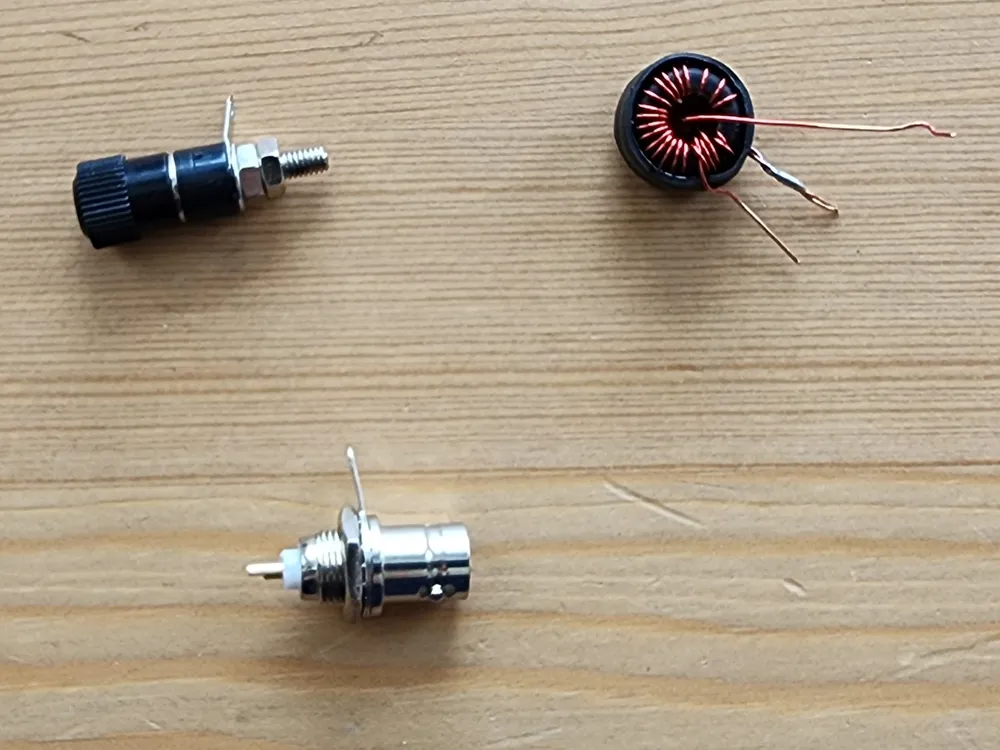
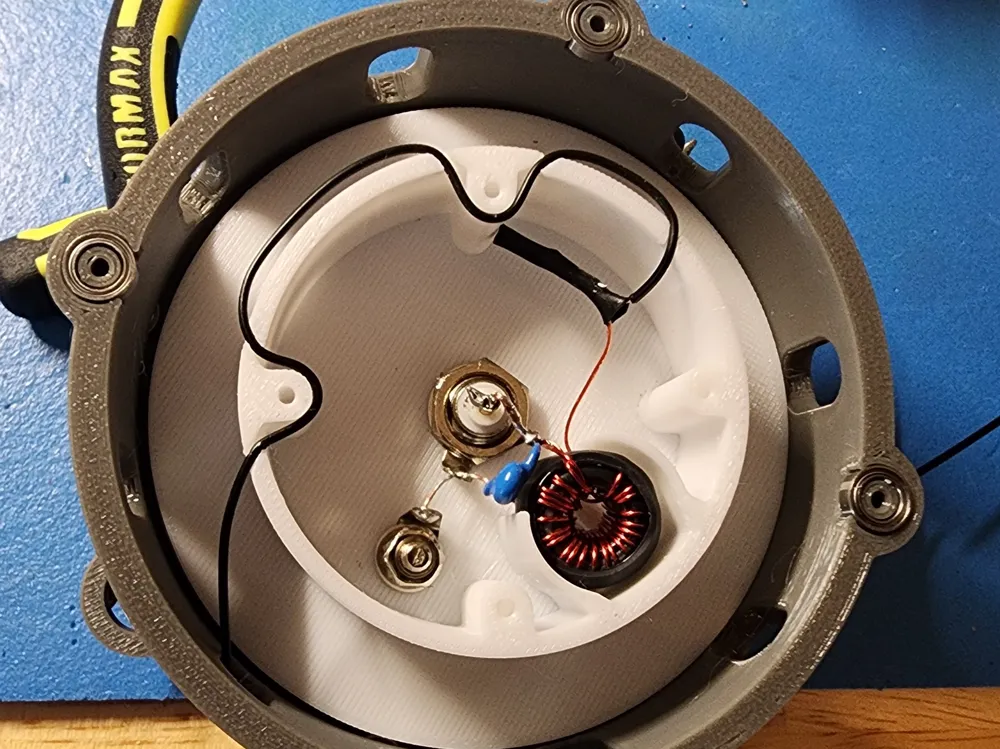
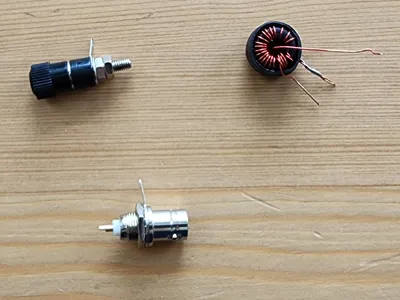
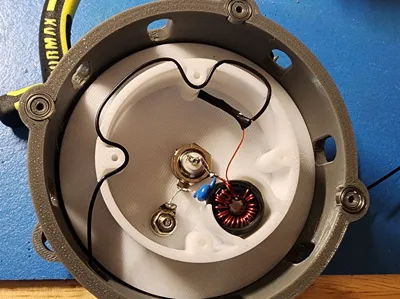
The 49:1 UnUn uses 2 stacked FT50-43 toroids. AI suggests that this should reasonably handle:
- 20-25 Watts SSB
- 15-20 Watts CW
- 10-15 Watts FT8/RTTY/digital modes
K6ARK has a YouTube video on winding an FT-50-43 (single). This is good guidance if you want to see it done. https://www.youtube.com/watch?v=8_flUymoOMo&t=737s (I initially used his recommended 3 bifilar primary windings and 18 secondary windings (3:21) but had issues tuning it. When I went to the traditional 2:14 it tuned with no problem.)
I printed with PETG and standard settings (plus supports). I didn't want to increase the weight by adding fill or layers until I knew I needed it.
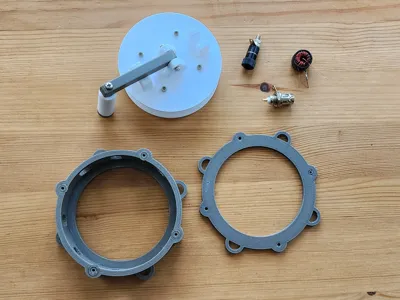
Parts List:
(about 70 feet) DX Engineering Stealth Wire
- (2) FT50-43 Toroids
- (about 3 ft) 24 gauge magnet wire
- 100 pF ≥ 1KV capacitor
(optional) ¾" (19.1mm) heat shrink tubing to keep cores together and to cover wrapped transformer
- BNC Connector
Banana Jack connector (small length, see pictures)
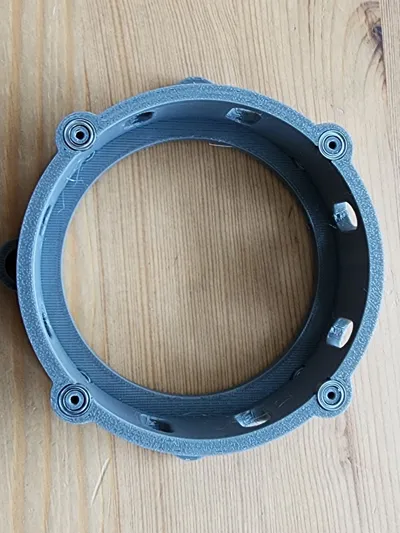
- (8) MR85ZZ mini ball bearings
- (8) M2.5 x 12 mm for attaching sides
- (4) M2.5 x 10 mm for assembling the central hub
- (2) M3 x 12 mm for the crank hinge
- (1) M3 x 18 mm for attaching handle to crank
Because of tight tolerances, I recommend that you calibrate the flow rate and shrink rate for the filament you use to print this.
Boost Me (for free)
I make models that I find useful. It takes time and filament to take it from "good enough for me", to "worth sharing".
I'm encouraged by feedback and boosts.
Thanks/73
License

You shall not share, sub-license, sell, rent, host, transfer, or distribute in any way the digital or 3D printed versions of this object, nor any other derivative work of this object in its digital or physical format (including - but not limited to - remixes of this object, and hosting on other digital platforms). The objects may not be used without permission in any way whatsoever in which you charge money, or collect fees.


Comment & Rating (0)