
Modular Kitchen Plate Rack/Organizer (4 / 8 Slots)
Print Profile(1)
Description
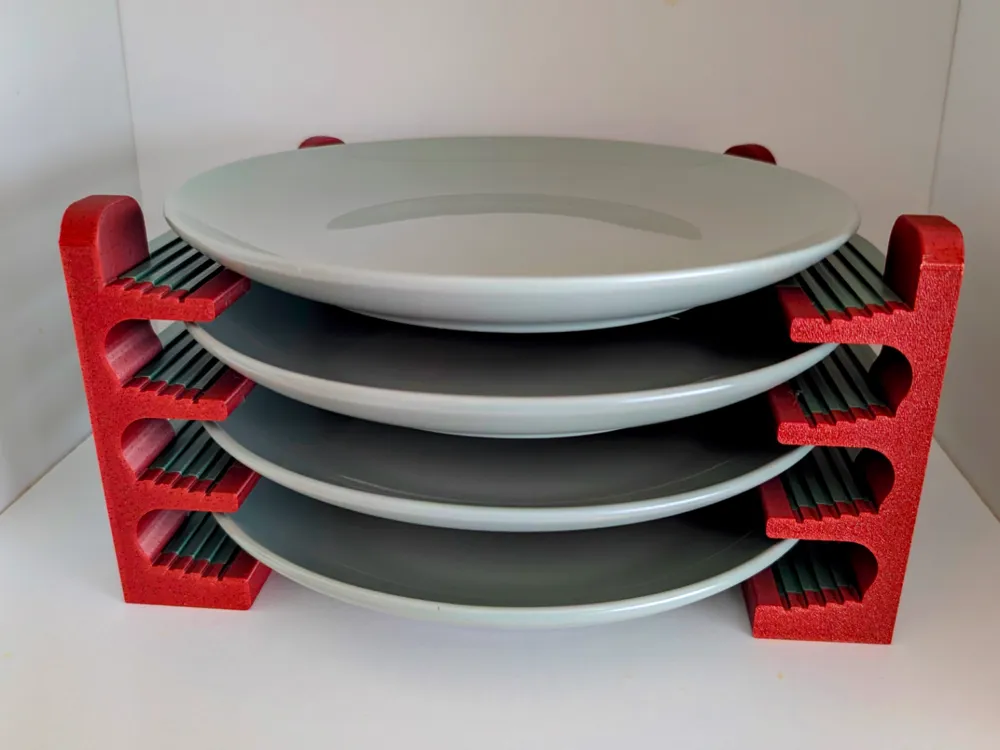
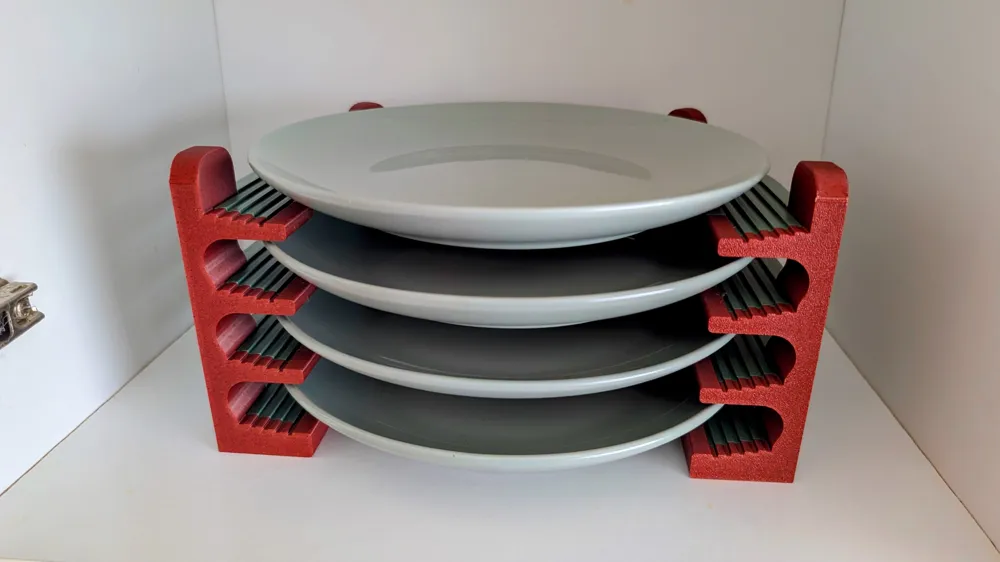
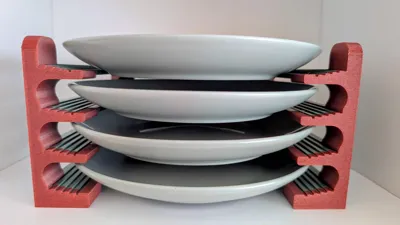
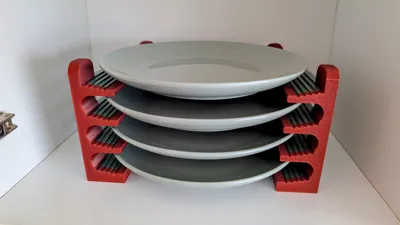
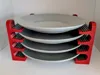
🍽️ Versatile Space-Saving Plate Rack (4 & 8 Slot Versions)
Say goodbye to cluttered and messy kitchen cabinets! This custom-designed plate rack is the ultimate organization solution for your kitchen cupboards. Engineered with flexibility in mind, it maximizes your storage space while keeping your plates safe and easily accessible.
🌟 Key Features
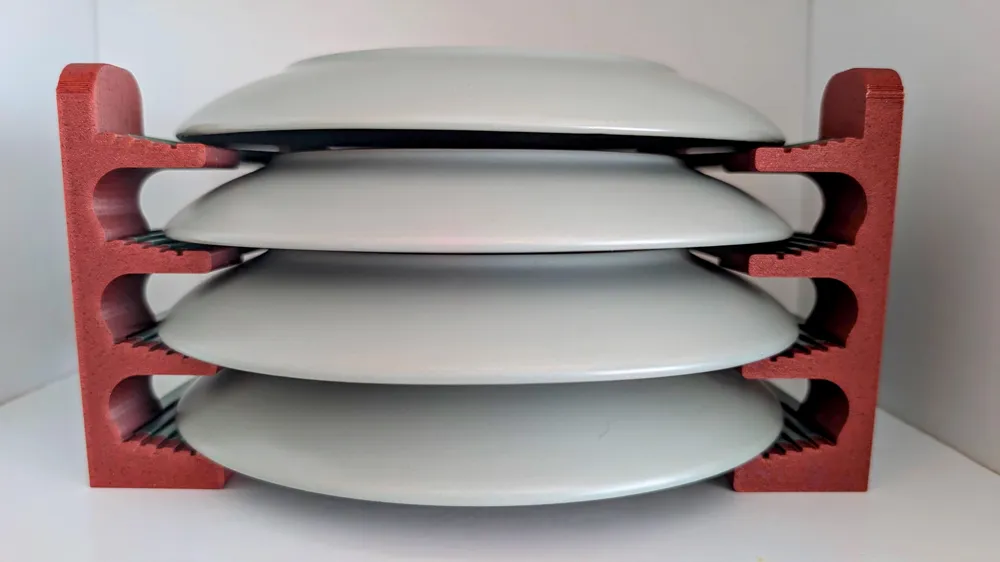
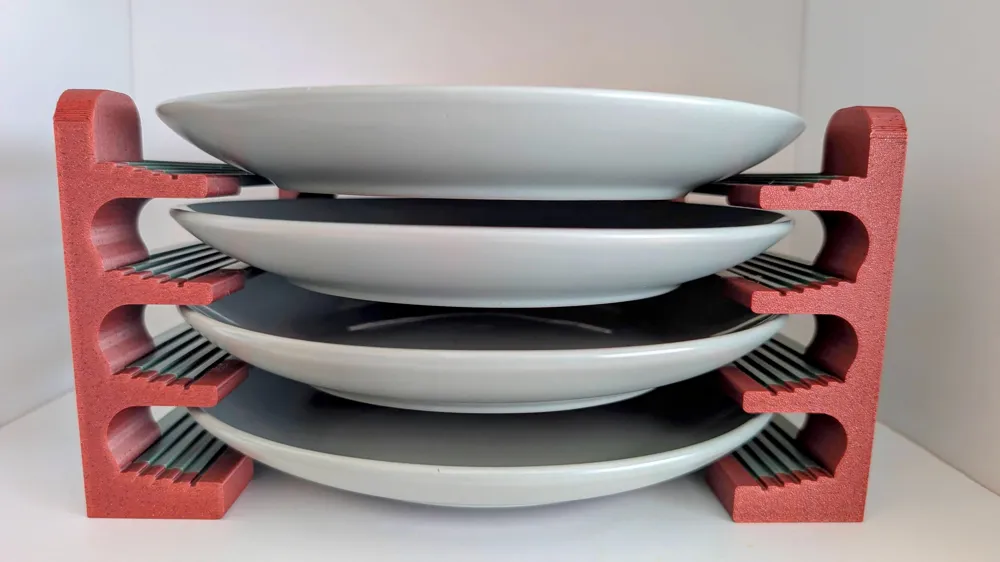
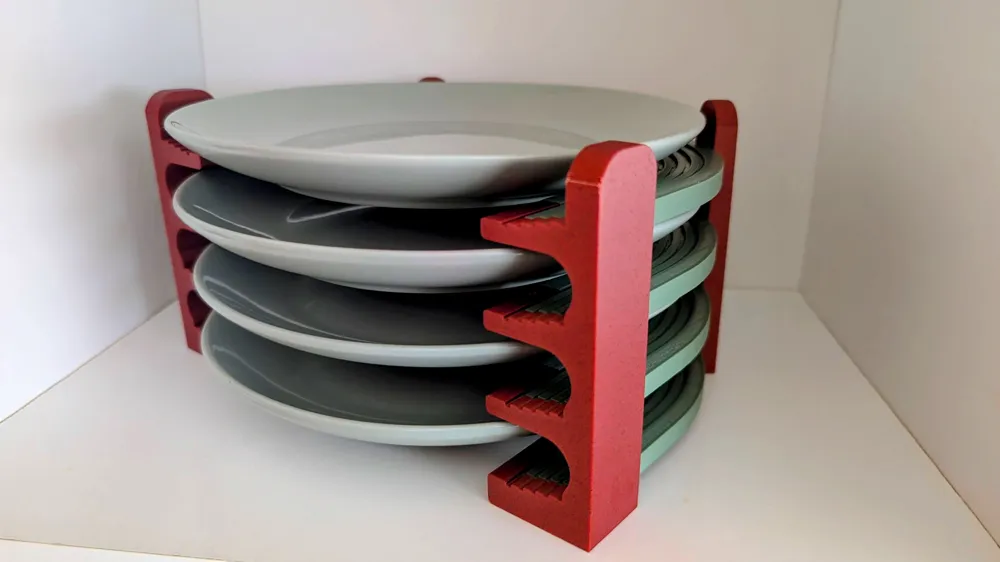
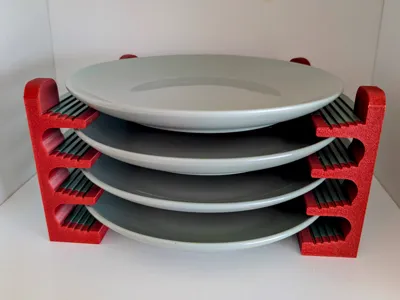
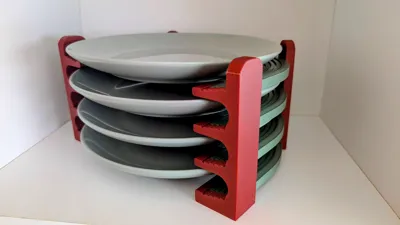
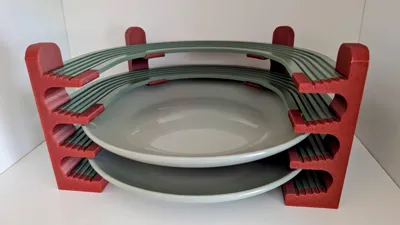
- Dual-Orientation Design: Extremely versatile! You can use it vertically (upright) or horizontally (stacked) depending on your shelf height and cabinet layout.
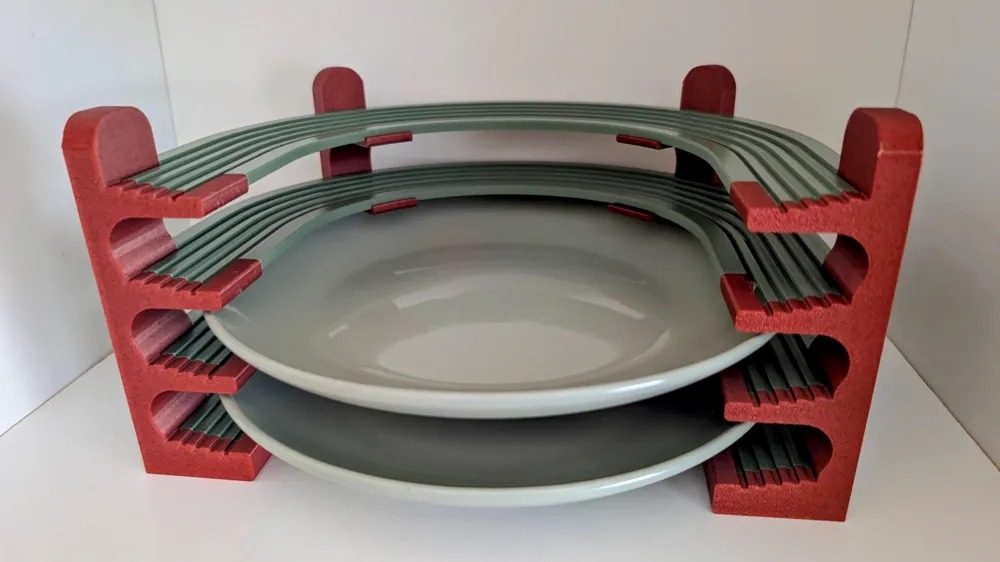
- No AMS Required (Multi-Color Friendly): The model is designed in separate interlocking components. You can easily achieve a beautiful two-tone look (just like the red and grey combo in the photos) completely without a multi-material system (AMS)!
- Smart Stepped Grooves: The curved support rails feature clever stepped ridges that securely grip your plates and prevent them from sliding out.
- Two Versions Included: The files include both a compact 4-slot version and a high-capacity 8-slot version.
- Custom Sizes Available: If your plates have different dimensions, don't worry! Just leave a comment below with your plate diameter and thickness, and I will gladly create and upload a custom size for you.
📏 Technical Specifications & Compatibility
| Feature | Specification |
|---|---|
| Compatible Plate Diameter | 175 mm to 215 mm |
| Maximum Plate Height/Thickness | 20 mm |
| Base Footprint (Width x Depth) | 23.5 cm x 17 cm |
| Total Height (4-Slot Version) | 13 cm |
| Total Height (8-Slot Version) | 24 cm |
🖨️ Printing Tips
- Material: PLA or PETG work perfectly.
- Supports: No complex supports needed due to the smart orientation of the parts.
- Assembly: Simply snap/slot the curved rails into the side brackets.
🔧 Assembly Instructions
The model is designed with a secure, snug fit to ensure the rack stays stable and strong. Follow these simple steps to assemble:
- Insert the Front Rails: Press the curved plate rails into the slots of the two front brackets. It requires a bit of force (a snug/tight fit) to snap them securely into place.
- Complete the Frame: Once all 4 (or 8) rails are firmly attached to both front brackets, align the rear brackets with the remaining holes and snap them in to complete the rack.
Tip: If the fit is too tight due to your printer's tolerances, a light tap with a plastic mallet or a drop of dish soap can help slide the rails in easily.
If you like this design, please give it a Download, leave a review, and don't forget to upload photos of your makes! Happy printing!
License

You shall not share, sub-license, sell, rent, host, transfer, or distribute in any way the digital or 3D printed versions of this object, nor any other derivative work of this object in its digital or physical format (including - but not limited to - remixes of this object, and hosting on other digital platforms). The objects may not be used without permission in any way whatsoever in which you charge money, or collect fees.


Comment & Rating (0)