
Timor Perpetual Calendar without AMS
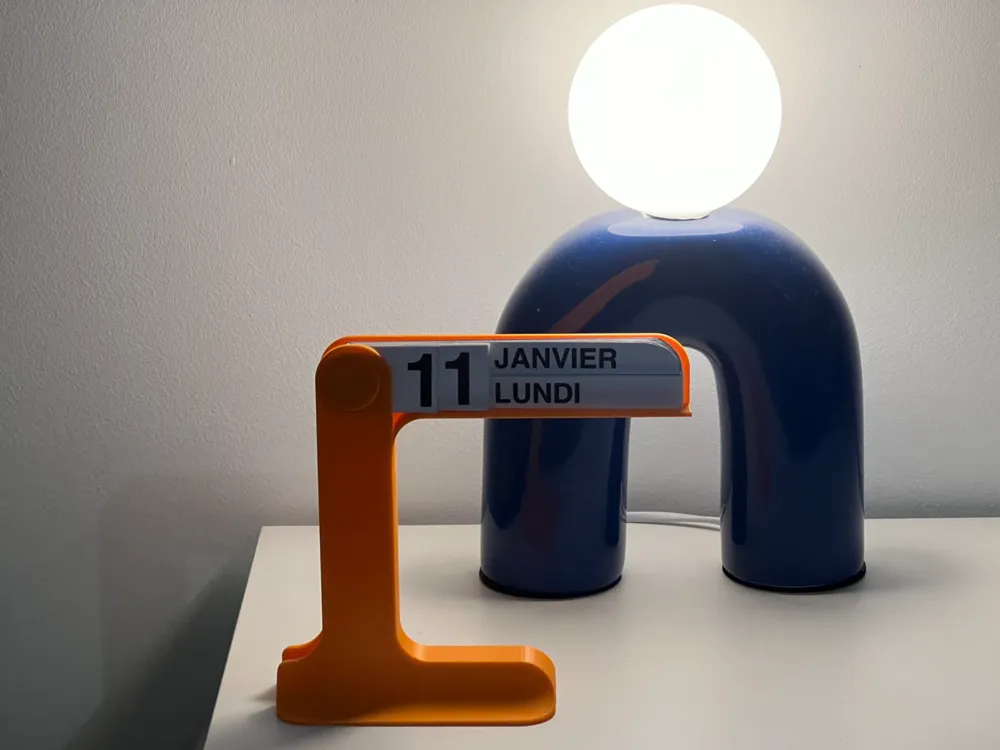
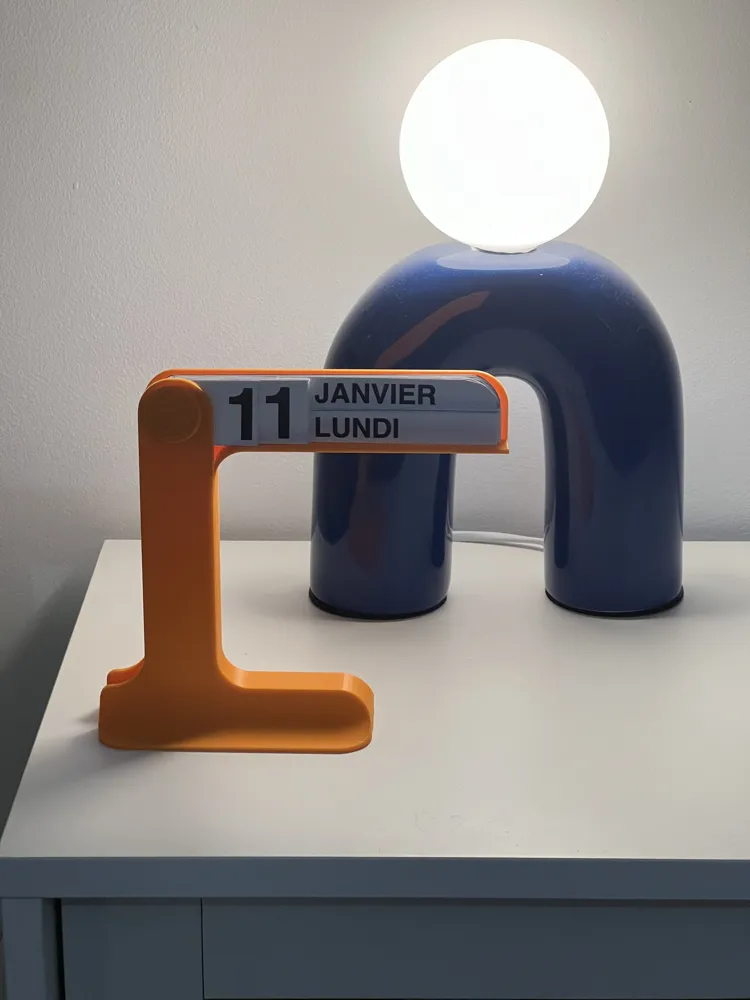
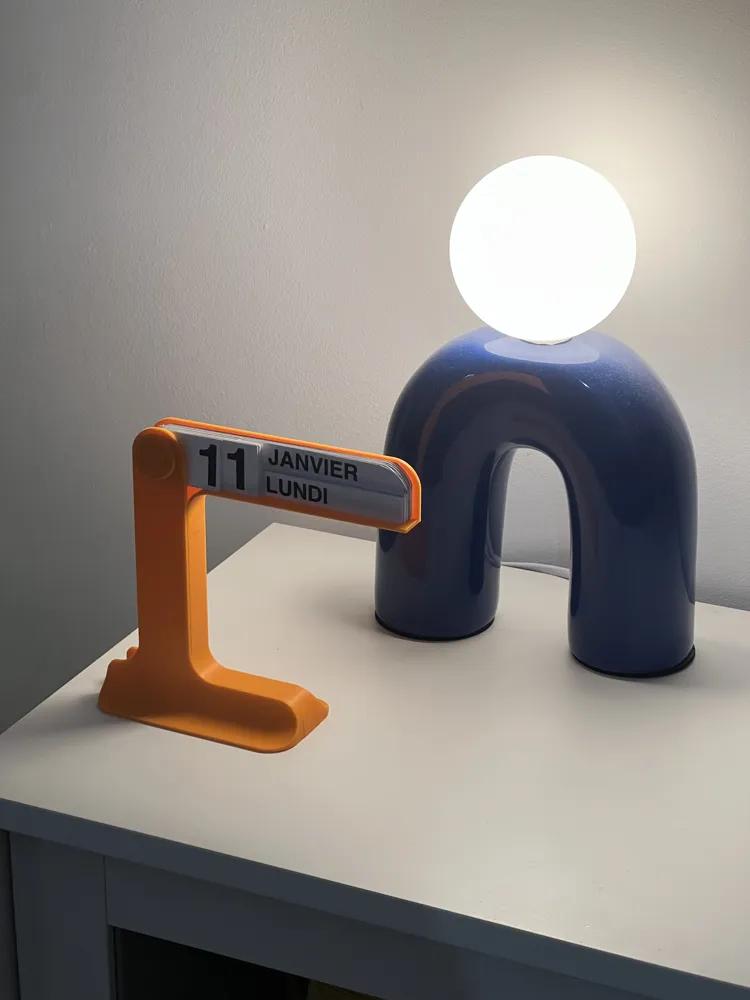
Print Profile(1)
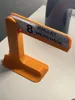
Description
🗓️ Minimalist Perpetual Calendar – A Tribute to Enzo Mari (Timor)
Bring an icon of 1960s Italian design directly to your desk!
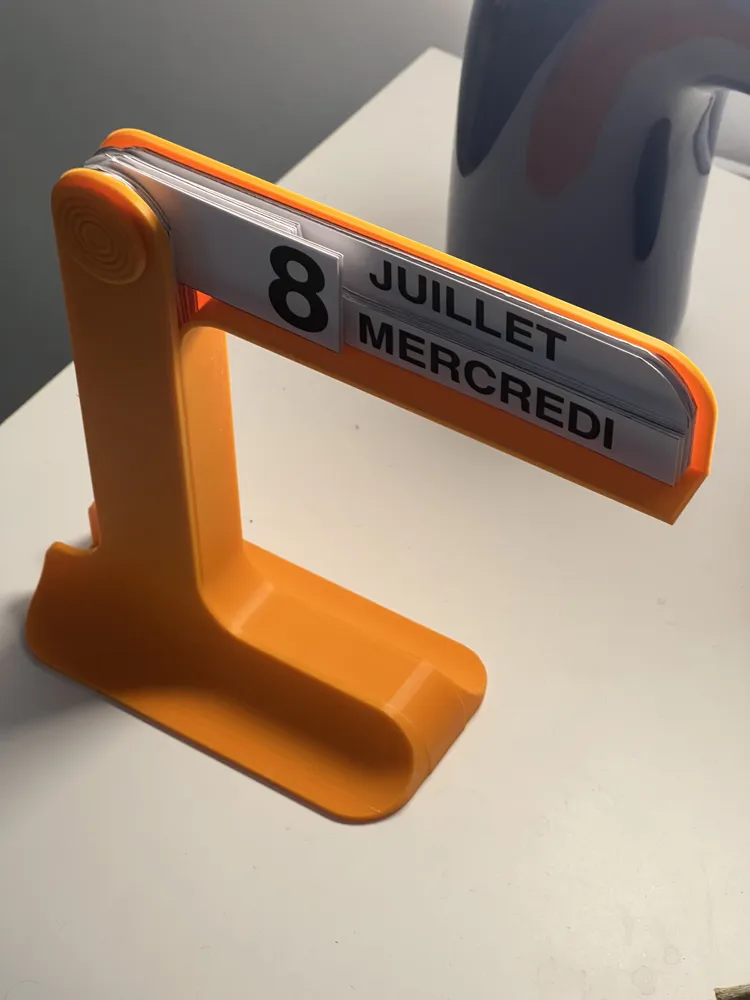
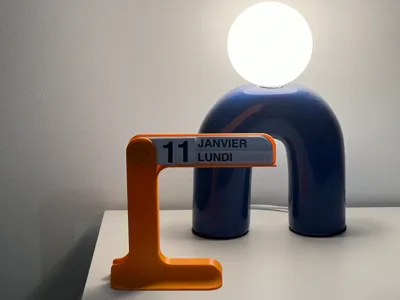
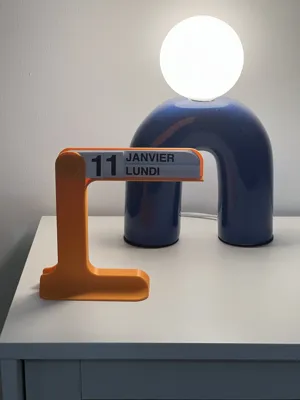
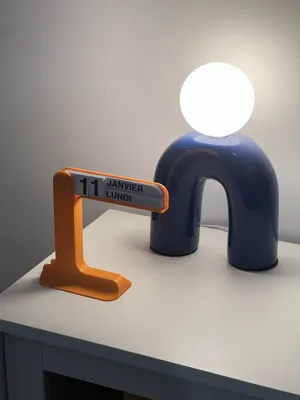
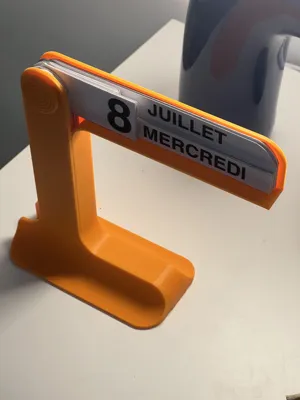
This model is a modern and accessible reinterpretation of the famous perpetual calendar "Timor" designed by Enzo Mari in 1967. Faithful to the functional and elegant spirit of the original, this version displays the days of the week and months written out in full.
💡 The No AMS & Economical Tip
Printing multicolor 3D texts usually requires an AMS, which extends printing times and generates a lot of waste.
My solution?
- 3D Print the calendar body in a few very simple and quick-to-assemble pieces, without any supports.
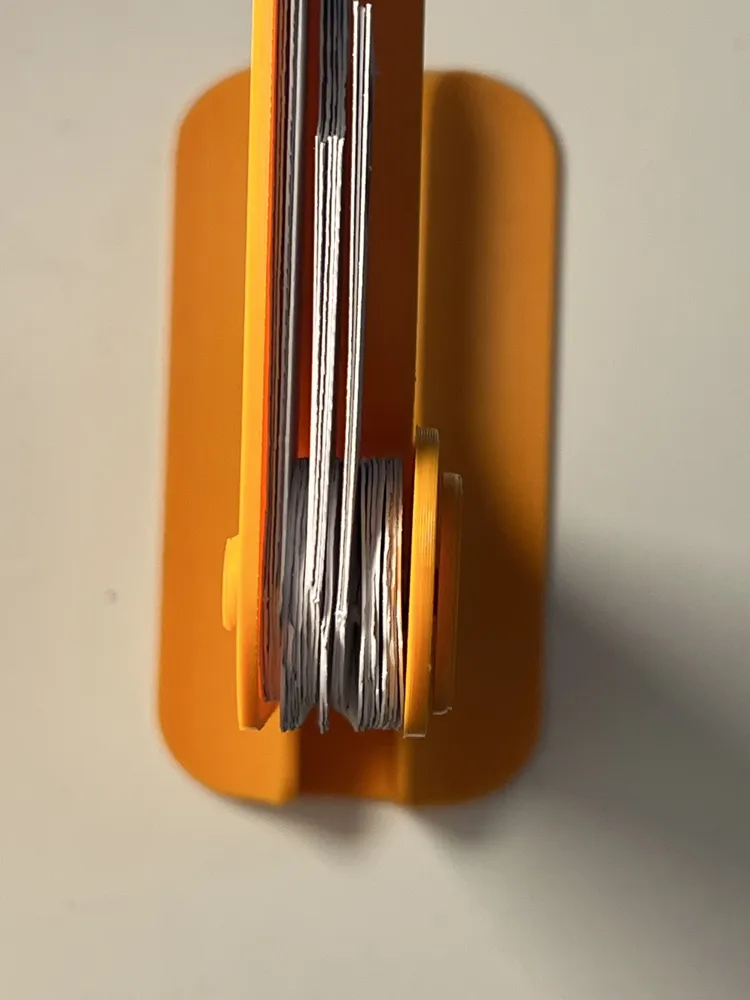
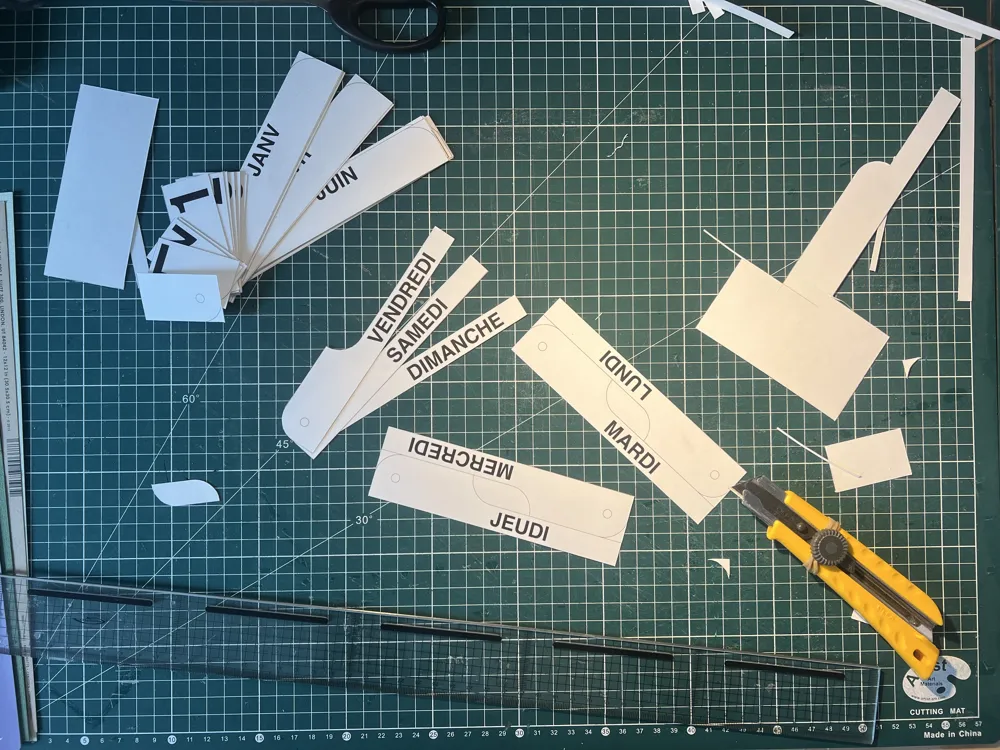
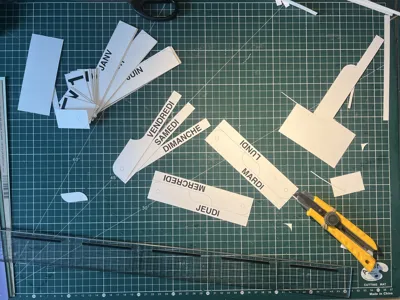
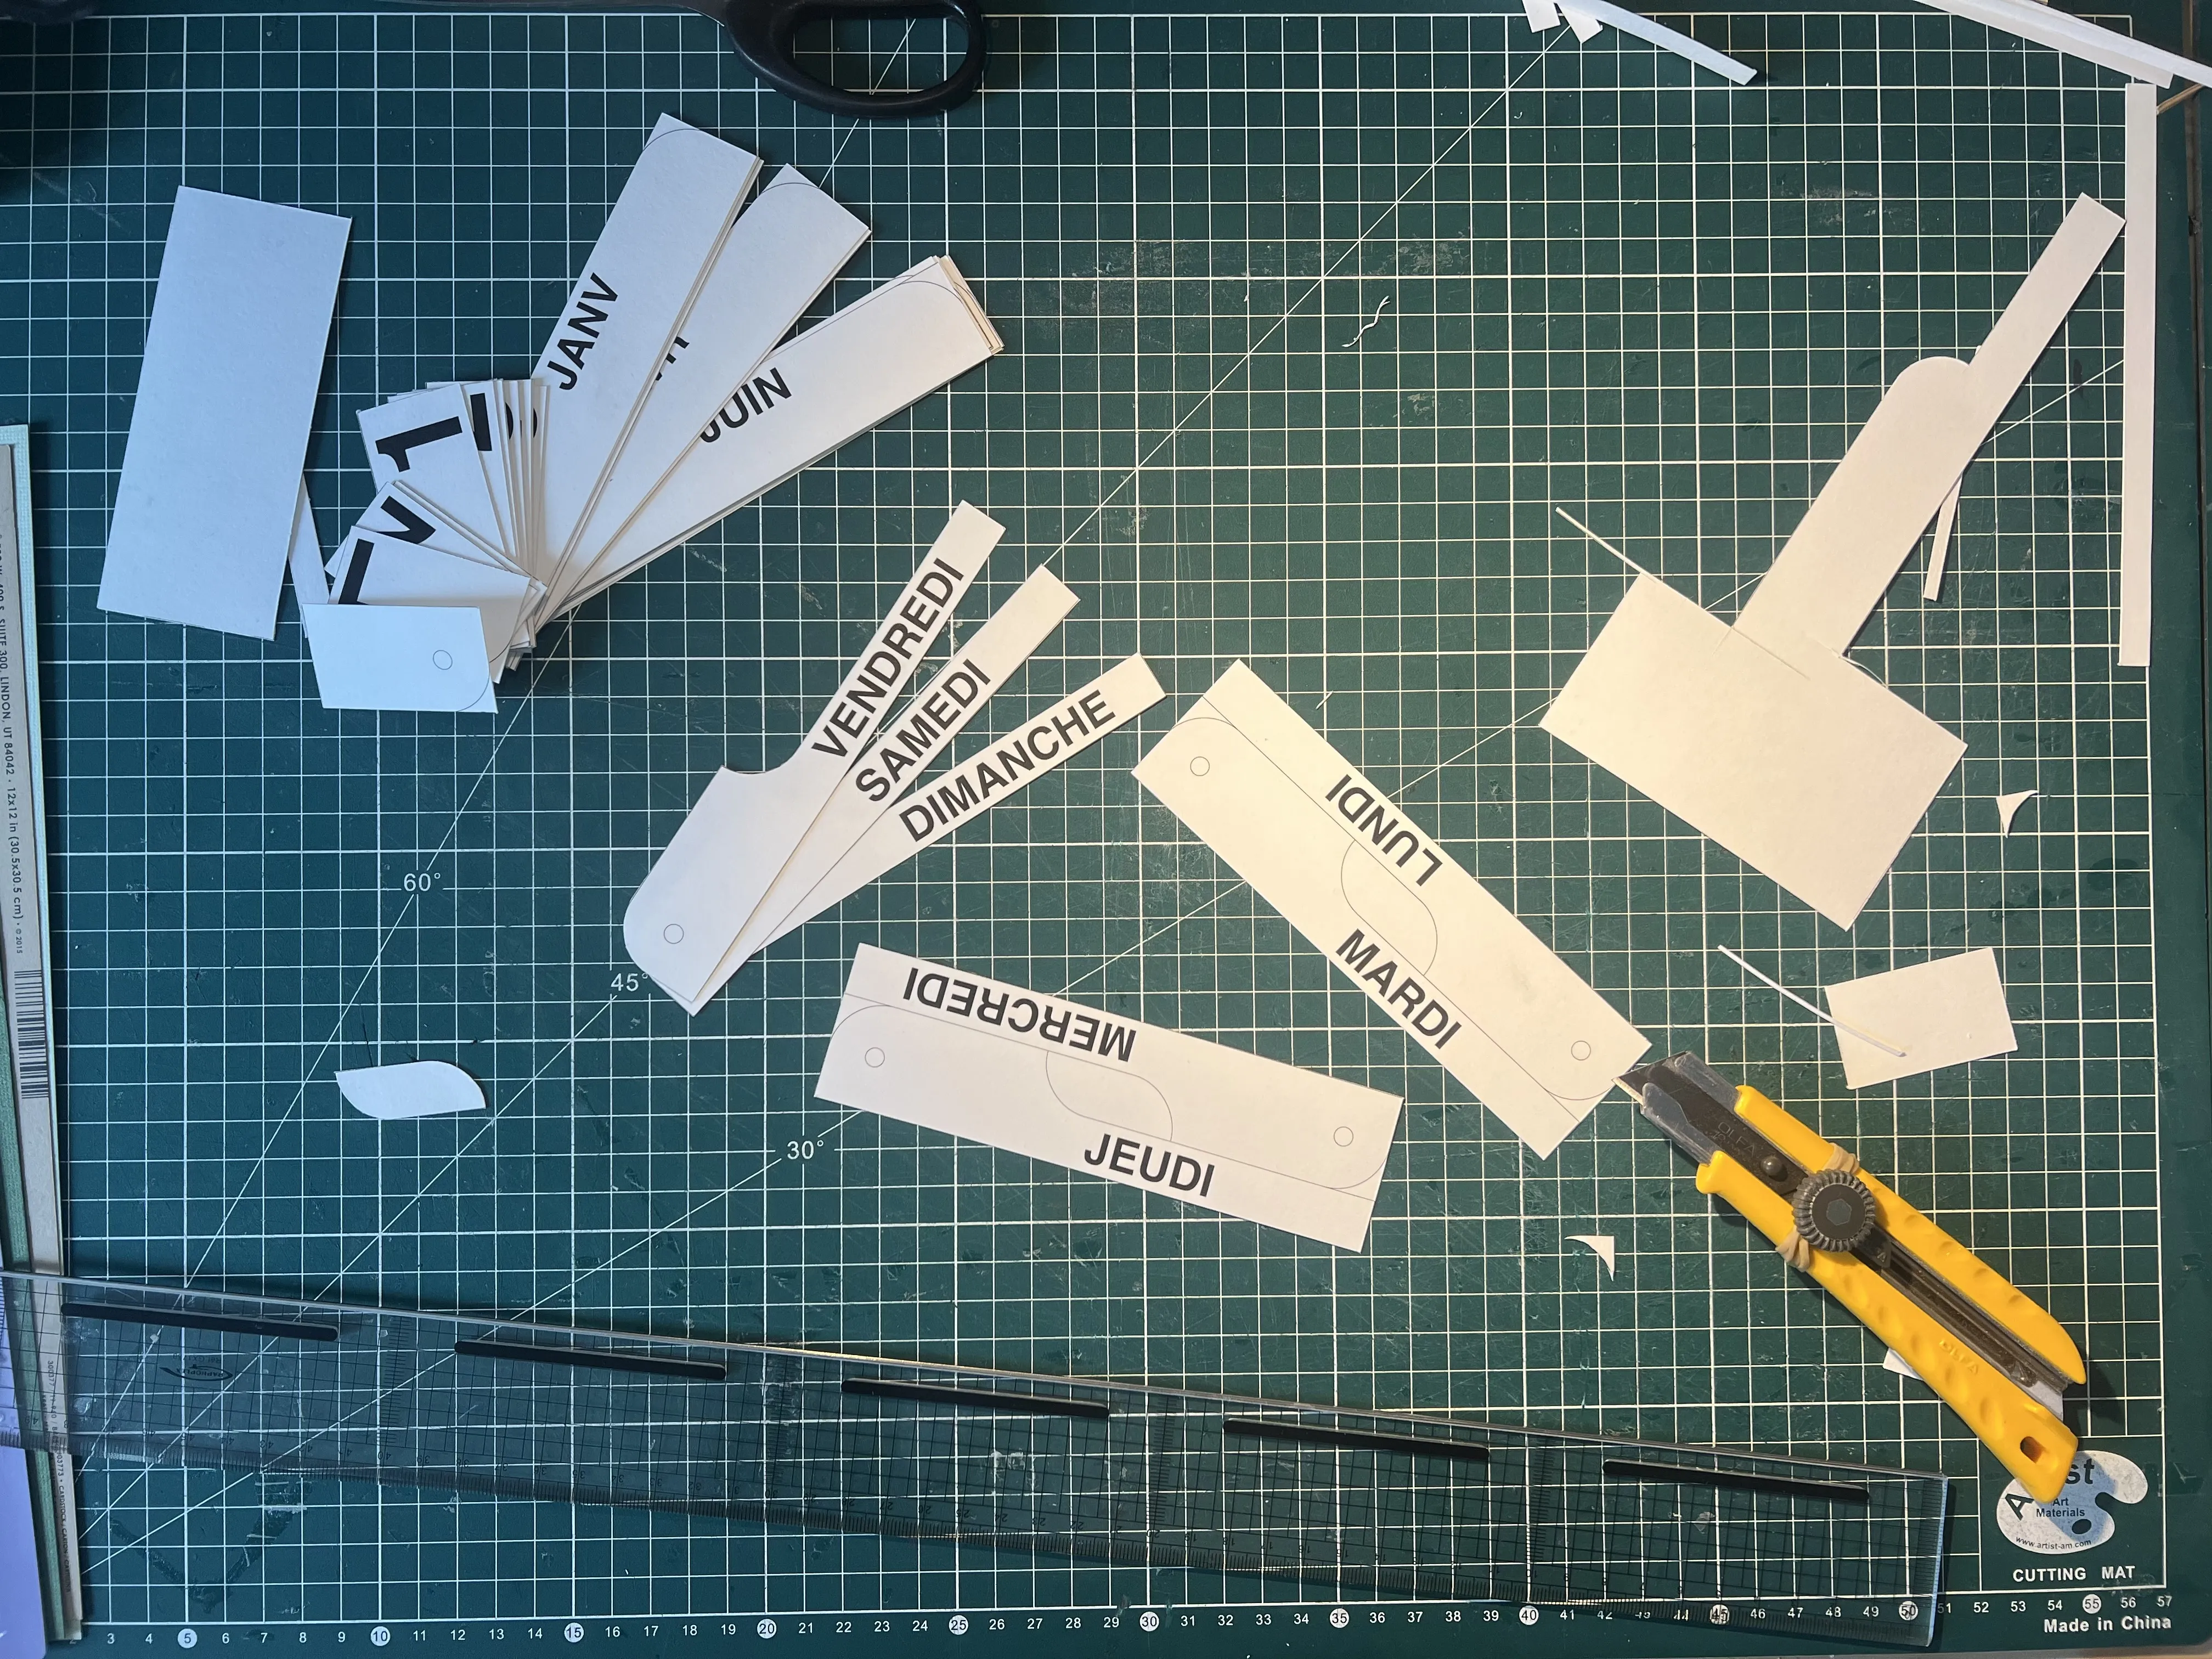
- Print on paper the day, number, and month cards using the ready-to-use PDF files included in the project. All you have to do is cut them out!
Result: negligible printing cost, zero unnecessary plastic waste, and a perfect, ultra-clean graphic rendering, accessible to absolutely all 3D printers!
✨ Features:
- Timeless Design: Its clean geometric shapes adapt to all interior styles (office, living room, entrance).
- Multilingual: Includes a complete edition in French and one in English. (If you'd like other languages, feel free to ask me in the comments!)
- Easy to Assemble: Designed to simply slot together after printing.
- Customizable: Print the plastic body in the color of your choice. Matte black or white will give it a "museum" look very faithful to the original, but bright colors (yellow, green, orange) will add a superb pop touch.
🎨 Printing Tips:
- No supports required (No supports).
- Infill: 15% (Gyroid works wonderfully).
- PDF Files: Use slightly thick paper (glossy or matte, 160g to 220g) so that the display cards hold up perfectly over time.
Instructions:
To assemble the calendar, first cut out all the papers following the black lines.
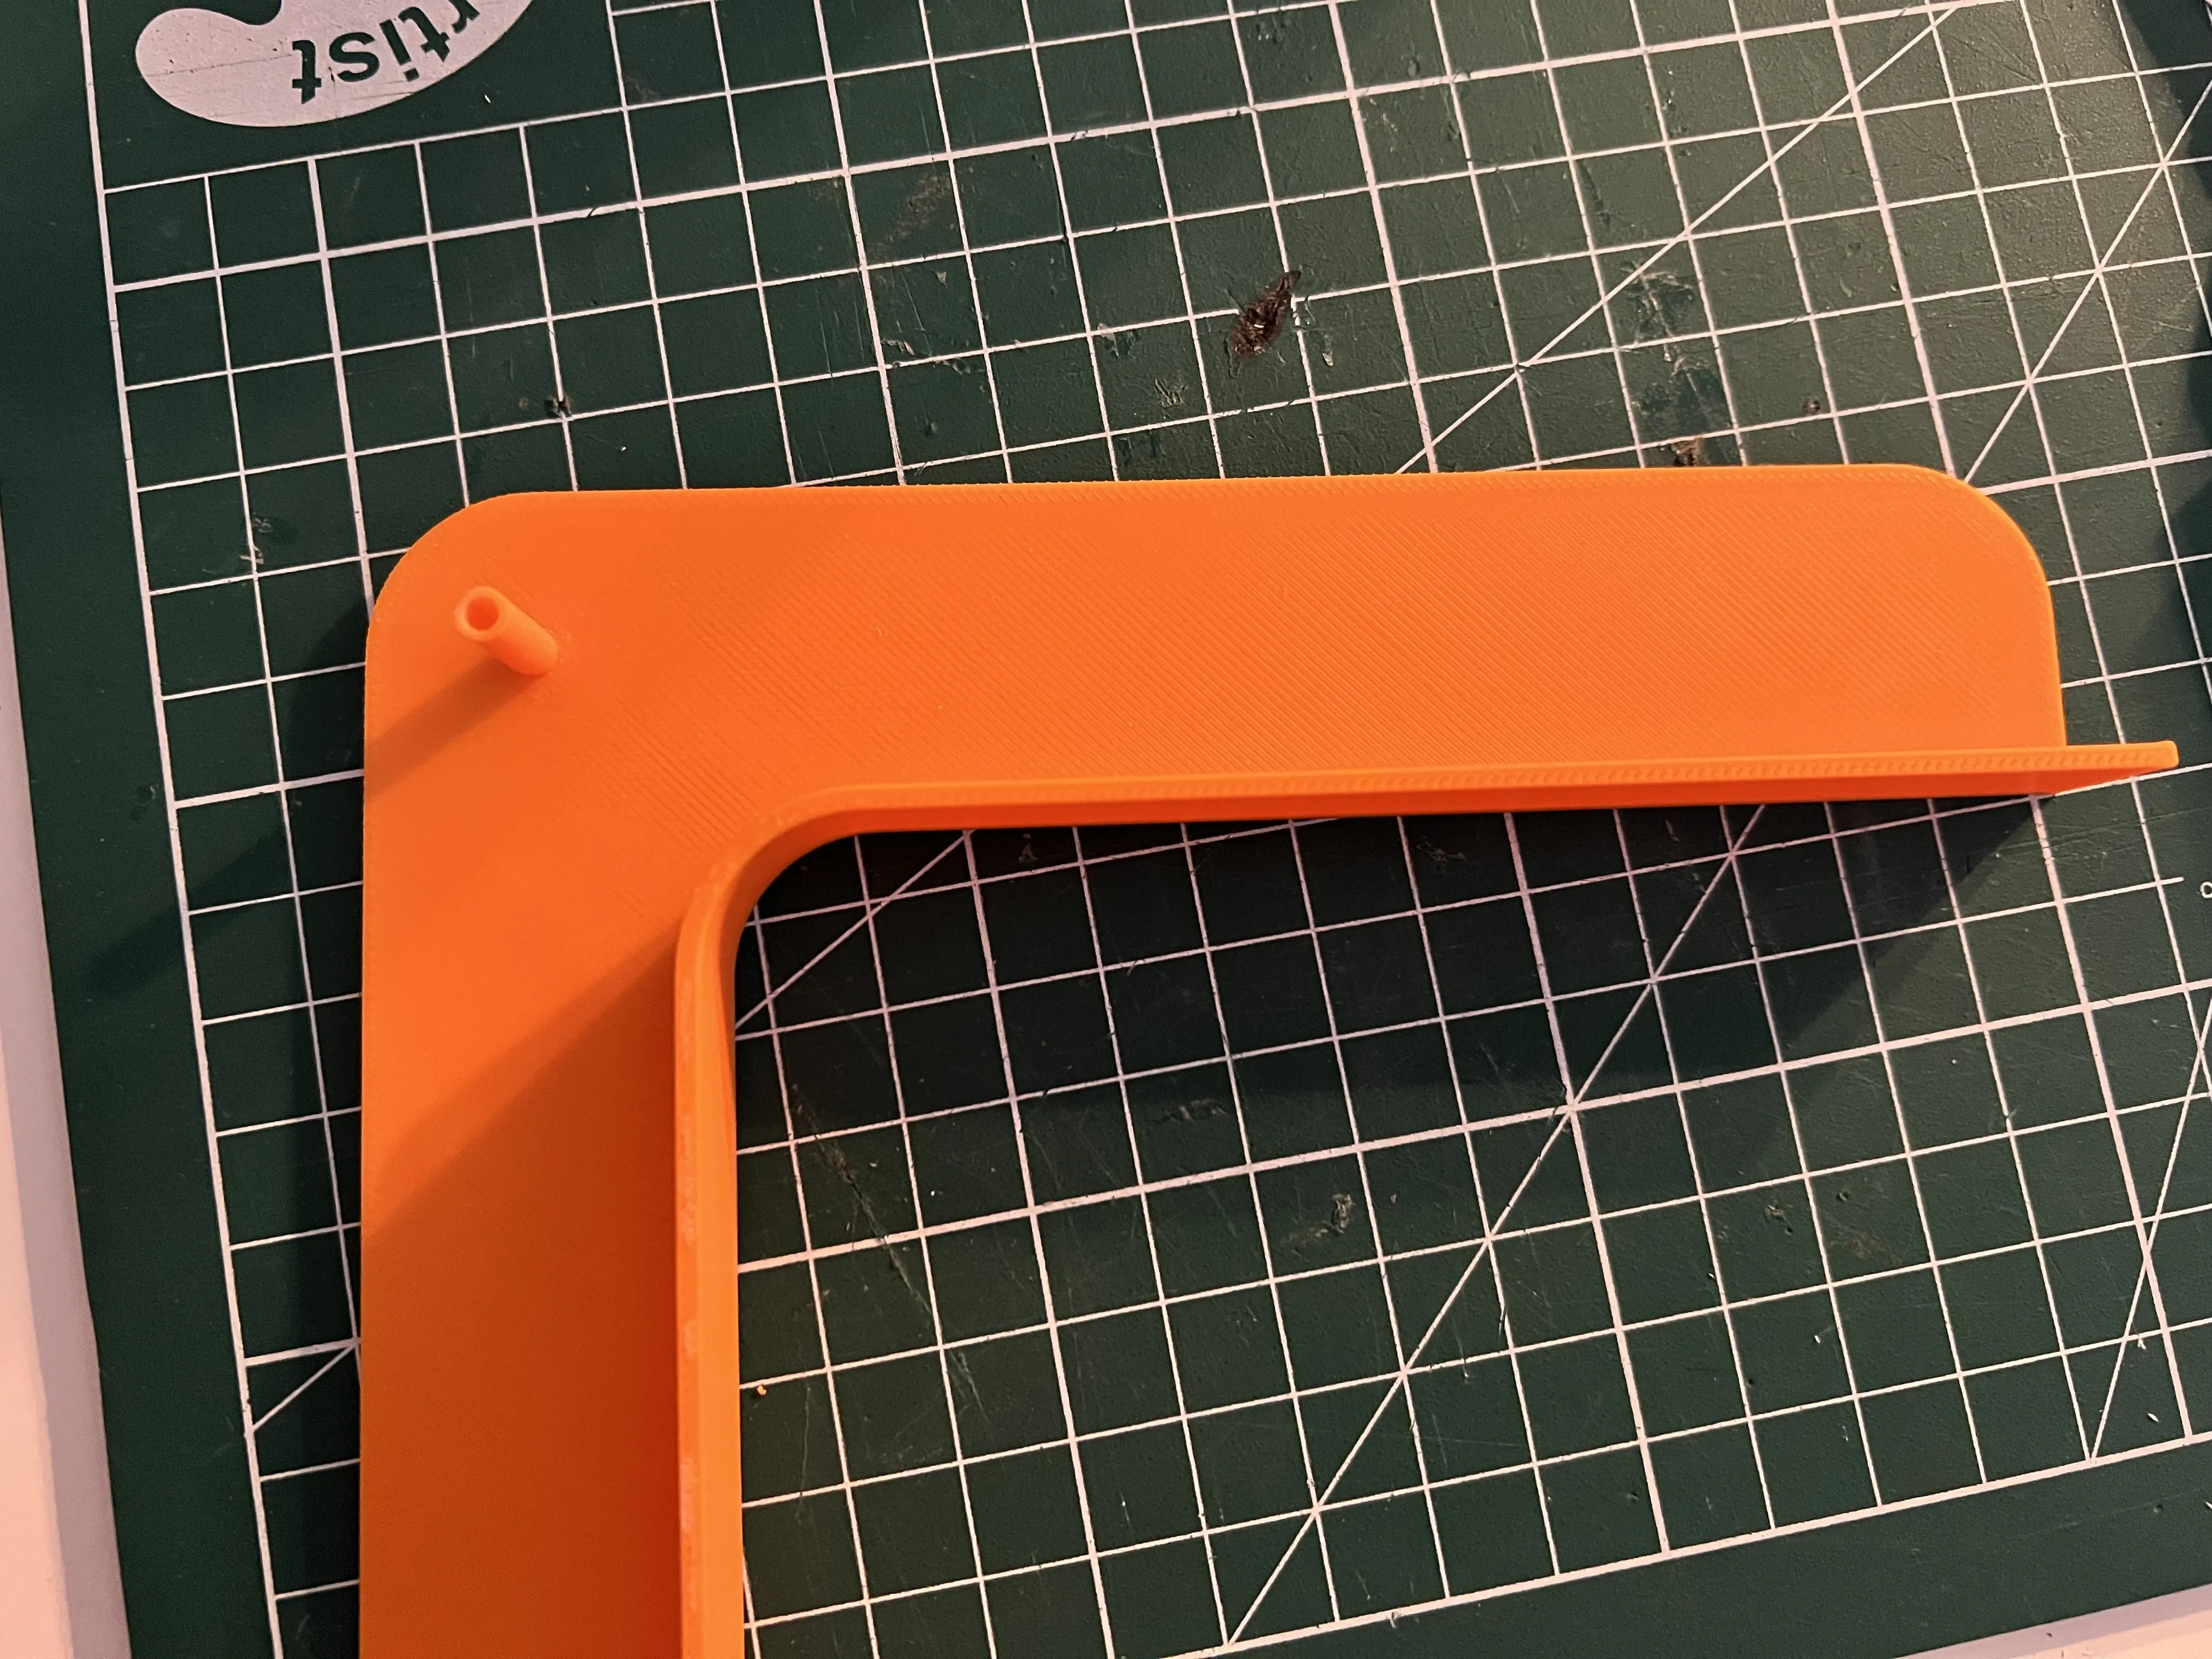
Take Base 1 and fully insert the male rod into the hole.
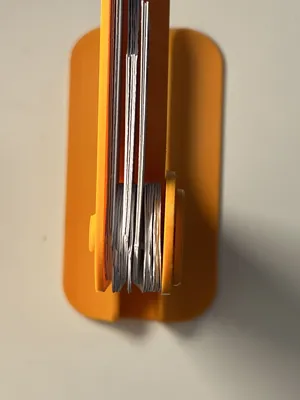
Insert the papers into the rod (Months, Days, Units, Tens) (December, November…, Sunday, Saturday, …, 0, 9, 8, …, 1,2,3)
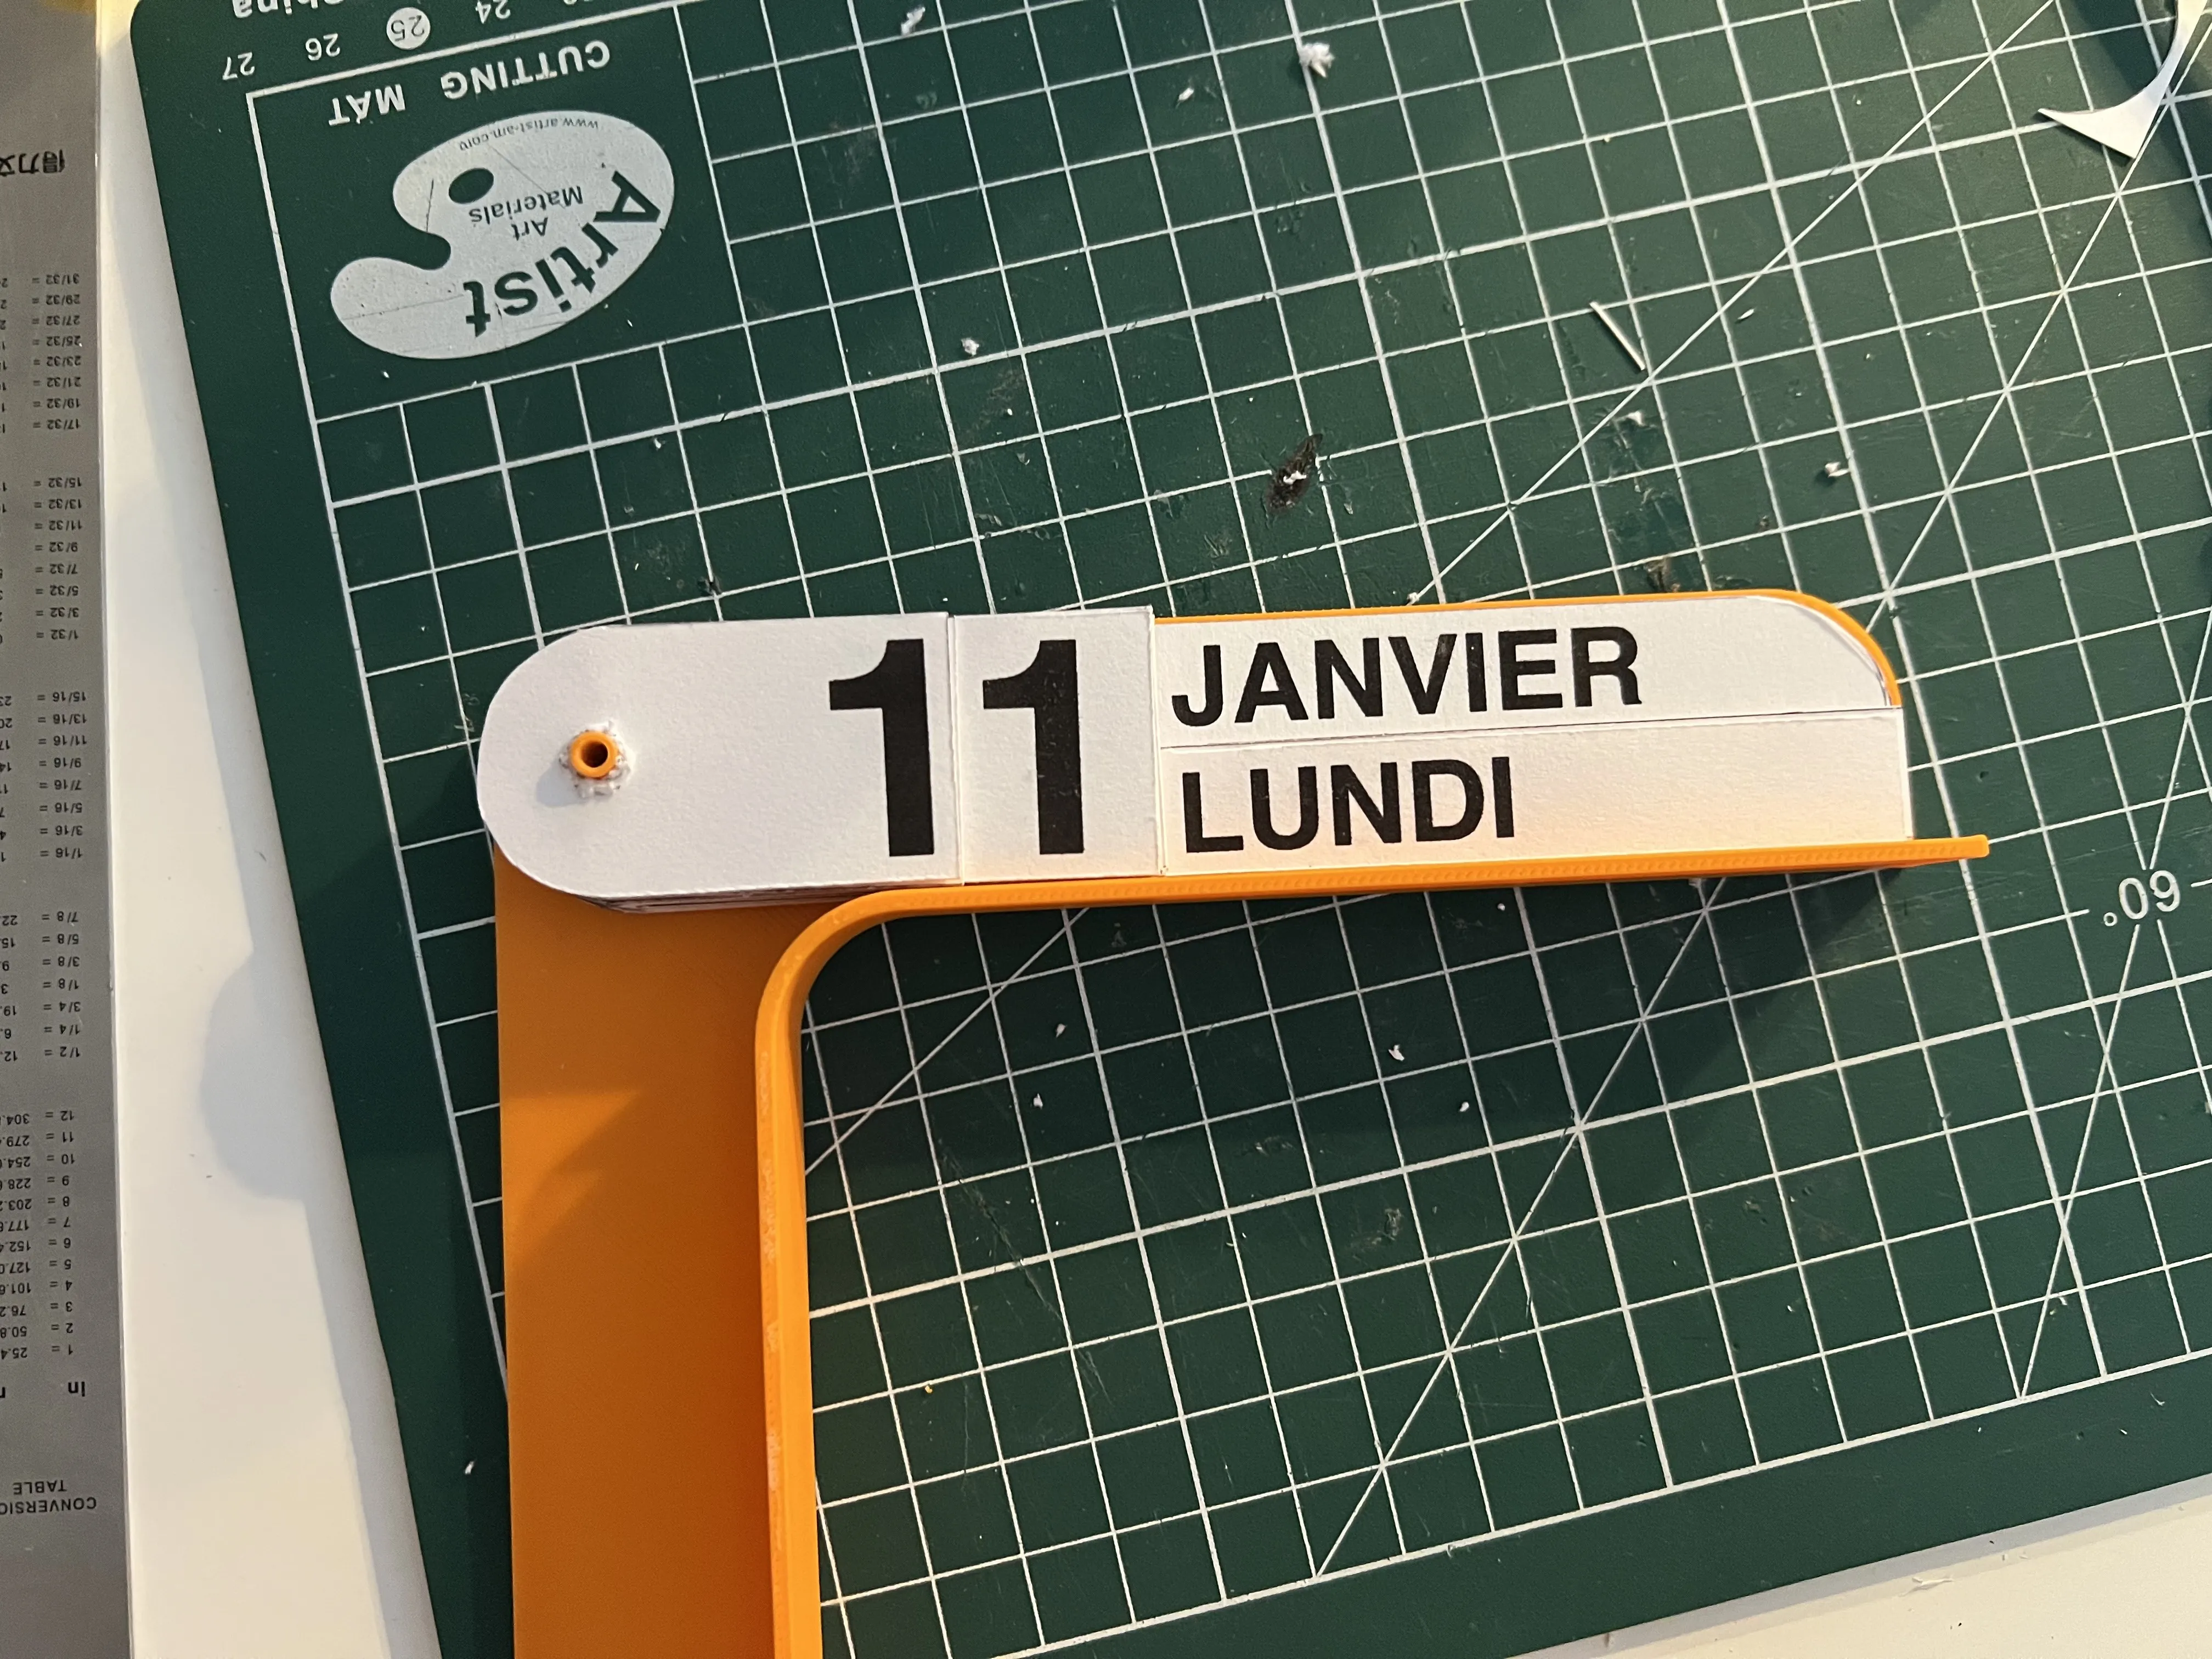
Place face two on top
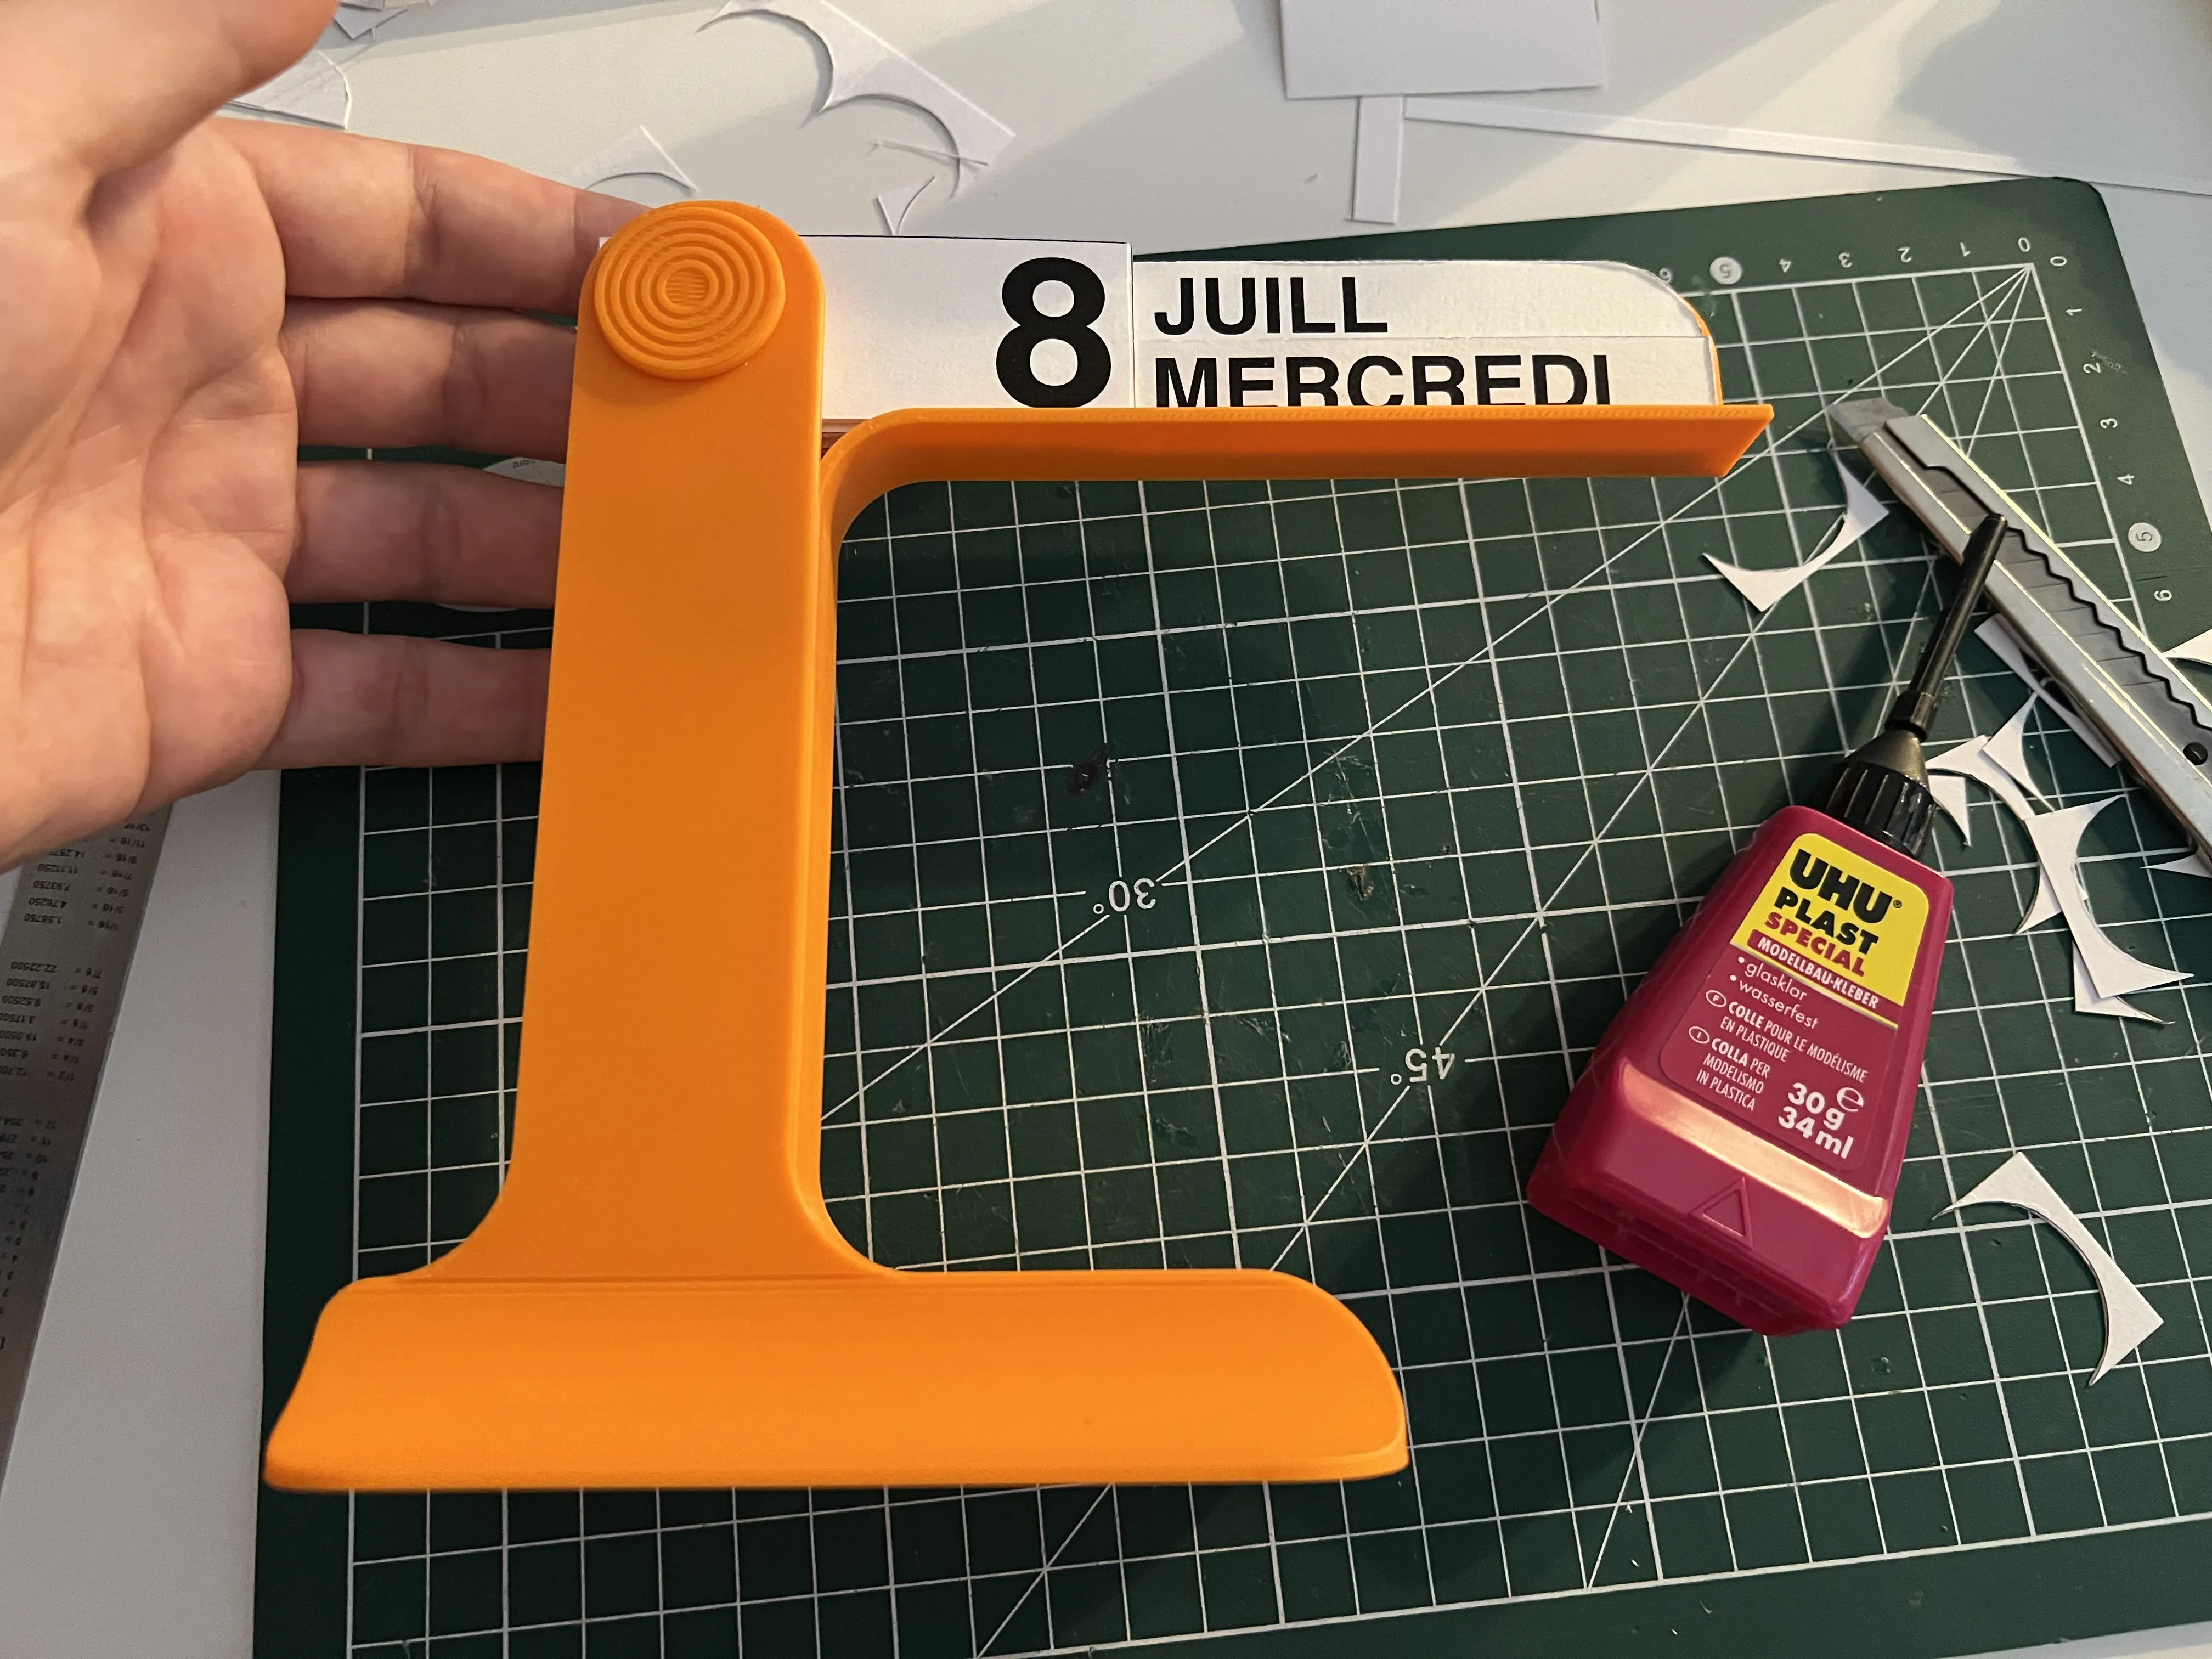
Push the female rod into the hole
Glue the missing face onto face 1 and, if desired, glue the face and face 2 together for more rigidity.
Share your photos in the comments with your best color combinations! Happy printing! 🗓️✨
Documentation (2)
License

This work is licensed under a Standard Digital File License - Print Only (SDFL-PPO). You shall not download, export, copy, adapt, create derivative works, share, sub-license, sell, rent, host, transfer, or distribute all or any part of this work, whether in digital or physical form (including - but not limited to - extraction of model data, and hosting on other digital platforms). The work may not be used for commercial purposes without permission in any way whatsoever in which you charge money, provide commercial printing services, or obtain monetary compensation or other financial benefits. This work may only be accessed and printed through MakerWorld's official platform and officially supported printing services.


Comment & Rating (0)