
PowerDot Air | Home Assistant Air Sensor
Print Profile(1)

Bill of Materials

Description
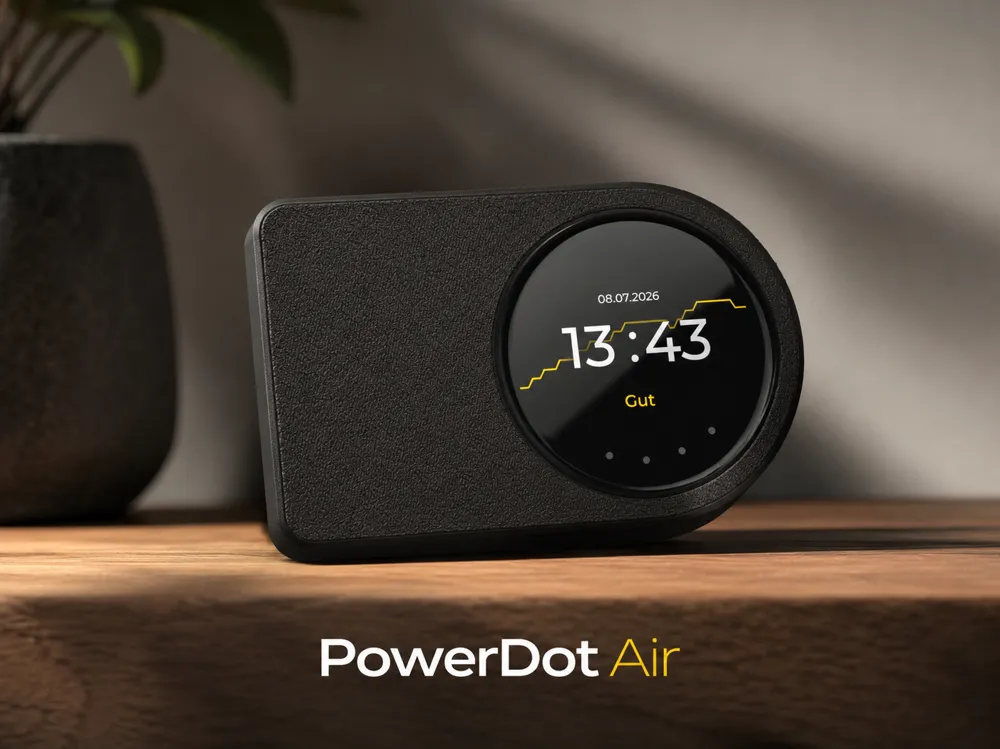
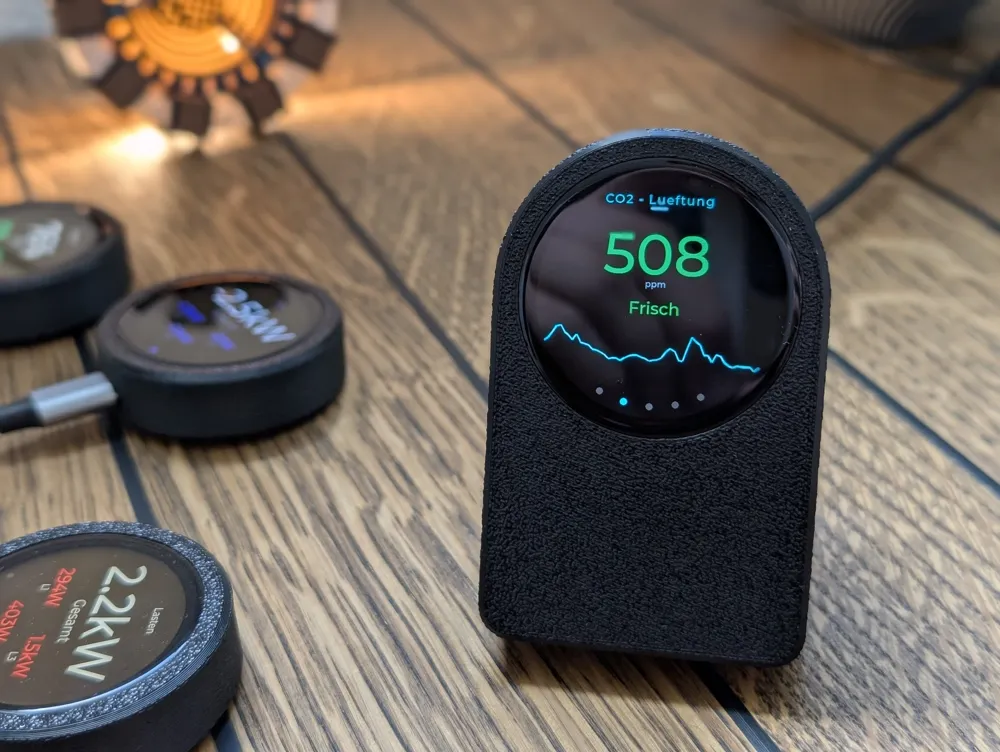
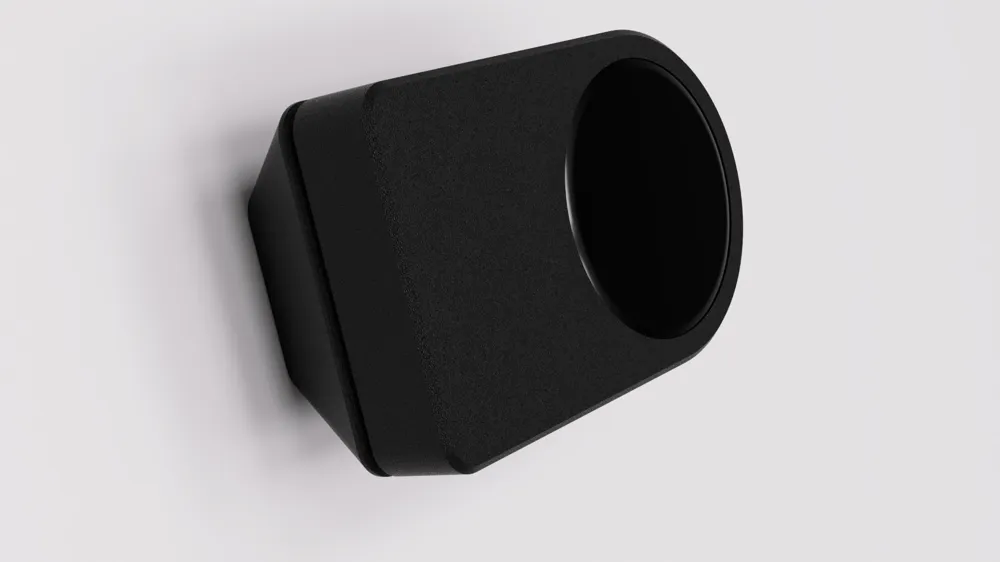
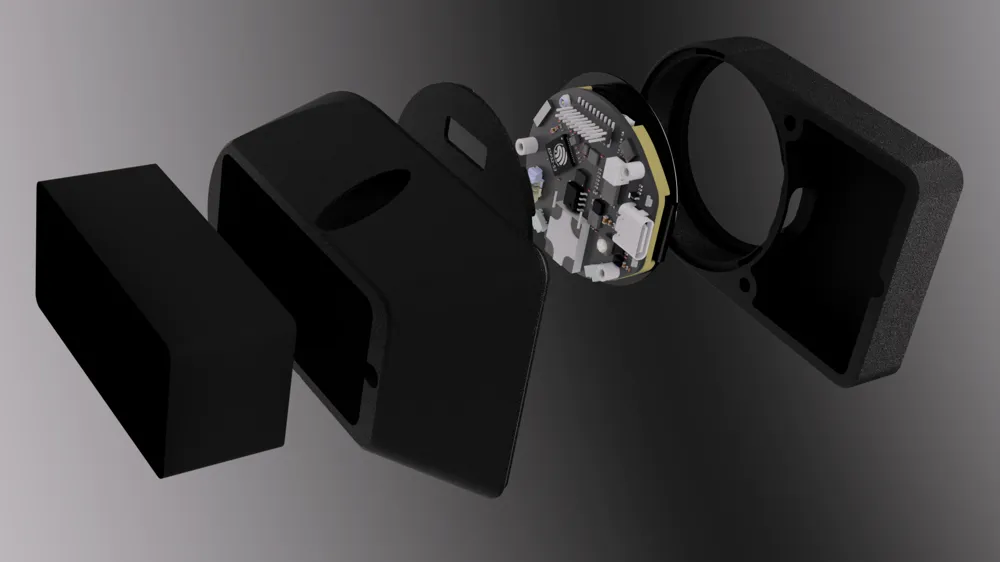
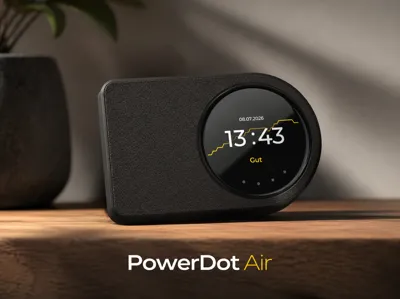
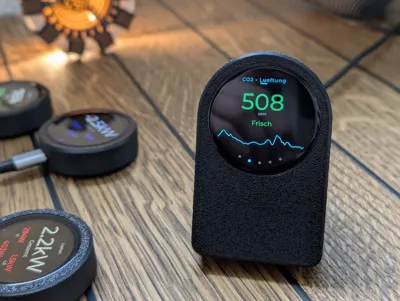
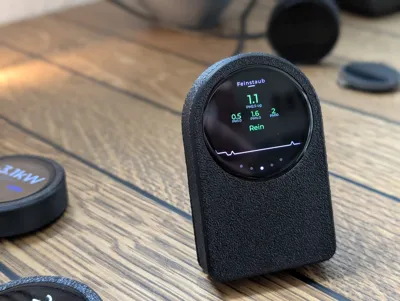
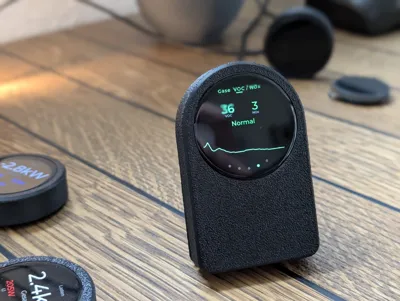
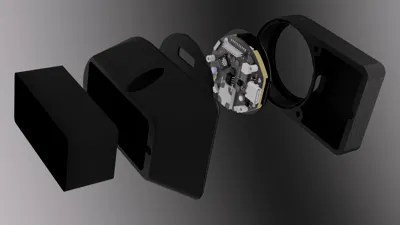
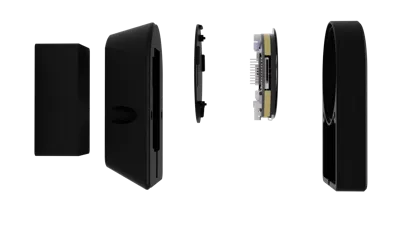
The PowerDot Air is a smart air quality monitor in a 3D-printed housing – with a round touch display, precise Sensirion professional sensor, and seamless Home Assistant integration.
FEATURES
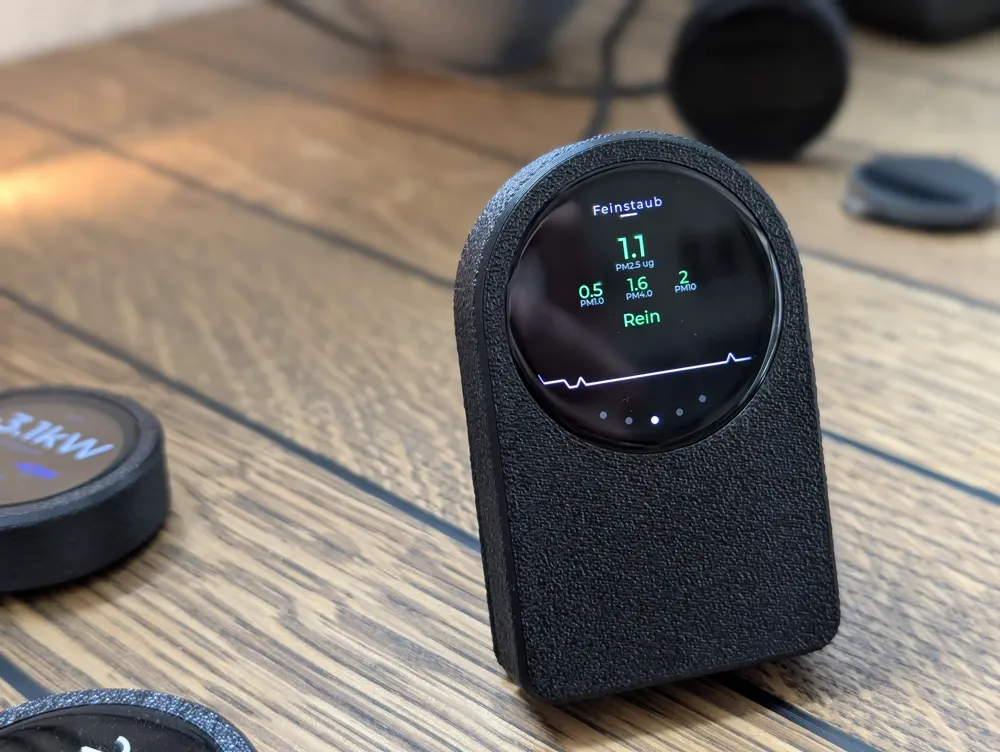
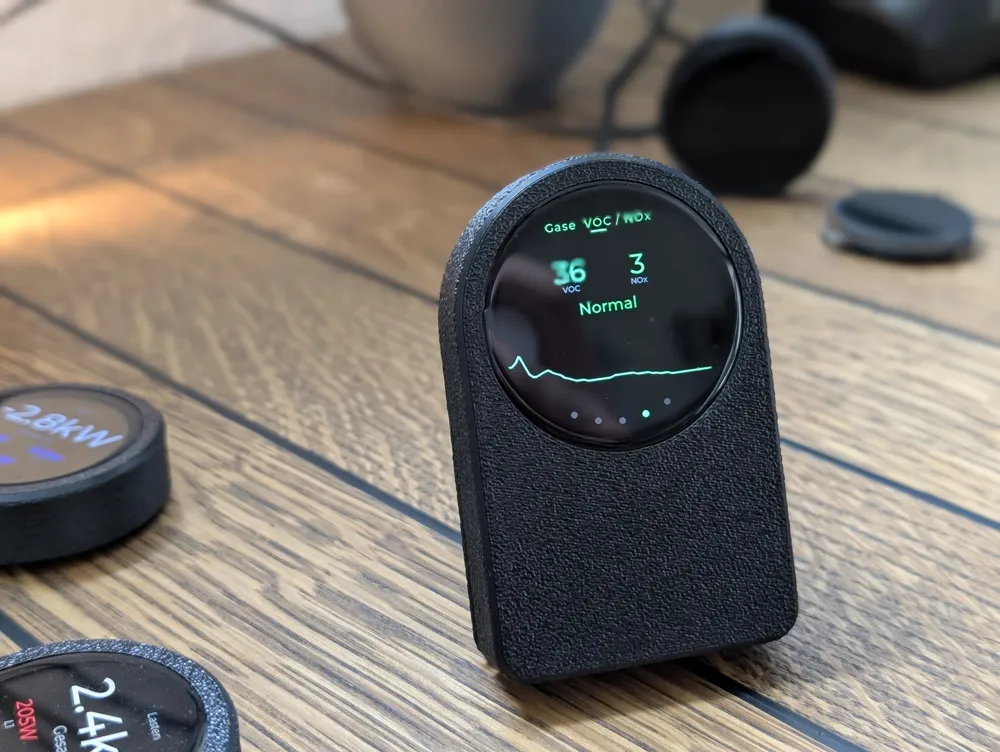
- High-precision sensor: Sensirion SEN66 measures CO2, particulate matter (PM1.0 / PM2.5 / PM4.0 / PM10), VOC & NOx index, temperature, and humidity
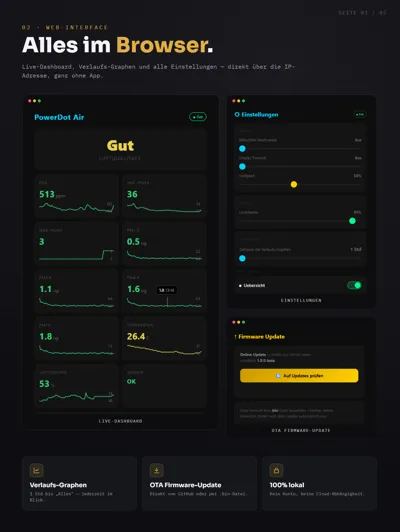
- Round 1.46" touch display with multiple pages: CO2, particulate matter, gases, climate & overview – incl. live diagrams and automatic page switching
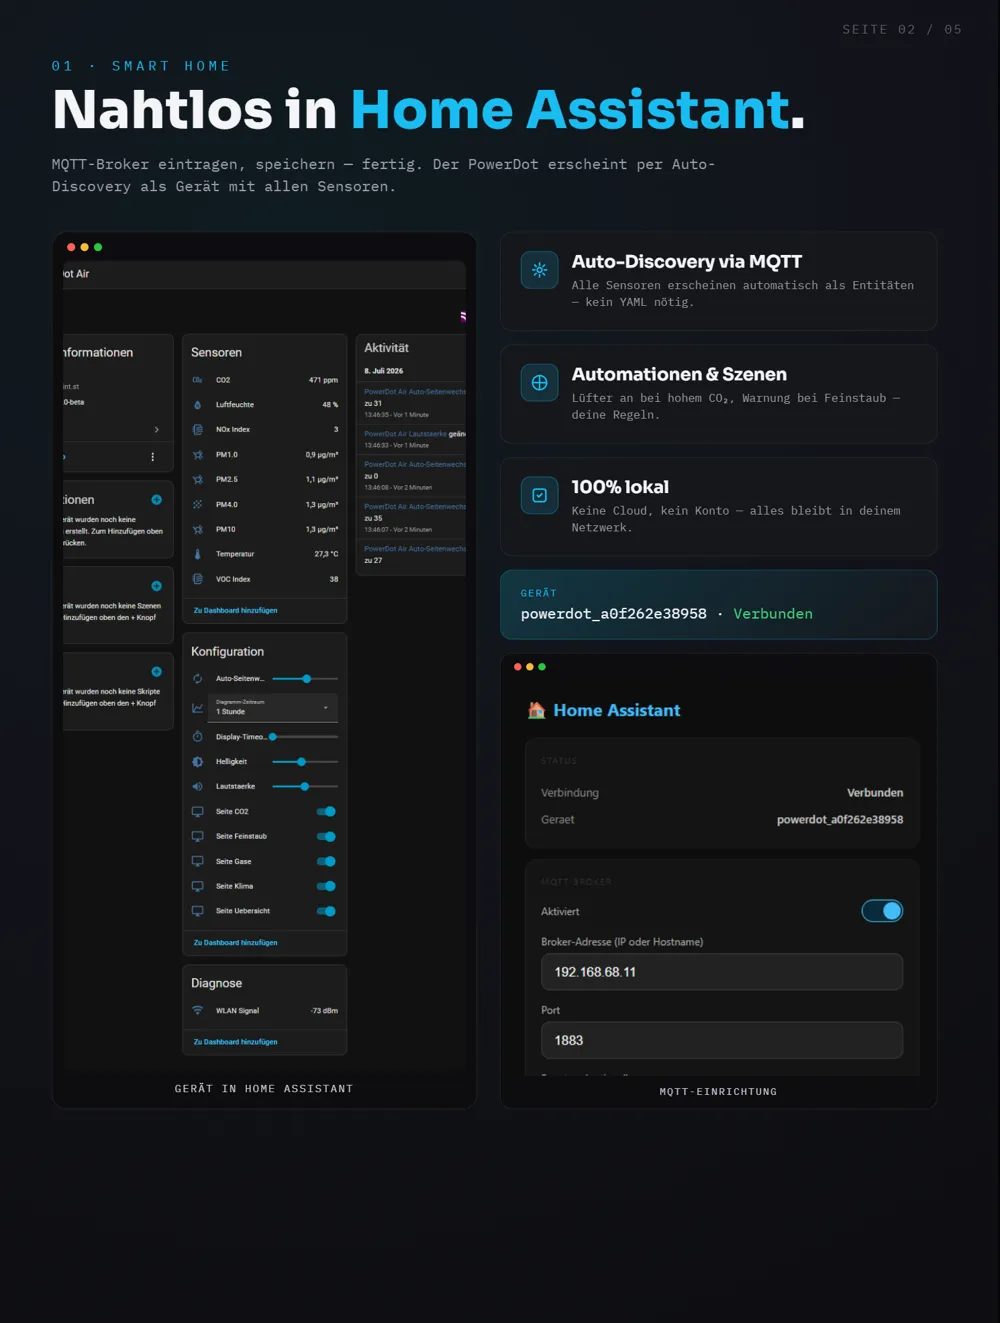
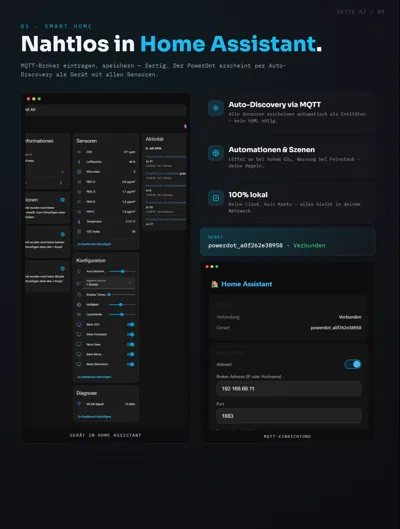
- Home Assistant ready: Auto-discovery via MQTT – all sensors automatically appear as a device in Home Assistant. Perfect for automations (ventilation, heating, notifications)
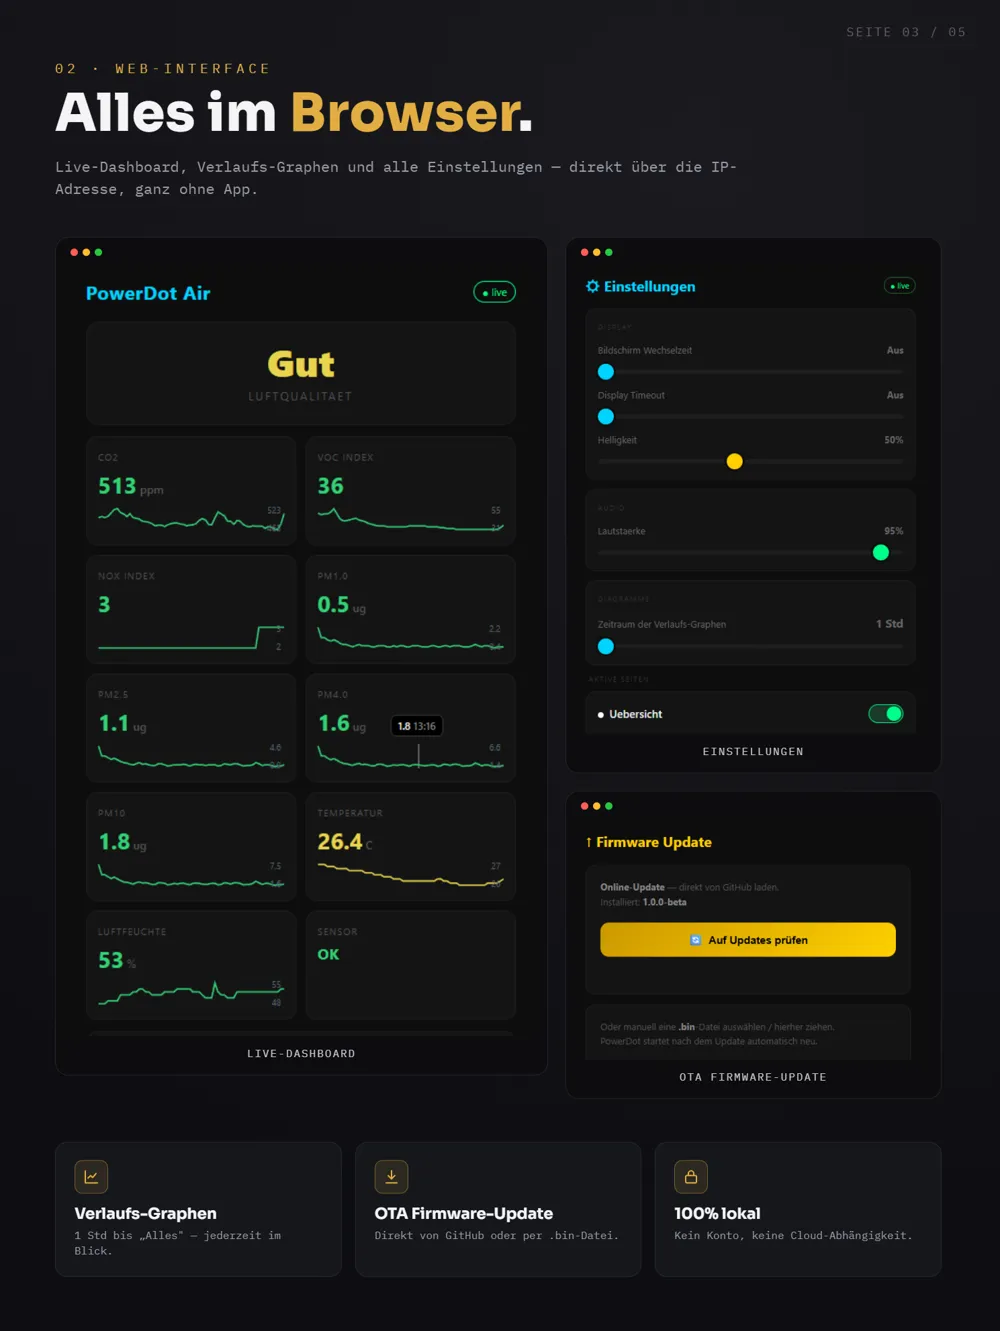
- Web dashboard in the browser – completely without cloud, everything remains local in your network
- OTA updates: new firmware versions directly via WLAN (Github)
- Adjustable on the device: Brightness, volume, display timeout, chart period, visible pages
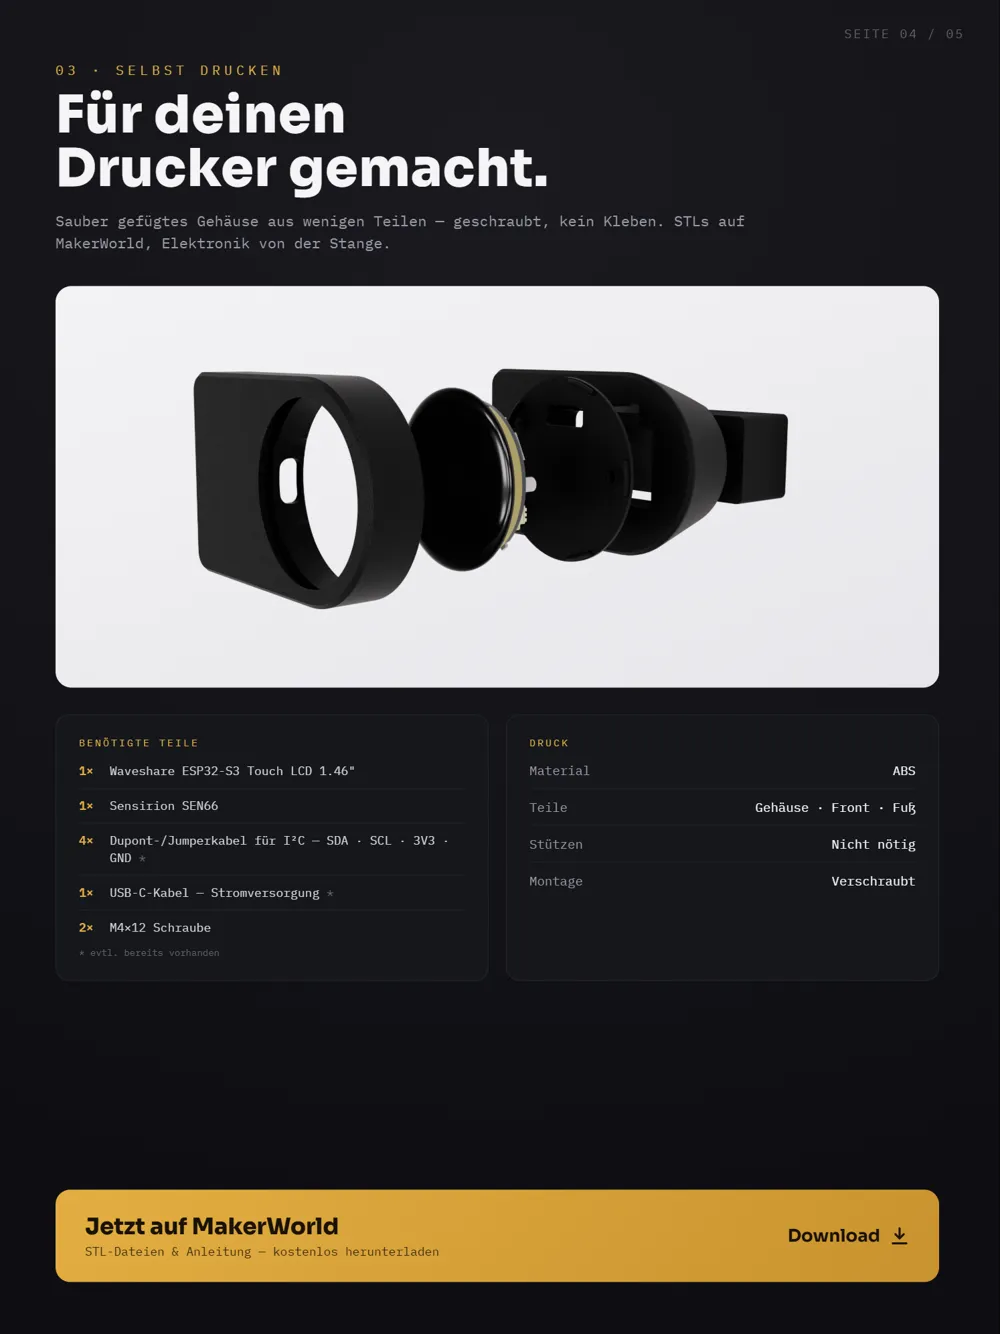
REQUIRED PARTS
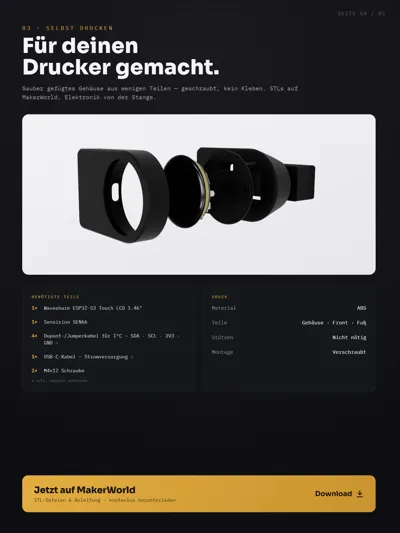
- 1x Waveshare ESP32-S3 Touch LCD 1.46"
- 1x Sensirion SEN66
- 4x Dupont/Jumper cables for I2C (SDA, SCL, 3V3, GND)*
- 1x USB-C cable (power supply)*
- 2x M4x12 screw
*Affiliate links
Material: ABS – the housing is designed for ABS shrinkage. Please make sure to print with ABS, otherwise the parts will not fit together properly!
ASSEMBLY
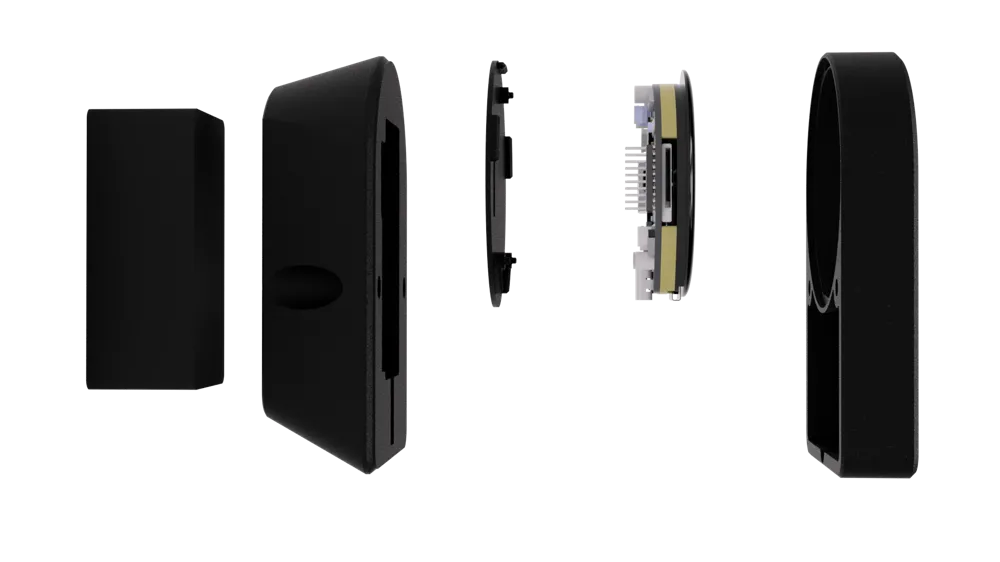
- Print housing parts
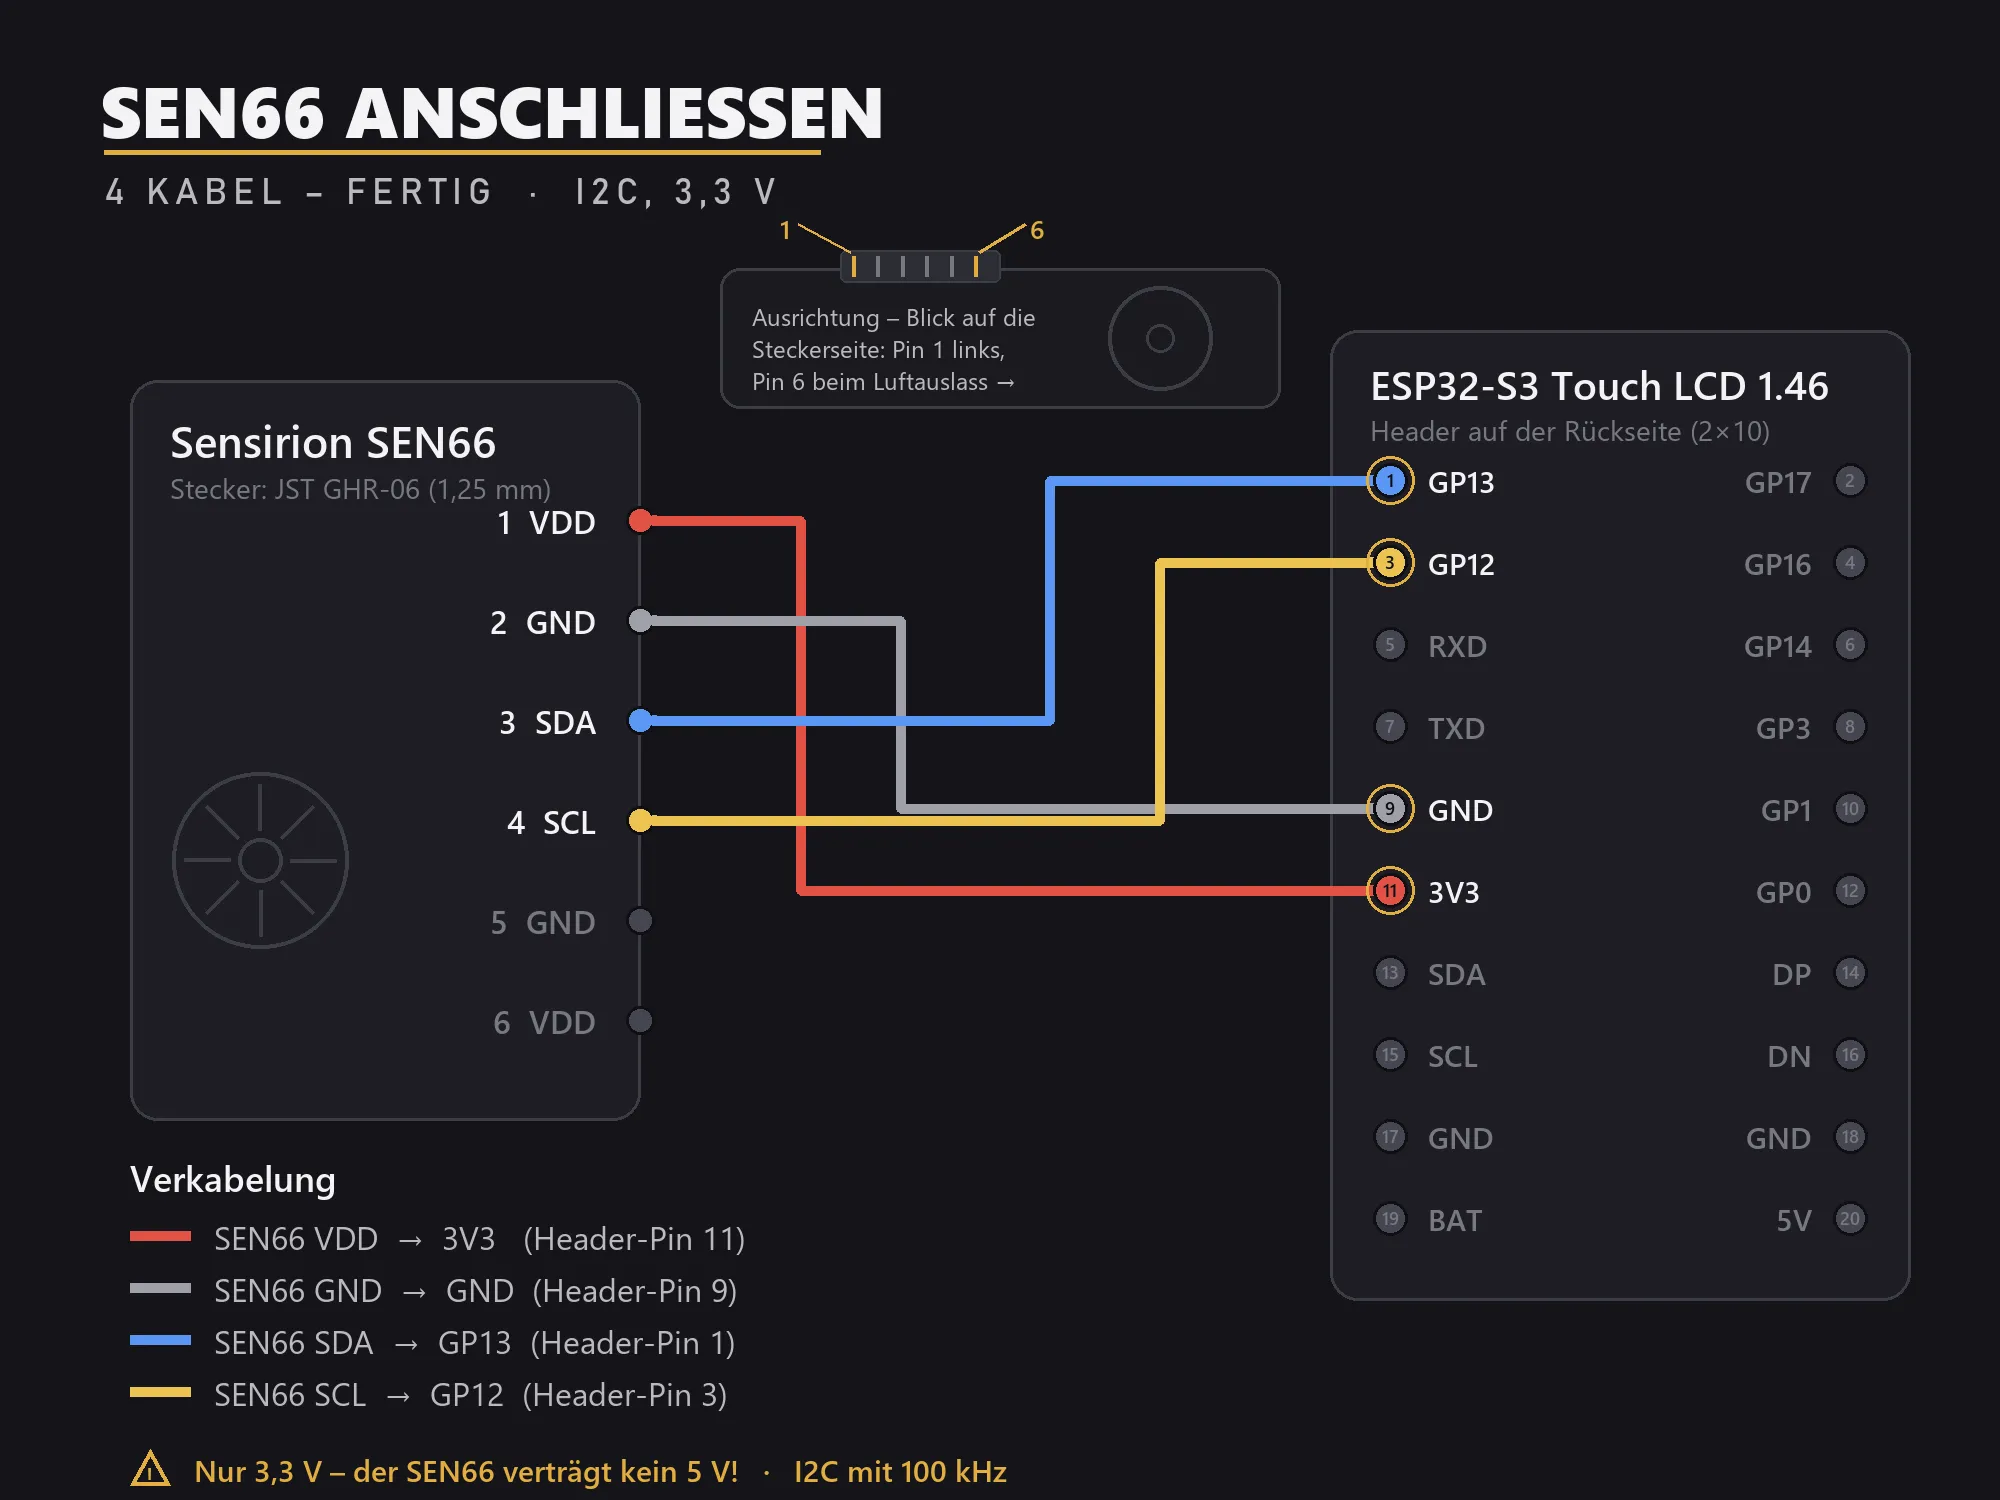
Connect SEN66 via I2C to the header of the Waveshare board (SDA to GP13, SCL to GP12, 3V3, GND)
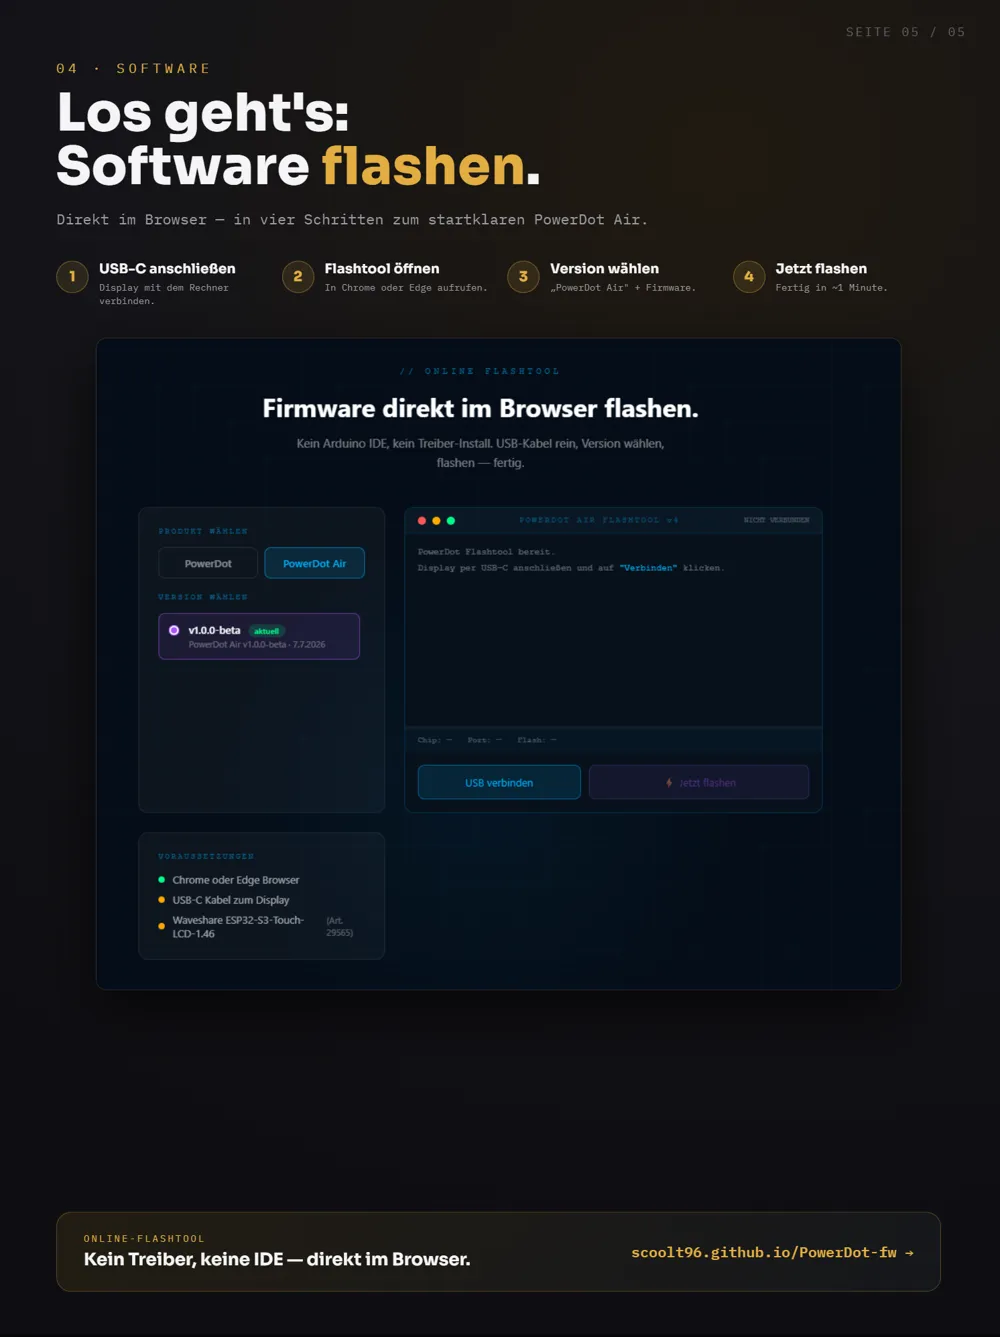
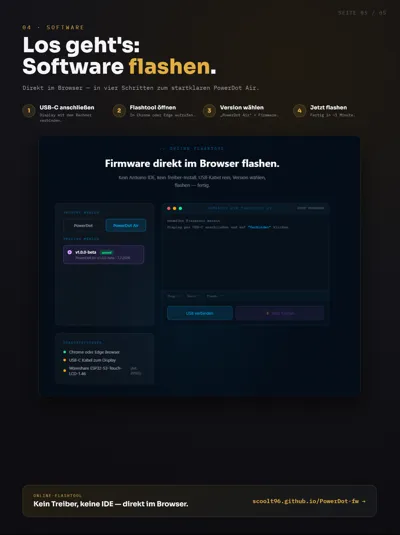
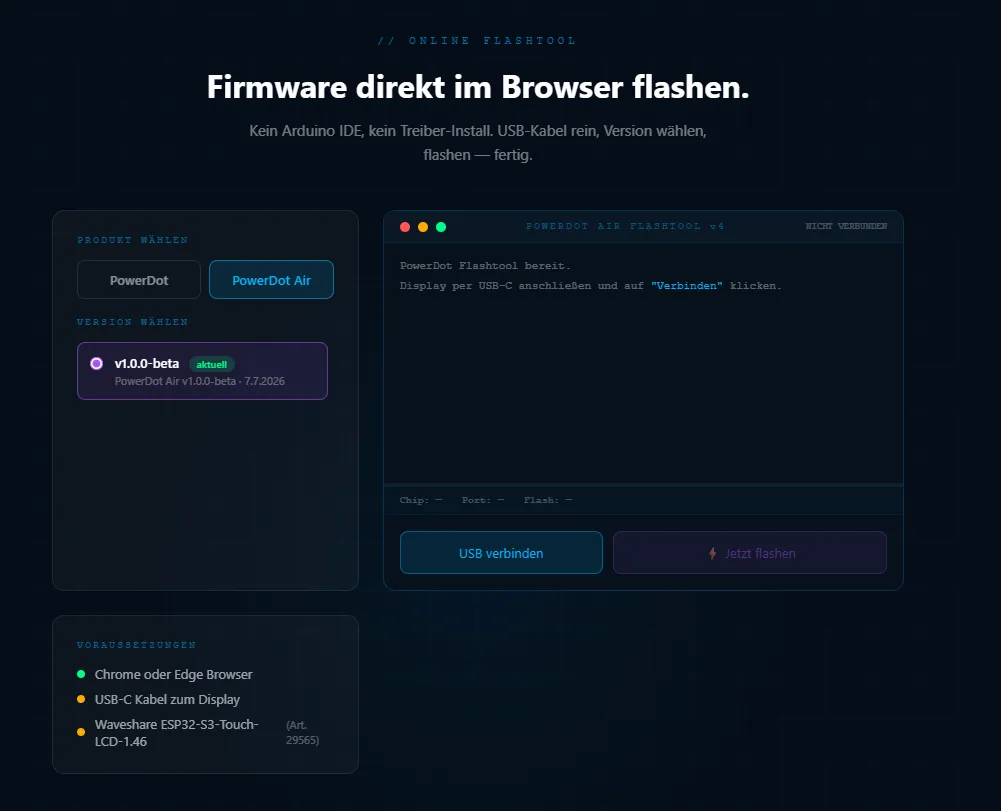
Flash firmware using the Flash Tool directly in the browser (plug in USB-C, press button – no programming required)
- Set up WLAN & MQTT in the setup – done! The PowerDot Air automatically appears in Home Assistant.
License

You may create derivative works based on this object, provided that all such derivative works are published exclusively on the MakerWorld platform and include proper attribution to the original creator. You may not share, upload, host, distribute, or publish this object—or any derivative work of this object—on any other digital platform, marketplace, or distribution channel. Commercial use of this object and any derivative works is strictly prohibited. This includes, but is not limited to, selling, renting, sublicensing, or using the object in any context in which you receive monetary compensation or other financial benefits.


Comment & Rating (0)