
ATX Power Supply PSU Bench
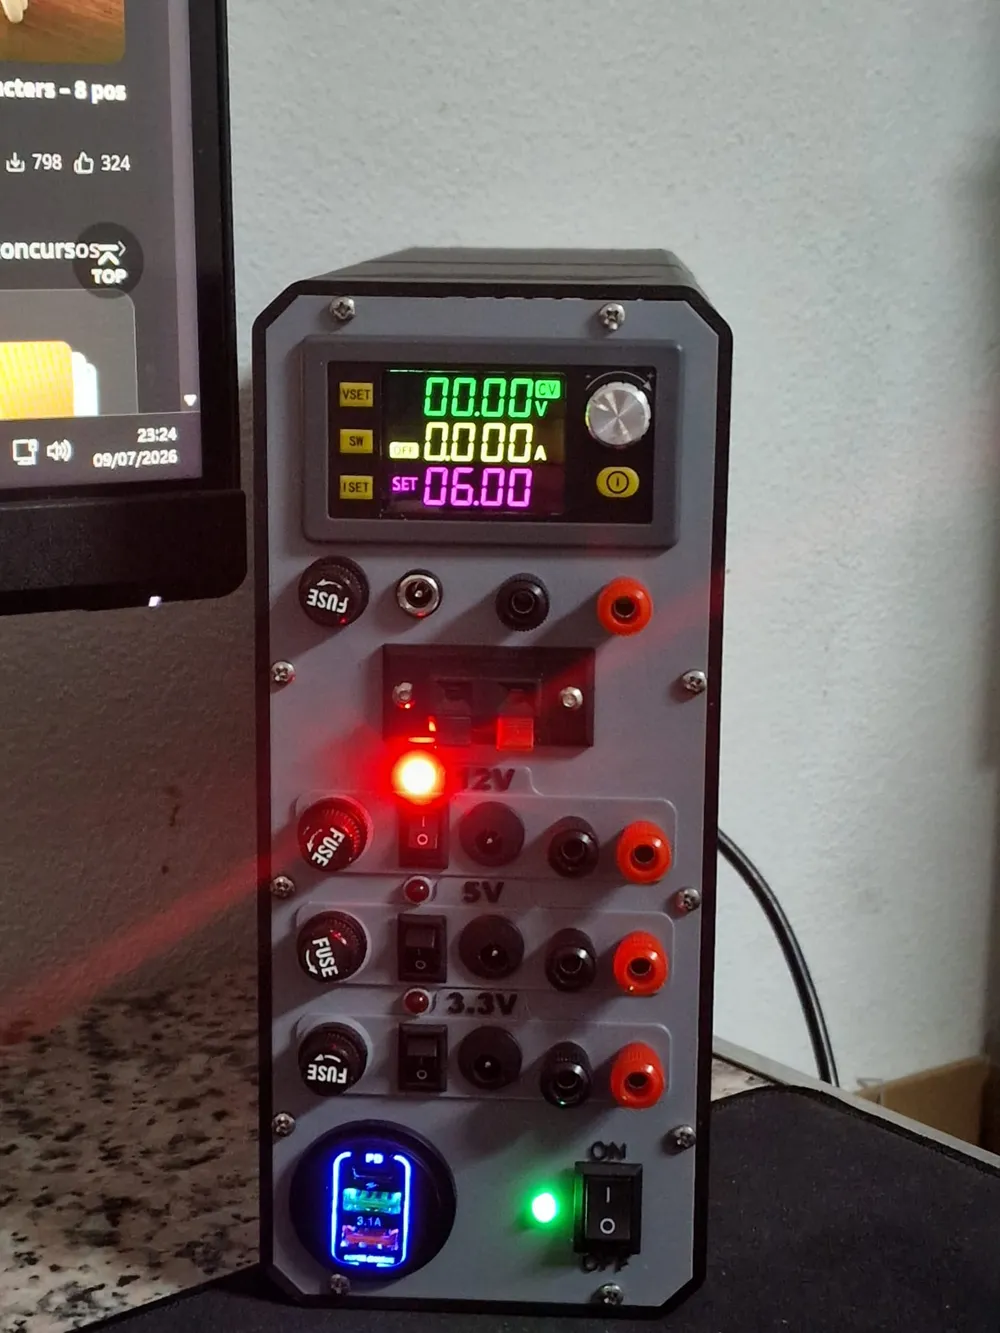
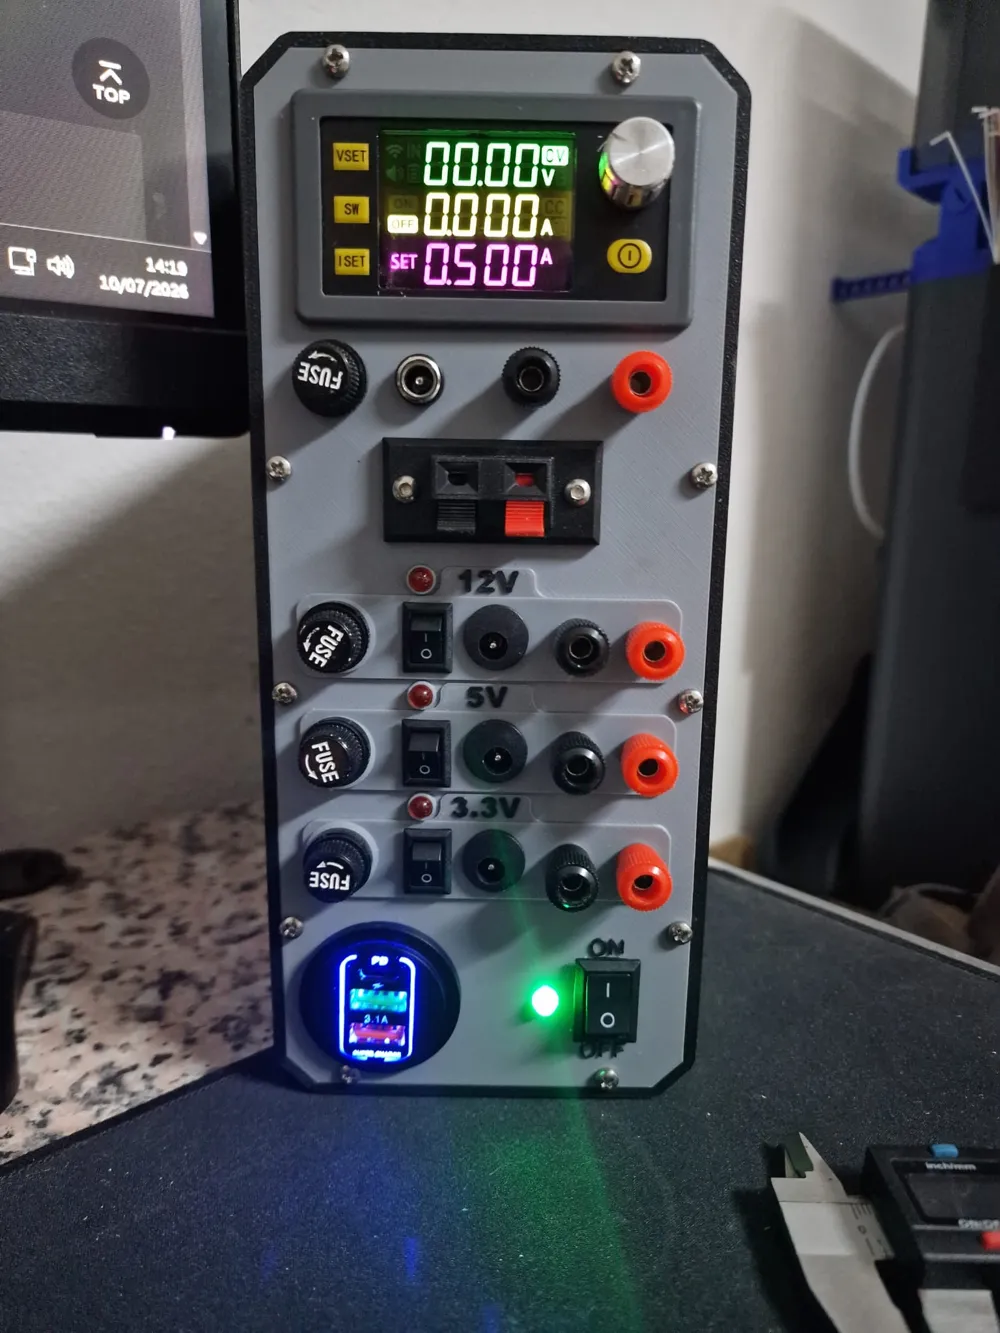
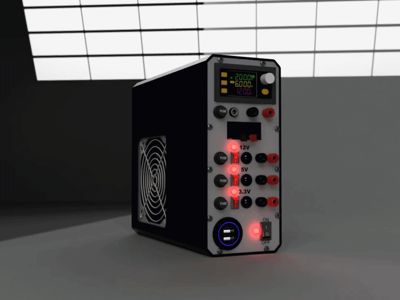
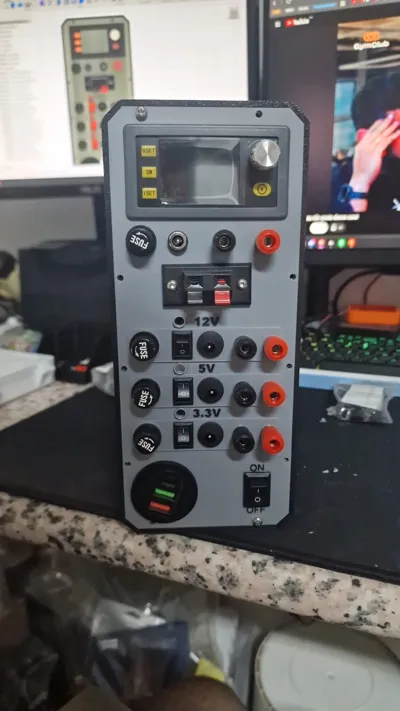
Print Profile(1)
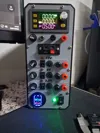
Description

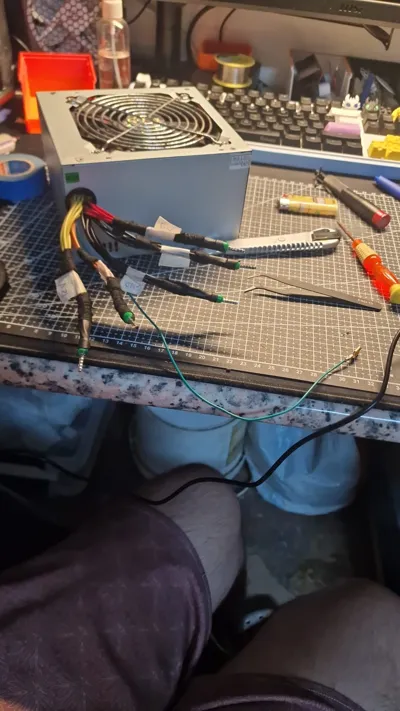
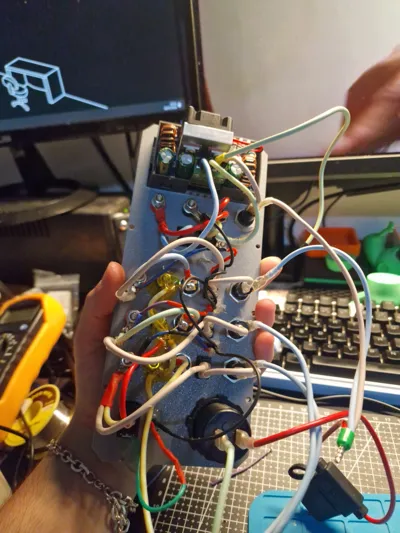
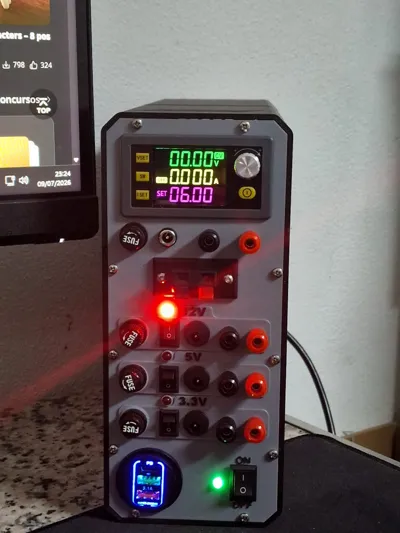
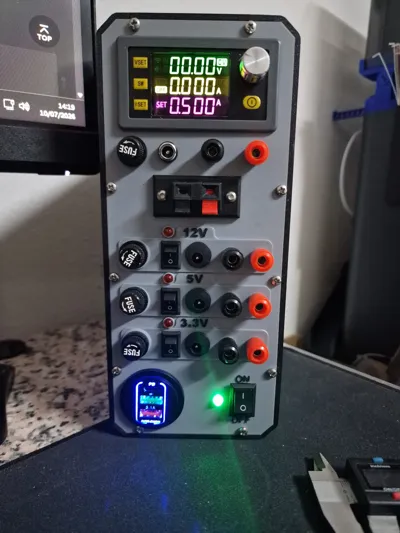
ATX Bench Power Supply
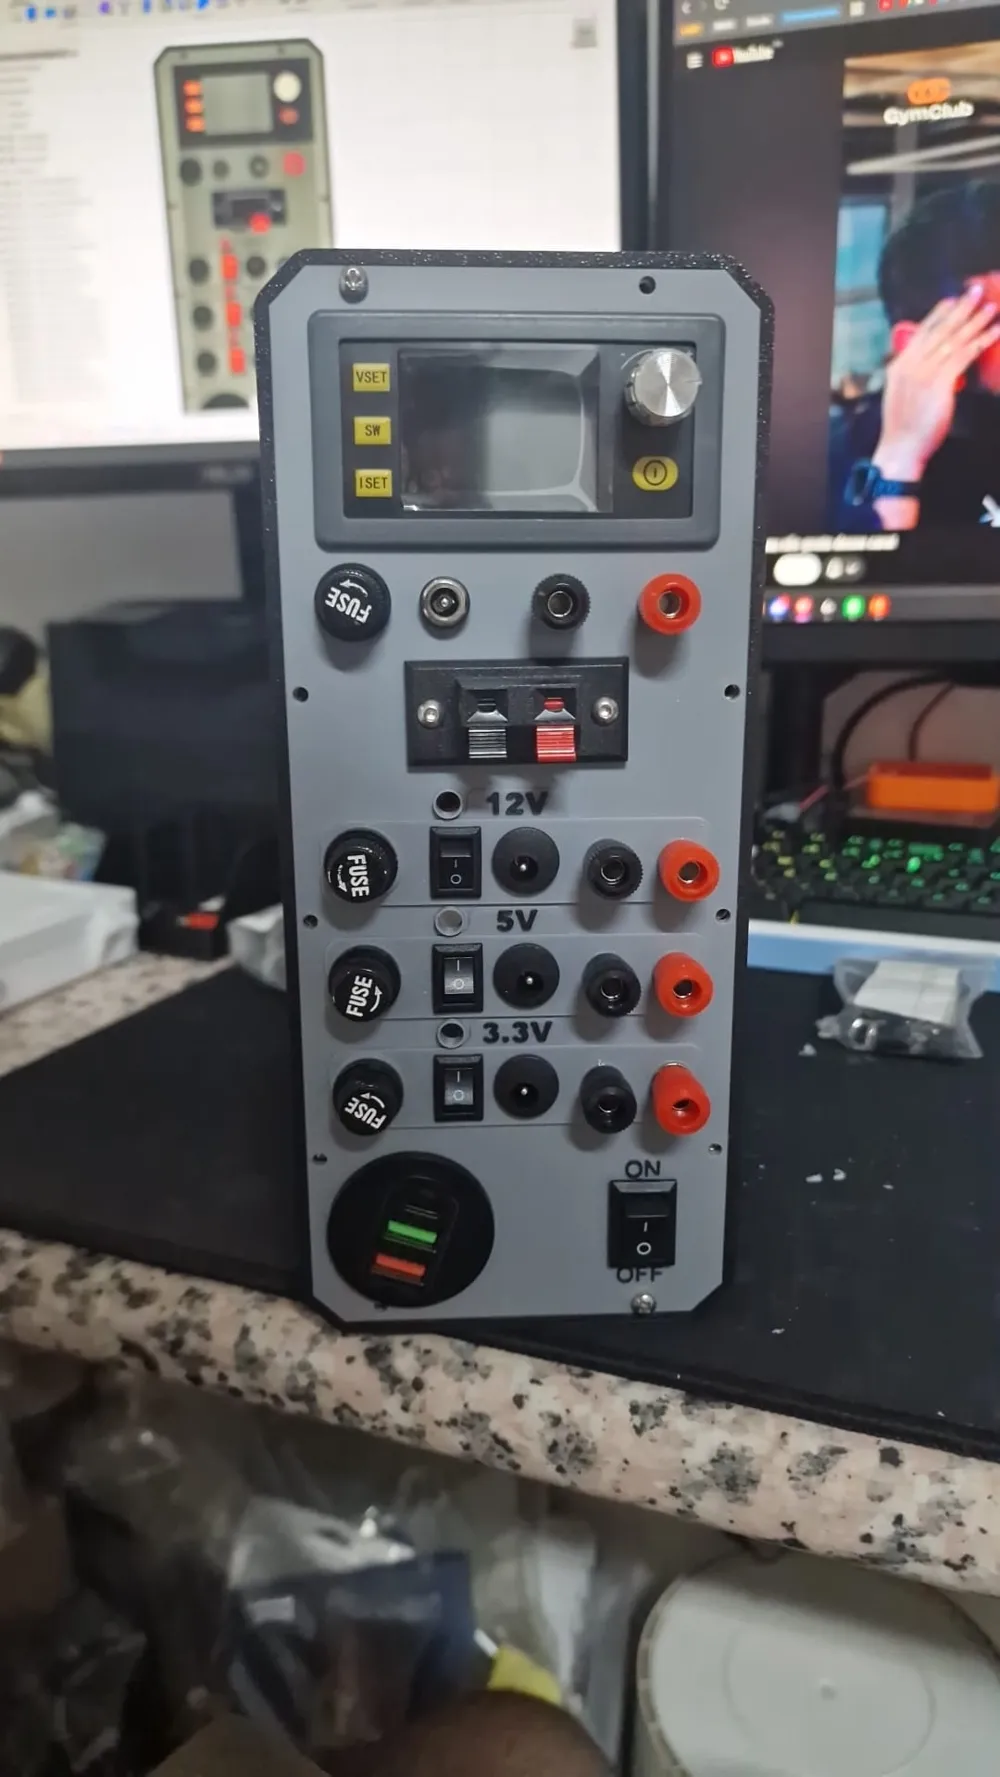
Turn a spare 500W ATX PC power supply into a full bench power supply: three fused fixed rails (12V / 5V / 3.3V), one adjustable CV/CC output via an SK150 buck converter, a triple-port USB fast-charging block, and a 3D printed front panel that houses it all.
⚠️ Safety first — read before you build
This project reuses an ATX power supply, which connects directly to mains AC voltage. This is not a beginner electronics project. If you are not comfortable working around mains wiring, do not attempt this build, or have it checked by someone experienced before powering it on.
- Never open or work inside the ATX PSU case while it is plugged into the wall. Unplug it, and let the internal capacitors discharge for a few minutes before touching anything on the primary (mains) side.
- Keep the mains/primary side of the PSU (the AC input, the transformer's primary winding, the primary-side switch) physically separated from the low-voltage DC side you're wiring on the front panel. Don't route AC and DC wiring through the same holes or bundles.
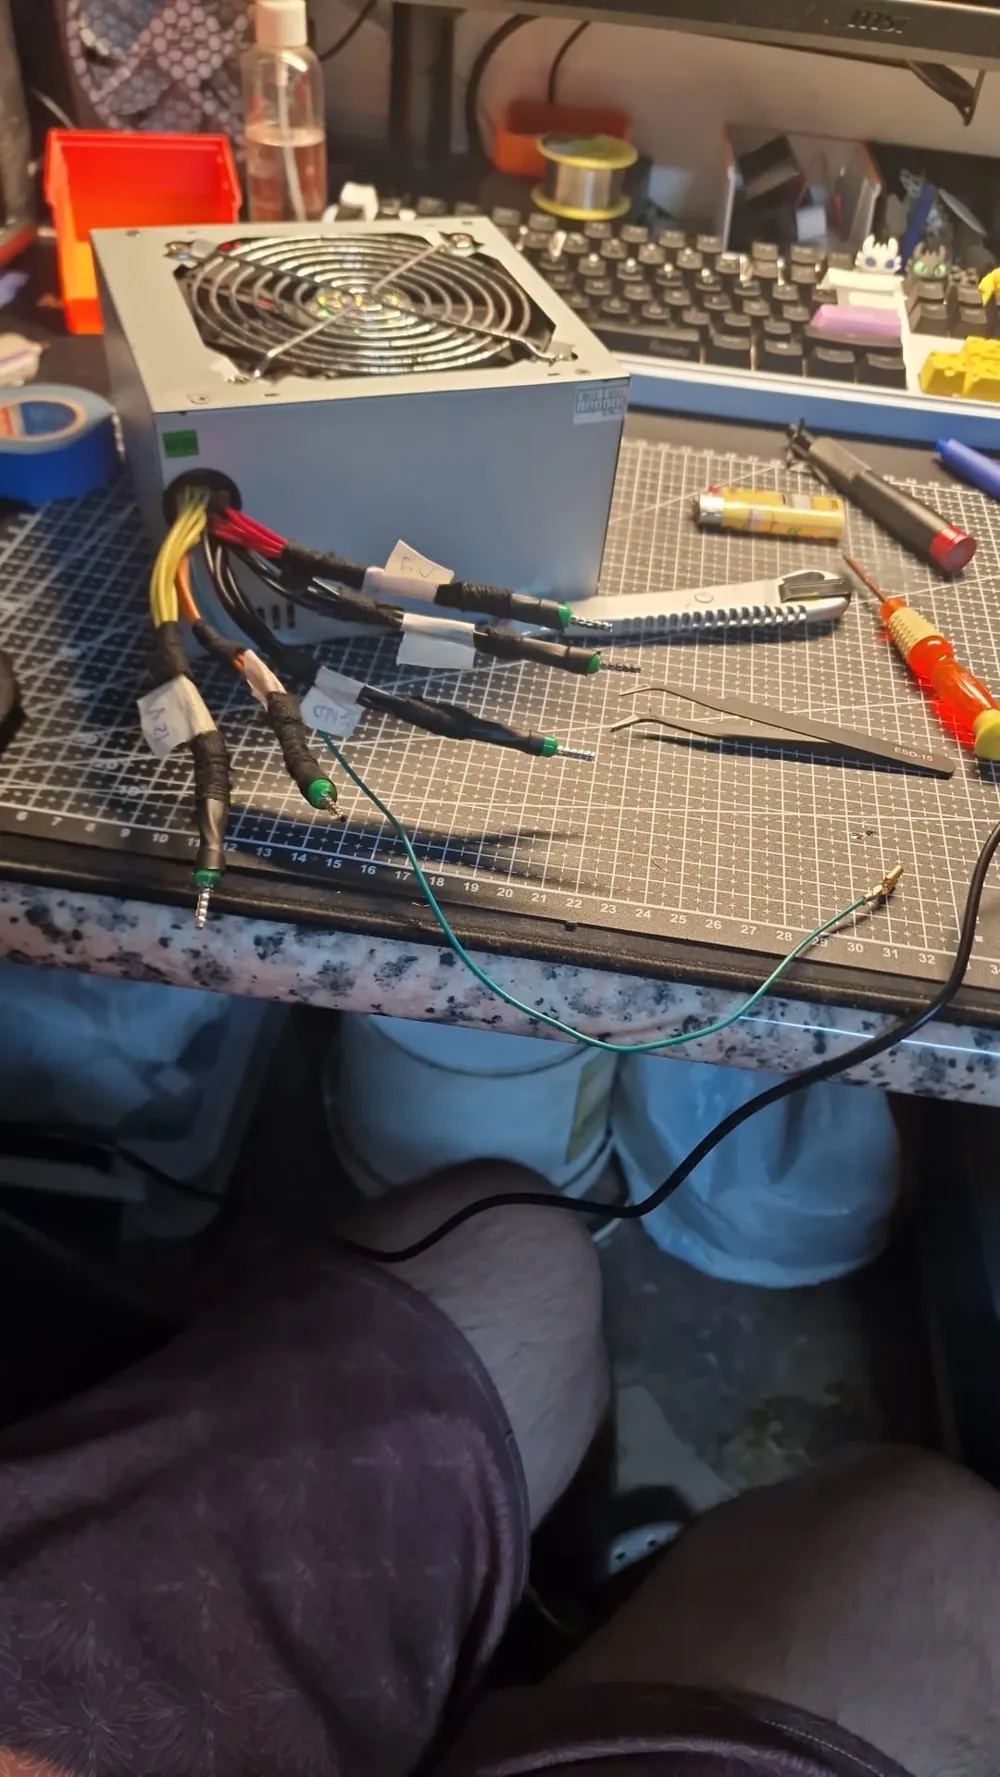
- Only modify the secondary (low-voltage output) side of the PSU — the connectors that used to feed the motherboard, drives, etc. Do not modify the mains input wiring unless you specifically know what you're doing.
- Fit fuses on every output rail before the banana jacks / DC jacks, sized to what the wire and connectors can safely carry (this build uses 10A fuses per rail — see Bill of Materials).
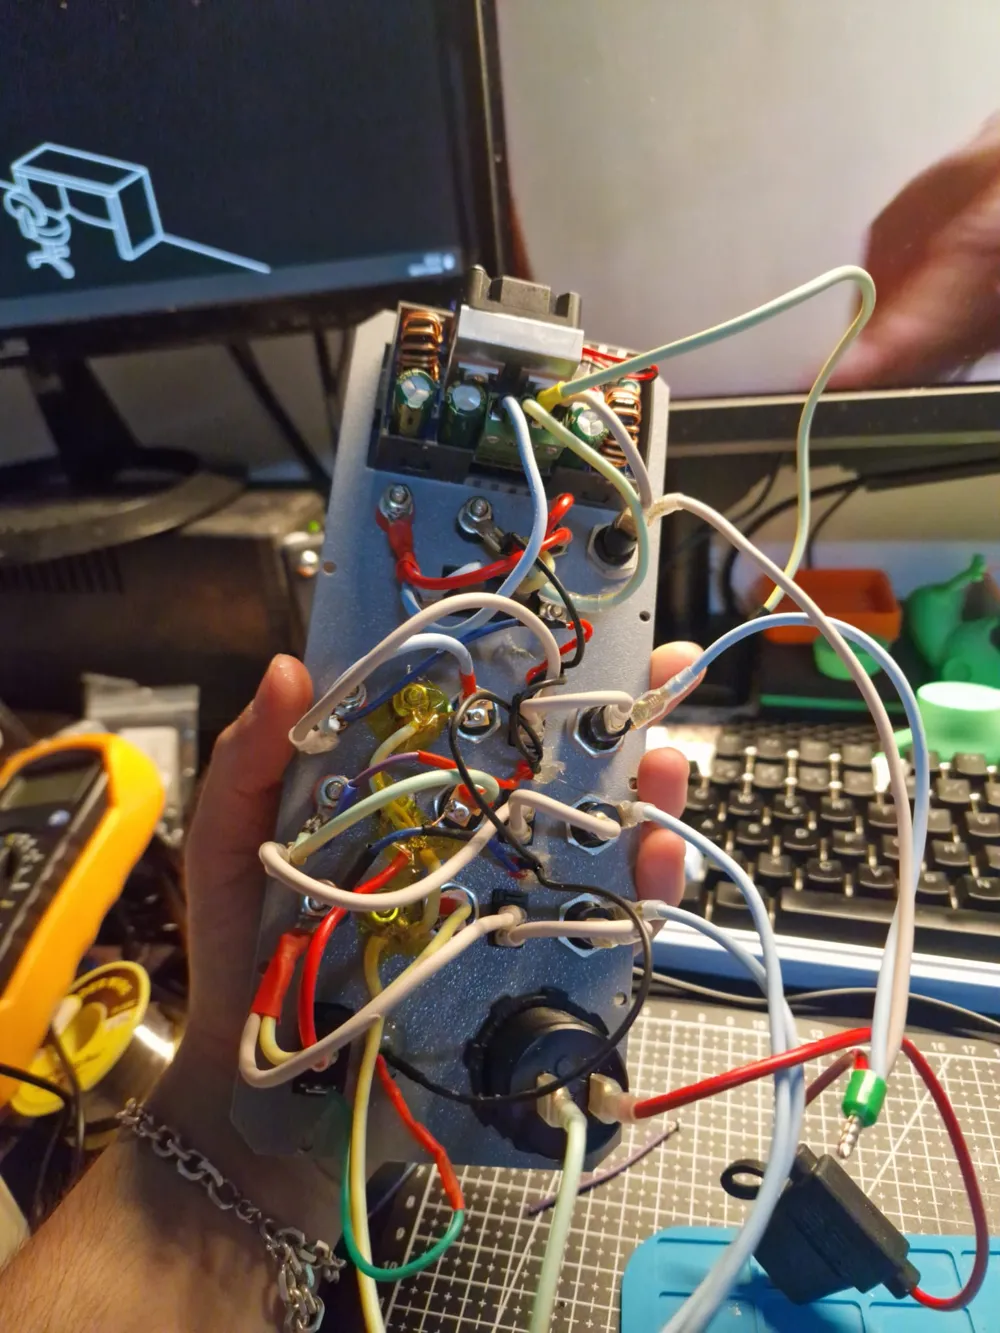
- Use wire rated for the current involved. This build uses 16 AWG throughout the low-voltage wiring.
- Before first use, verify every output with a multimeter (voltage and correct polarity) before connecting any real load or device.
- Confirm your ATX PSU has genuinely gone into a fault-safe/inert state (unplugged, discharged) any time you're doing more than swapping a fuse.
This document is written from the builder's own photos and notes; a few internal wiring details are marked [CONFIRM] below because they can't be verified from photos alone. Double-check those points on your own unit with a multimeter before publishing or relying on this guide.
Bill of materials (BOM)
Item Spec used in this build Qty Notes Link ATX power supply 500W 1 Any working ATX PSU works; higher-quality units give cleaner rails Adjustable DC-DC converter SK150 (buck, CV/CC, display + encoder) 1 Fed from the 12V rail https://pt.aliexpress.com/item/1005010632869190.html Fuses 10A (per rail, 4x total: 12V, 5V, 3.3V, SK150 output) 4+ (plus spares) https://pt.aliexpress.com/item/1005006526305218.html Fuse mount 4 https://pt.aliexpress.com/item/1005006157096534.html Wire 16 AWG, multiple colors for rail ID ~3 m Match wire color to rail where possible (red/yellow/orange/black) Resistor 50W-8R 1 https://pt.aliexpress.com/item/1005006157096534.html Banana jacks Red + black pairs 4 pairs One pair per output (3 fixed rails + adjustable output) https://pt.aliexpress.com/item/1005009887530703.html Rail Connector 5 Slots 1 2 GND, 1-12V, 1-5V, 1-3.3V https://pt.aliexpress.com/item/32936640163.html DC barrel jacks (panel mount) 5.5×2.1mm (typical) 4 https://pt.aliexpress.com/item/1005009095224043.html Screw/spring terminal block 2-position 1 On the adjustable output, for bare-wire connections https://pt.aliexpress.com/item/1005008856603708.html Rocker switches Small illuminated or plain rocker 3 1 per fixed rail 10x15mm https://pt.aliexpress.com/item/1005008778176373.html 1 1 master switch 15x20mm USB charging module Dual QC3.0 USB-A + 1x USB-C PD, 3-port 1 Connected in 12V rail https://pt.aliexpress.com/item/1005010165647795.html 3D printed front panel PETG or ABS recommended for heat/mechanical stress near the fan and switches, PLA can be used 1 Panel mounting hardware M3 screws + heat-set inserts (typical) ~19 M3X6MM and 13 M3 heat inserts Heat-shrink tubing Various sizes as needed Used over every solder joint / crimp visible in the build photos Terminal Crimps Various sizes as needed Used in every possible terminals https://pt.aliexpress.com/item/1005001875063060.html LED 5mm 4 Use the color as you wish https://pt.aliexpress.com/item/1005010338676055.html
Use this video as assemble assistence:
Disclaimer
This is a DIY project involving mains-voltage electricity. Build and use it at your own risk. The author and anyone republishing this guide are not responsible for damage, injury, or fire resulting from its construction or use. If in doubt about any step, consult a qualified electrician or experienced electronics builder before proceeding.
License



Comment & Rating (0)