
Print Profile(4)
Description
I changed it many, many times, stumbling along and finally caught up with this competition, which is almost over
I'm really not very skilled at making these strange designs, after all, I'm not a product designer, and I repeatedly struggled and refined at each stage
So I also revised it many, many times
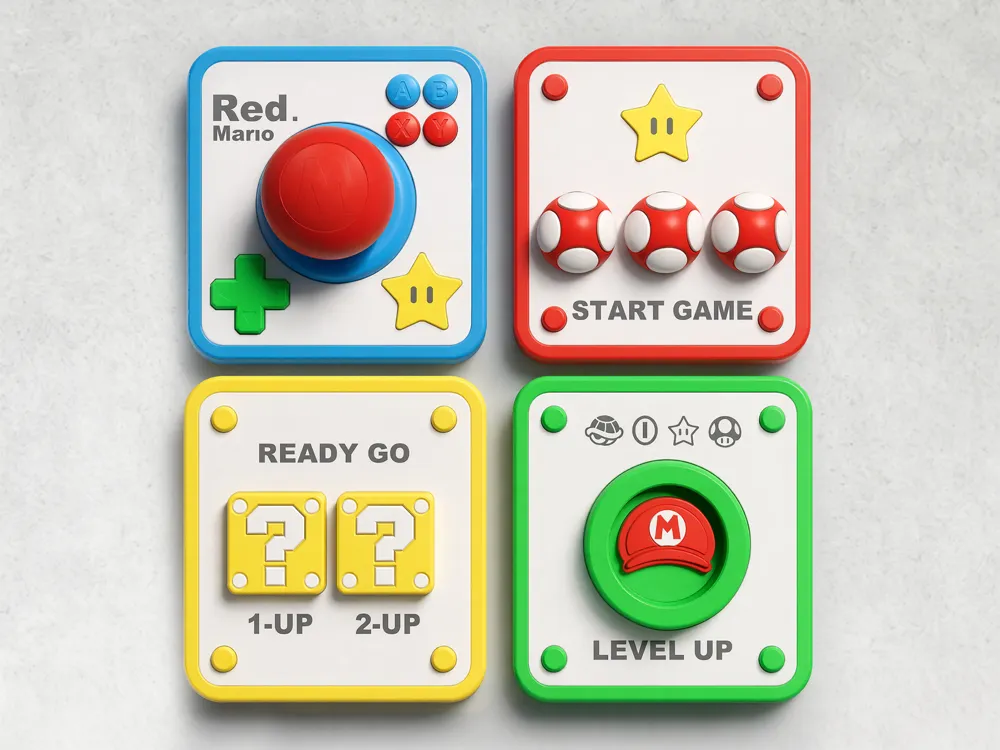
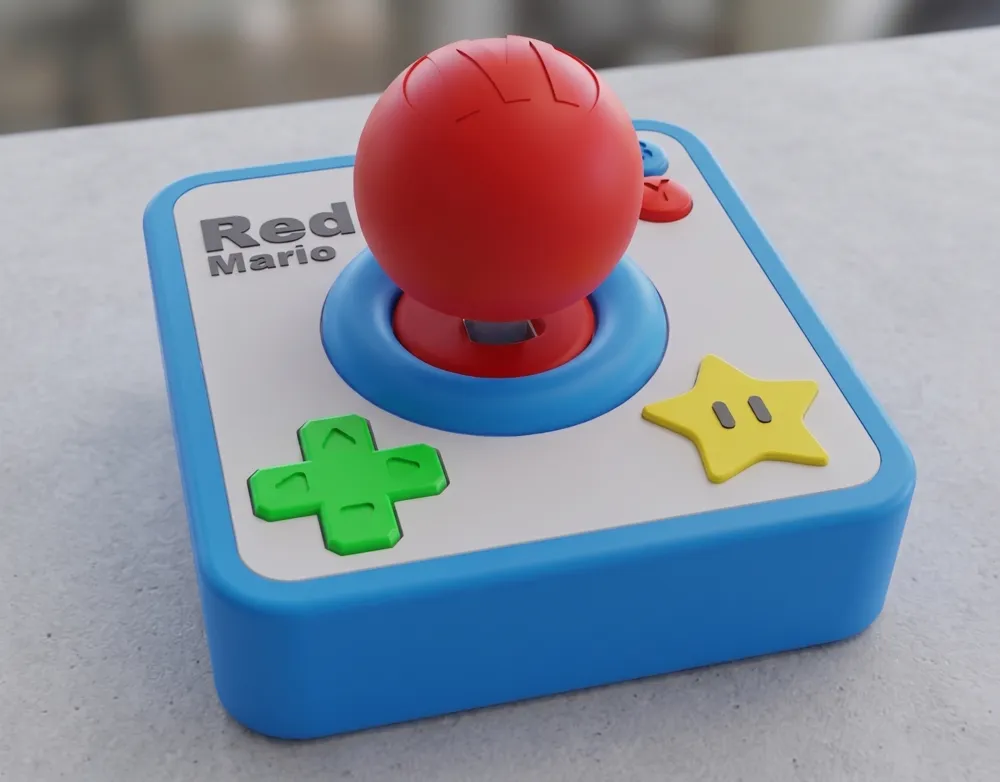
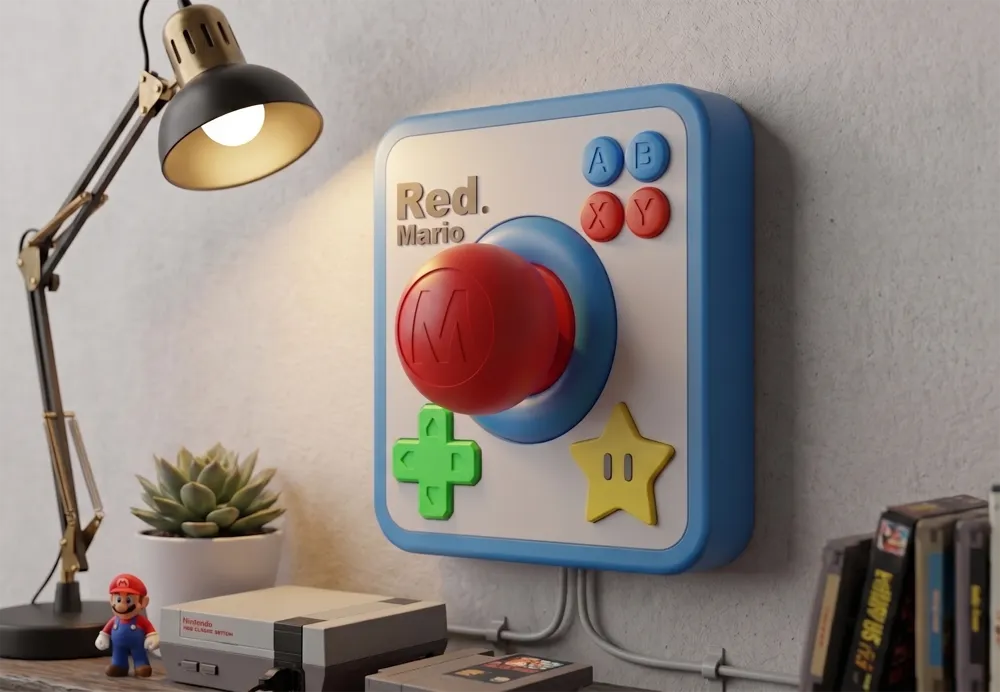
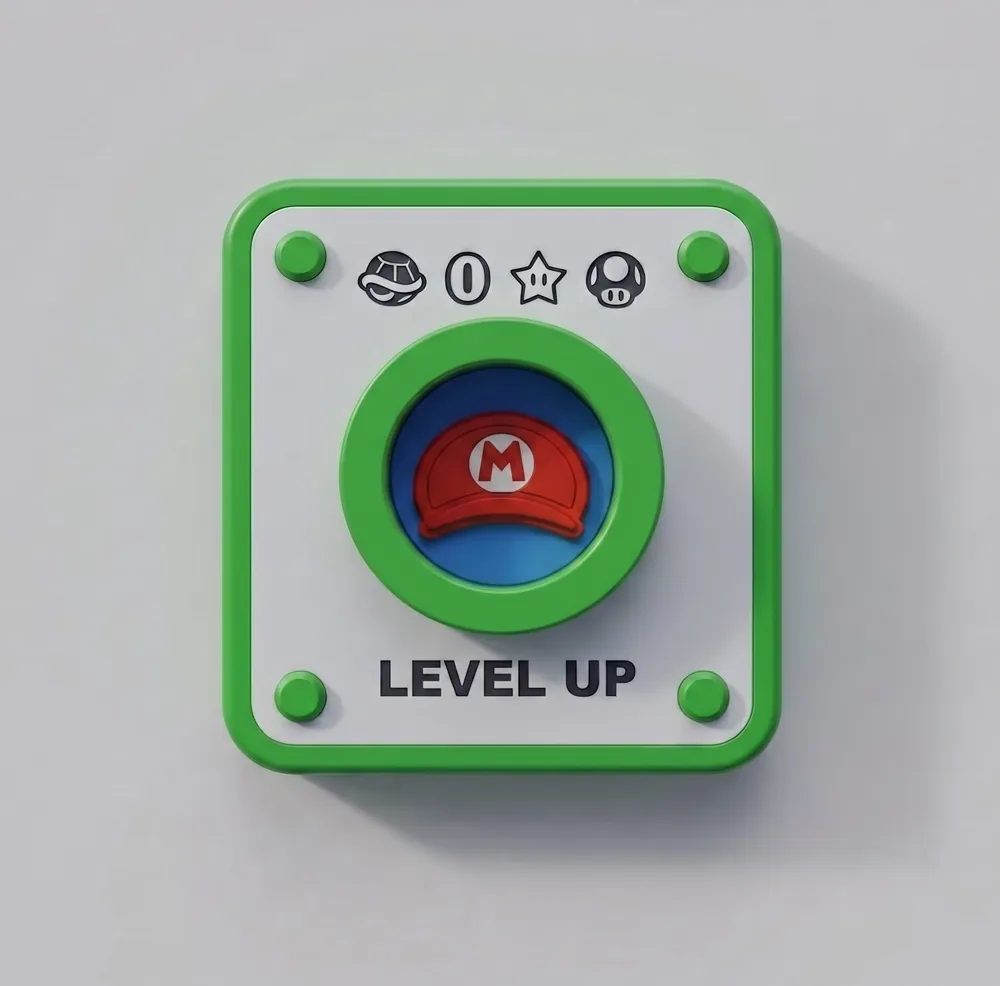
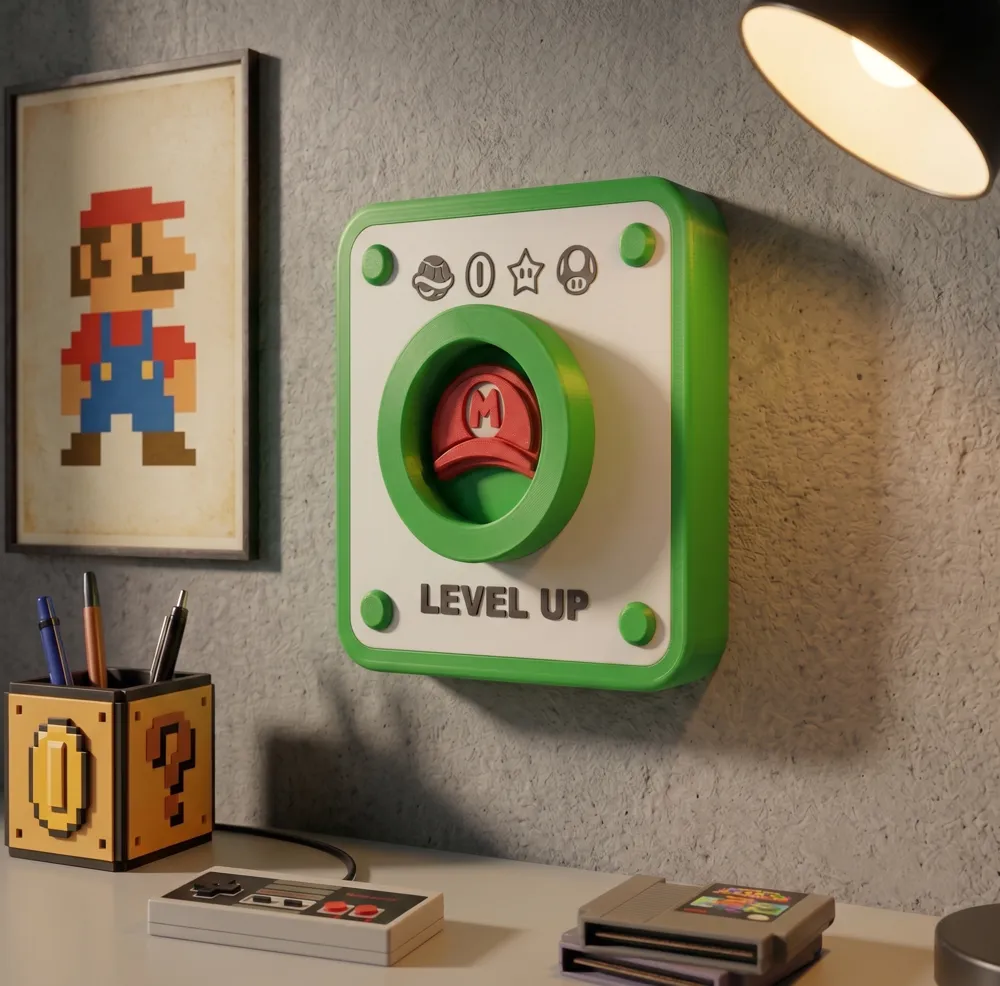
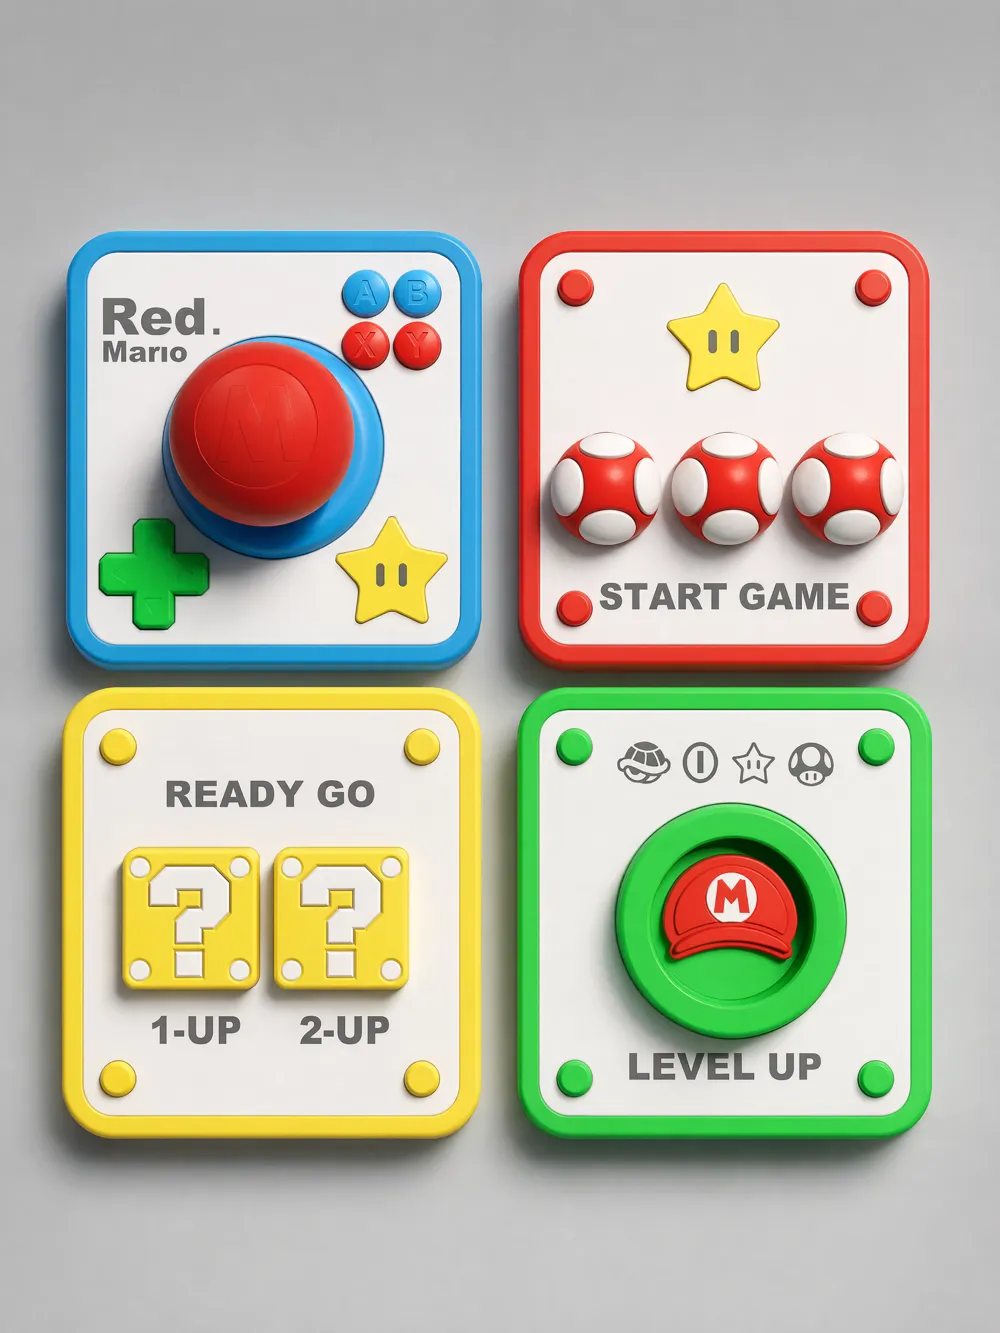
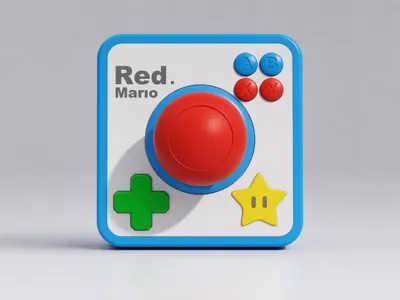
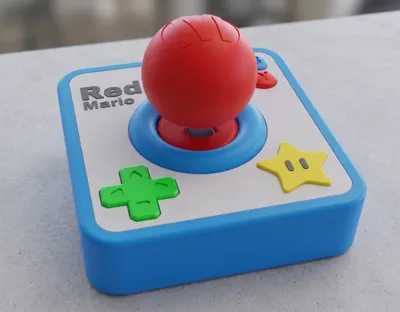
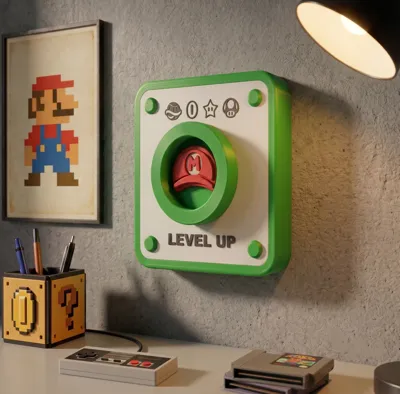
The entire switch panel has one main idea: first install the decorations, then install the joystick. Be sure to clearly consider the relationship between the adhesive and the large end of the joystick, otherwise, if you stick it on and find it cannot be installed, it will be awkward
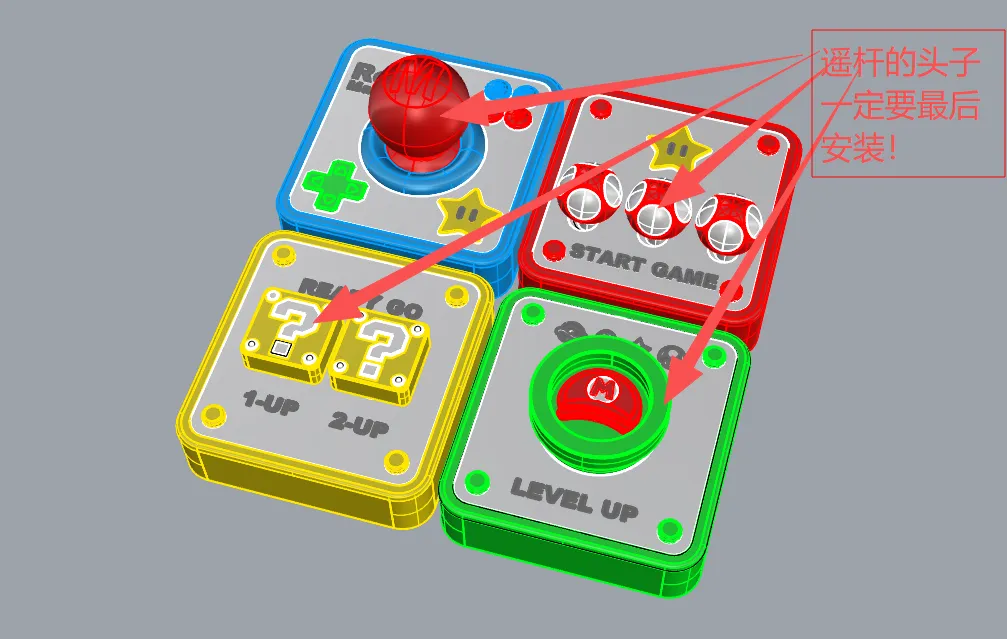
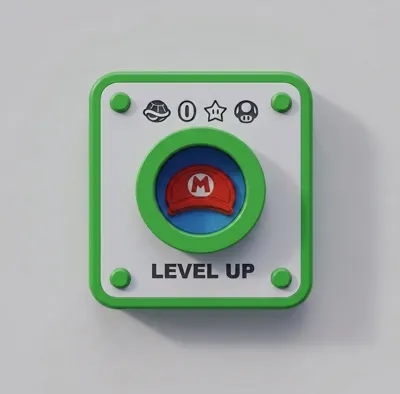
Although the green one is a socket version, actual testing revealed a drawback: although the cover can be opened, the thickness of the panel will affect the wire at the base of the plug. It is recommended to use it only as a pure decoration
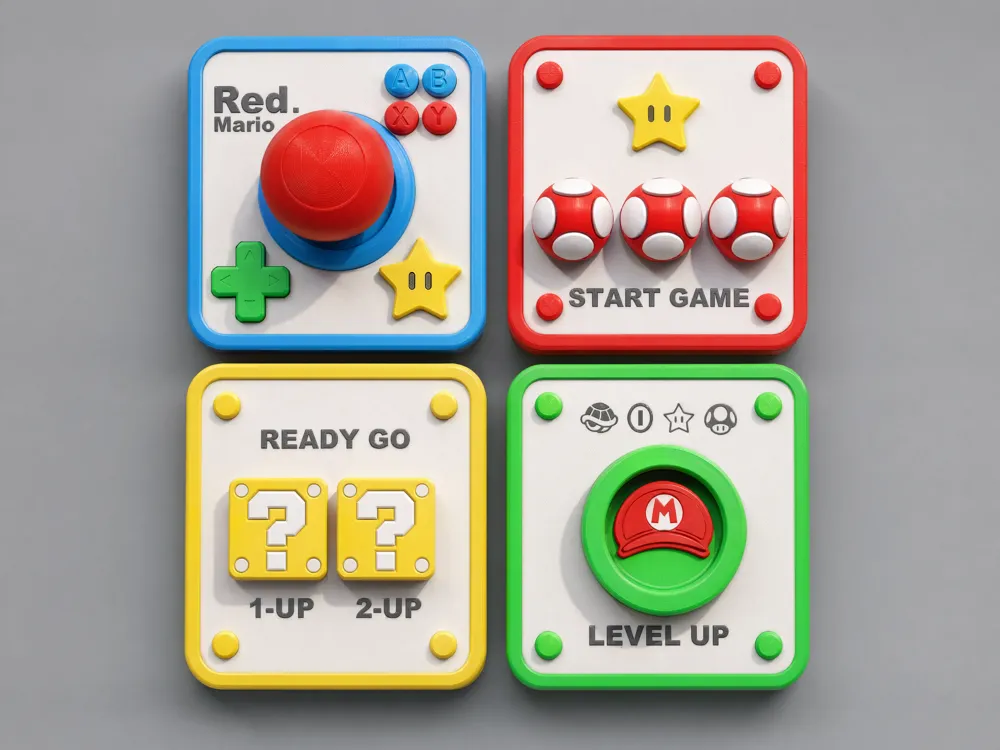
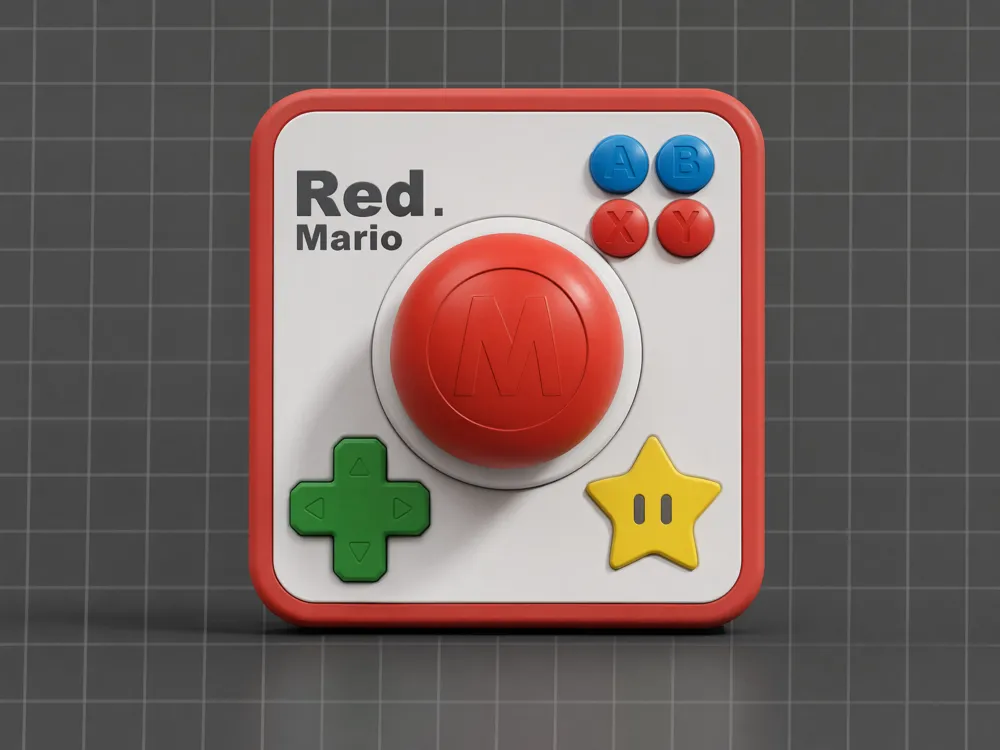
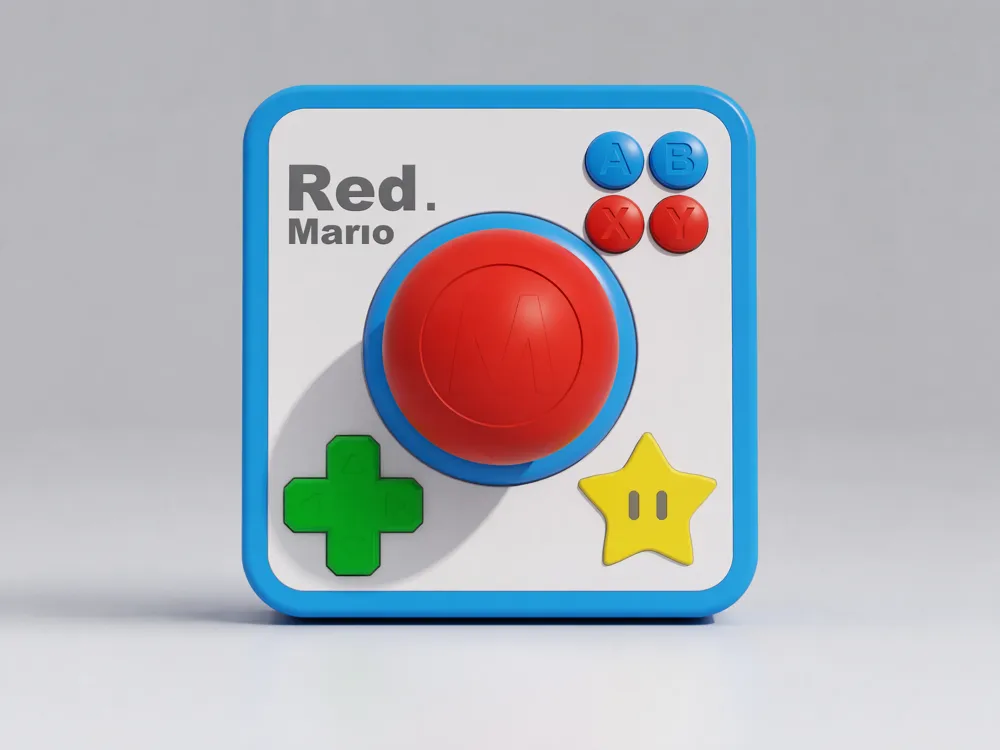
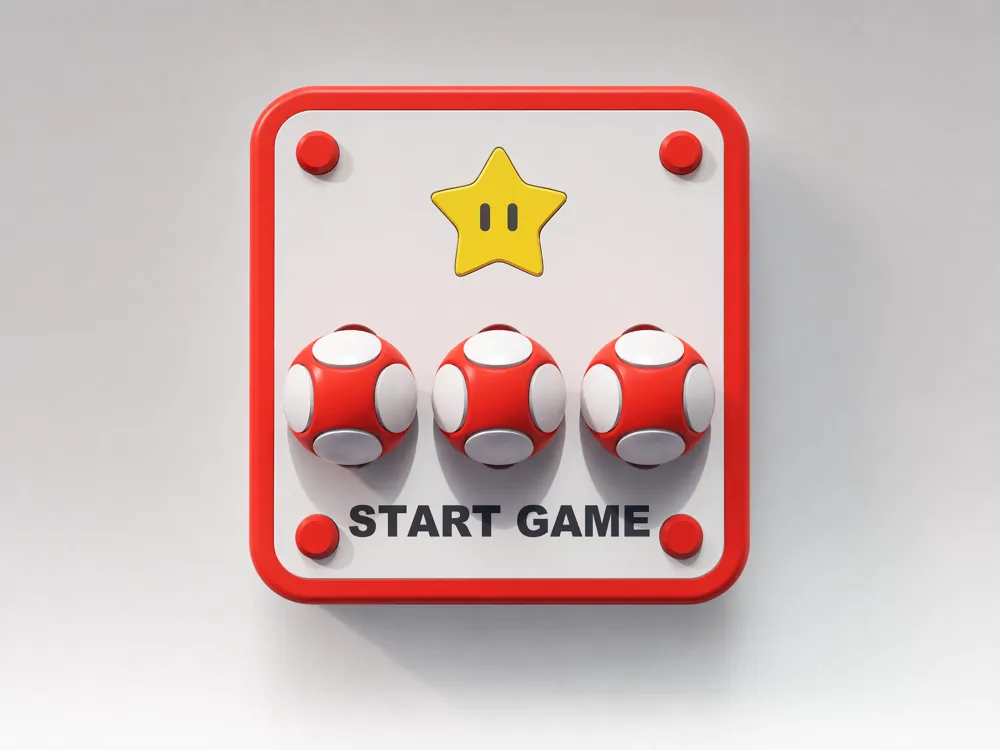
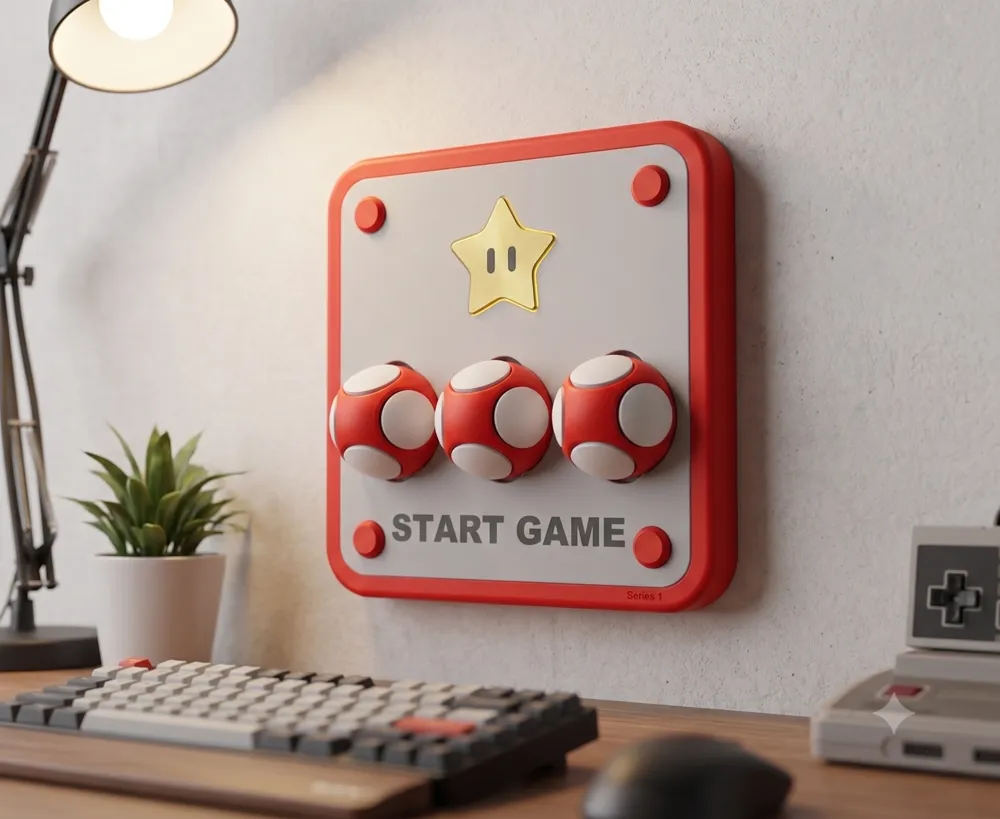
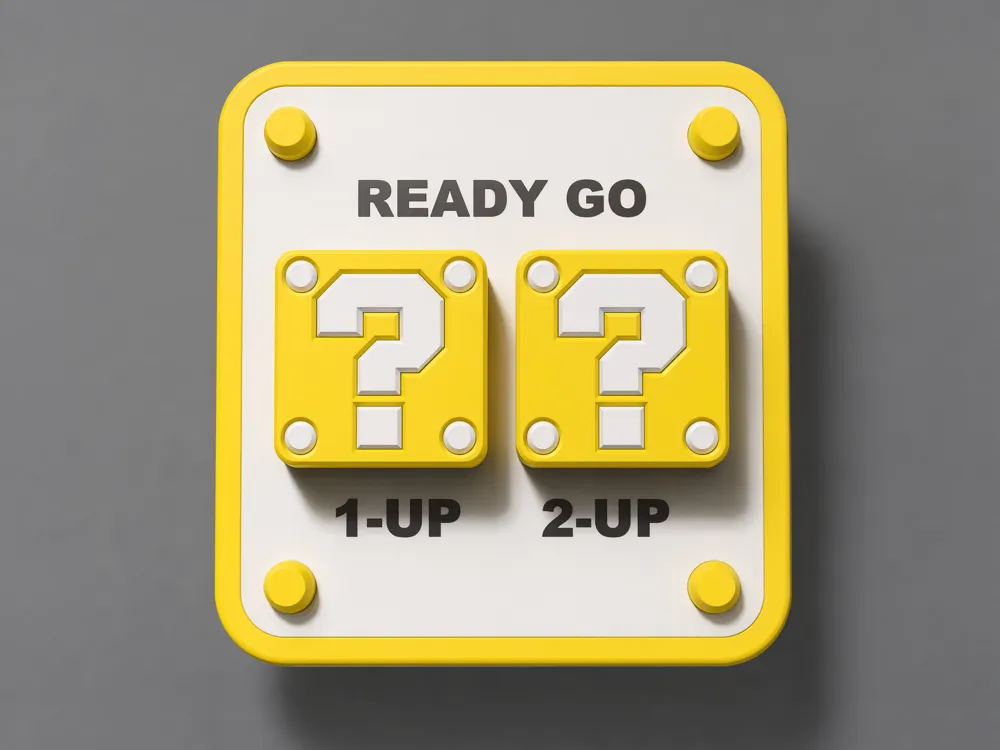
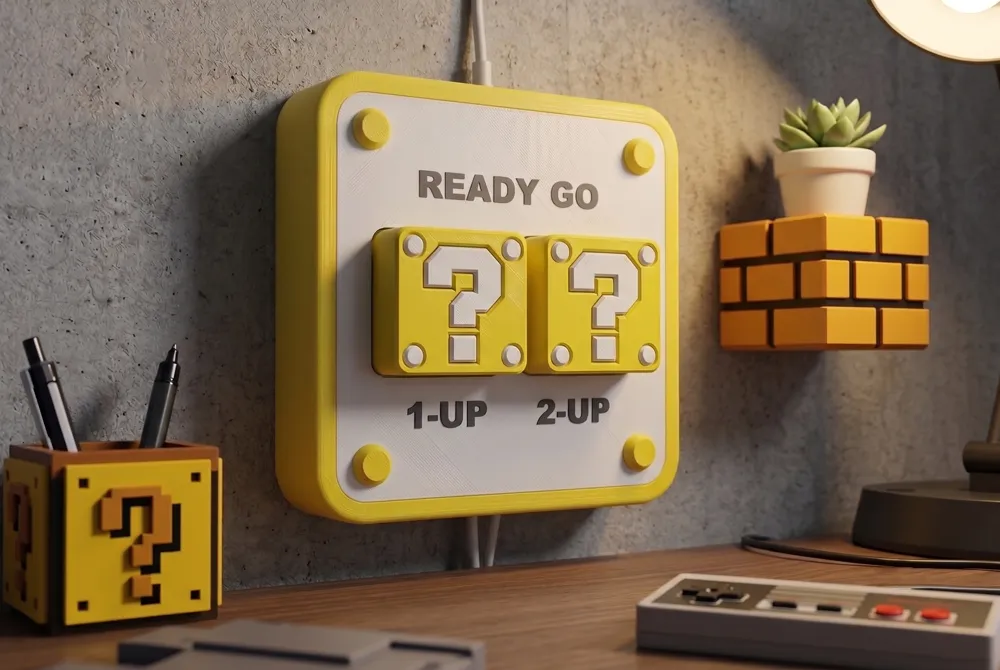
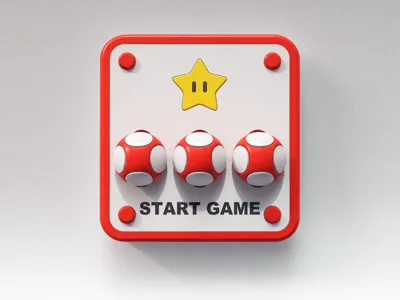
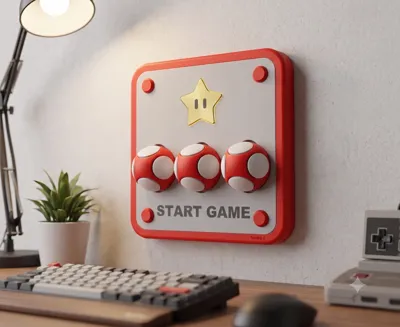
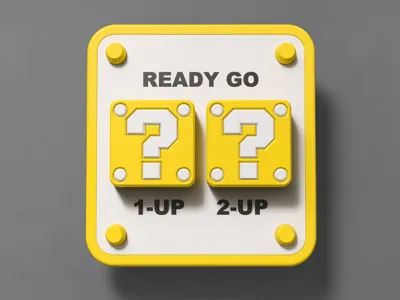
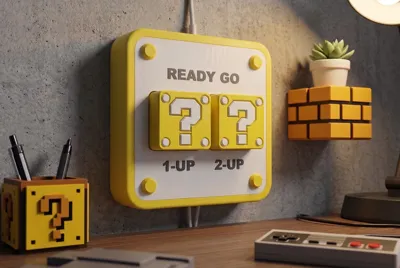
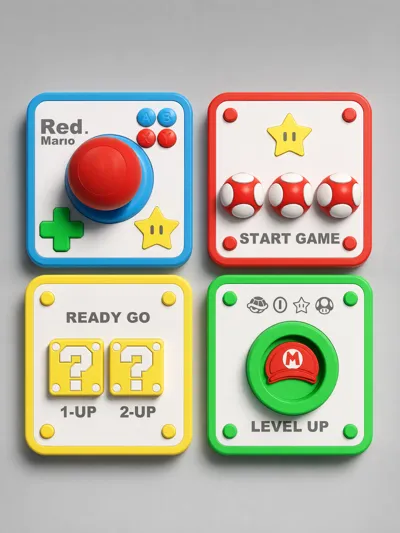
The red, yellow, and blue switches have been separated into individual print profiles
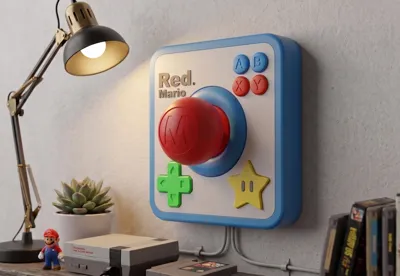
For the letters in the renderings, I did not use a separate part design, which requires AMS
Of course, when I actually printed it, I printed it directly in white, and the effect was acceptable. Making a simplified version without color separation is also fine; those with conditions can color it
The pins are all made with 4 walls and 25% infill. Actual testing seems okay, it won't break, but of course, don't use too much force
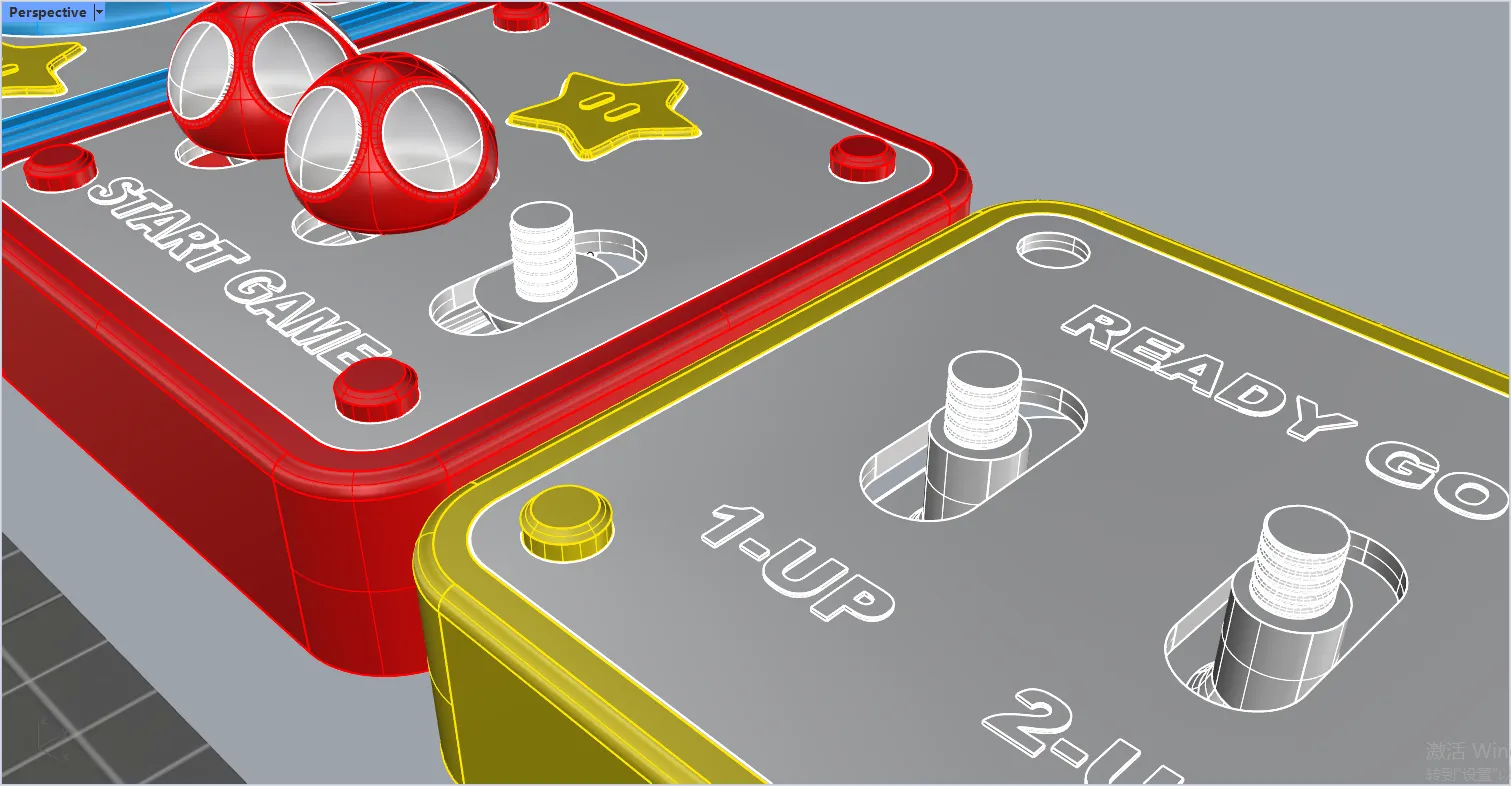
The structure of the red, yellow, and green panels uses screw connections to prevent errors in the installation order, allowing for a second chance (because I installed it incorrectly myself and learned from the painful experience)
Also, the switch panels vary in size, leading to slight differences in flip angle and feel
Using screws allows for self-adjustment of the screw-in length, then use 502 glue to secure it
After assembly, first put some color on the back as a marker to see the suitable position and angle for your own switch panel, then you can stick it. This way, there's no need for a locator
Once 502 glue is applied, it's good to go. Therefore, assemble the decorations first, and finally install the large-headed joystick. Otherwise, if it's glued on, the joystick's hole might be too small for installation
License

You shall not share, sub-license, sell, rent, host, transfer, or distribute in any way the digital or 3D printed versions of this object, nor any other derivative work of this object in its digital or physical format (including - but not limited to - remixes of this object, and hosting on other digital platforms). The objects may not be used without permission in any way whatsoever in which you charge money, or collect fees.


Comment & Rating (0)