
Desk Radar
Print Profile(1)
Description
Membership
Do you want to sell my Designs? Get access to commercial license membership
Boost Me (for free)
If you like it, boost it!
Membership
Join to sell my models

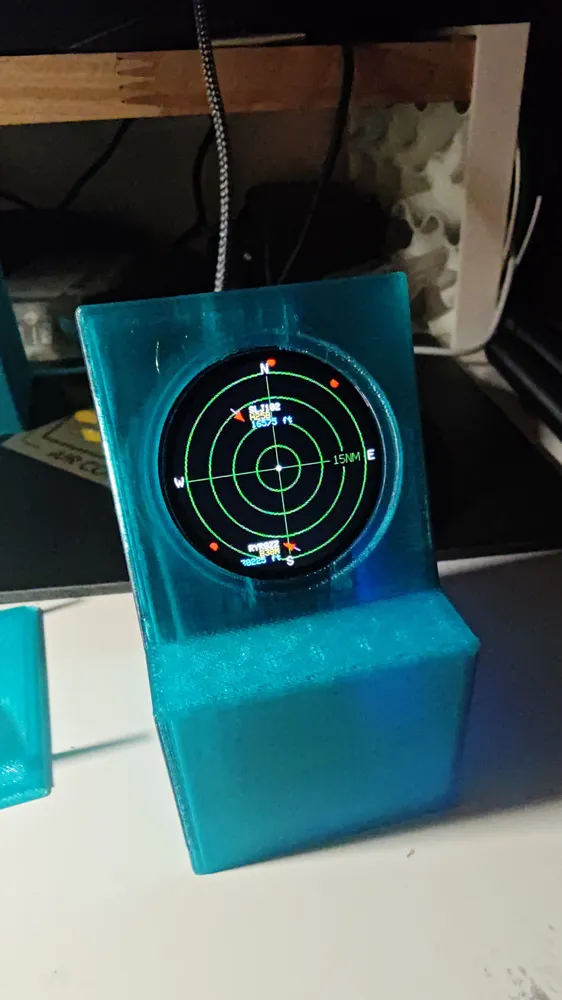
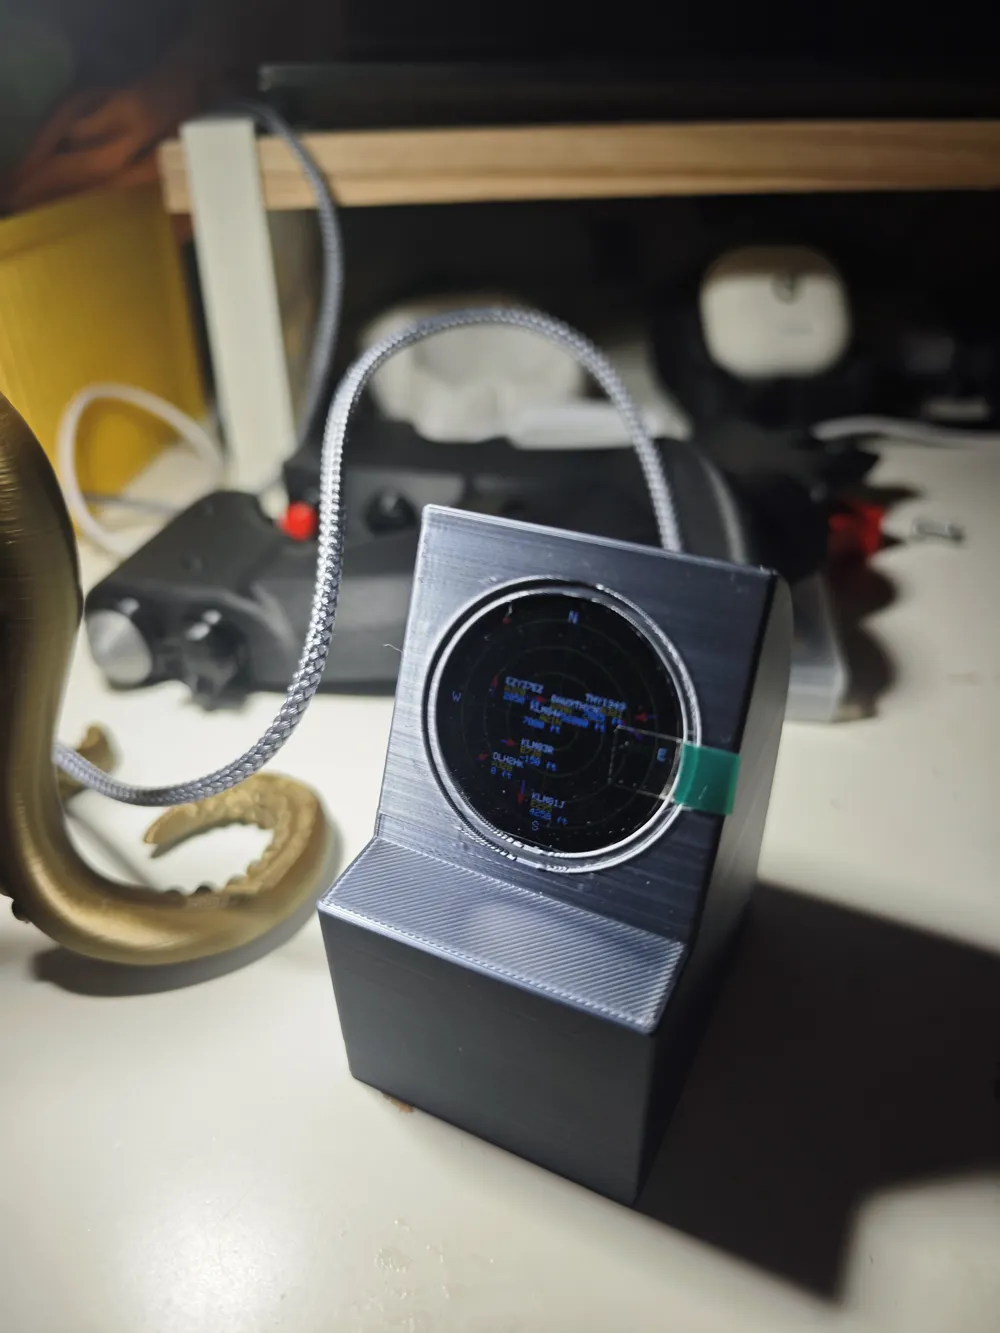
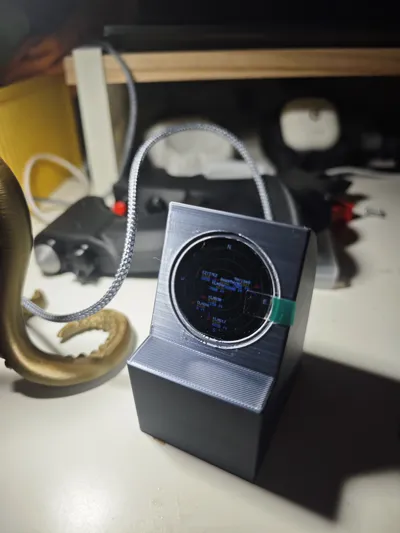
DESK RADAR
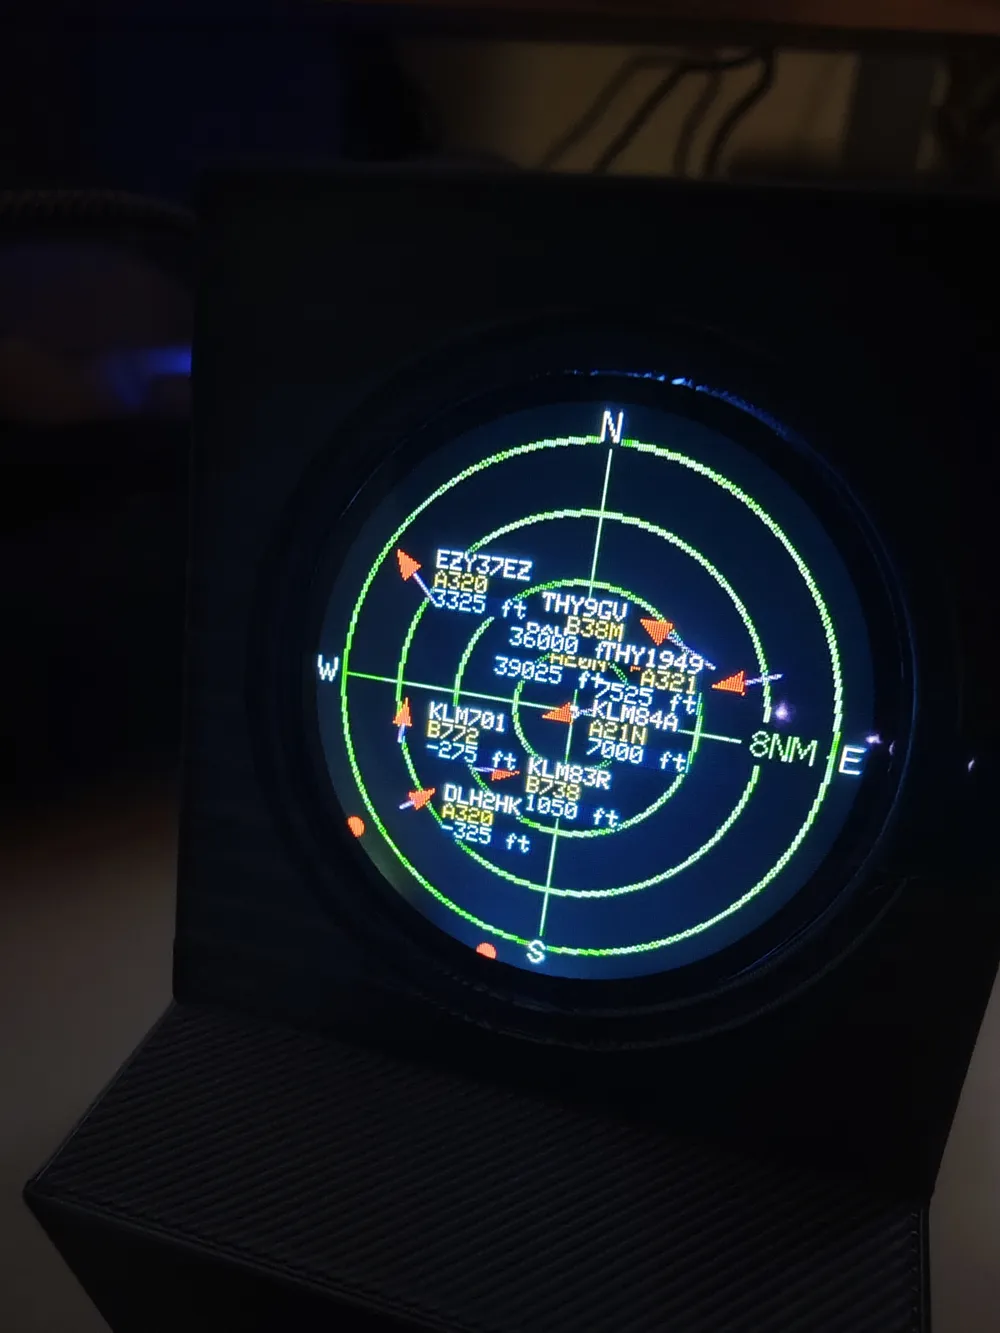
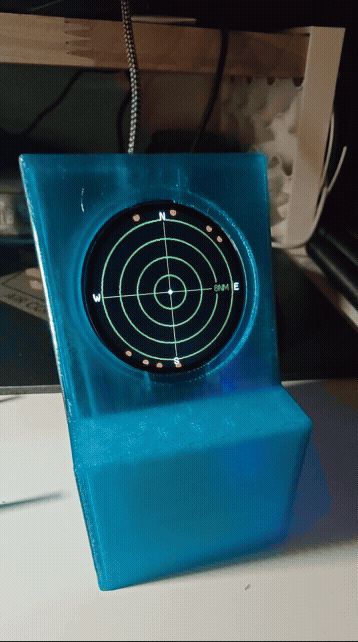
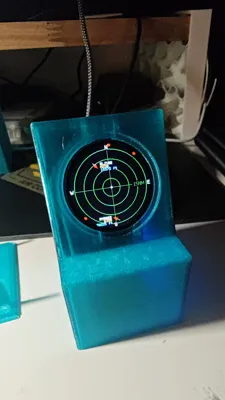
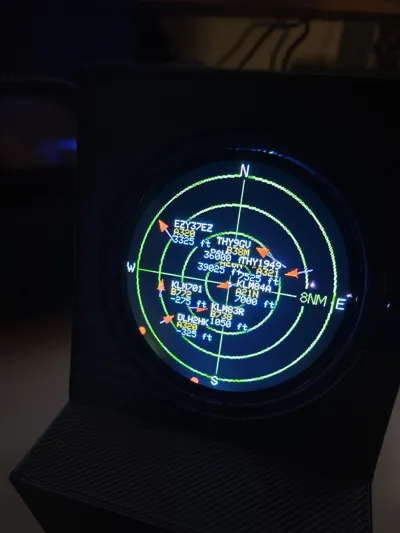
This tiny device allows you to see live air traffic on the coordinates that you previously choose.
It has 4 distances to choose (8NM, 10NM, 15Nm and 20NM), just click on top to change it (The change button is under the console, make sure you´ll install the pin)
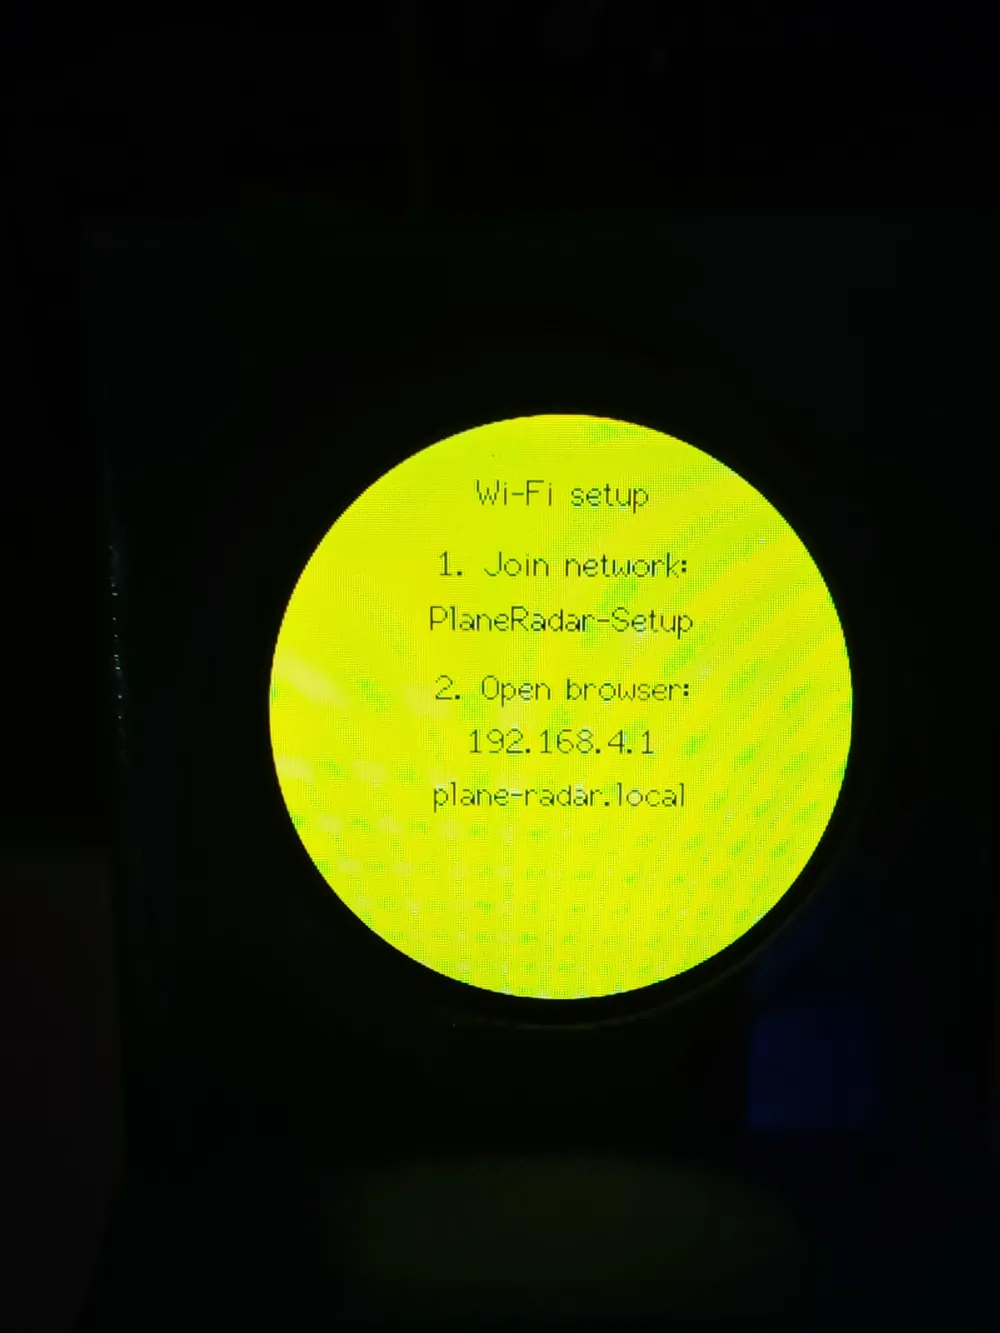
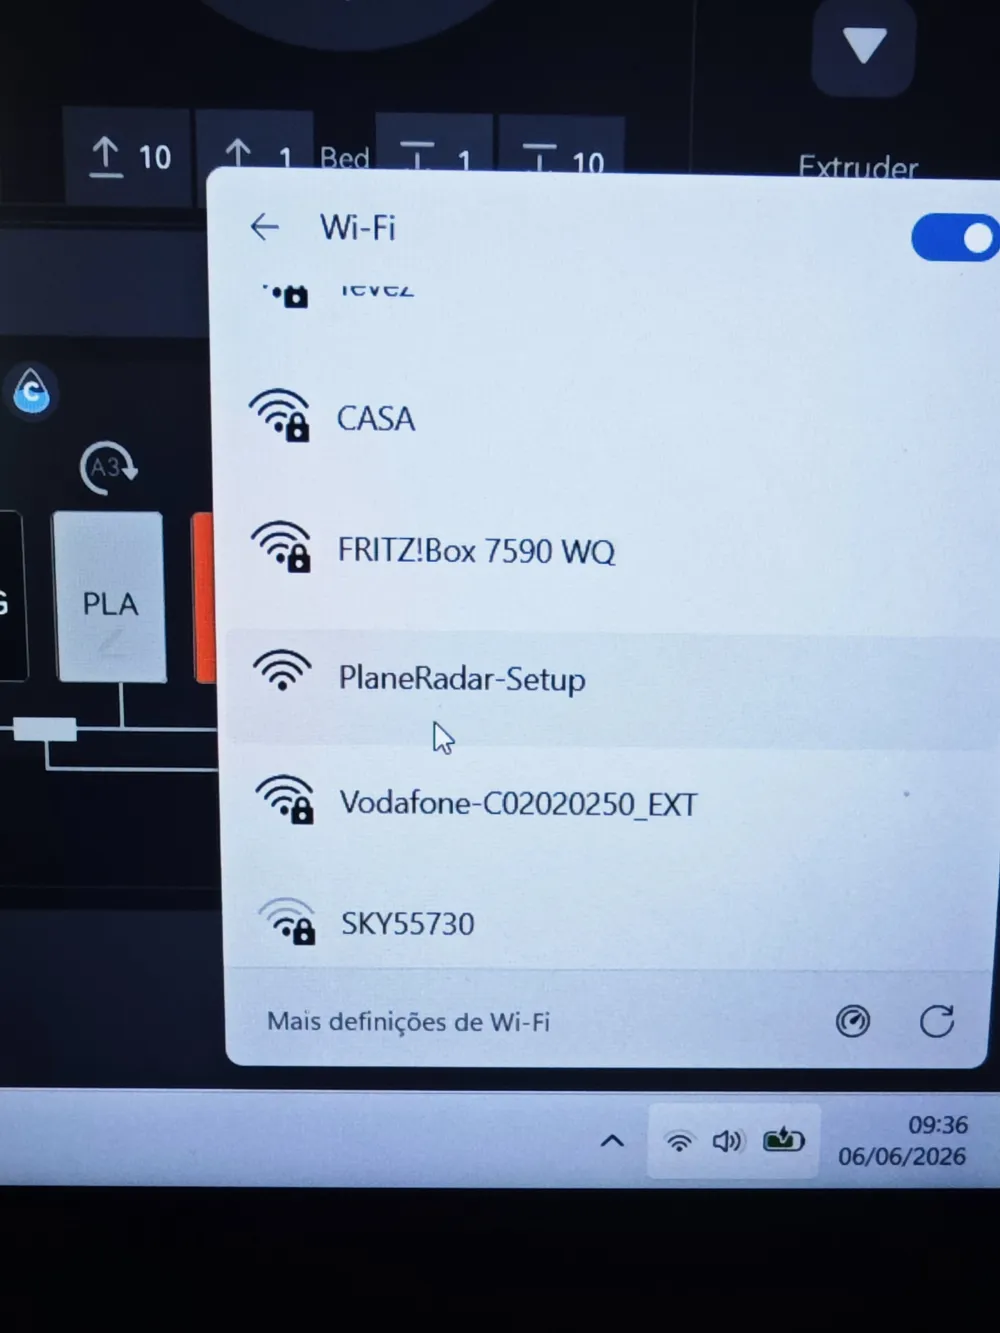
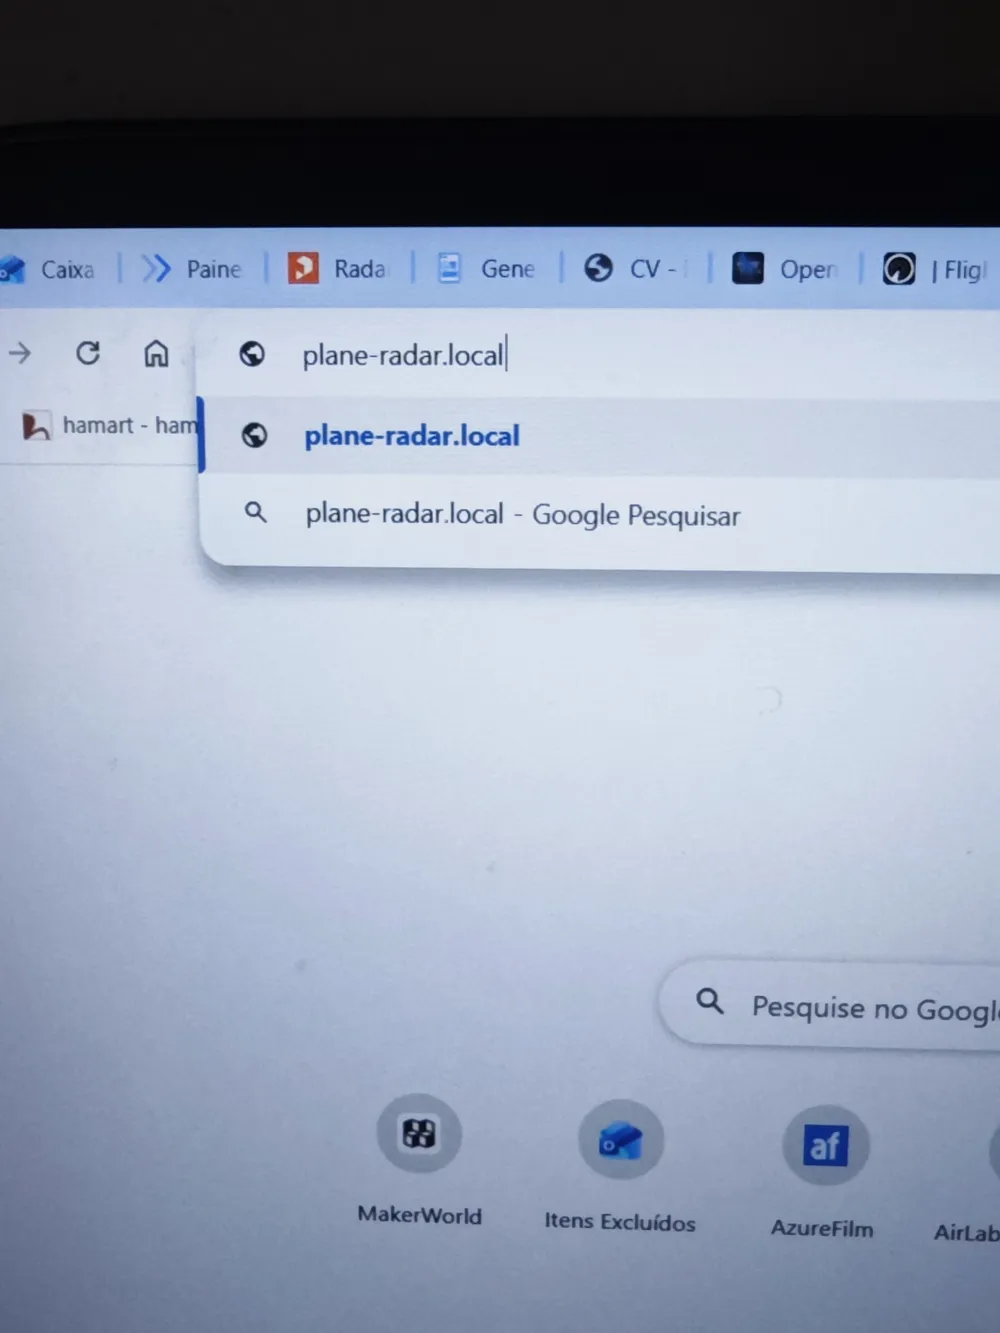
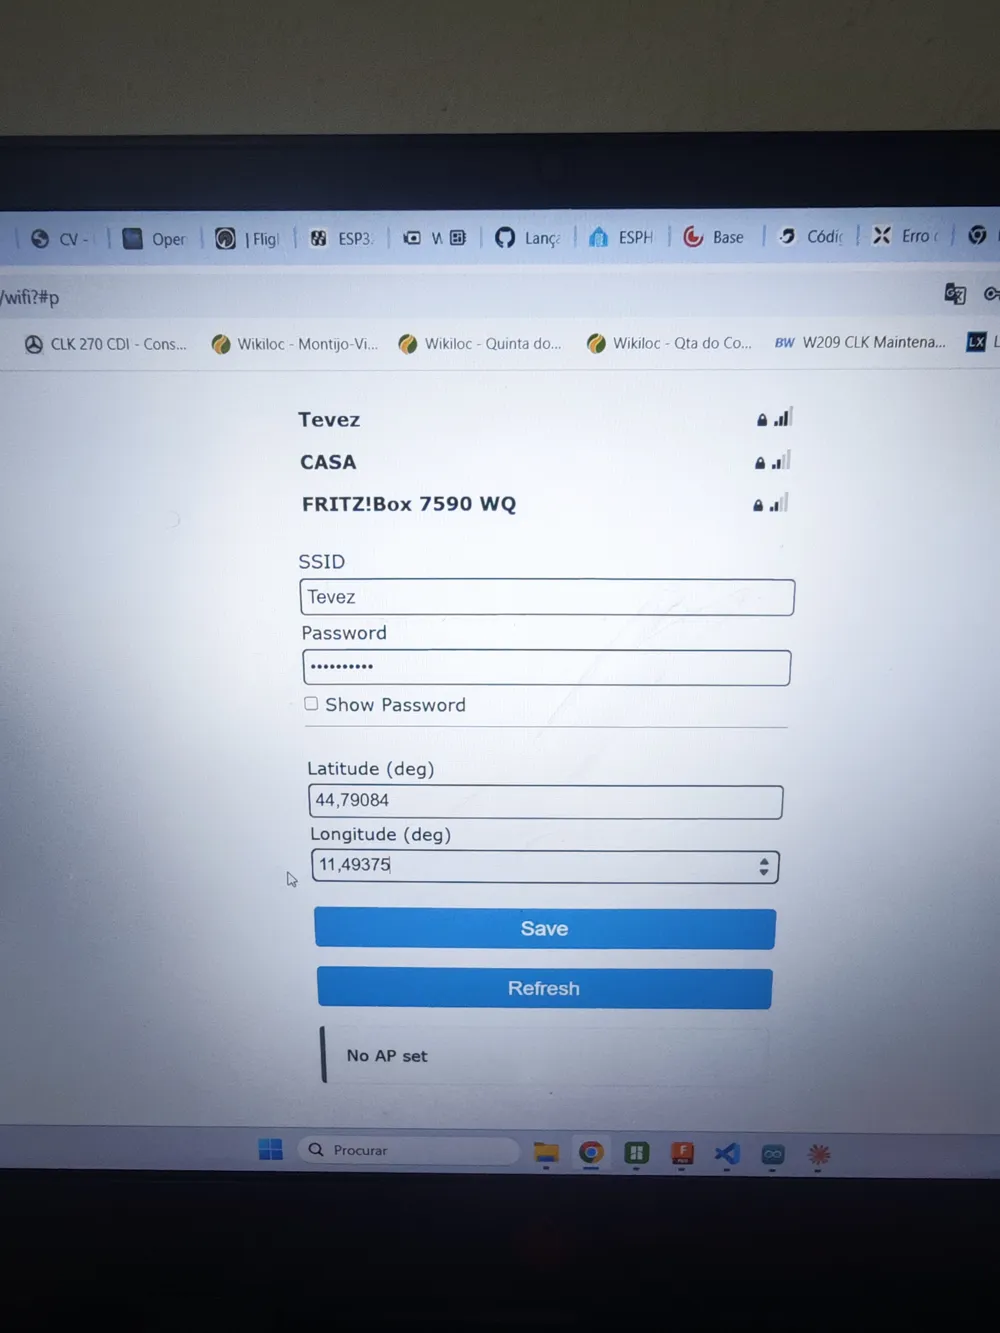
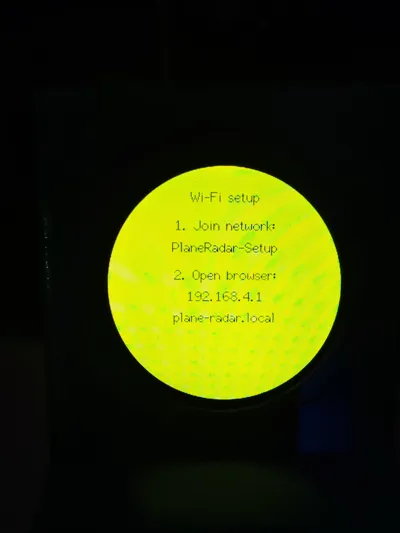
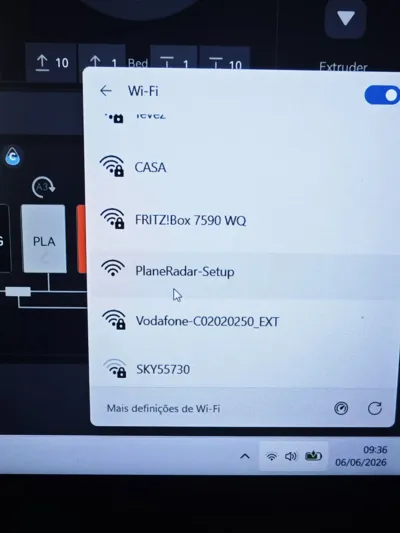
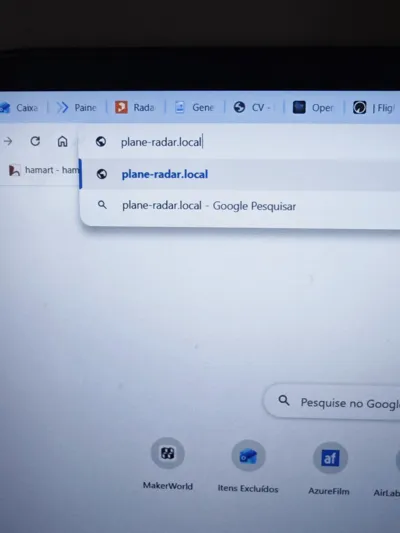
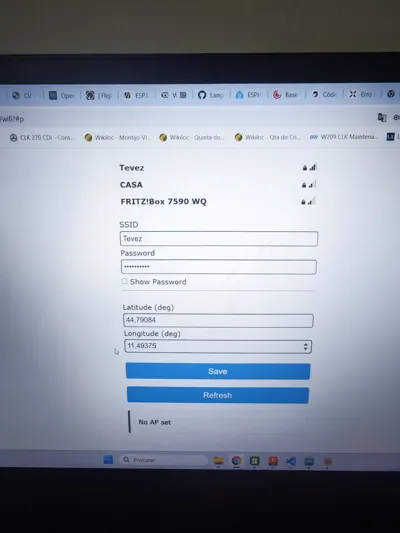
To reset the coordinates and wi-fi connection, press the button for 3 seconds.
Enjoy!
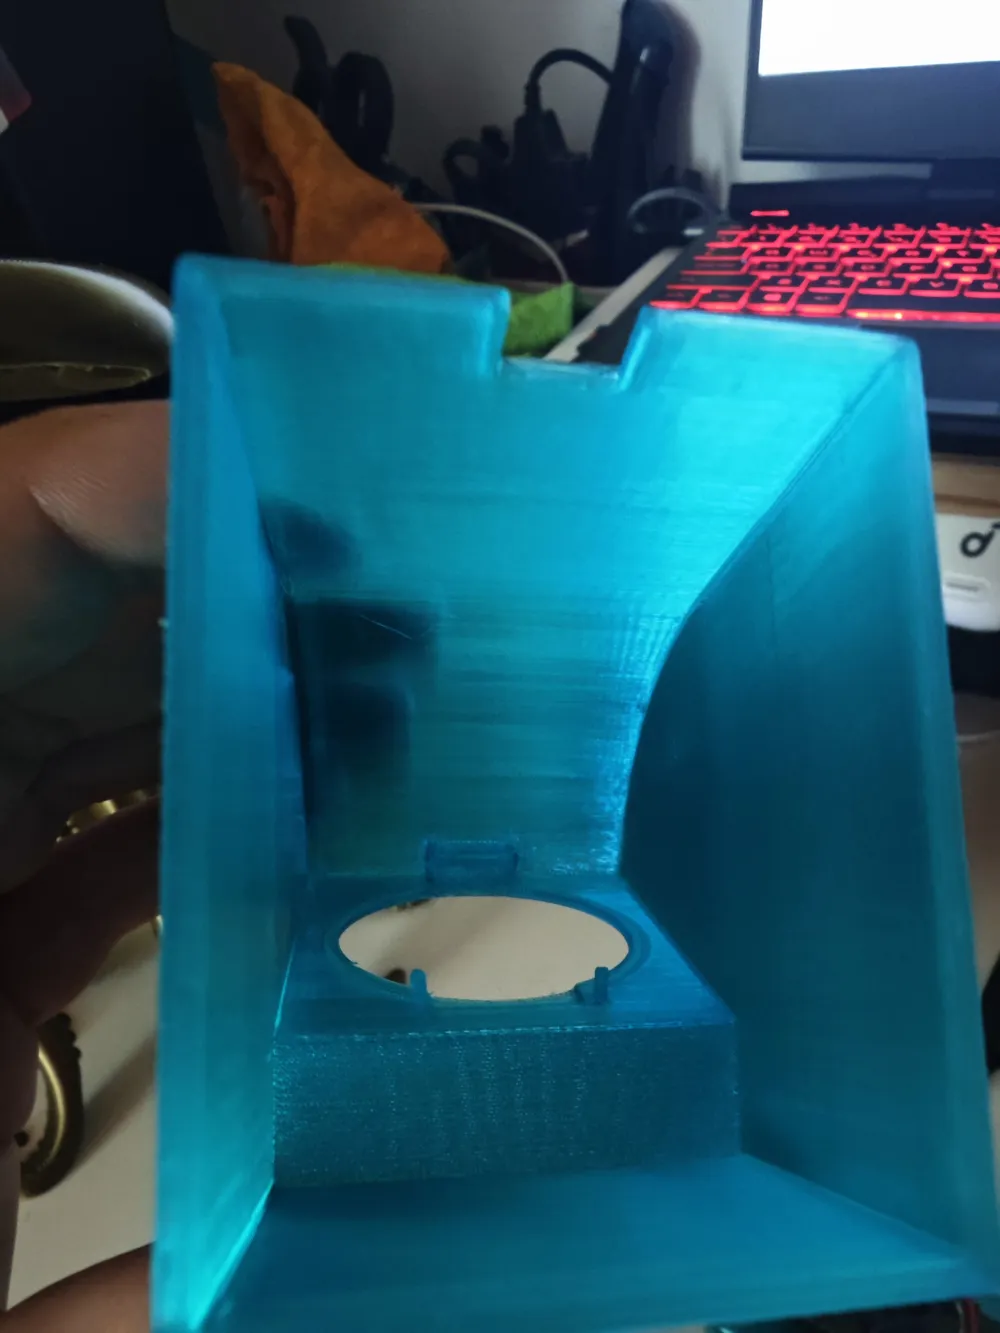
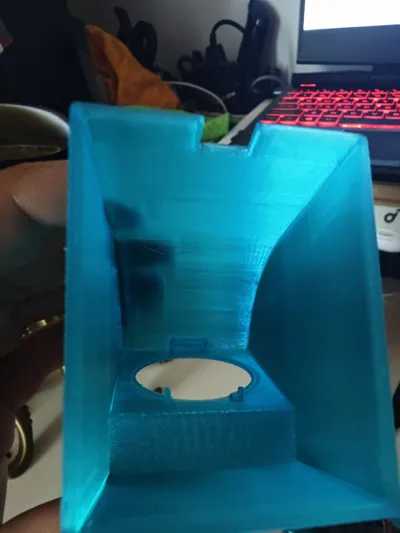
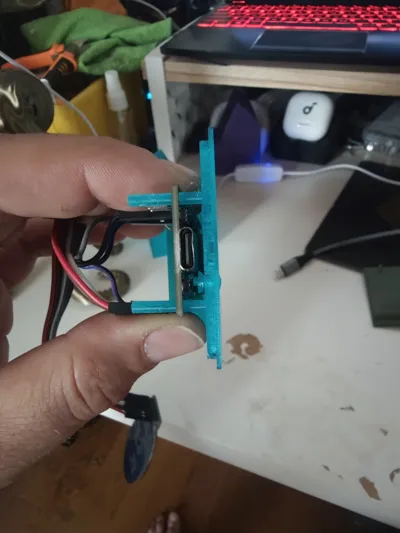
install the display (with the wires connected already) inside and fix them on the pins (add some hot glue for reinforcement)
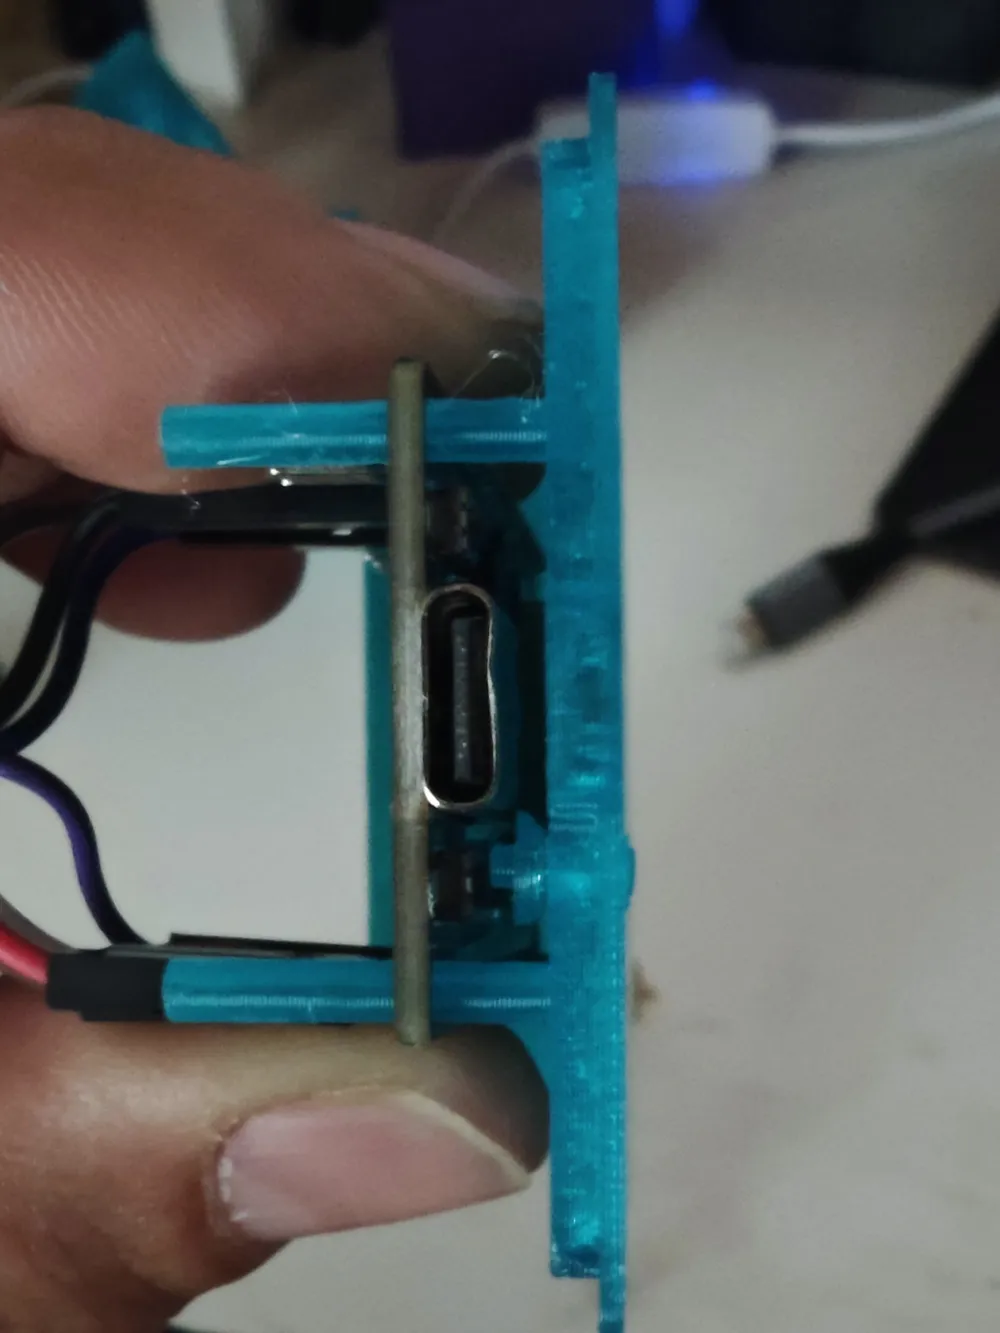
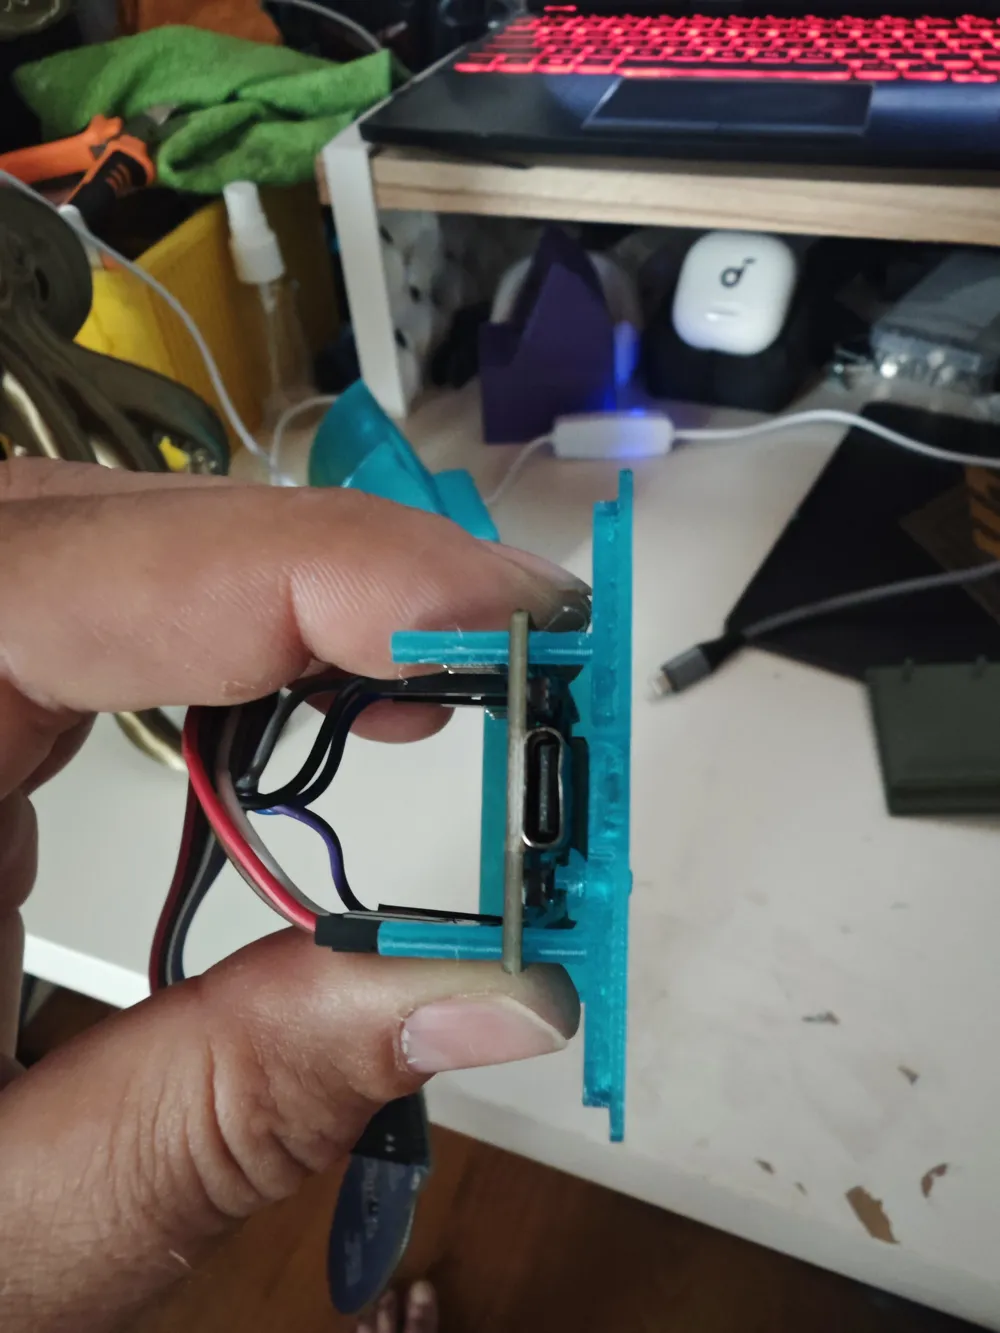
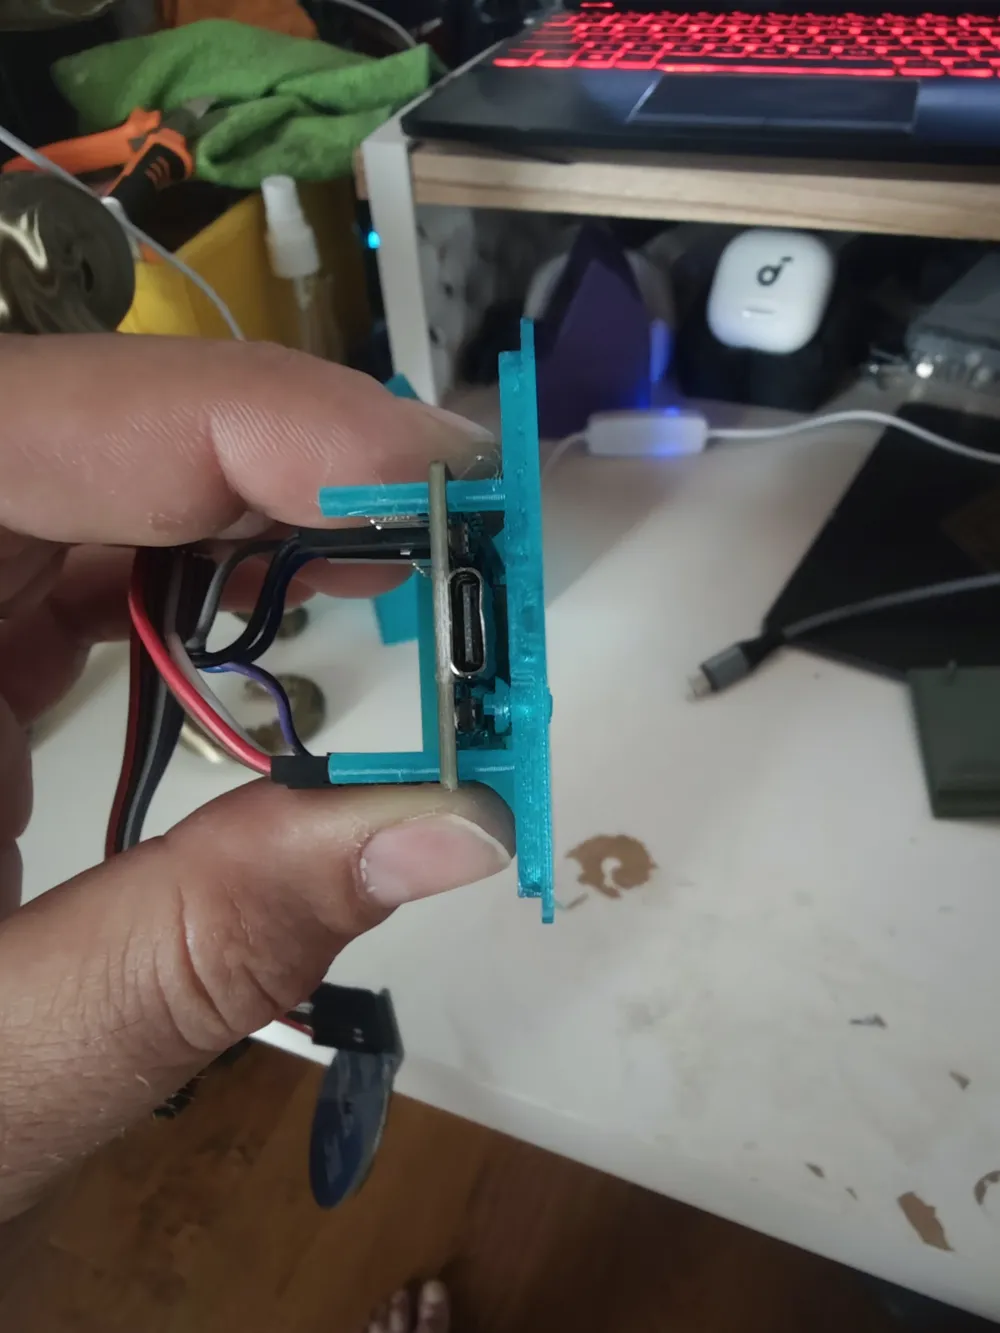
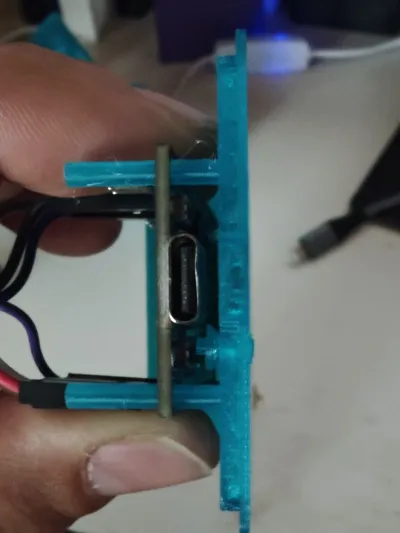
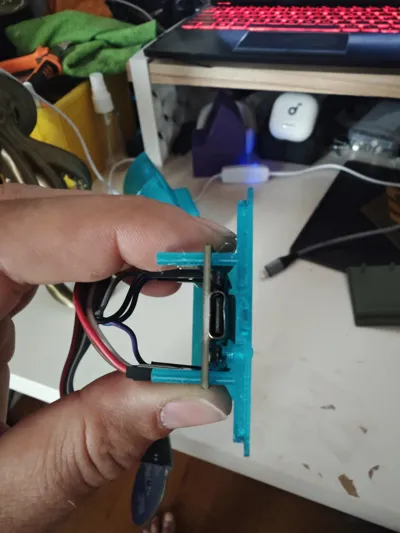
instal the pin (long part down)
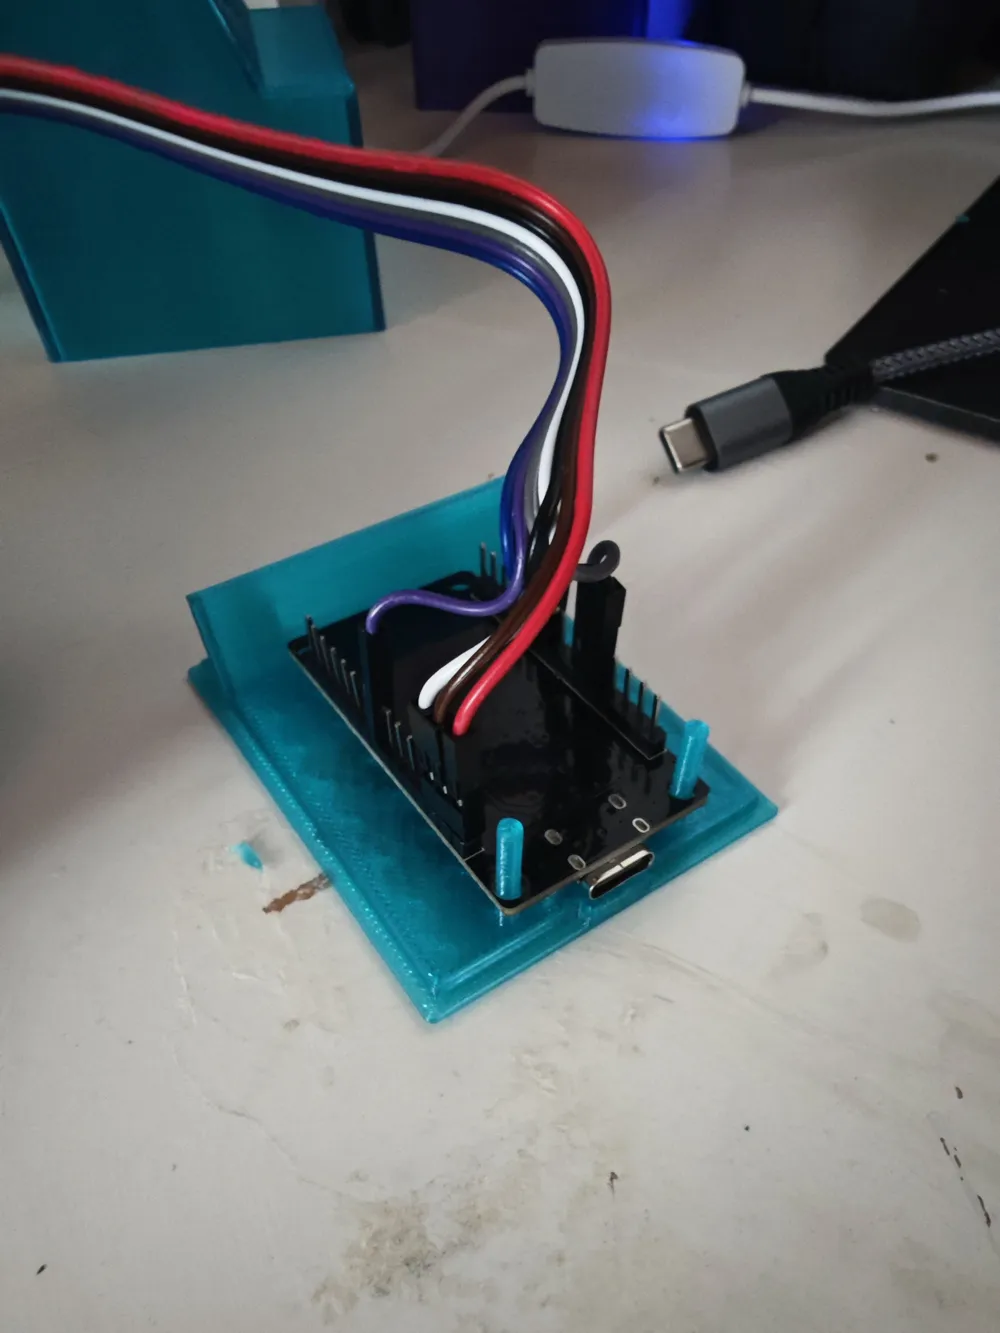
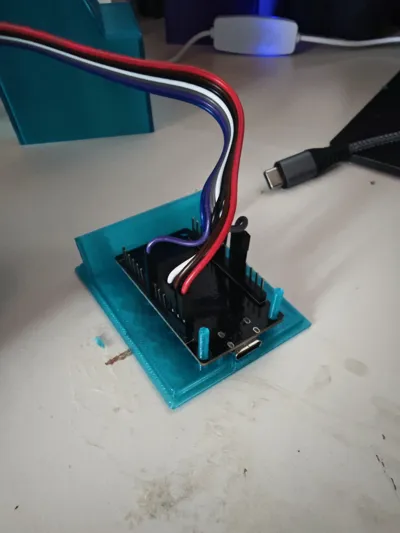
Install the ESP32 board in the base and install the top lockers in the pins (With the wires connected already)
Join both pieces.
Part List:
Display TFT 1.28":
ESP 32 WROOM:
Connection cables (Female - Female):
PINOUT:
- MOSI → GPIO 15
- SCLK → GPIO 14
- CS → GPIO 5
- DC → GPIO 27
- RST → GPIO 33
INSTRUCTIONS:
Install "arduino IDE" software on your PC/LAPTOP - https://support.arduino.cc/hc/en-us/articles/360019833020-Download-and-install-Arduino-IDE
Install the board drivers - https://www.wch-ic.com/downloads/CH341SER_EXE.html
Launch IDE and install the following libraries:
- WiFi.h
- WiFiManager.h
- WiFiClientSecure.h
- HTTPClient.h
- ArduinoJson.h
- Preferences.h
- SPI.h
- TFT_eSPI.h
- cmath
Click the “Sketch” tab“ - "include library” - Manage libraries
Now, search the name of each library listed above and install them.
Go to: “Documents - arduino - libraries - TFT_eSPI” and find the file “user_setup.h”.
Delete the file and replace it for the one that is inside the ZIP file, then change the extension from".txt" for “.h”
Finally, we are ready to enter the code.
The code is inside of the ZIP file, please change the extension of PLANE_RADAR_NM from “.txt” to “.ino” and open it.
Verify the code and upload it to ESP32 board.
Enjoy !
Documentation (1)
License

You may create derivative works based on this object, provided that all such derivative works are published exclusively on the MakerWorld platform and include proper attribution to the original creator. You may not share, upload, host, distribute, or publish this object—or any derivative work of this object—on any other digital platform, marketplace, or distribution channel. Commercial use of this object and any derivative works is strictly prohibited. This includes, but is not limited to, selling, renting, sublicensing, or using the object in any context in which you receive monetary compensation or other financial benefits.


Comment & Rating (1)