
Camping Folding Chair Torn Cloth Arm Rest Repair
Print Profile(1)
Bill of Materials

- 1/4-20 x 1-1/4" Long Hex Bolt x 2:
- 1/4-20 x 1/2" Long Flat Top Socket Cap Bolts x 9:
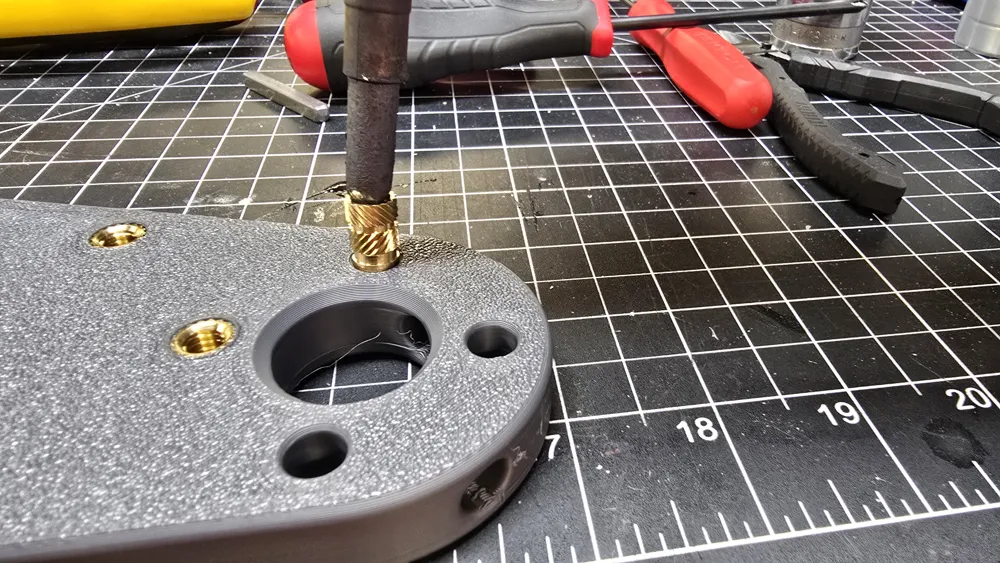
- Ruthex Inserts 1/4-20 (12.7mm Long) x 11:
Description
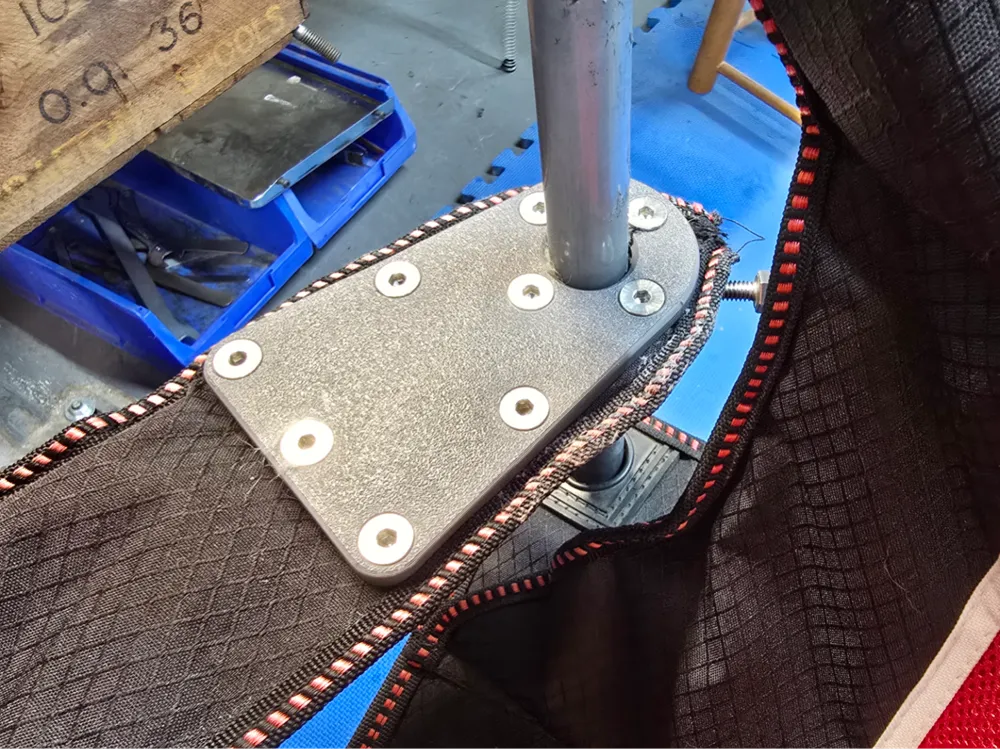
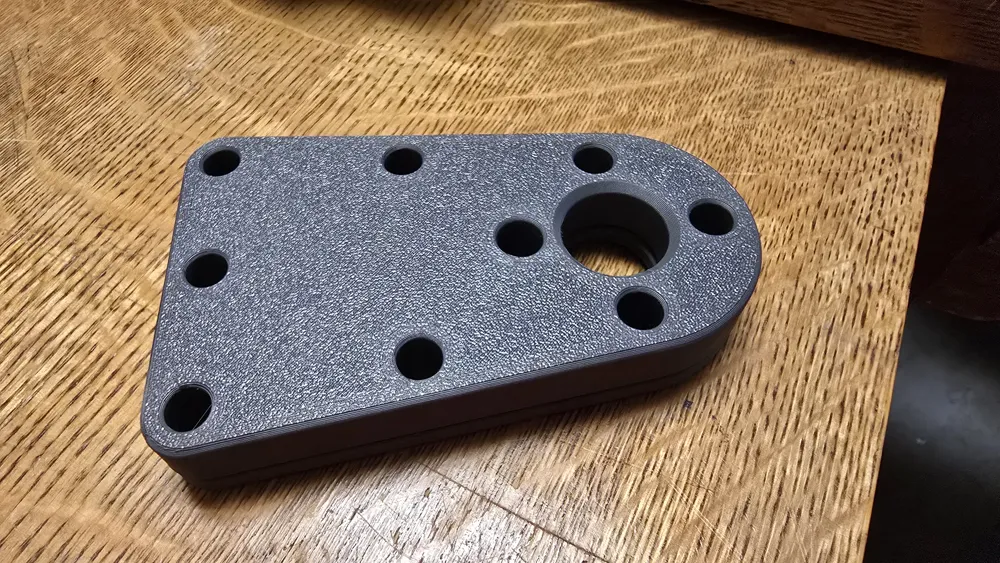
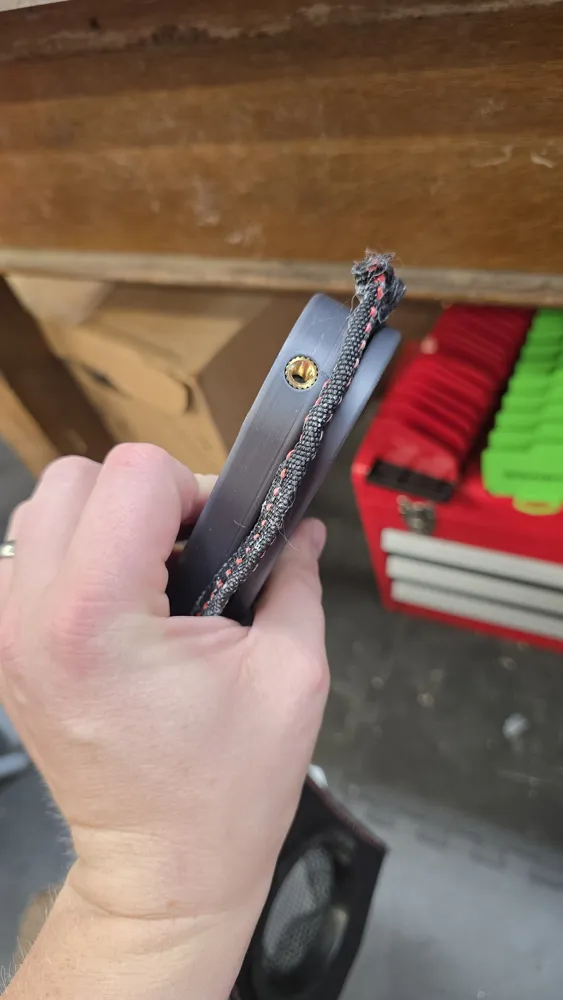
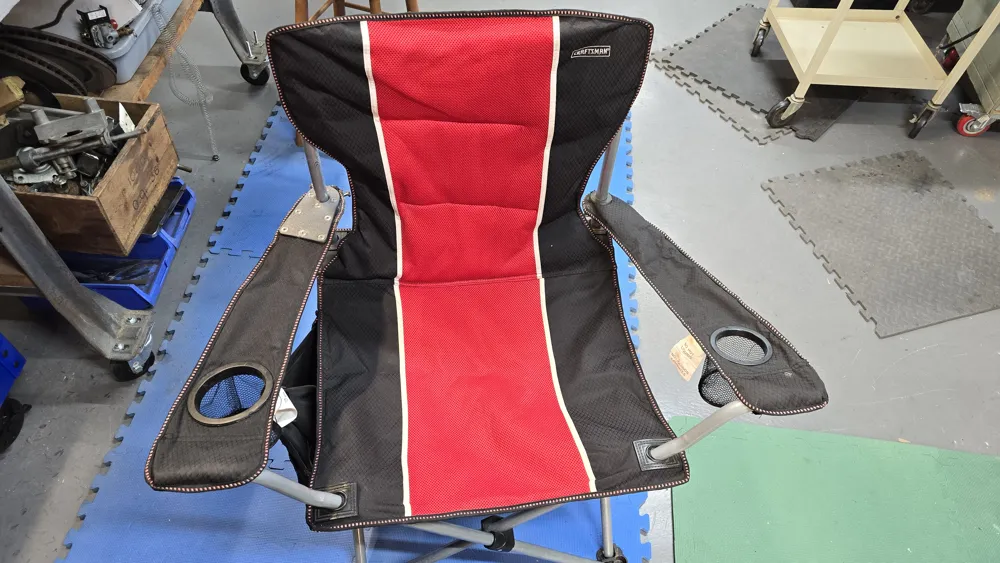
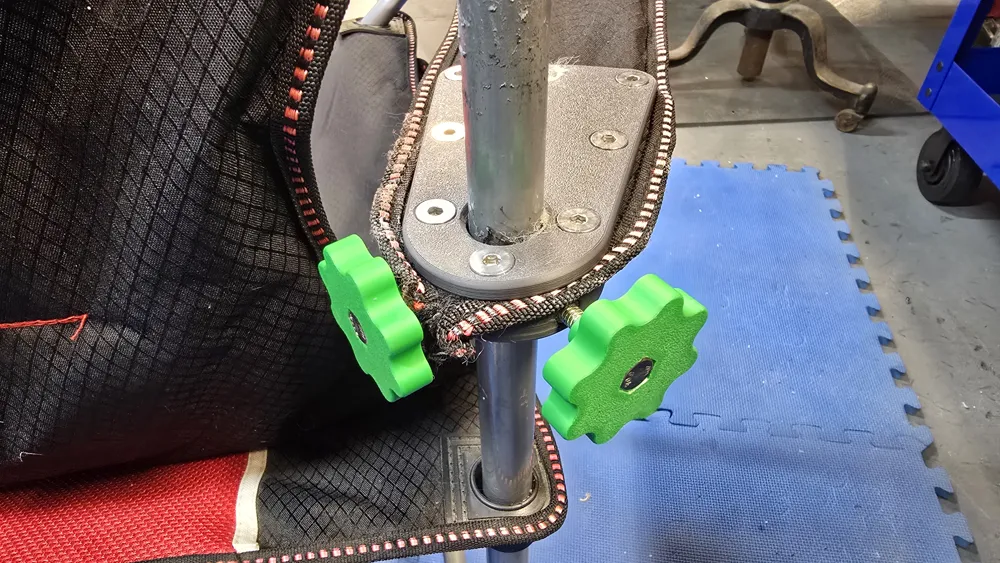
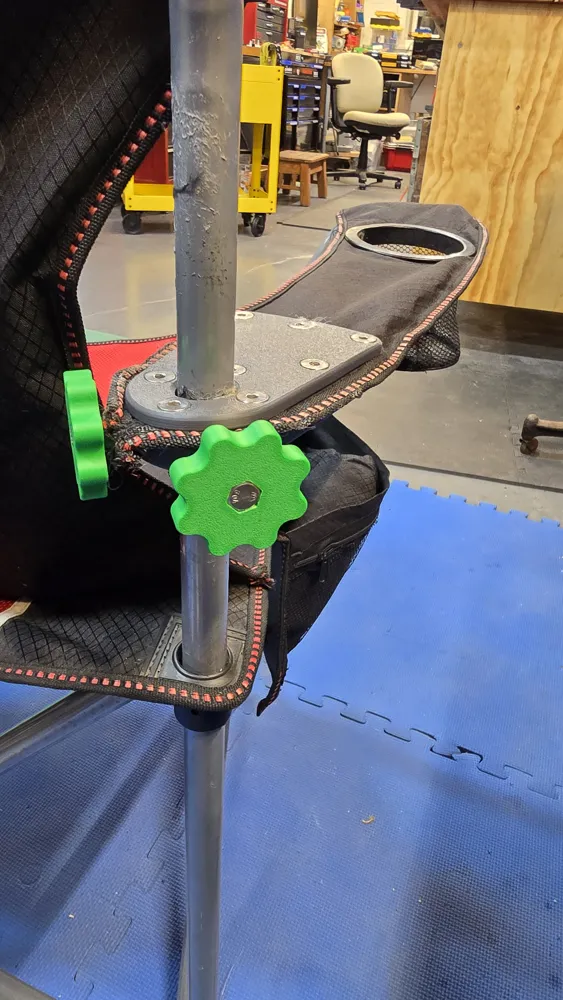
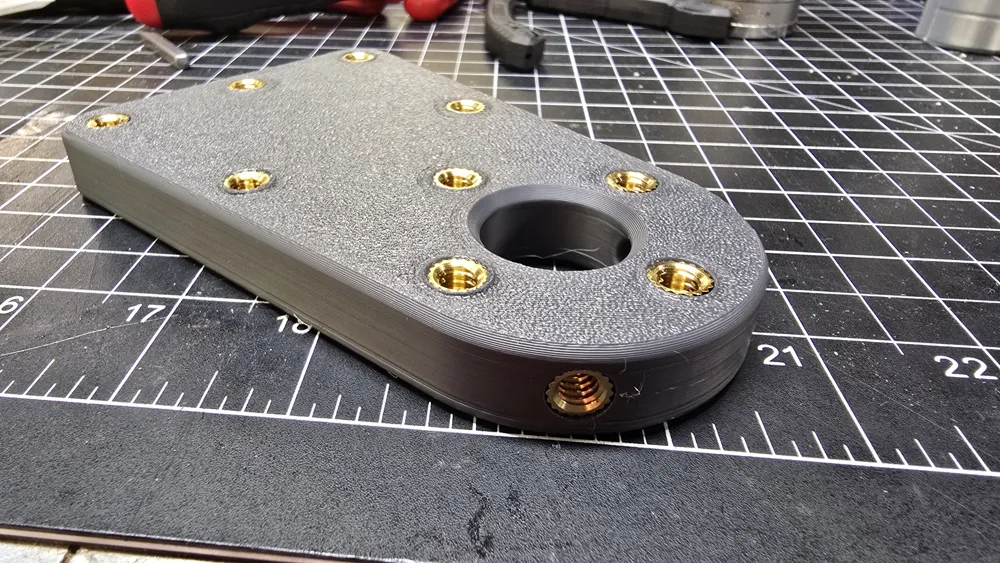
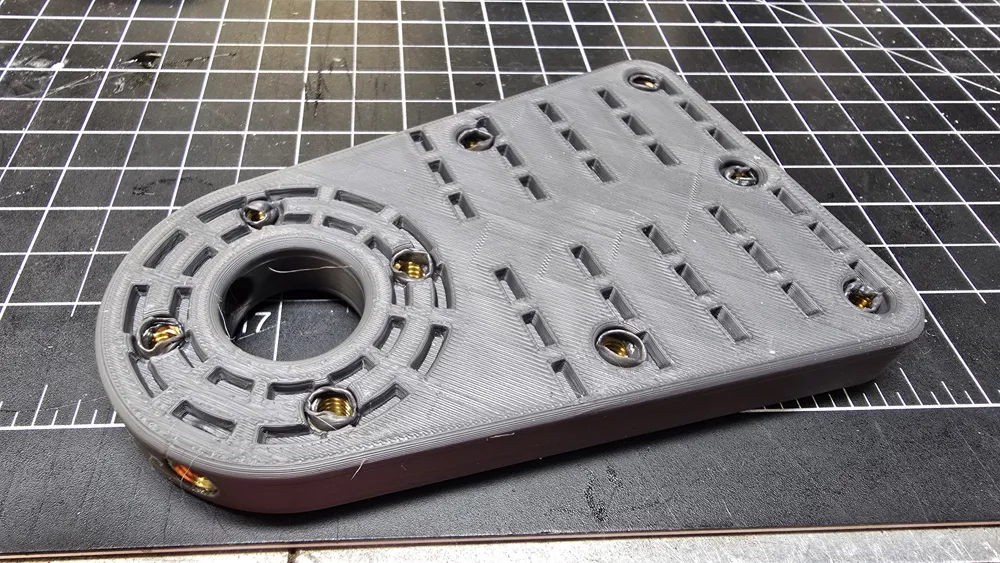
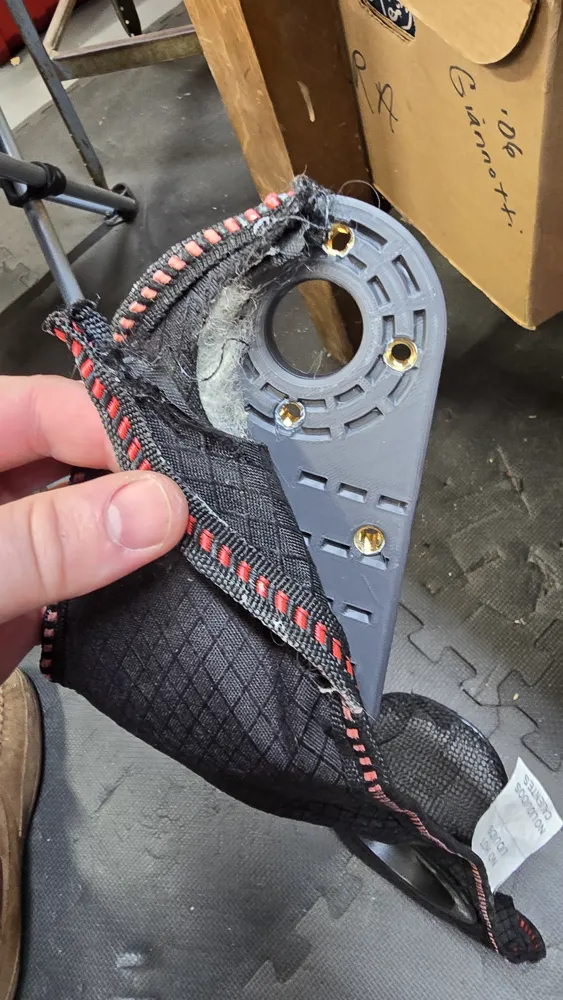
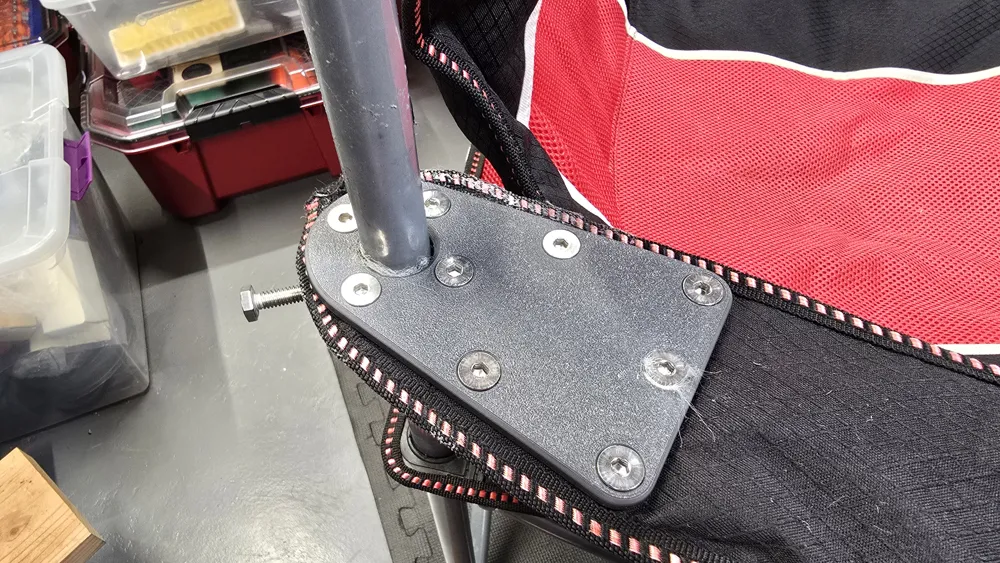
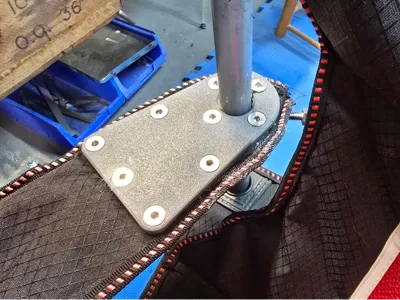
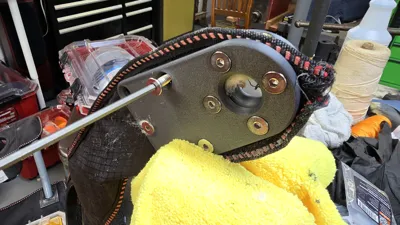
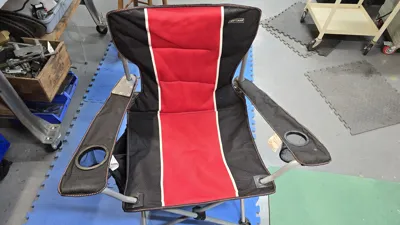
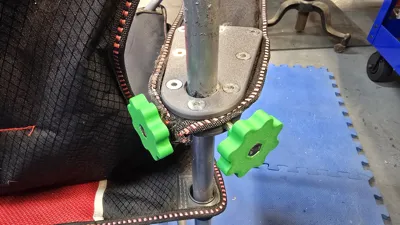
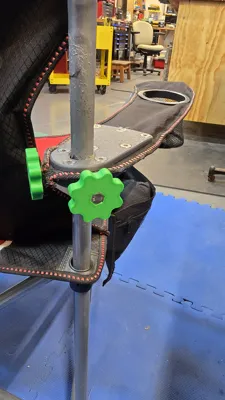
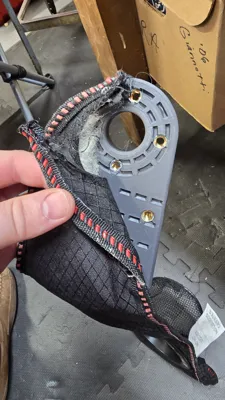
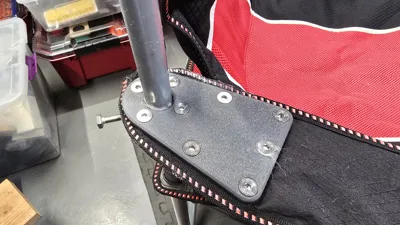
This is an very over the top fix for the armrests of camping/folding chairs that rip in the back where the arm rest attaches to the back of the chair. Instead of throwing your chair out, you can fix it with this 3d print and some hardware!
With this model you are going to need:
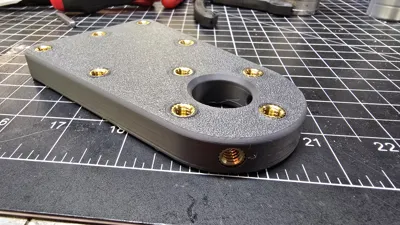
- 11 - Ruthex (12.7mm Long) ¼-20 Inserts -OR- Ruthex (12.7mm Long) m6 inserts.
- 9 - ½" long flat head socket cap stainless steel bolts. (¼-20 or m6 depending on your ruthex choice)
- 2 - 1-¼" Long ¼-20 -OR- m6 stainless steel hex cap bolt for the set screws on the pole.
- Some kind of tool to puncture holes in the chair fabric.
Instructions:
- Remove armrest from chair (if you can).
- Remove remainder of plastic/rubber grommet that failed.
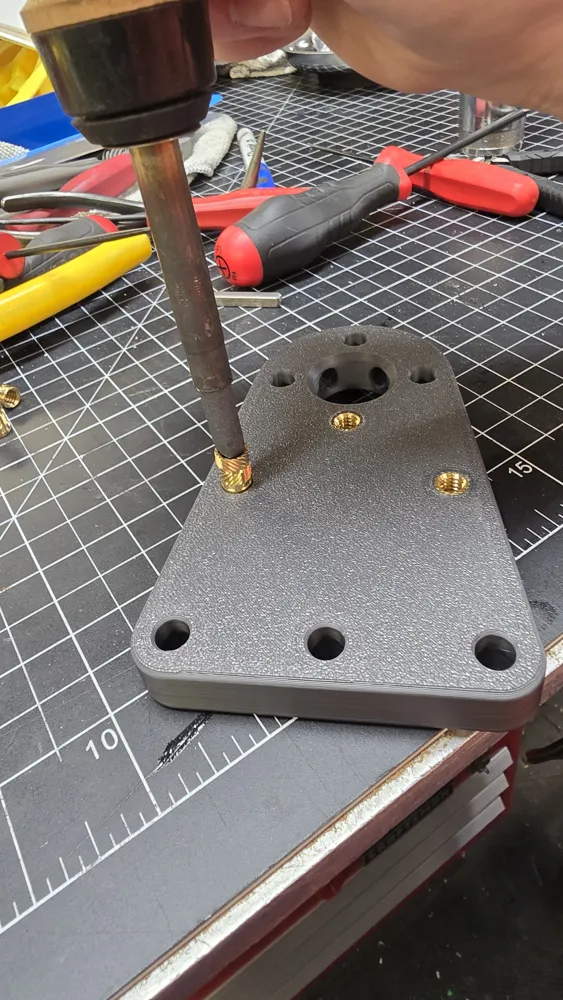
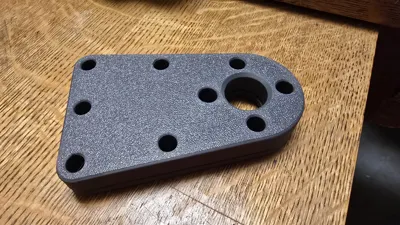
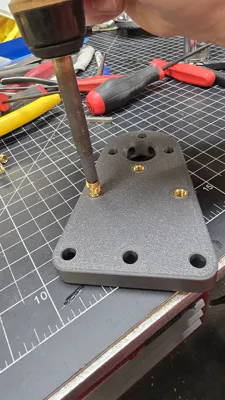
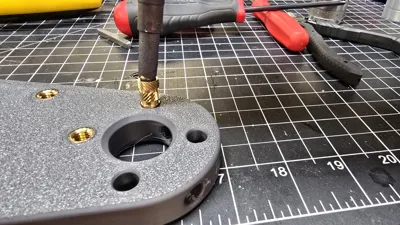
- Install Ruthex inserts into all 11 holes using a soldering iron or use your preferred method.
- If you don't want to use ruthex inserts you can also just get longer bolts and use a washer and nut underneath.
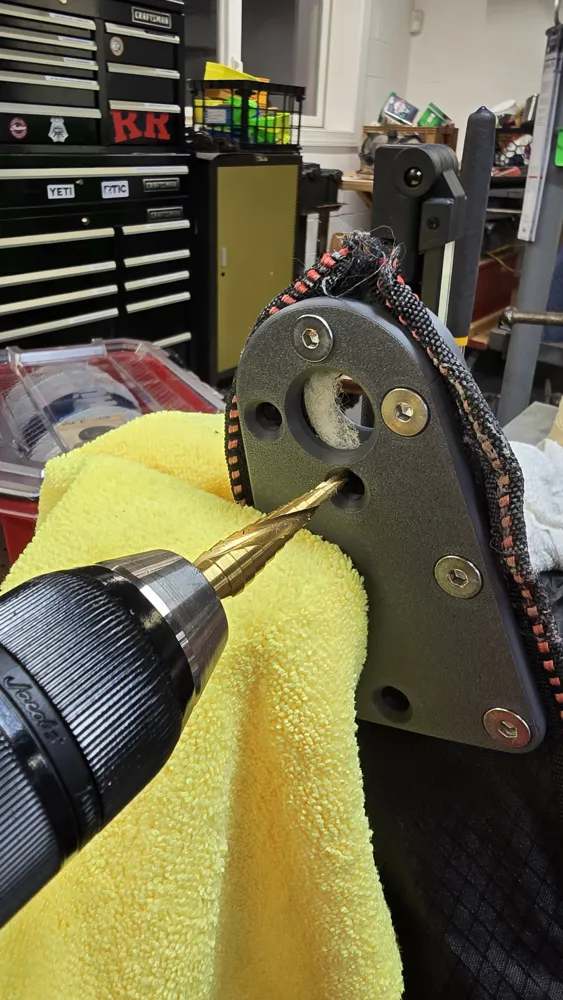
- After you install the ruthex inserts, take a bolt and run it through the othersie of the insert all the way to clear the hole of any excess plastic buildup.
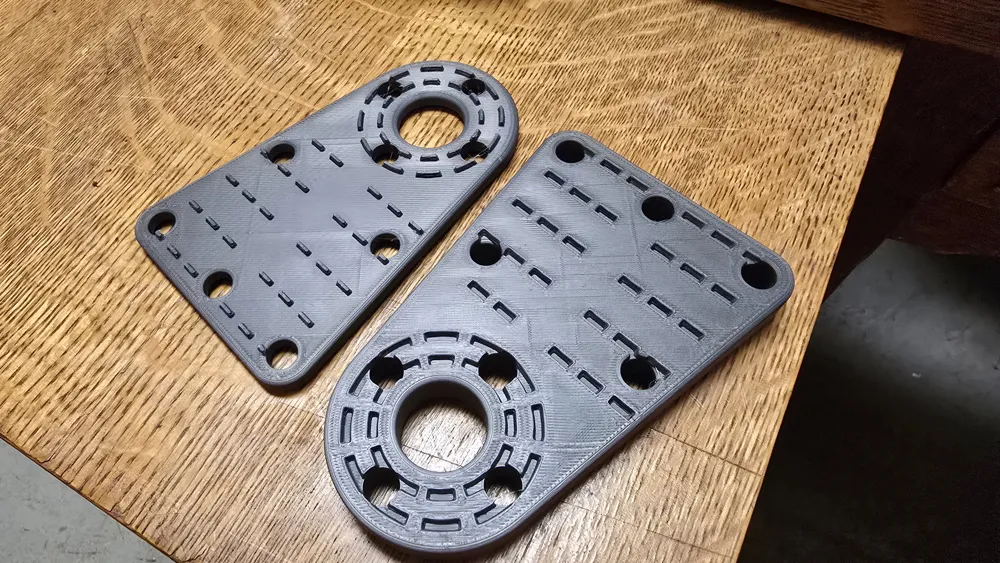
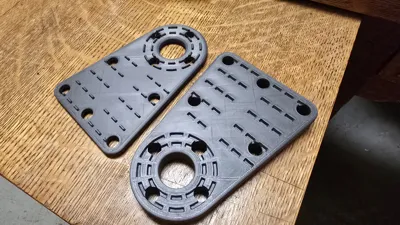
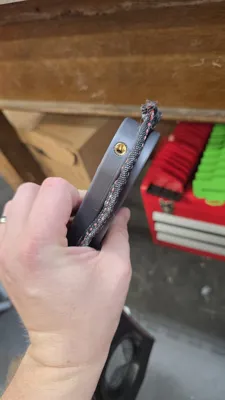
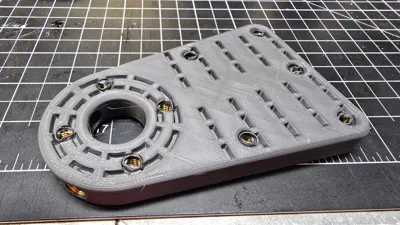
- Line up the top and the bottom plate and sandwich the arm rest between the two pieces.
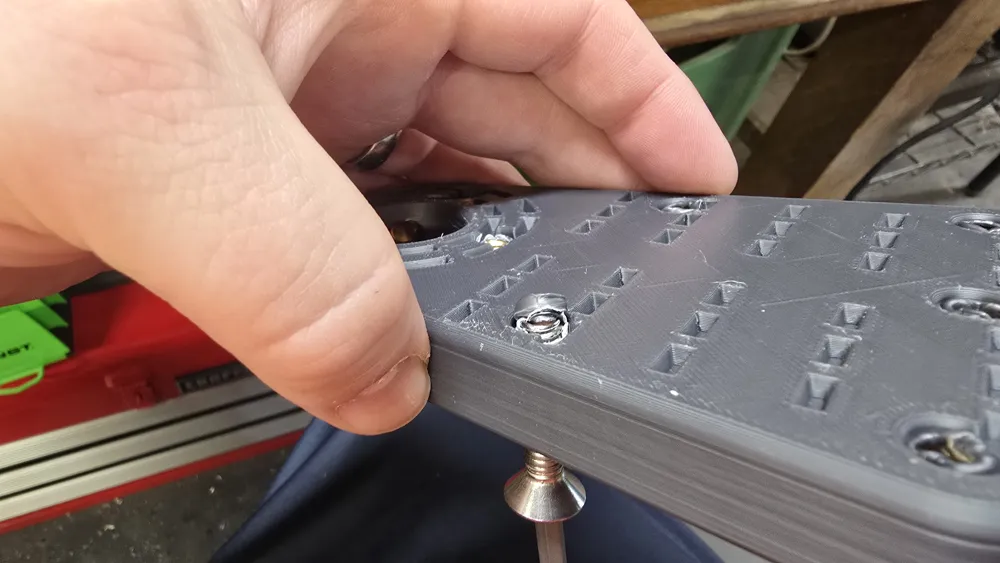
- Use a c clamp or put in vice to hold the pieces together.
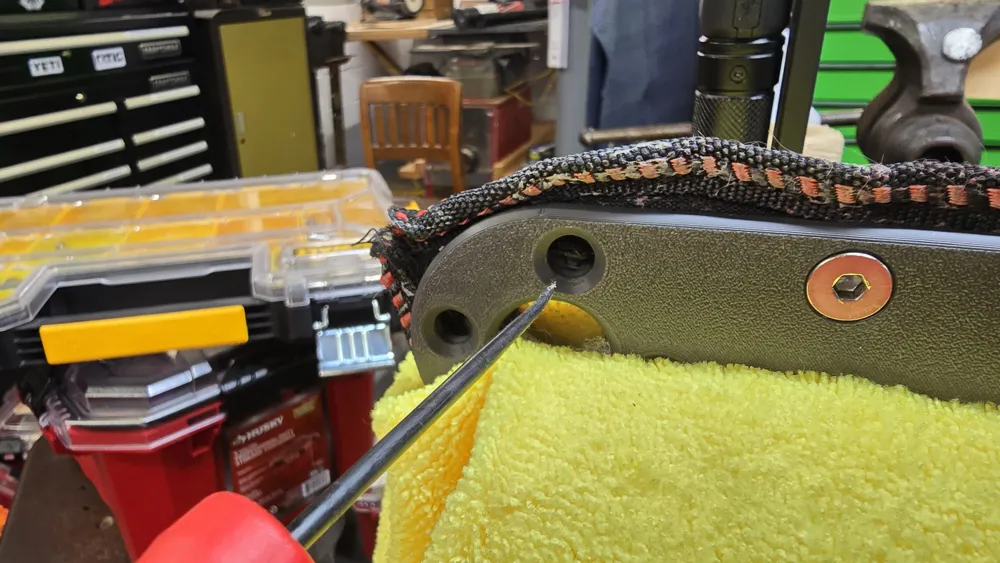
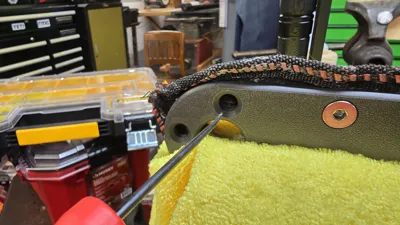
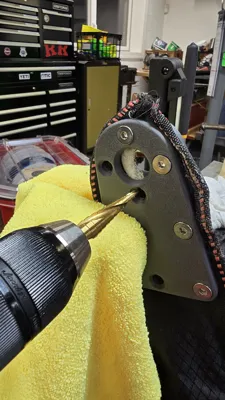
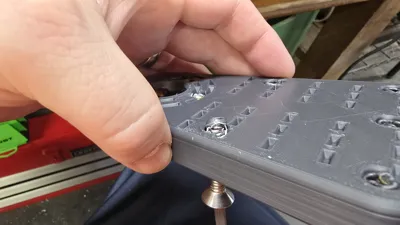
- Using an awl or pointy screwdriver, puncture the fabric in all the holes and use a larger screwdriver or method to enlarge the punctured holes. Don't have to go crazy because the bolts will go through pretty small holes in fabric when you start screwing them in.
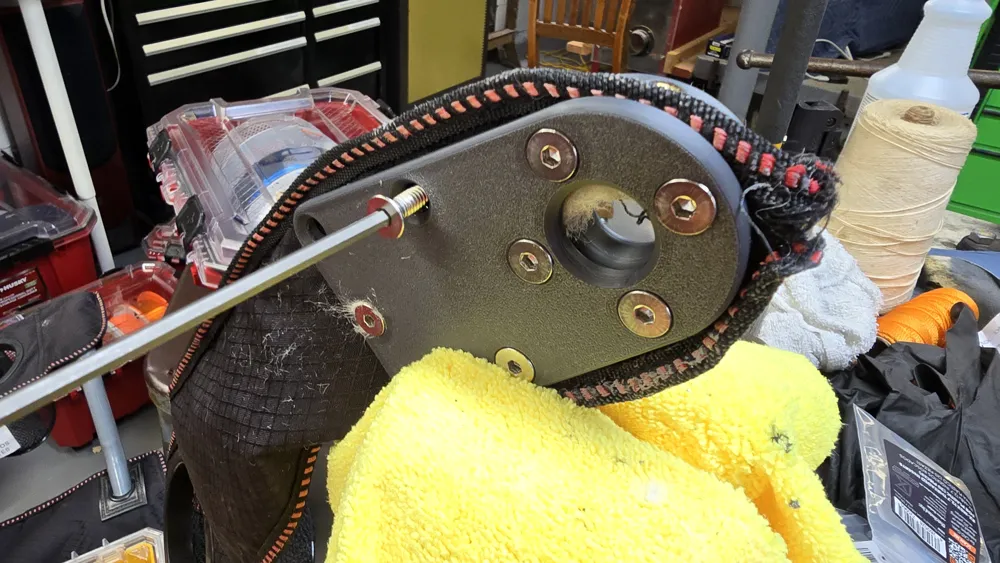
- Screw in all the bolts to join the top and bottom plate.
- Don't need to go crazy on tightening them.
Please check out my other models and give me a like and comment. Please share a picture of your print in the comments. I am open to suggestions and/or requests.
Boost Me (for free)
Please Boost me to help support the creations I am sharing with the 3D printing community!
License

You may create derivative works based on this object, provided that all such derivative works are published exclusively on the MakerWorld platform and include proper attribution to the original creator. You may not share, upload, host, distribute, or publish this object—or any derivative work of this object—on any other digital platform, marketplace, or distribution channel. Commercial use of this object and any derivative works is strictly prohibited. This includes, but is not limited to, selling, renting, sublicensing, or using the object in any context in which you receive monetary compensation or other financial benefits.


Comment & Rating (3)