
IKEA SKÅDIS DeWalt DCB1104 (XE) Charger Holder
Print Profile(1)

Bill of Materials

Description
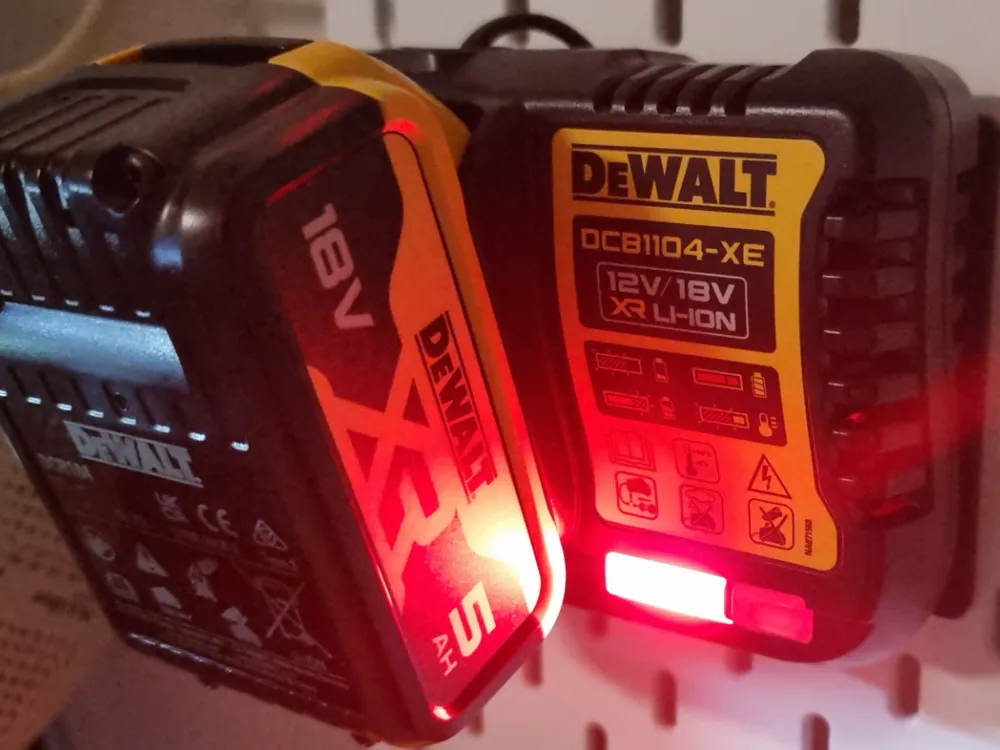
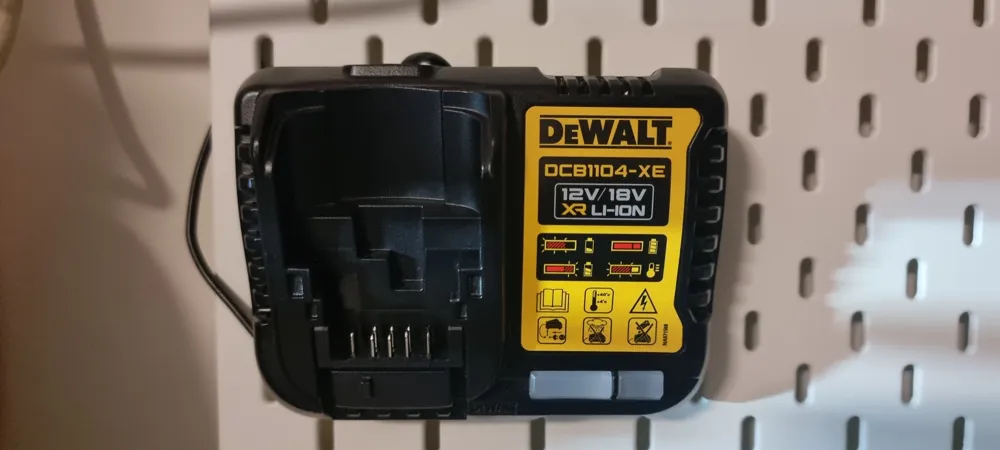
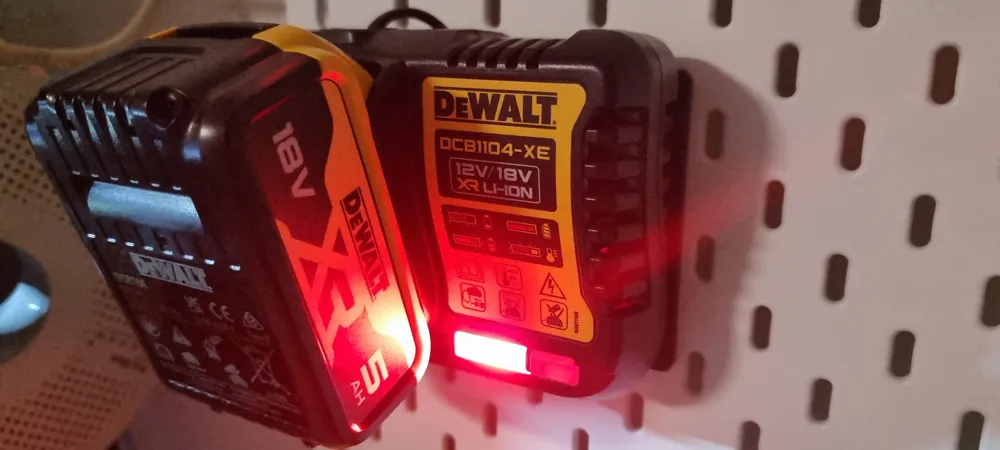
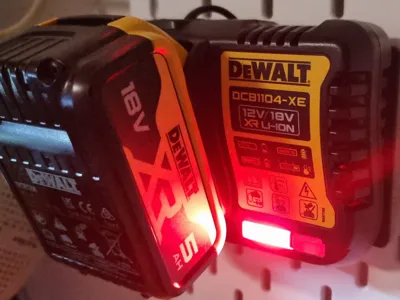
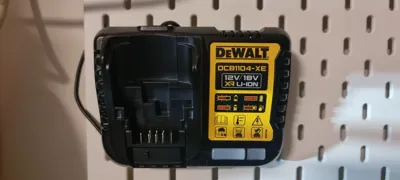
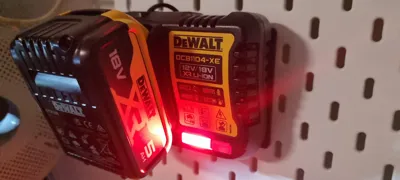
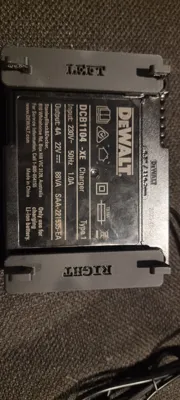
Keep your workspace organised by mounting your DeWalt DCB1104-XE 12V/18V XR battery charger directly to an IKEA SKÅDIS pegboard.
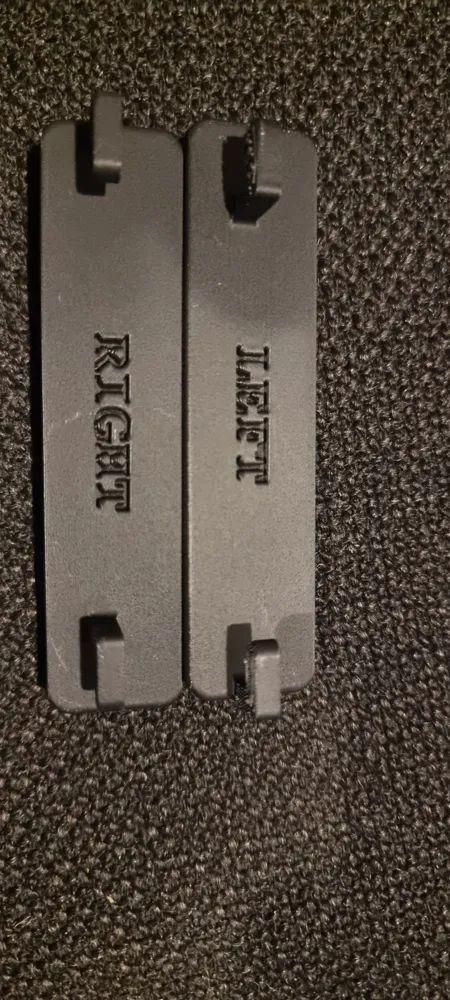
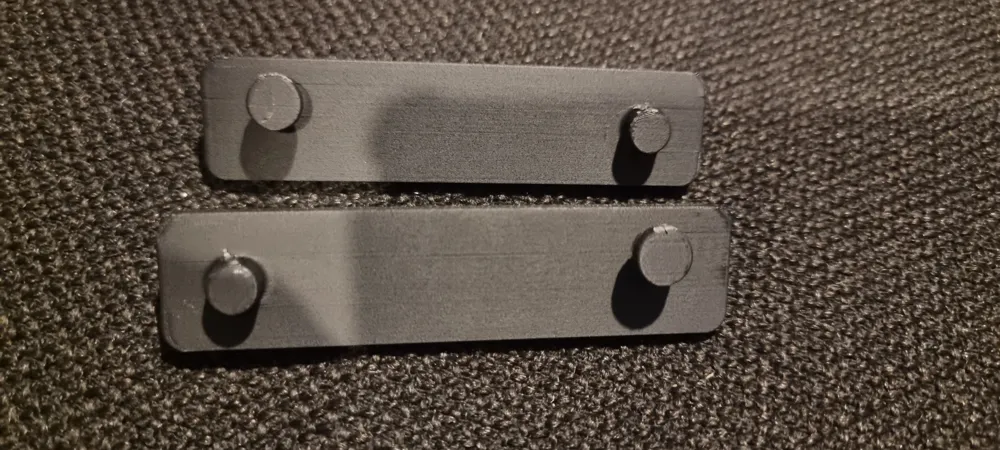
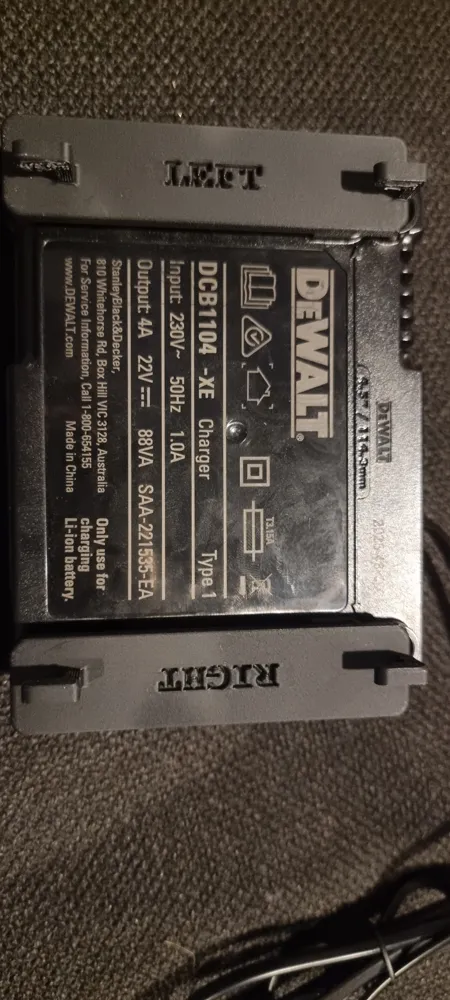
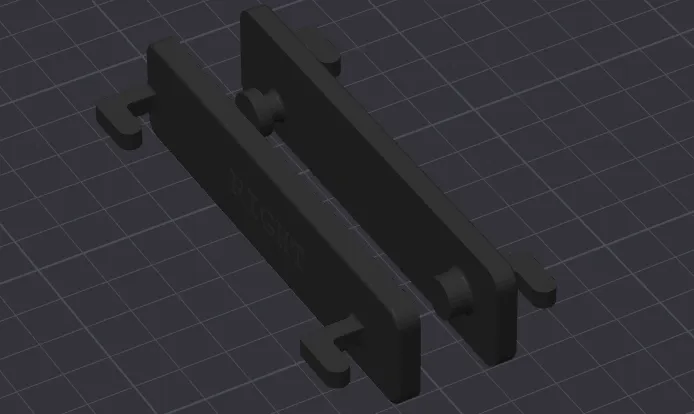
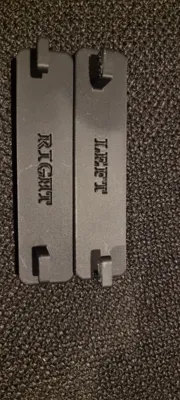
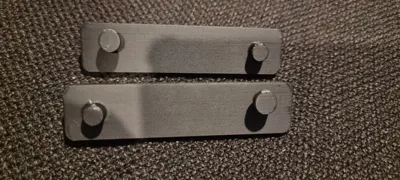
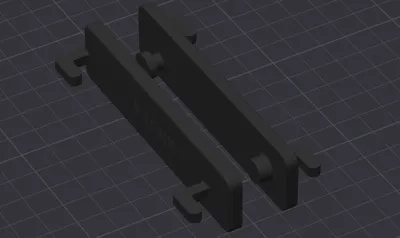
This mount uses two separate left and right brackets that securely attach to the rear of the charger, allowing it to hang safely on the pegboard while keeping the battery slot and charging indicators fully accessible. The design provides a clean, secure mounting solution while making it easy to remove the charger if required.
Both PLA and PETG versions have been tested successfully. PLA is recommended for most users as it provides plenty of strength for the DCB1104 charger and standard batteries. If you regularly charge larger or heavier batteries, PETG is recommended for its additional strength and improved heat resistance.
Features
- Designed specifically for the DeWalt DCB1104-XE charger
- Compatible with the IKEA SKÅDIS 76 × 56 cm pegboard (tested)
- Two-piece bracket design for easy installation
- Battery slot and charging indicators remain fully accessible
- Left and Right brackets are clearly labelled
- Low-profile, sturdy design
Printing Recommendations
- PLA when using smaller batteries
- PETG recommended when using larger or heavier batteries
- Supports required
- Print in the supplied orientation
For the best fit, ensure your printer is dimensionally calibrated and your filament shrinkage is correctly compensated. Different materials shrink by different amounts, which can affect how tightly the brackets fit the charger.
Bambu Lab has an excellent guide on filament shrinkage compensation:
https://wiki.bambulab.com/en/knowledge-sharing/3d-prints-shrinkage
Installation
- Print both bracket pieces.
- Remove the supports.
- Identify the LEFT and RIGHT brackets.
- Slide each bracket onto the corresponding side of the charger.
- Hang the charger on your IKEA SKÅDIS pegboard.
Your charger is now securely mounted and ready for use.
License

You shall not share, sub-license, sell, rent, host, transfer, or distribute in any way the digital or 3D printed versions of this object, nor any other derivative work of this object in its digital or physical format (including - but not limited to - remixes of this object, and hosting on other digital platforms). The objects may not be used without permission in any way whatsoever in which you charge money, or collect fees.


Comment & Rating (0)