
Dual 18650 Independent Charger (2x TP4056)
Print Profile(1)
Description
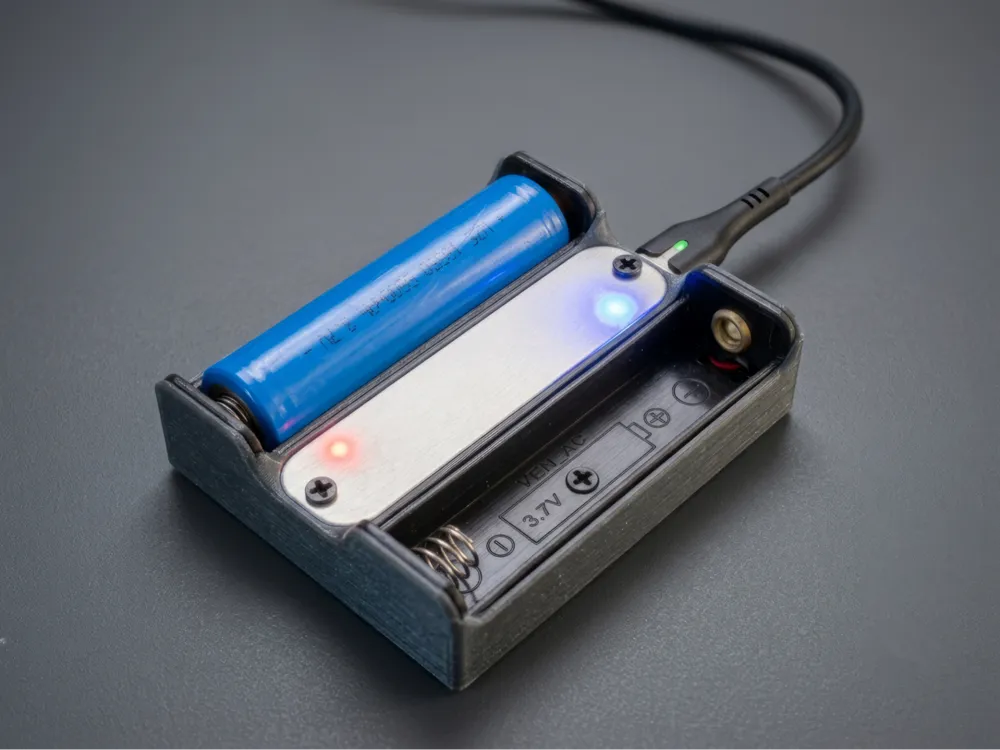
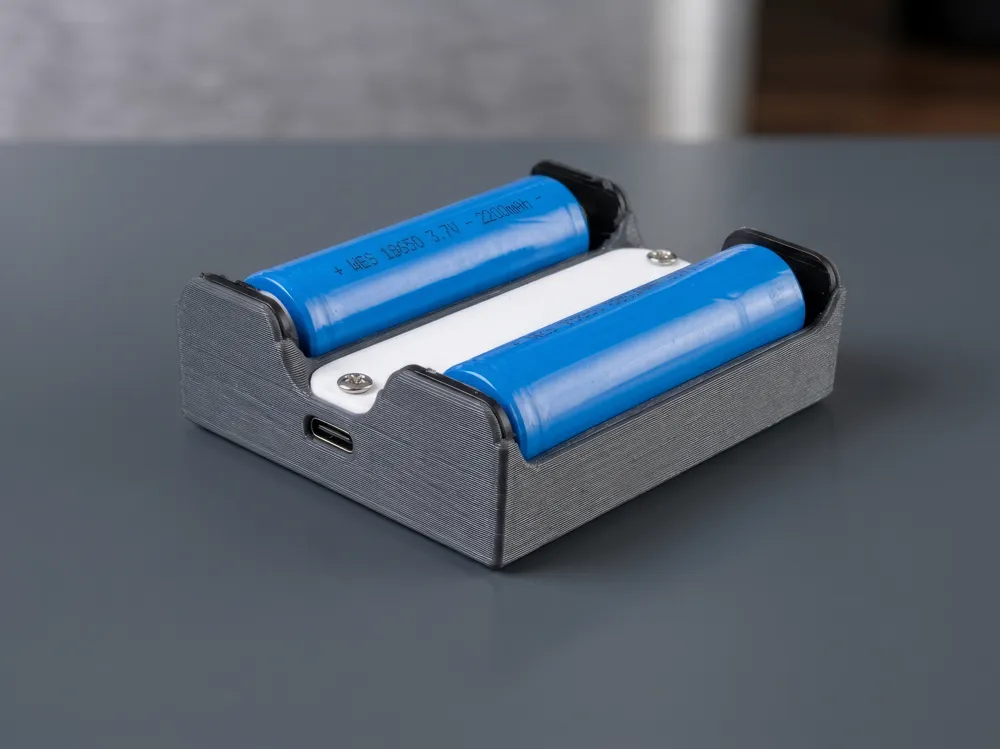
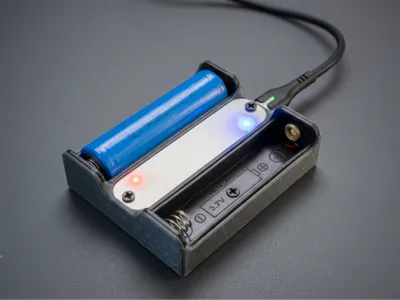
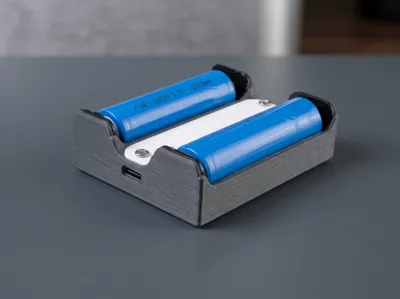
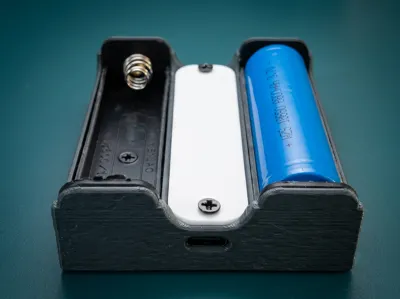
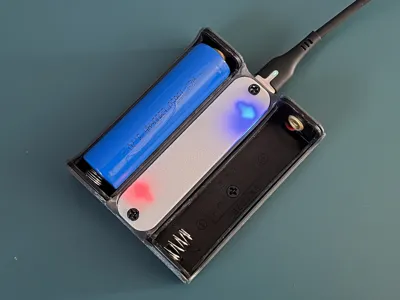
A sleek, ultra-compact, and functional Dual 18650 Battery Charger designed with a focus on minimalism and clean cable management.
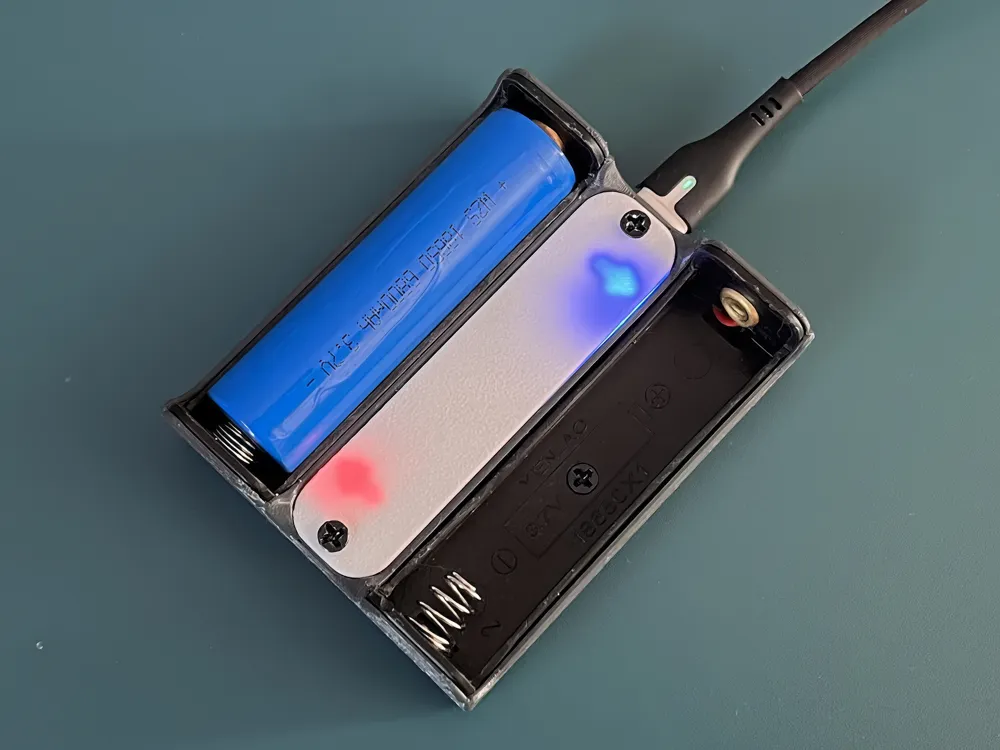
Unlike standard series/parallel holders, this design features two completely independent TP4056 charging channels, allowing you to charge two 18650 batteries individually without cross-interference or balance issues.
✨ Key Features
- True Independent Dual-Channel Charging: Powered by two separate TP4056 modules. Charge one or two batteries at the same time safely.
- Fast 1A Per Channel: Delivers up to 1A charging current per slot (requires a 5V / 2A+ USB power supply or wall adapter).
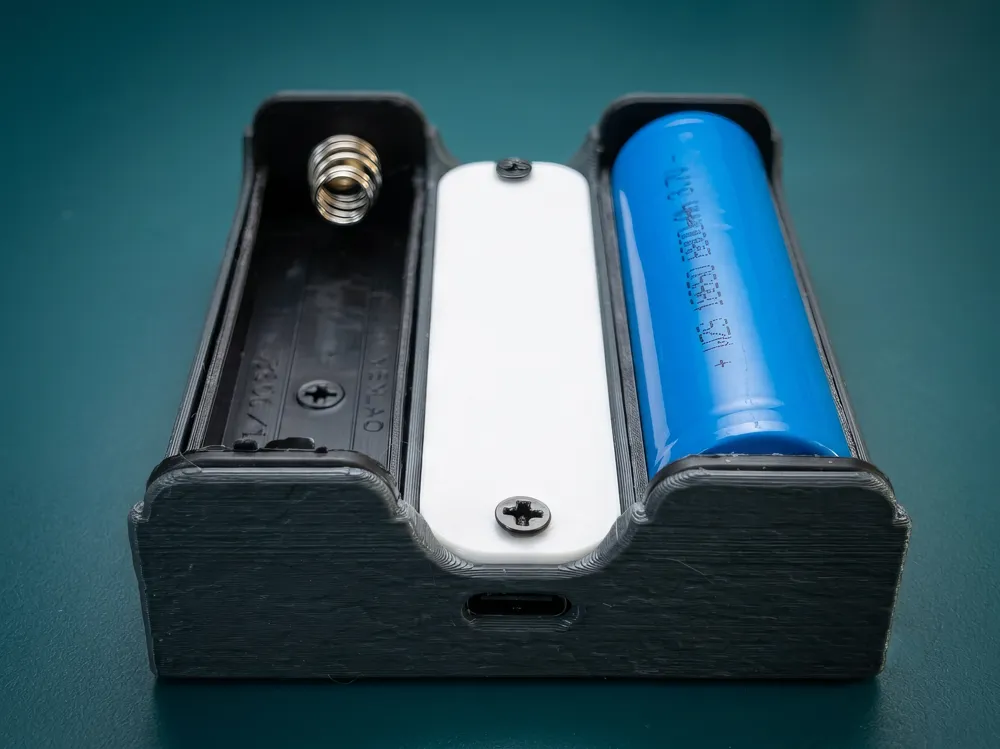
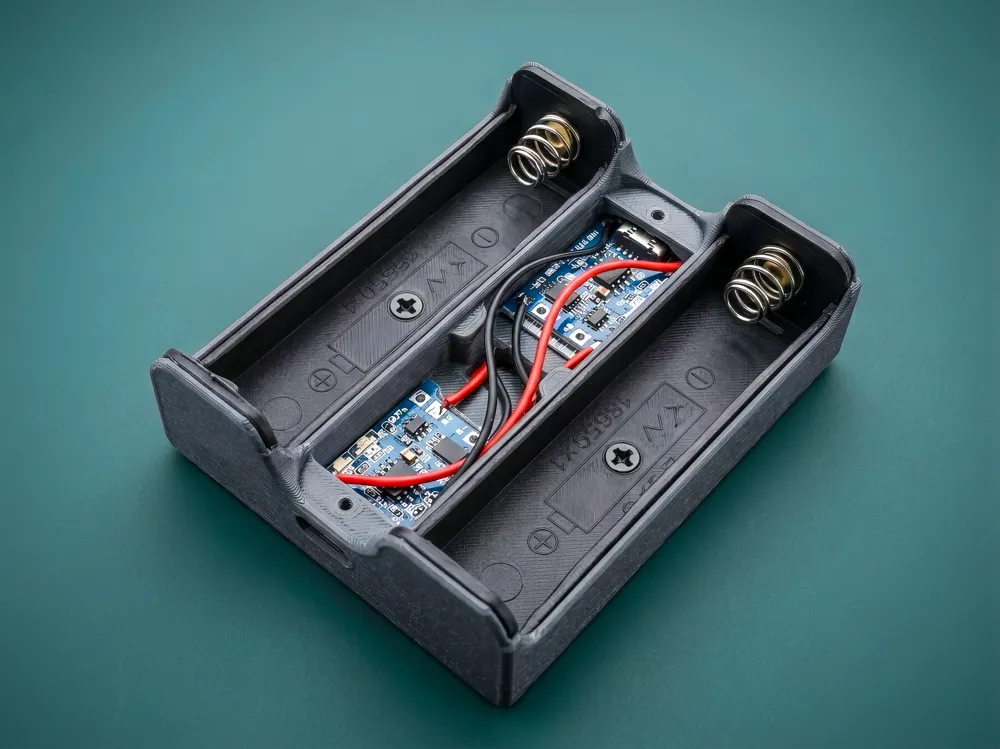
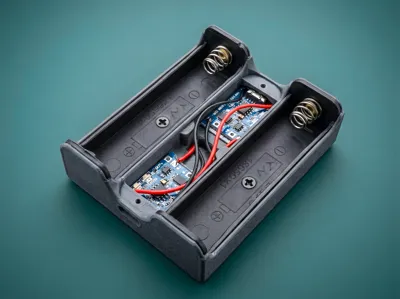
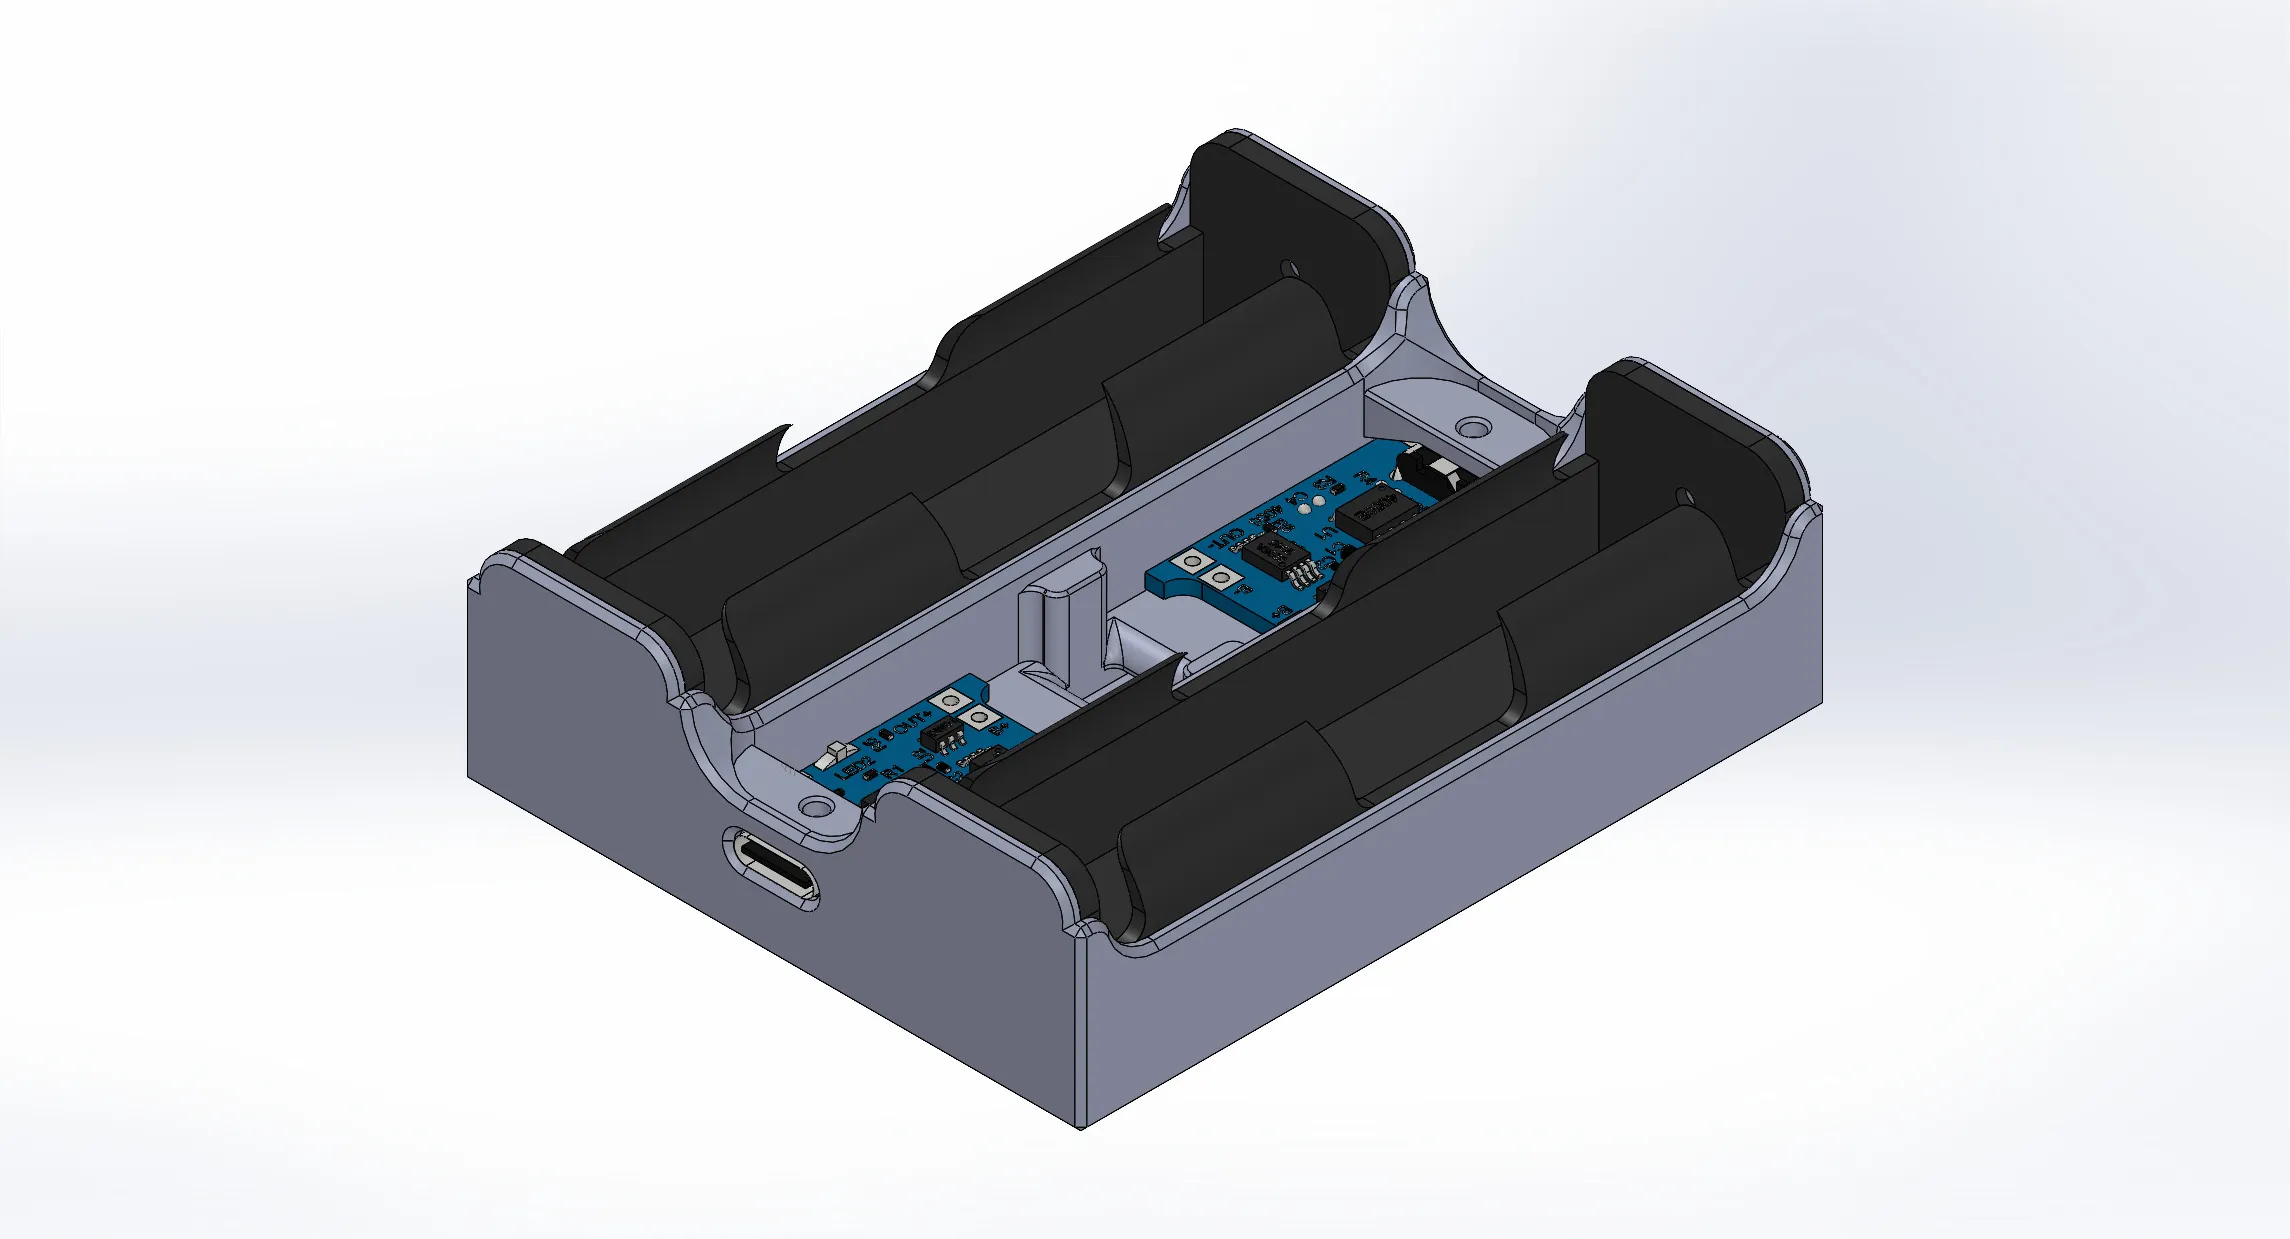
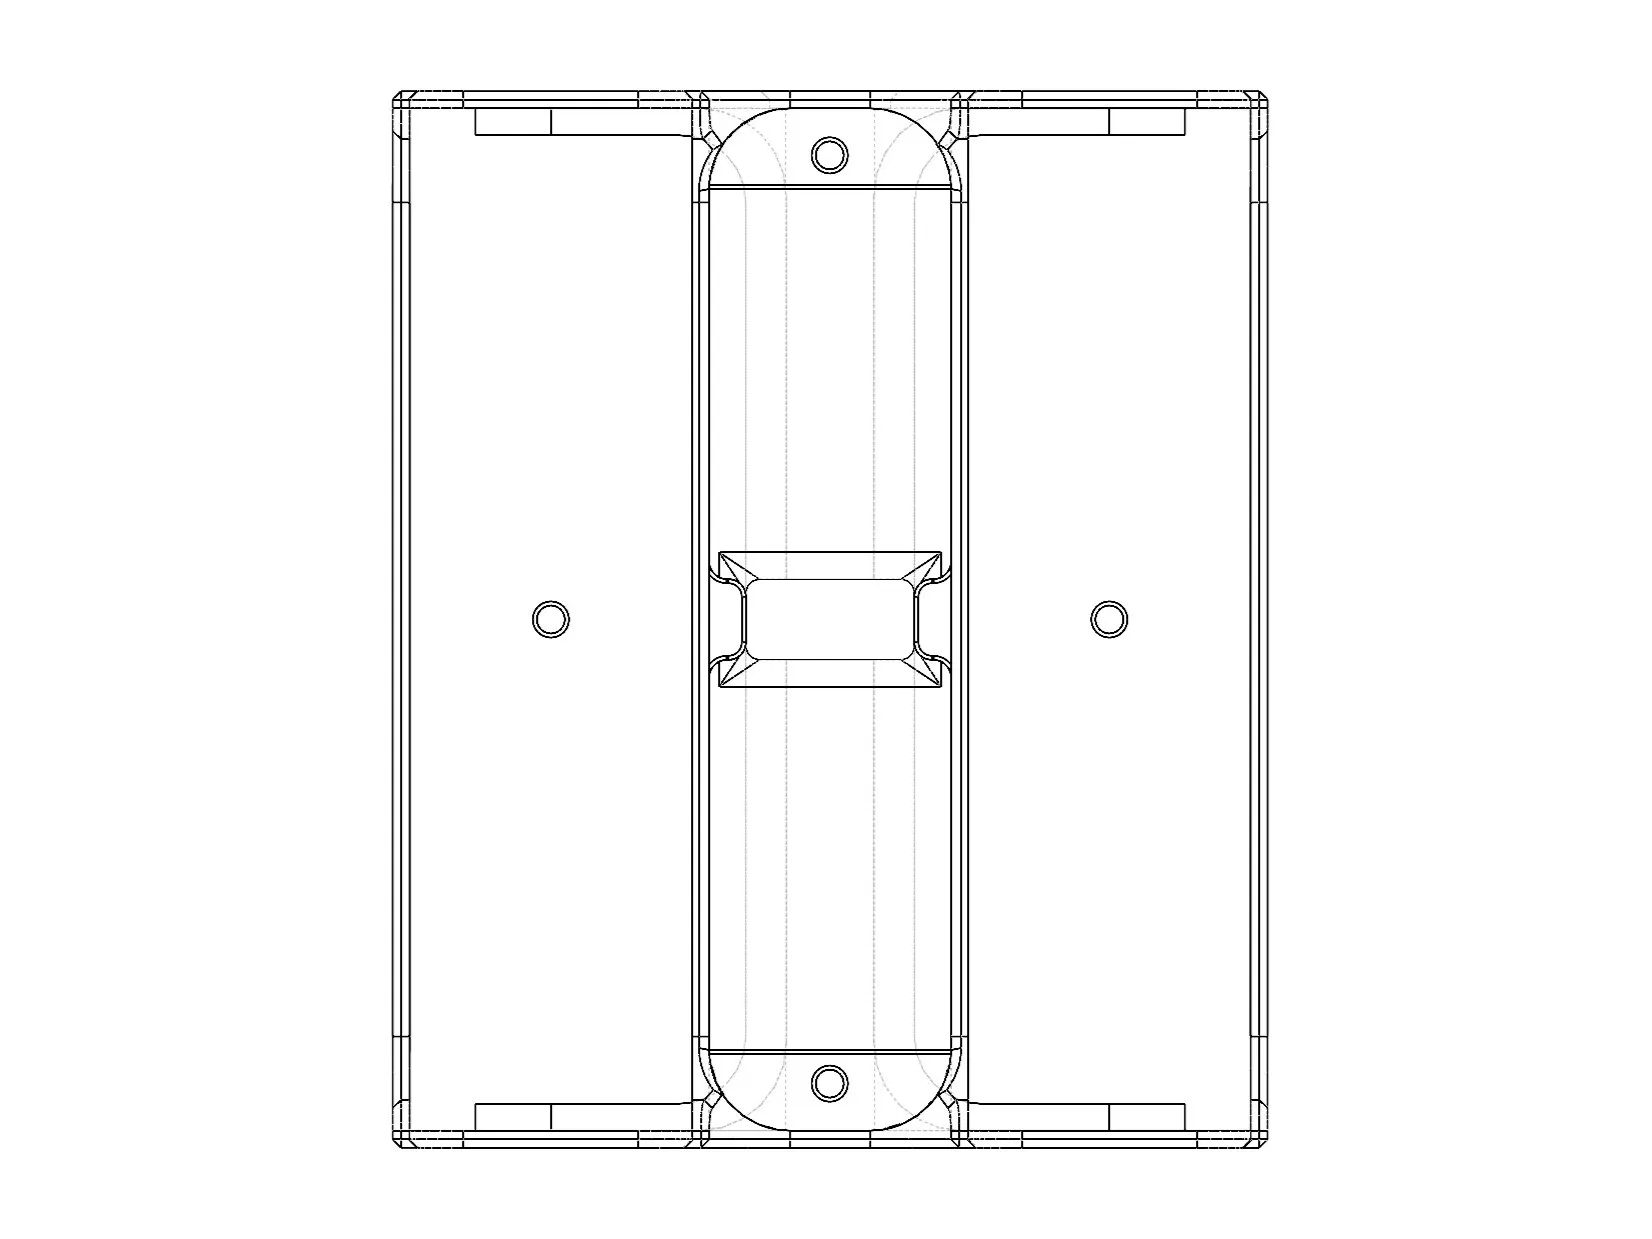
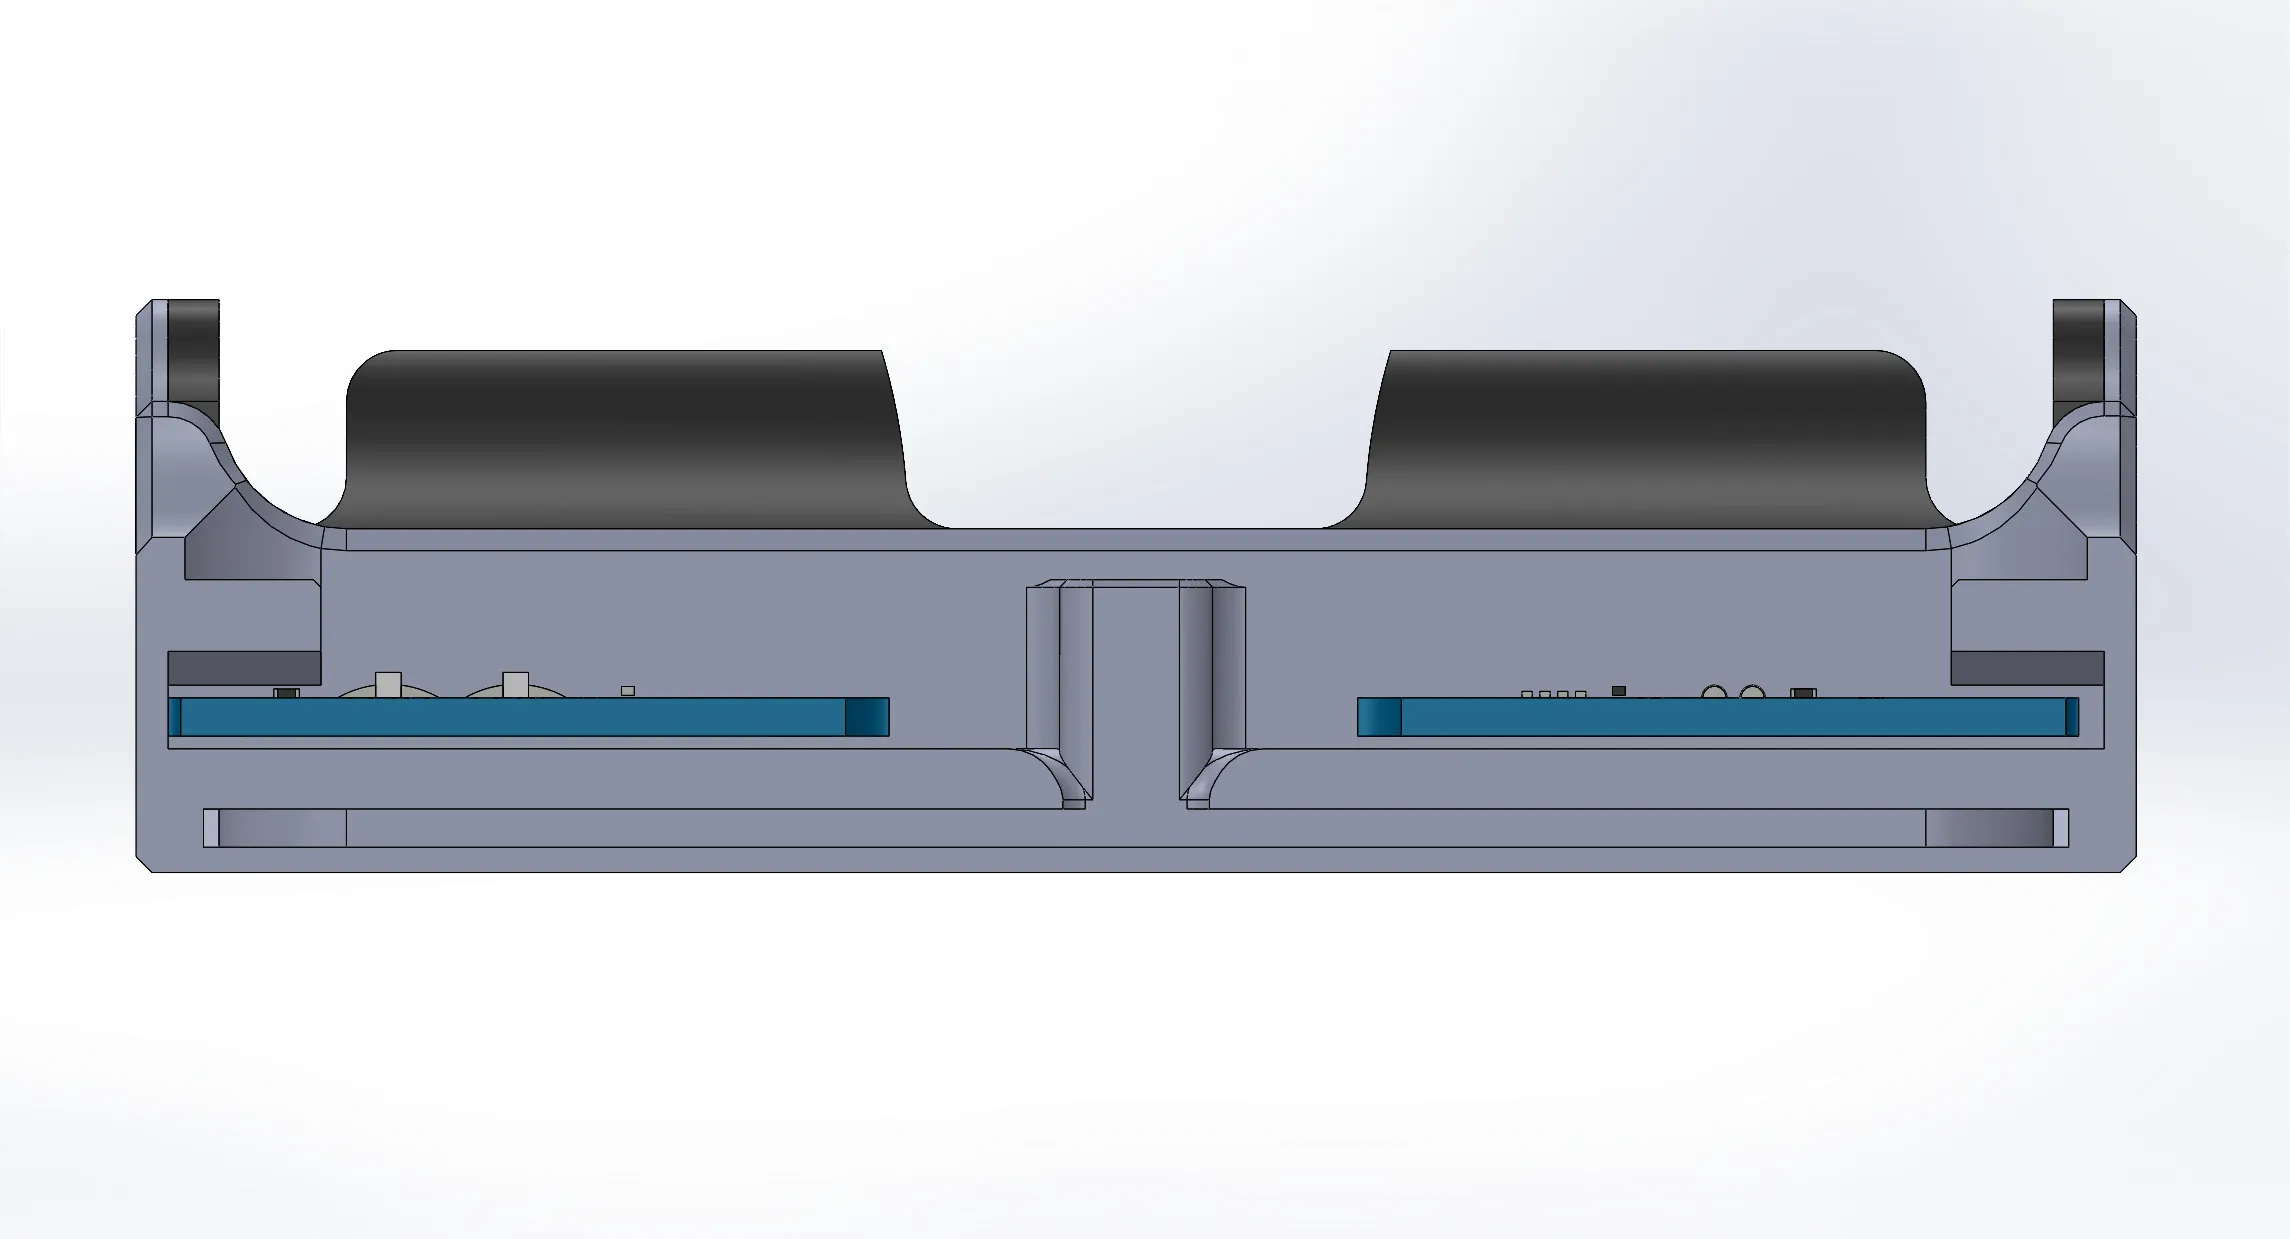
- Clean & Hidden Wiring: Built-in internal wire routing channels ensure all cables remain completely concealed for a neat, professional look.
- Minimalist & Compact Footprint: Engineered to use minimal desk space and material while maintaining structural rigidity.
- Standard Hardware Compatible: Designed specifically for widely available DIY components.
🛠️ Hardware Requirements (BOM)
To build this charger, you will need:
- 2x TP4056 Type-C Charging Modules (https://www.aliexpress.com/item/1005005258280289.html?spm=a2g0o.order_list.order_list_main.71.64631802EziRGr)
- 2x Single 18650 Battery Holder Cases with leads/wires (https://www.aliexpress.com/item/1005010746945266.html?spm=a2g0o.order_list.order_list_main.76.64631802EziRGr#nav-specification)
- 4x M3 Screws
- Solid core or flexible wire (22–24 AWG recommended)
- Heat shrink tubing / Soldering iron
🔌 Wiring & Assembly Notes
- Power Input: Wire the USB power input of both TP4056 modules in parallel so both boards receive power from the main Type-C port / input terminals.
- Cable Management: Route the positive and negative leads from the battery holders through the integrated internal channels before soldering them to the respective TP4056 output pads (B+ / B-).
- Power Supply: Make sure to plug the charger into a USB adapter capable of delivering at least 5V / 2A to ensure maximum charging speed on both slots simultaneously.
🖨️ Print Settings Recommendation
- Material: PETG or ABS
- Layer Height: 0.16 mm
- Infill: 25–50%
- Walls/Perimeters: 3
- Supports: No supports required (designed for easy, clean printing)
Feel free to leave feedback or post your makes! If you enjoy this design, a boost or a like is greatly appreciated!
License

You may create derivative works based on this object, provided that all such derivative works are published exclusively on the MakerWorld platform and include proper attribution to the original creator. You may not share, upload, host, distribute, or publish this object—or any derivative work of this object—on any other digital platform, marketplace, or distribution channel. Commercial use of this object and any derivative works is strictly prohibited. This includes, but is not limited to, selling, renting, sublicensing, or using the object in any context in which you receive monetary compensation or other financial benefits.


Comment & Rating (2)