
NOON WorldBuilder Tavern V1:
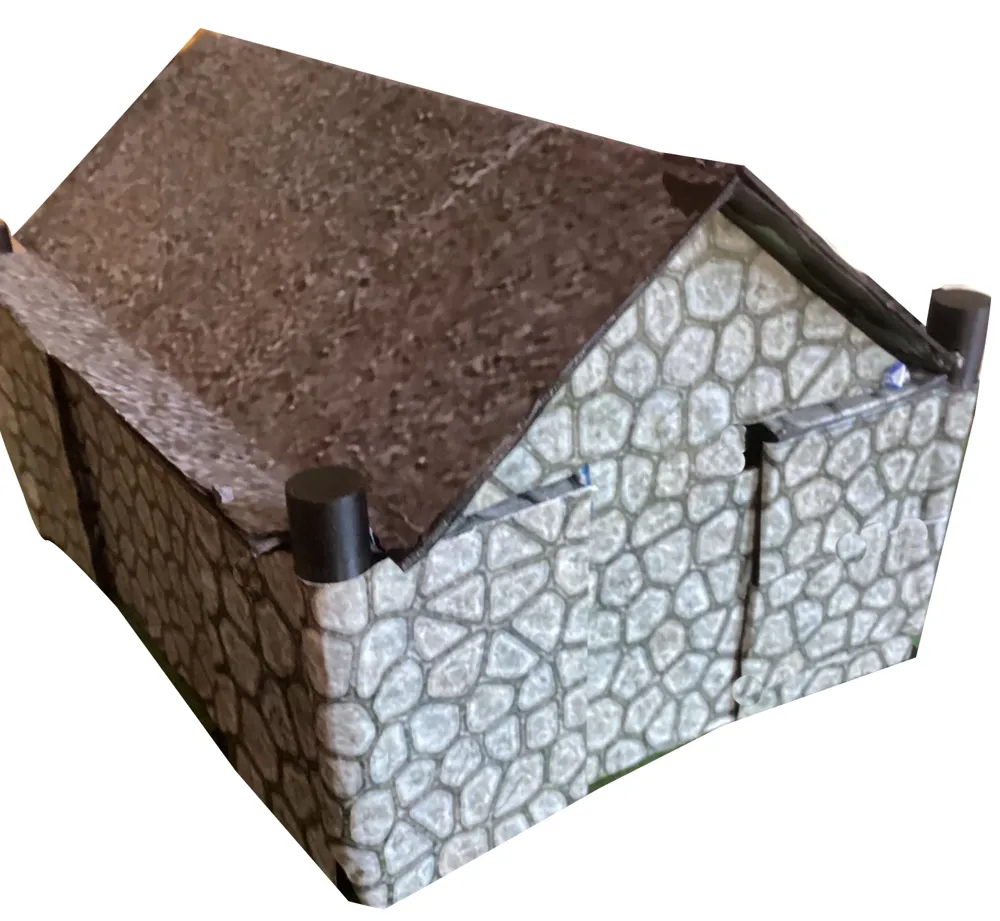
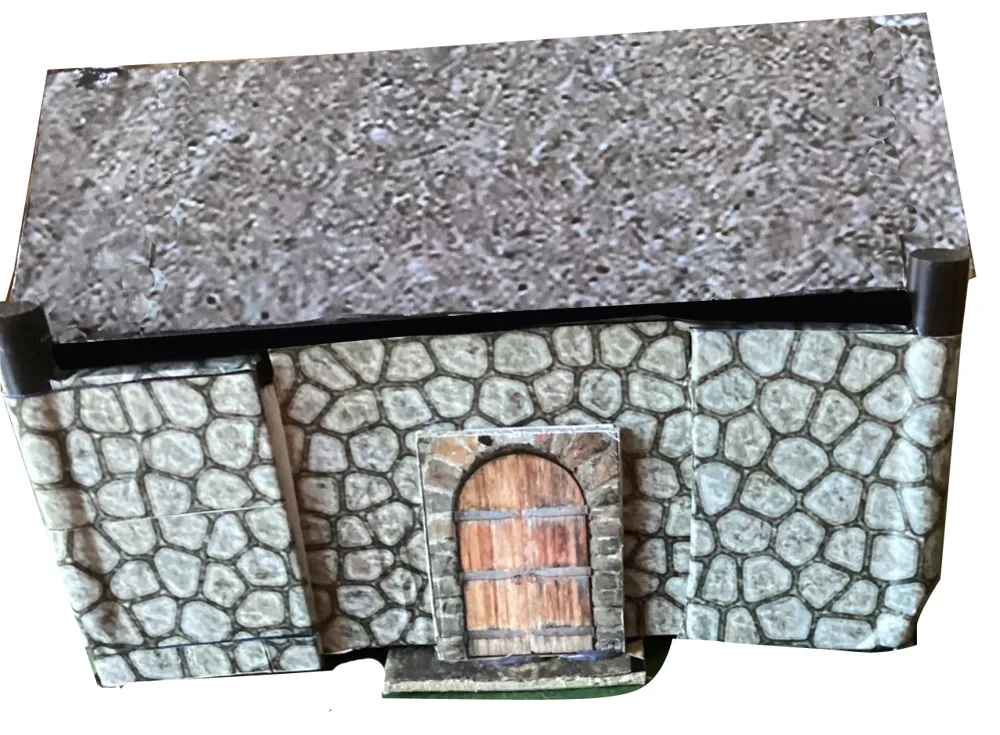


Print Profile(1)
Description
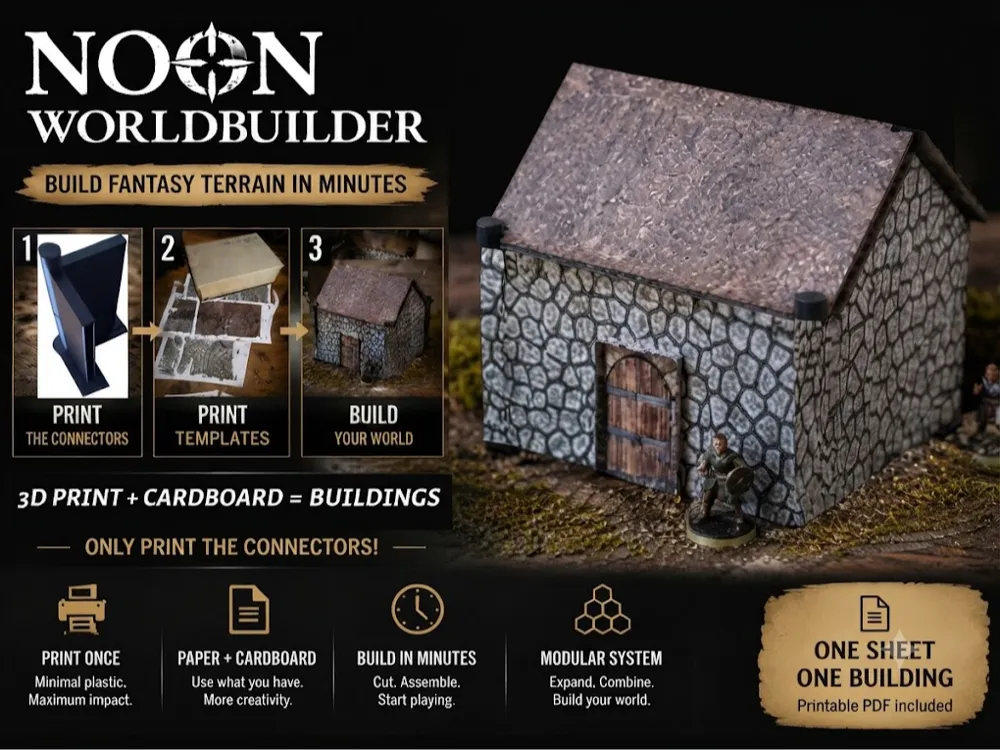
Welcome to the future of tabletop terrain building
Most terrain systems force you to choose: spend days 3D printing massive plastic walls that eat up kilograms of filament, or compromise on quality and structural integrity
We wanted something better. We wanted the freedom of classic crafting combined with the precision and repeatability of 3D printing
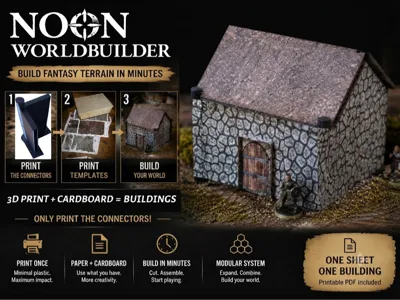
Introducing the NOON WorldBuilder System
This isn't just another STL file. It's a hybrid construction system designed for maximum impact with minimal effort
The Concept:
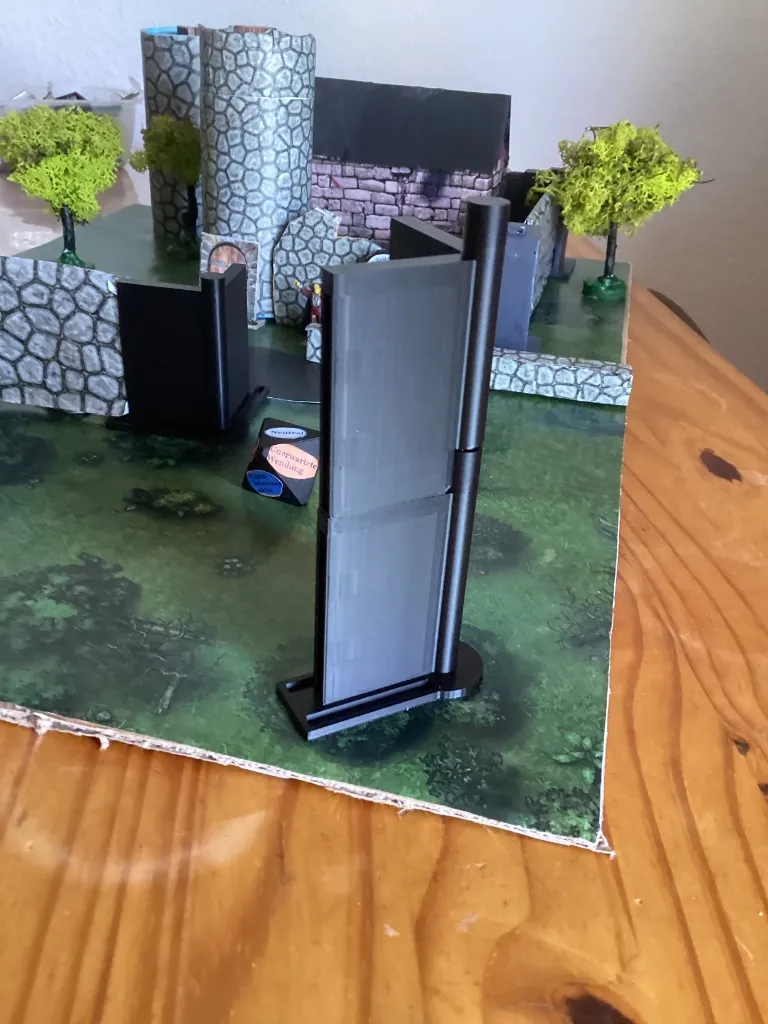
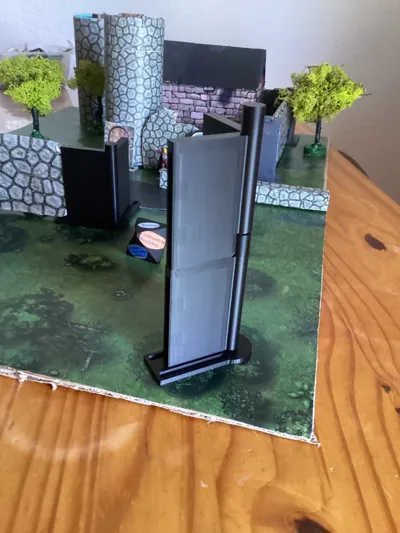
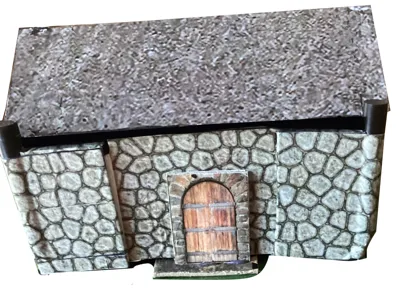
The 3D printed parts form the rigid, precise skeleton of the building (holding everything together, aligning corners, and providing structural strength). The cardboard forms the skin (walls, textures, and details)
No glue required for assembly. Just cut, fold, and click into place
What you get in this Starter Kit:
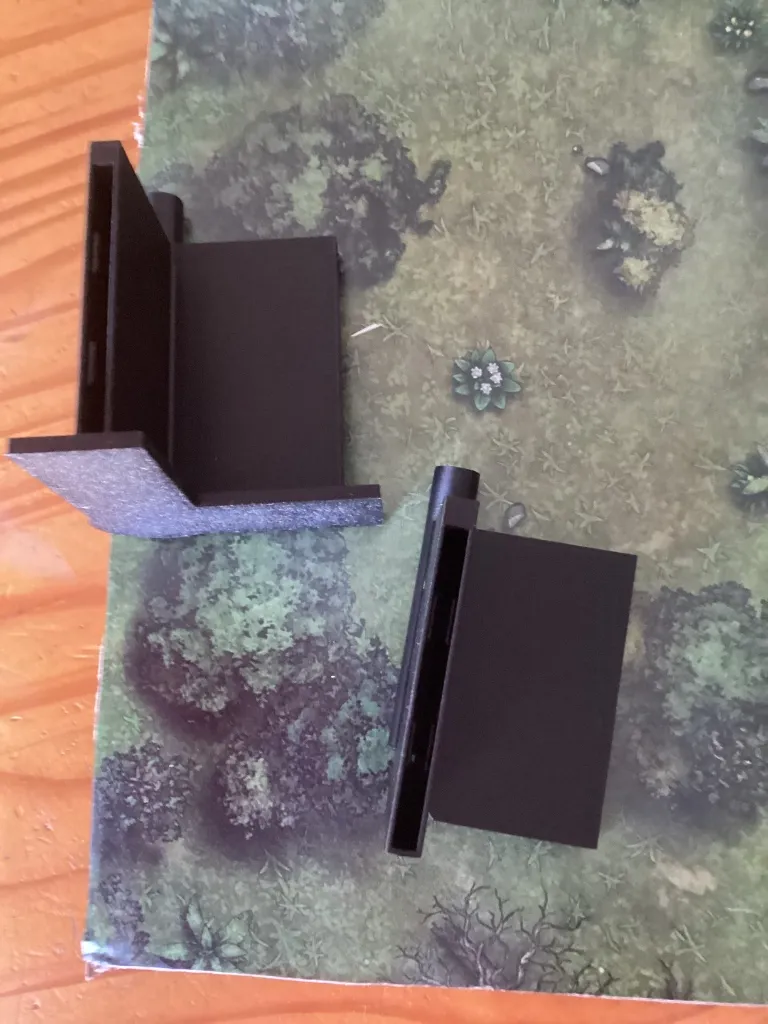
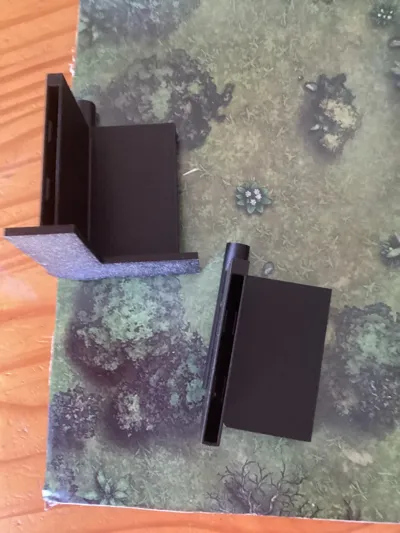
- The 3D Printed Skeleton: Precision-engineered corner connectors (Base & Extension pillars) that handle all structural angles and connections
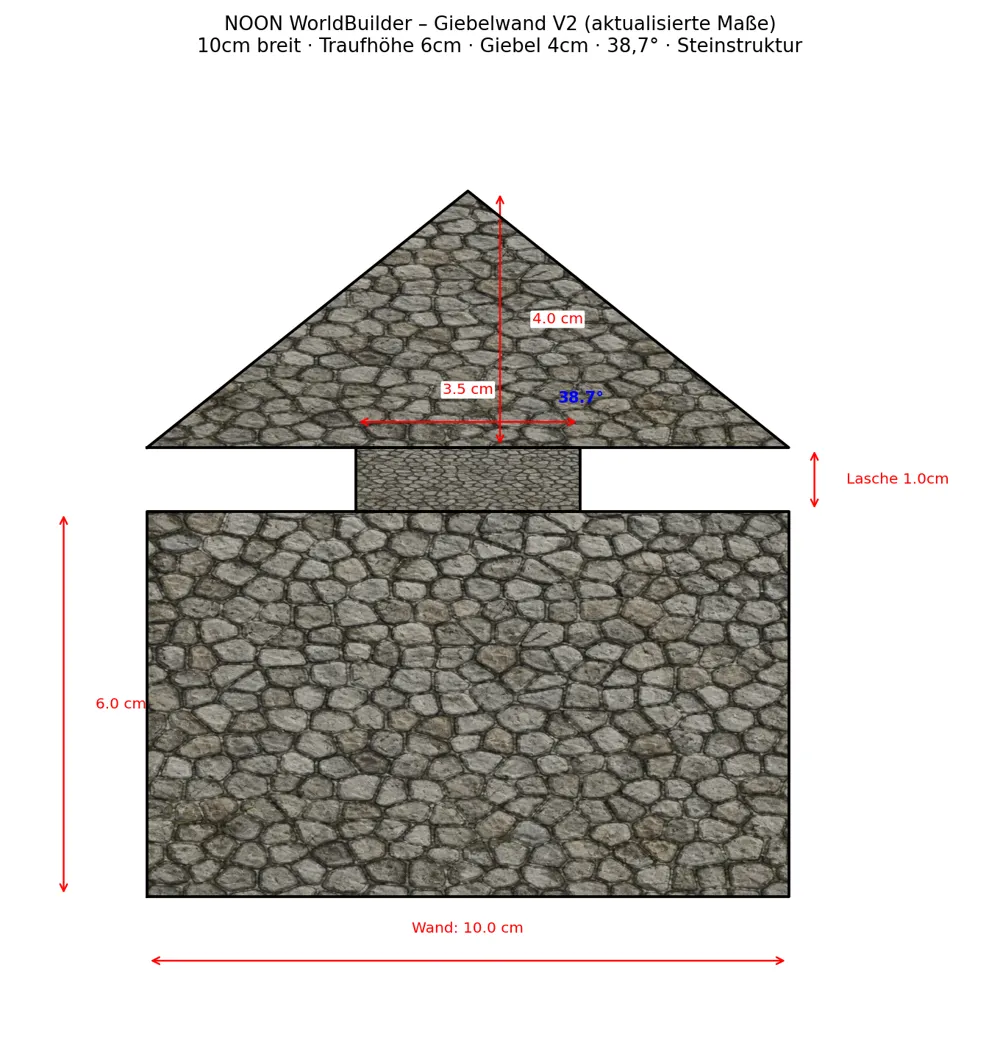
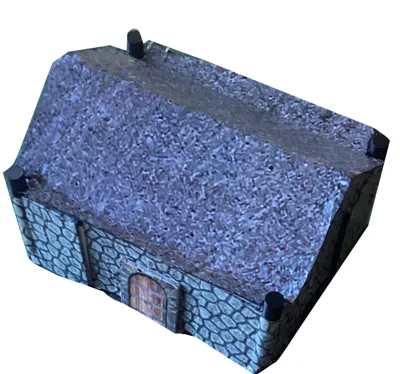
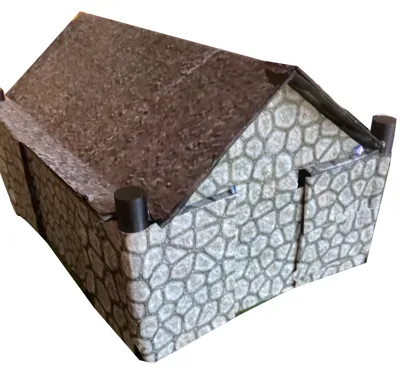
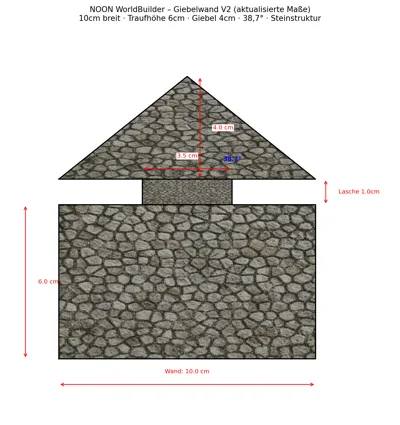
- The Cardboard Skin: A print-at-home PDF template (A4/US Letter) for the Demo Tavern walls and roof, featuring a high-detail stone texture
Key Benefits:
- 🚀 Terrain Accelerator: Build an entire village in a single afternoon. Your printer handles the structure, you handle the walls
- ⚖️ Filament Efficiency: Print only what's necessary (the corner connectors). Save up to 80% PLA compared to traditional 3D printed terrain pieces
- 🎨 Endless Creativity: The plastic skeleton is universal. Simply change the paper skin (texture, gables, windows) to turn the same tavern into a stable, a forge, or an abandoned house
- 🛠️ No Glue, No Frustration: Thanks to our clever tab-and-slot technology, assembly is child's play and rock-solid
Assembly Guide (Brief Overview):
- Print the connector pillars
- Print the PDF template and cut out the cardboard wall and roof panels
- Fold the integrated tabs on the cardboard panels
- Insert the tabs into the slots of the printed pillars
- Plopp! Your wall stands perfectly aligned
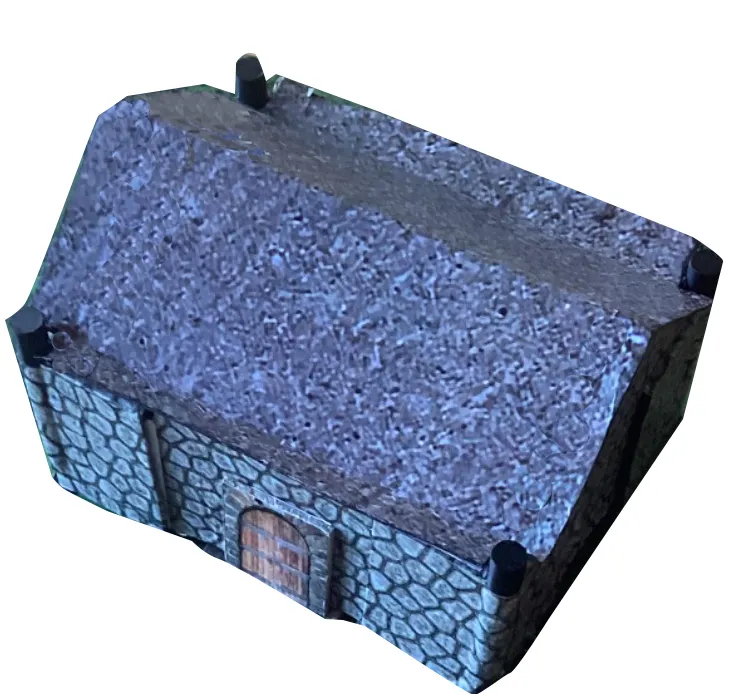
- Place the roof panels on the integrated corner pegs. Done
License

You shall not share, sub-license, sell, rent, host, transfer, or distribute in any way the digital or 3D printed versions of this object, nor any other derivative work of this object in its digital or physical format (including - but not limited to - remixes of this object, and hosting on other digital platforms). The objects may not be used without permission in any way whatsoever in which you charge money, or collect fees.


Comment & Rating (0)