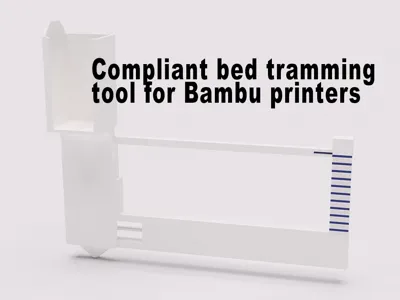
Compliant Bed Leveling/Tramming Tool for Bambu X1C P1P P1S


Print Profile(3)

Description
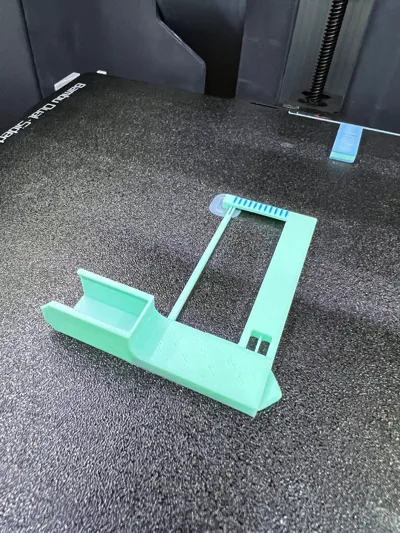
Presenting a specialized Bed Leveling/Tramming Tool designed exclusively for Bambu 3D printers! This tool easily slips onto a cool hotend, providing a hassle-free solution to level or tram your printer bed accurately using a compliant mechanism.
Material Recommendation:
Printed successfully with PLA+, this tool offers great functionality, while PETG, ABS, or ASA might provide enhanced durability and performance. Handle with care as the tool possesses delicate linkages that are crucial for its operation.
Suggested Knobs:
For optimal bed adjustment, consider using these recommended knobs: Adjustment Knobs.
Safety First:
It’s advised to conduct the leveling process with the power turned off to ensure safety.
Step-by-Step Usage Guide:
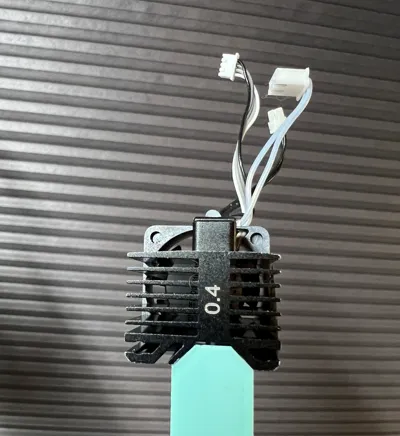
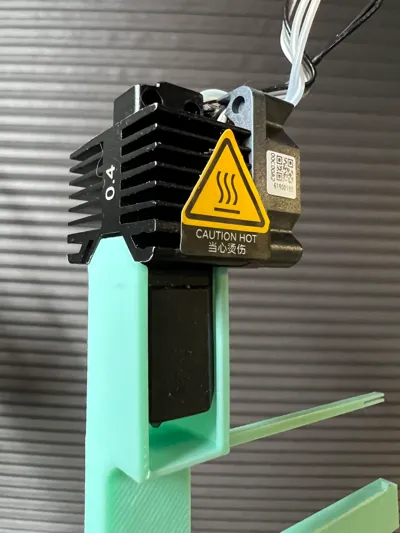
- Cool Down: Ensure the hotend is cool prior to attachment.
- Home Position: Set the extruder to its home position.
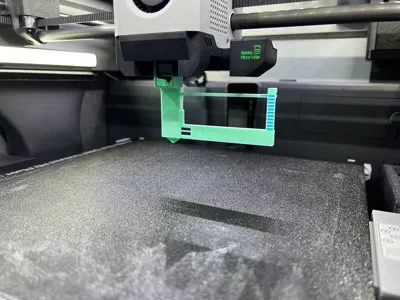
- Bed Adjustment: Lower the bed sufficiently to attach the tool onto the hotend without obstruction.
- Precise Elevation: Carefully elevate the bed until it mildly presses against the tool’s tip. Approach the final position with small, incremental adjustments to avoid overextension and potential breakage of the tool.
- Power Off: Turn off the printer.
- Manual Adjustment: Navigate the print head manually, tweaking the adjustment knobs to align all three corners to a uniform height.
- Extra Tips: In case of unrecoverable low spots, consider using aluminum tape beneath the flex plate to achieve a perfectly level surface.
Handling Caution:
Remove the tool gently post-adjustment to preserve the integrity of its fragile components.

License
You shall not share, sub-license, sell, rent, host, transfer, or distribute in any way the digital or 3D printed versions of this object, nor any other derivative work of this object in its digital or physical format (including - but not limited to - remixes of this object, and hosting on other digital platforms). The objects may not be used without permission in any way whatsoever in which you charge money, or collect fees.
Comment & Rating (125)