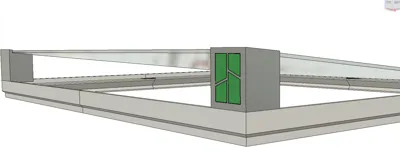
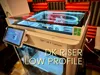
DK RISER LOW PROFILE FOR BAMBU LAB X1/P1


Print Profile(2)
Description
This is an update to my previous riser
I also made one a taller one with Vent and Door, this time I want to improve on the first one
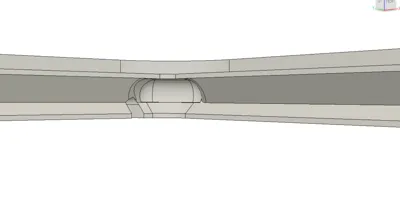
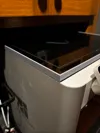
Basically all the improvements I did for the Tall one in a low profile, thus without the vent holes… but instead, we use (removable) props, to prop the top glasses when we need it open…

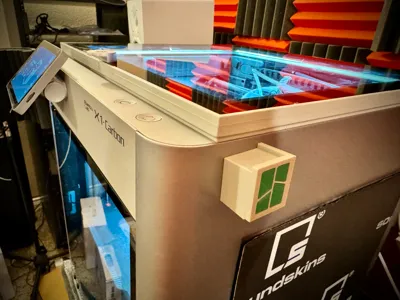
The Props has 9x3mm magnet at the back, so you can stick it to the side of the printer while not being used.
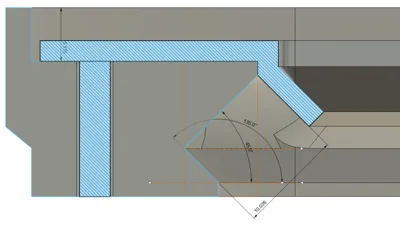
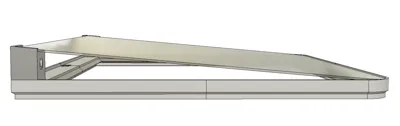
I made 2 versions of the riser,
1. The Basic Riser, should be pretty straight forward.
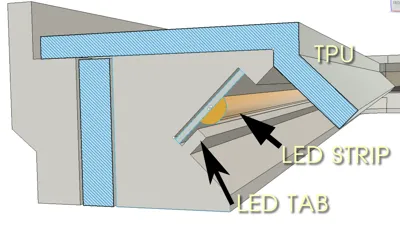
2. The Riser with LED Tabs, if you're up for a bit of a challenge, you might want to consider this one.
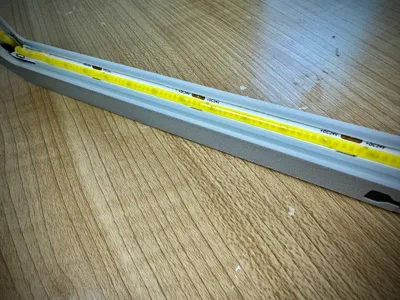
Both versions have “cave” (for the lack of a better word) so we can accommodate the “extra” LED to “curl” in there.

With the basic version the LED Strips just needs to be glued to a flat 45 degrees wall

The second version I designed a “gutter” so the LED strips needs to be tucked in there. Mind you, this is quite tricky to do. You slide the bottom part of the Strip, then using a blunt tool, you push the top part from edge to edge. But when done, it looks cool :) Note: do NOT glue all the pegs yet… You need to install the LED strip, segment by segment… As you're about to install the LED strip on the next segment, you need to lined them up, slide the bottom of the LED strip (continuing from the previous segment… then insert the peg to hold the 2 segments together.)
Parts you need to get for this project:
1. 9x3 magnets > AMAZON
2. COB LED Strips with Power Supply & Wireless Remote > AMAZON
I included a complete Bambu Studio Project (.3mf) with 7 plates
For the Basic model, you need to print Plate 1,2
For the model with the LED TAB you need to print Plate 5 & 6. Note: these needs supports because of the over hangs
Then you need to print the TPU (plate 3 & 4) plus The Props (Plate 7) If you want to use the logo, you need to print with AMS

I hope you'll find it useful and perhaps fun! :)
Happy Printing!!
Djundi Karjadi
Comment & Rating (78)