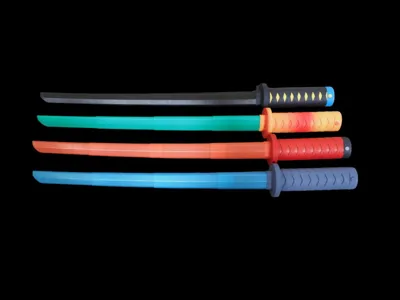
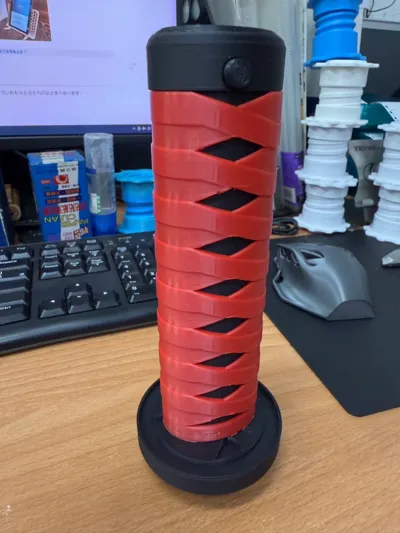
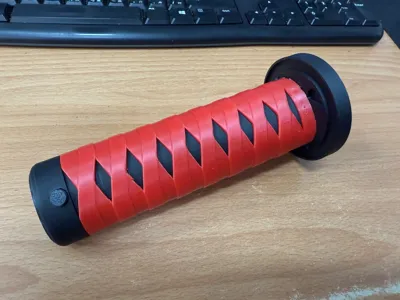
Collapsing Deadpool Katana (Parts Removable)


Print Profile(8)


Description
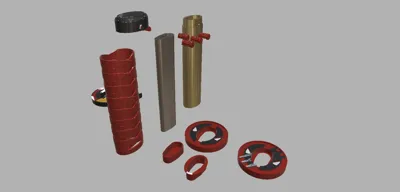
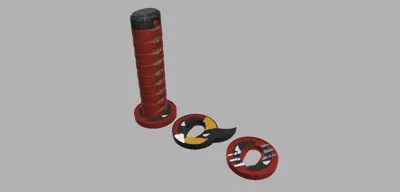
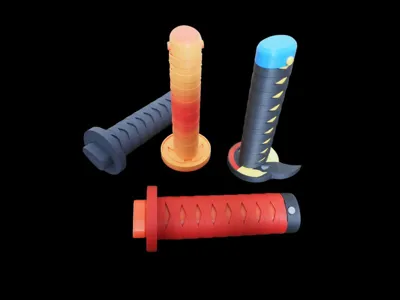
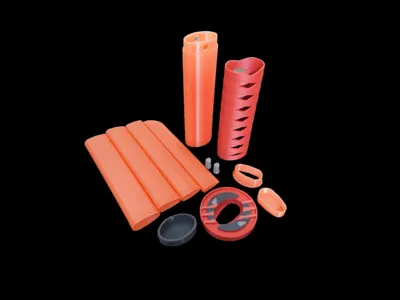
Deadpool style katana
This is a Deadpool-style samurai sword. Basically, it is designed to be completely disassembly to prevent damage. Some parts can be printed and replaced.
The print file is divided into one tray for all single colors, one tray for individual parts, and three multi-color guard settings.
2024/03/29 Update: add Assembly steps Gif (page end)
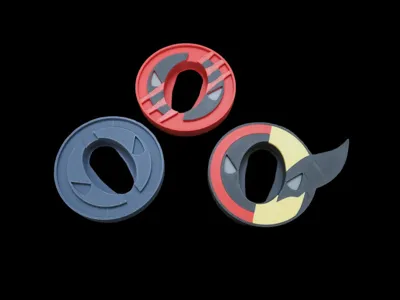
2024/04/20 Update:add Face on Guard 3mf
2025/08/05 Update:add 2 guard no ams part 3mf
Notice
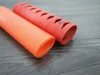
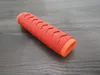
1. When printing wrap parts, use a high-volume fan setting to effectively avoid overhanging quality.
2. The blade part can be printed using petg wire (sturdier than pla)
3.All parts have been tested using x1c & a1 mini printing
4.When using the a1 series brim, it is recommended to turn it on to prevent the heating bed from being thrown out when moving at high speed and printing failure.
Assembly instructions:
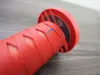
| 1. Handle and strap, confirm the strap installation direction (such as the arrow corresponding) | 
|
| 2. Install the handle from top to bottom (as indicated by the arrow) |  
|
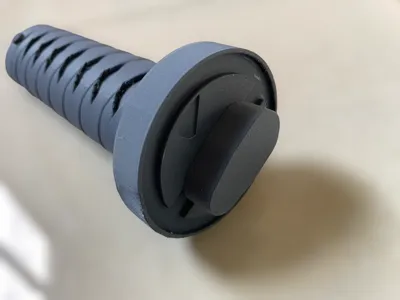
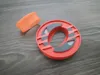
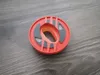
| 3. Install hand guards |   |
4. Combine the handle, strap and hand guard (pay attention to the forward and reverse directions of the blade hole)
※Make sure that the holes on the handlebar and the hole on the hand guard are in the same direction and are installed tightly. |  |
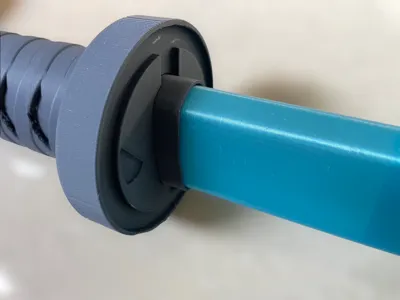
| 5. Put in the blade (pay attention to the forward and reverse directions of the blade) |  |
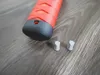
| 6. Use pins to fix the back cover after installation. Considering the printing tolerance of each printer, 0.1, 0.15, and 0.2 pin parts are provided here, which can be used according to the tightness of the pin. |  |
| 7. Assembly completed |  |
Assembly steps:

Have fun~~
Documentation (9)


License
You shall not share, sub-license, sell, rent, host, transfer, or distribute in any way the digital or 3D printed versions of this object, nor any other derivative work of this object in its digital or physical format (including - but not limited to - remixes of this object, and hosting on other digital platforms). The objects may not be used without permission in any way whatsoever in which you charge money, or collect fees.
Comment & Rating (680)