Search models, users, collections, and posts

A1 AMS Lite Simplified Topping|适用于A1的AMS lite简化置顶
Remixed by
IP Report

Print Profile(1)

PETG
Designer
12.9 h
5 plates
Open in Bambu Studio
Boost
131
384
13
28
467
40
Released
Description
Content has been automatically translated.
Boost Me (for free)

The required information for the accessories in English.
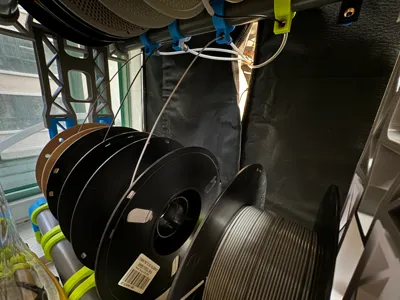
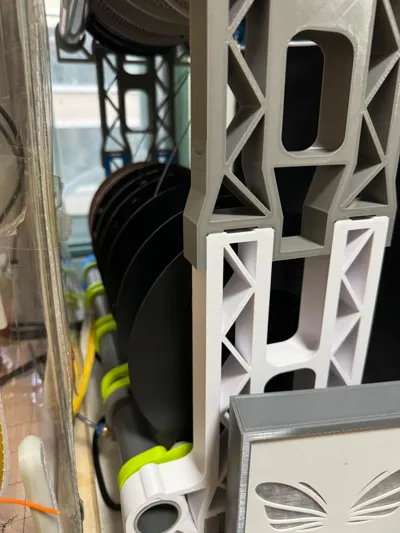
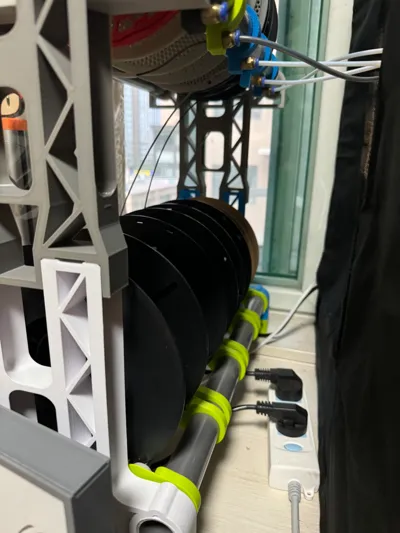
You can purchase the accessories based on the image above and the English parts list below.
- Stainless steel tube, diameter 7mm, length 80mm
- POM bearing 7*19*6
- PVC water pipe, diameter 32mm, length 0.5m
- The accessory shown in the center of the image for creativity’s PC4-01
- Teflon tube, inner diameter 2.5mm, outer diameter 4mm.
Be sure to use PETG material for printing.
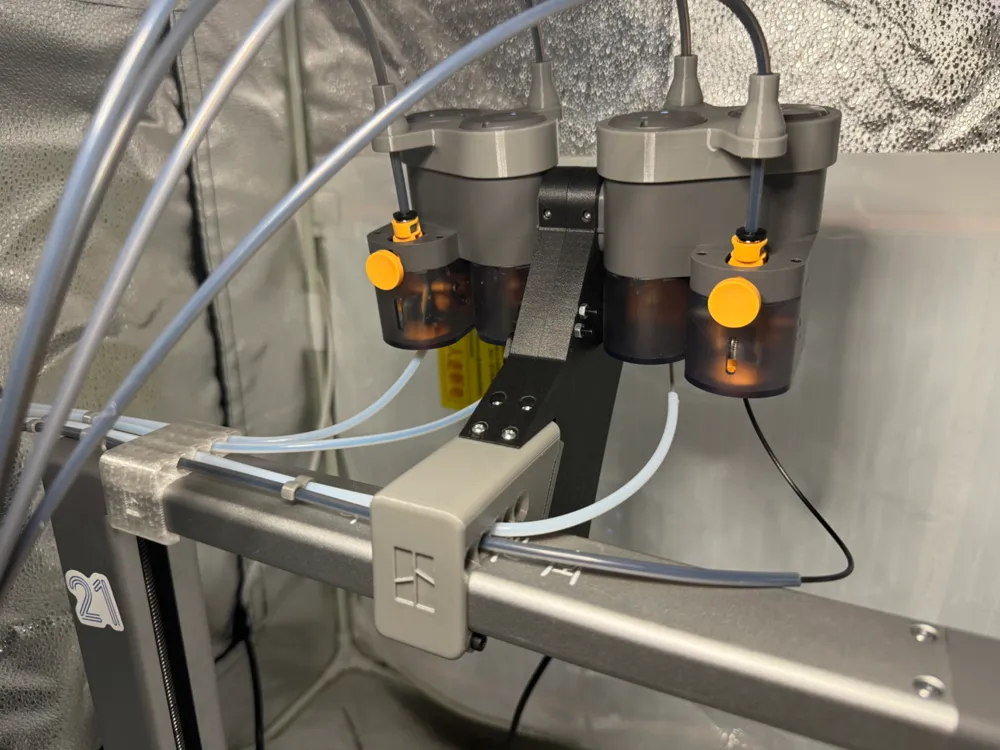
Many improvements have been made on the original version, now supporting A1 printers.
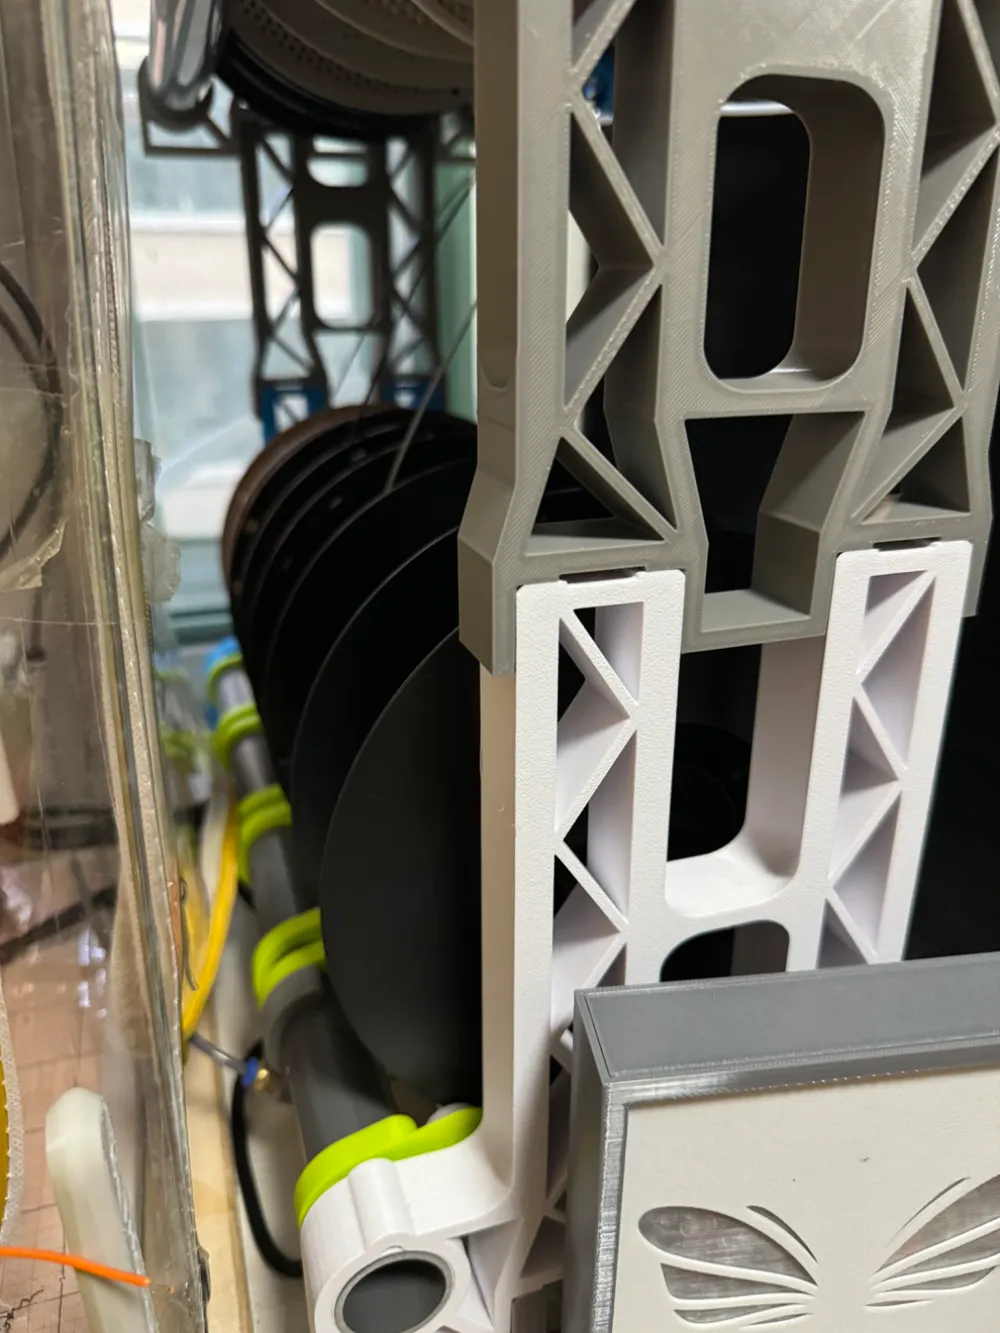
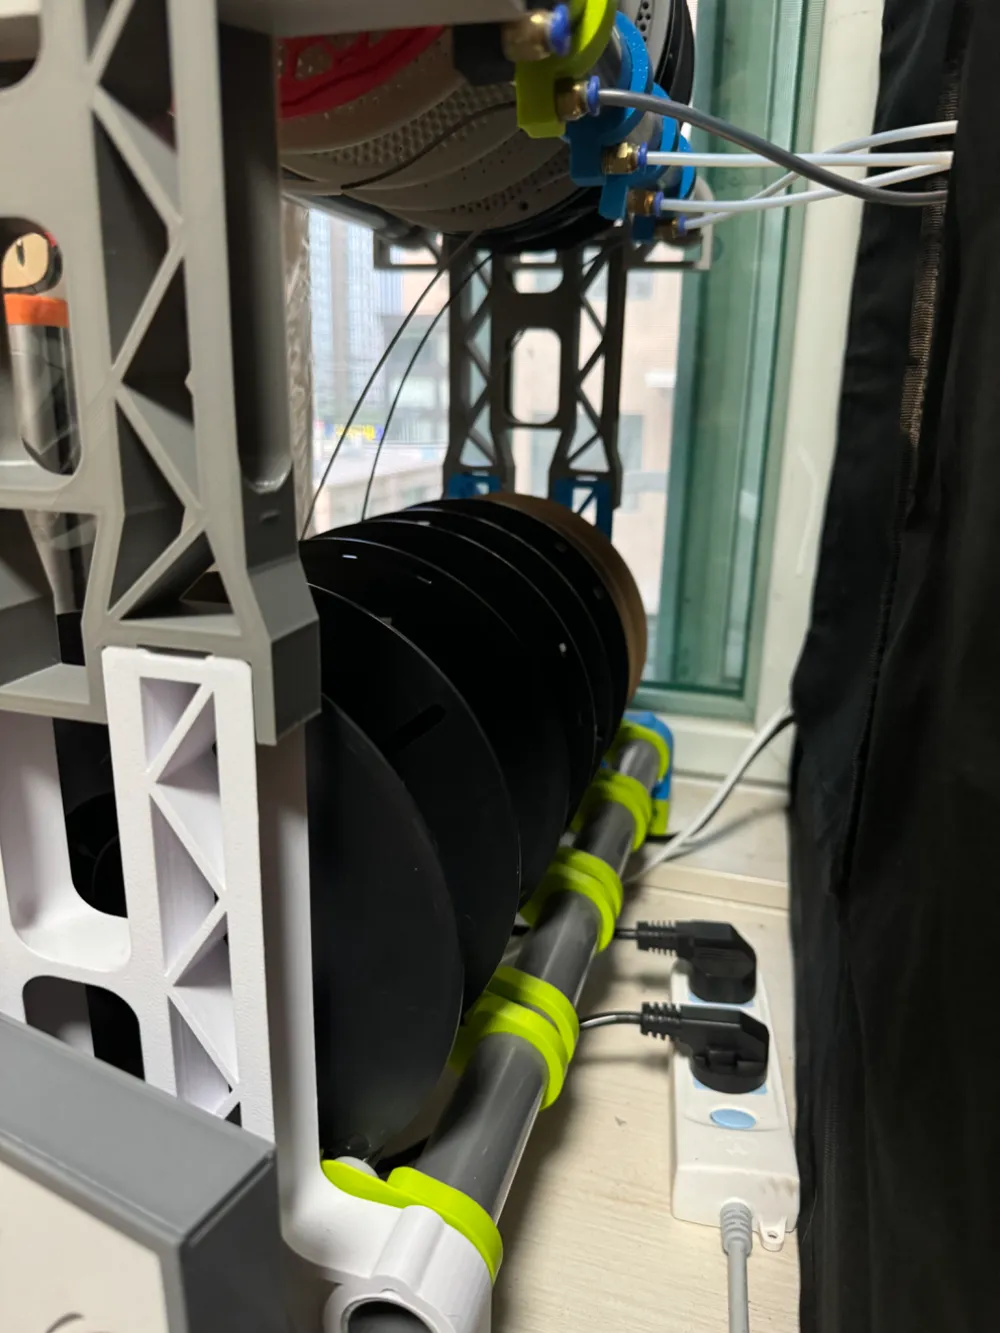
Added height extensions to the original rack and included adapter rings.
The main considerations for this modification are as follows:
- Previously, the official AMS top-loading solution was used. I was concerned that having four spools of consumables on top of the machine would make them prone to falling off, and eventually, they did fall. One night, they fell directly down, but luckily the machine was unharmed. The reason was that PLA softens easily at high temperatures. The ambient temperature was over 40 degrees Celsius, and with the added weight of three spools of consumables and the softening due to high temperatures, the load capacity was insufficient, leading to the collapse. The official AMS lite top-loading solution from Taulman was still somewhat rudimentary.
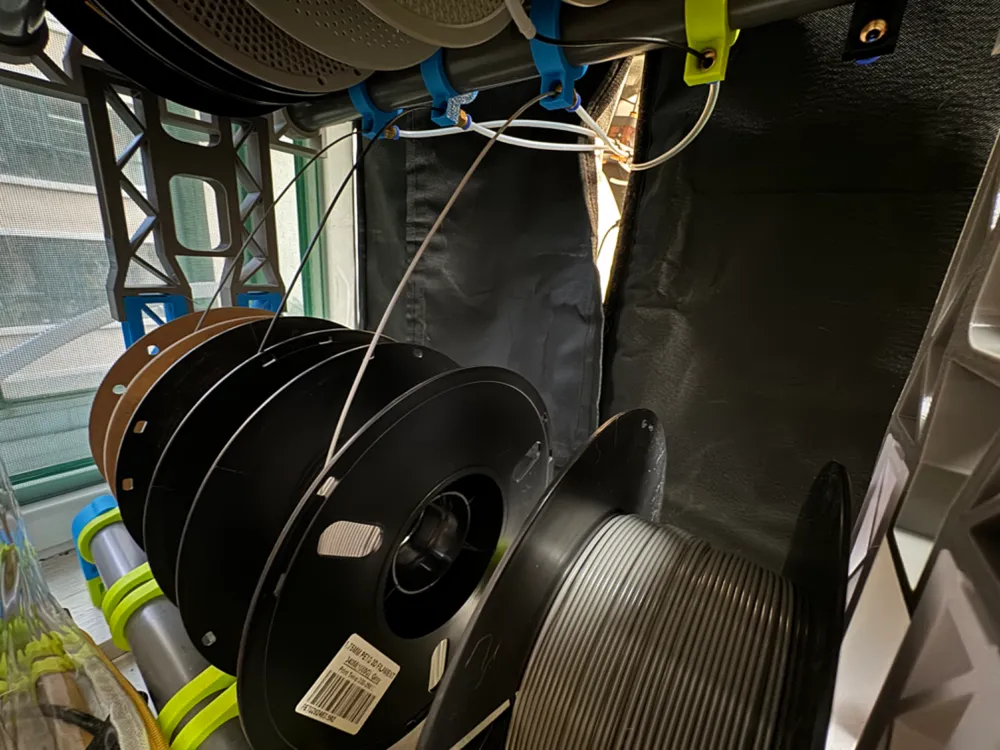
- It's troublesome to seal the AMS lite. In areas with high humidity, drying might not be effective. It's unclear why the official solution didn't consider this issue. By detaching the AMS, consumables and AMS can be separated. This way, only a separate drying box for consumables is needed, as long as the supply is smooth and can be fed from any position, whether it's in a drying box, on a rack, or in a drying cabinet, etc.
- If there are many consumables, like in my case, this feeding system can both store and directly supply the machine with consumables. It's suitable for situations with a large number of consumables or multiple printers.
Regarding installation:
- The overall modification plan is actually quite simple, with no major difficulties, so everyone can rest assured. It's basically just a matter of tightening a few screws.
- Before starting the modification, everyone should definitely watch Taulman's official AMS lite disassembly video. Even though disassembly is straightforward, if you haven't done it before, it's important to watch the official video to ensure no damage occurs.
- For most of the screws in my plan, you can simply reuse the original ones. For example, the three screws for installing the motherboard can be reused directly, and some of the shell fixings can also use the original screws. The only additional items needed are two extra long M3 screws, two nuts, and four slightly shorter M3 screws. The overall installation is not difficult, so everyone can feel at ease.
- There are four metal coils included to detect Taulman's official consumables. If you don't typically use official consumables, you can simply ignore them without any issues.
- One easily overlooked point is to raise the X-axis motor wire slightly. When the X-axis motor moves to the far right, the motor wire might wrap around the gantry, potentially causing damage. After installation, make sure to move the axes around a bit, testing the limits of the XYZ axes to ensure safety, especially the X-axis.
- I have already trimmed the length of the Teflon tube, as the original was too long. After installation, you can trim it further if needed, but be careful not to cut it too short. When I designed this, I intentionally positioned the AMS in a vertical state, making the Teflon tube in the most comfortable position. The original design had a slight forward tilt, which could lead to the feeding tube being constantly bent. With this setup, as long as the feeding tube length is appropriately trimmed, it should operate smoothly without bending.
- If anyone encounters any issues during installation, feel free to ask directly in the comments, and I will address them individually.
This remix is based on
This source model was used for remixing/sharing before its license was restricted.


 The model does not exist anymore
License

This user content is licensed under a
Creative Commons Attribution-Noncommercial-Share Alike


Comment & Rating (13)