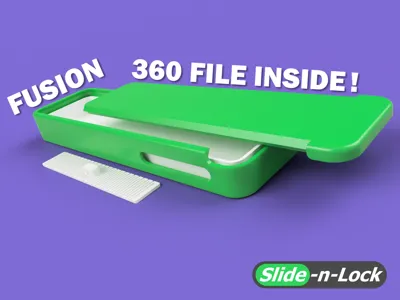
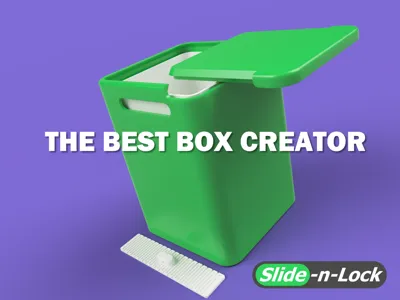
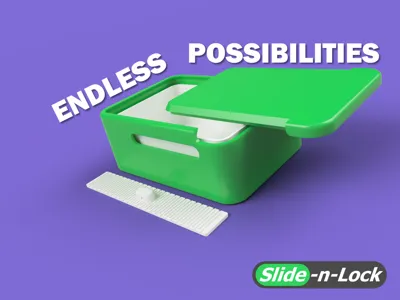
Slide-n-Lock Starter Box


Print Profile(2)


Description

Slide-n-Lock Starter Box

What you've been waiting for – the simplest and most enjoyable customizable system for crafting unique boxes, complete with the Slide-n-Lock feature. Choose from printing the example test model or dive straight into customization with one of the most user-friendly Autodesk Fusion 360 files available. You don't need to be a pro, and there's no need to purchase a Fusion license.
Simply open the file in Fusion 360, input the desired length, width, and height of your box, and export for printing! That's all – the Fusion 360 file takes care of all the heavy lifting for you, meticulously refined, labeled, and easy to navigate.
Where to start?
I would start by printing the example test print to get an idea how your filament will respond with a 0.2mm tolerance or jump right in by downloading Autodesk Fusion 360 for personal use for free.
How do I create my own box in Fusion 360?
After you download Fusion 360 and create an Autodesk account you will be able to open the Slide-n-Lock Starter Kit File. To get a copy of the file by hovering your mouse cursor over the Download or Print > Download STL/CAD Files and select the file.

Open the Fusion 360 file.
Click on Modify > Change Parameters.

Adjust only the Length, Width, Height (in that order), and Tolerance (if needed) to match the desired size of the box. These parameters control the interior dimensions and Tolerance. For instance, if you're aiming for a card box for playing cards with Length: 89mm, Width: 64mm, and Height: 17mm, simply add 2-3mm to each dimension, resulting in new dimensions of 91x66x19. This adjustment ensures that the cards fit perfectly with ample room.

Choose Export > Name the file > Choose 3MF Files (*3mf) > Export

How to print my custom box?


Just make sure to press “Auto Orient” and “Arrange All Objects” to fit on the build plate the best they can.
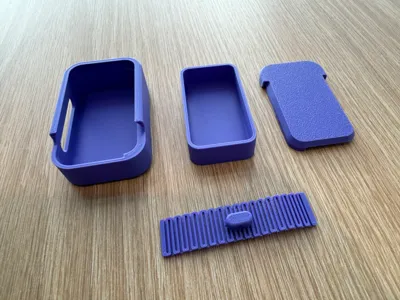
Things to know about the items you will be printing regardless of sizes.
- Print Lid facing down
- Use Supports (I like the Organic Trees option.)
- I recommend printing the Slide Lock at 50mm/s for best results.
- WAIT for the Slide Lock to cool down before removing it from the build plate.
- If you inspect the Example Profile you will see exactly how I setup objects to be printed, all settings included.
Slide Lock Orientation:

License
You may create derivative works based on this object, provided that all such derivative works are published exclusively on the MakerWorld platform and include proper attribution to the original creator. You may not share, upload, host, distribute, or publish this object—or any derivative work of this object—on any other digital platform, marketplace, or distribution channel. Commercial use of this object and any derivative works is strictly prohibited. This includes, but is not limited to, selling, renting, sublicensing, or using the object in any context in which you receive monetary compensation or other financial benefits.
Comment & Rating (340)