
Gridfinity 1x1 Cardboard Bin


Print Profile(3)


Description
Can't stop doing craft projects? Want to turn your filament boxes into something useful? Or do you just like the cardboard aesthetics? Here is a model for 1x1 Gridfinity bins which works with 2 mm thick cardboard commonly found in filament boxes.
This one takes around 4.7 g of filament per labeled bin, regardless of height, since the middle part will be made out of cardboard. It's only around 50% less than the plastic one, so I would go for the original model for small batches or if time is limited.
(Remix: Took the top and bottom sections from https://makerworld.com/en/models/50848, changed the label shape)
Assembly Guide
1- Print the top and bottom sections (duh).
2- Extract a “cardboard plate” from your filament box. Make sure it's not damaged. You can try to make the sides square at this stage.
3- Draw this shape using a ruler (or with a CNC plotter if you have one?). The height depends on the bin depth you want. It's a good idea to stack this drawing if you want to make multiple bins.
Try to draw the vertical lines along the cardboard's grain. That will make folding a lot easier.
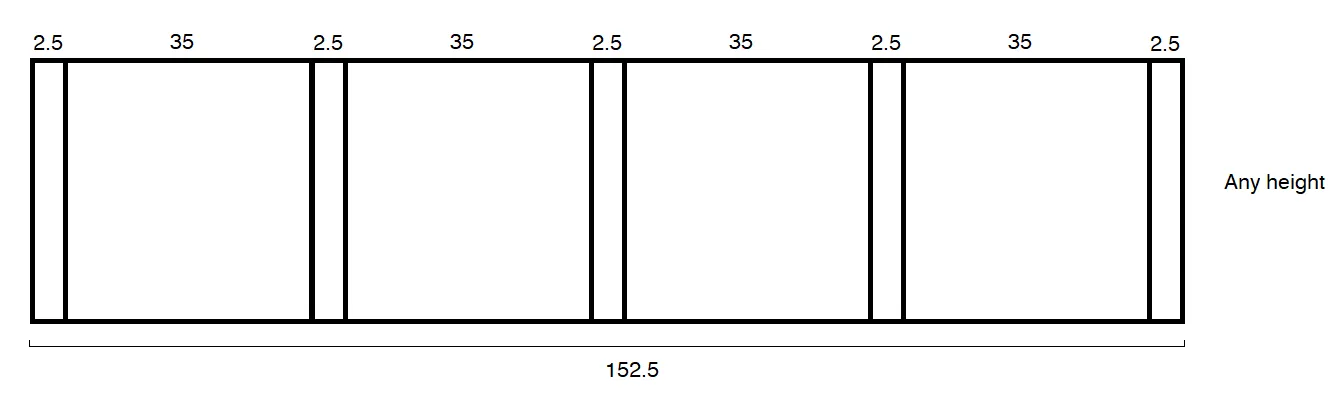
4- Cut the shape.
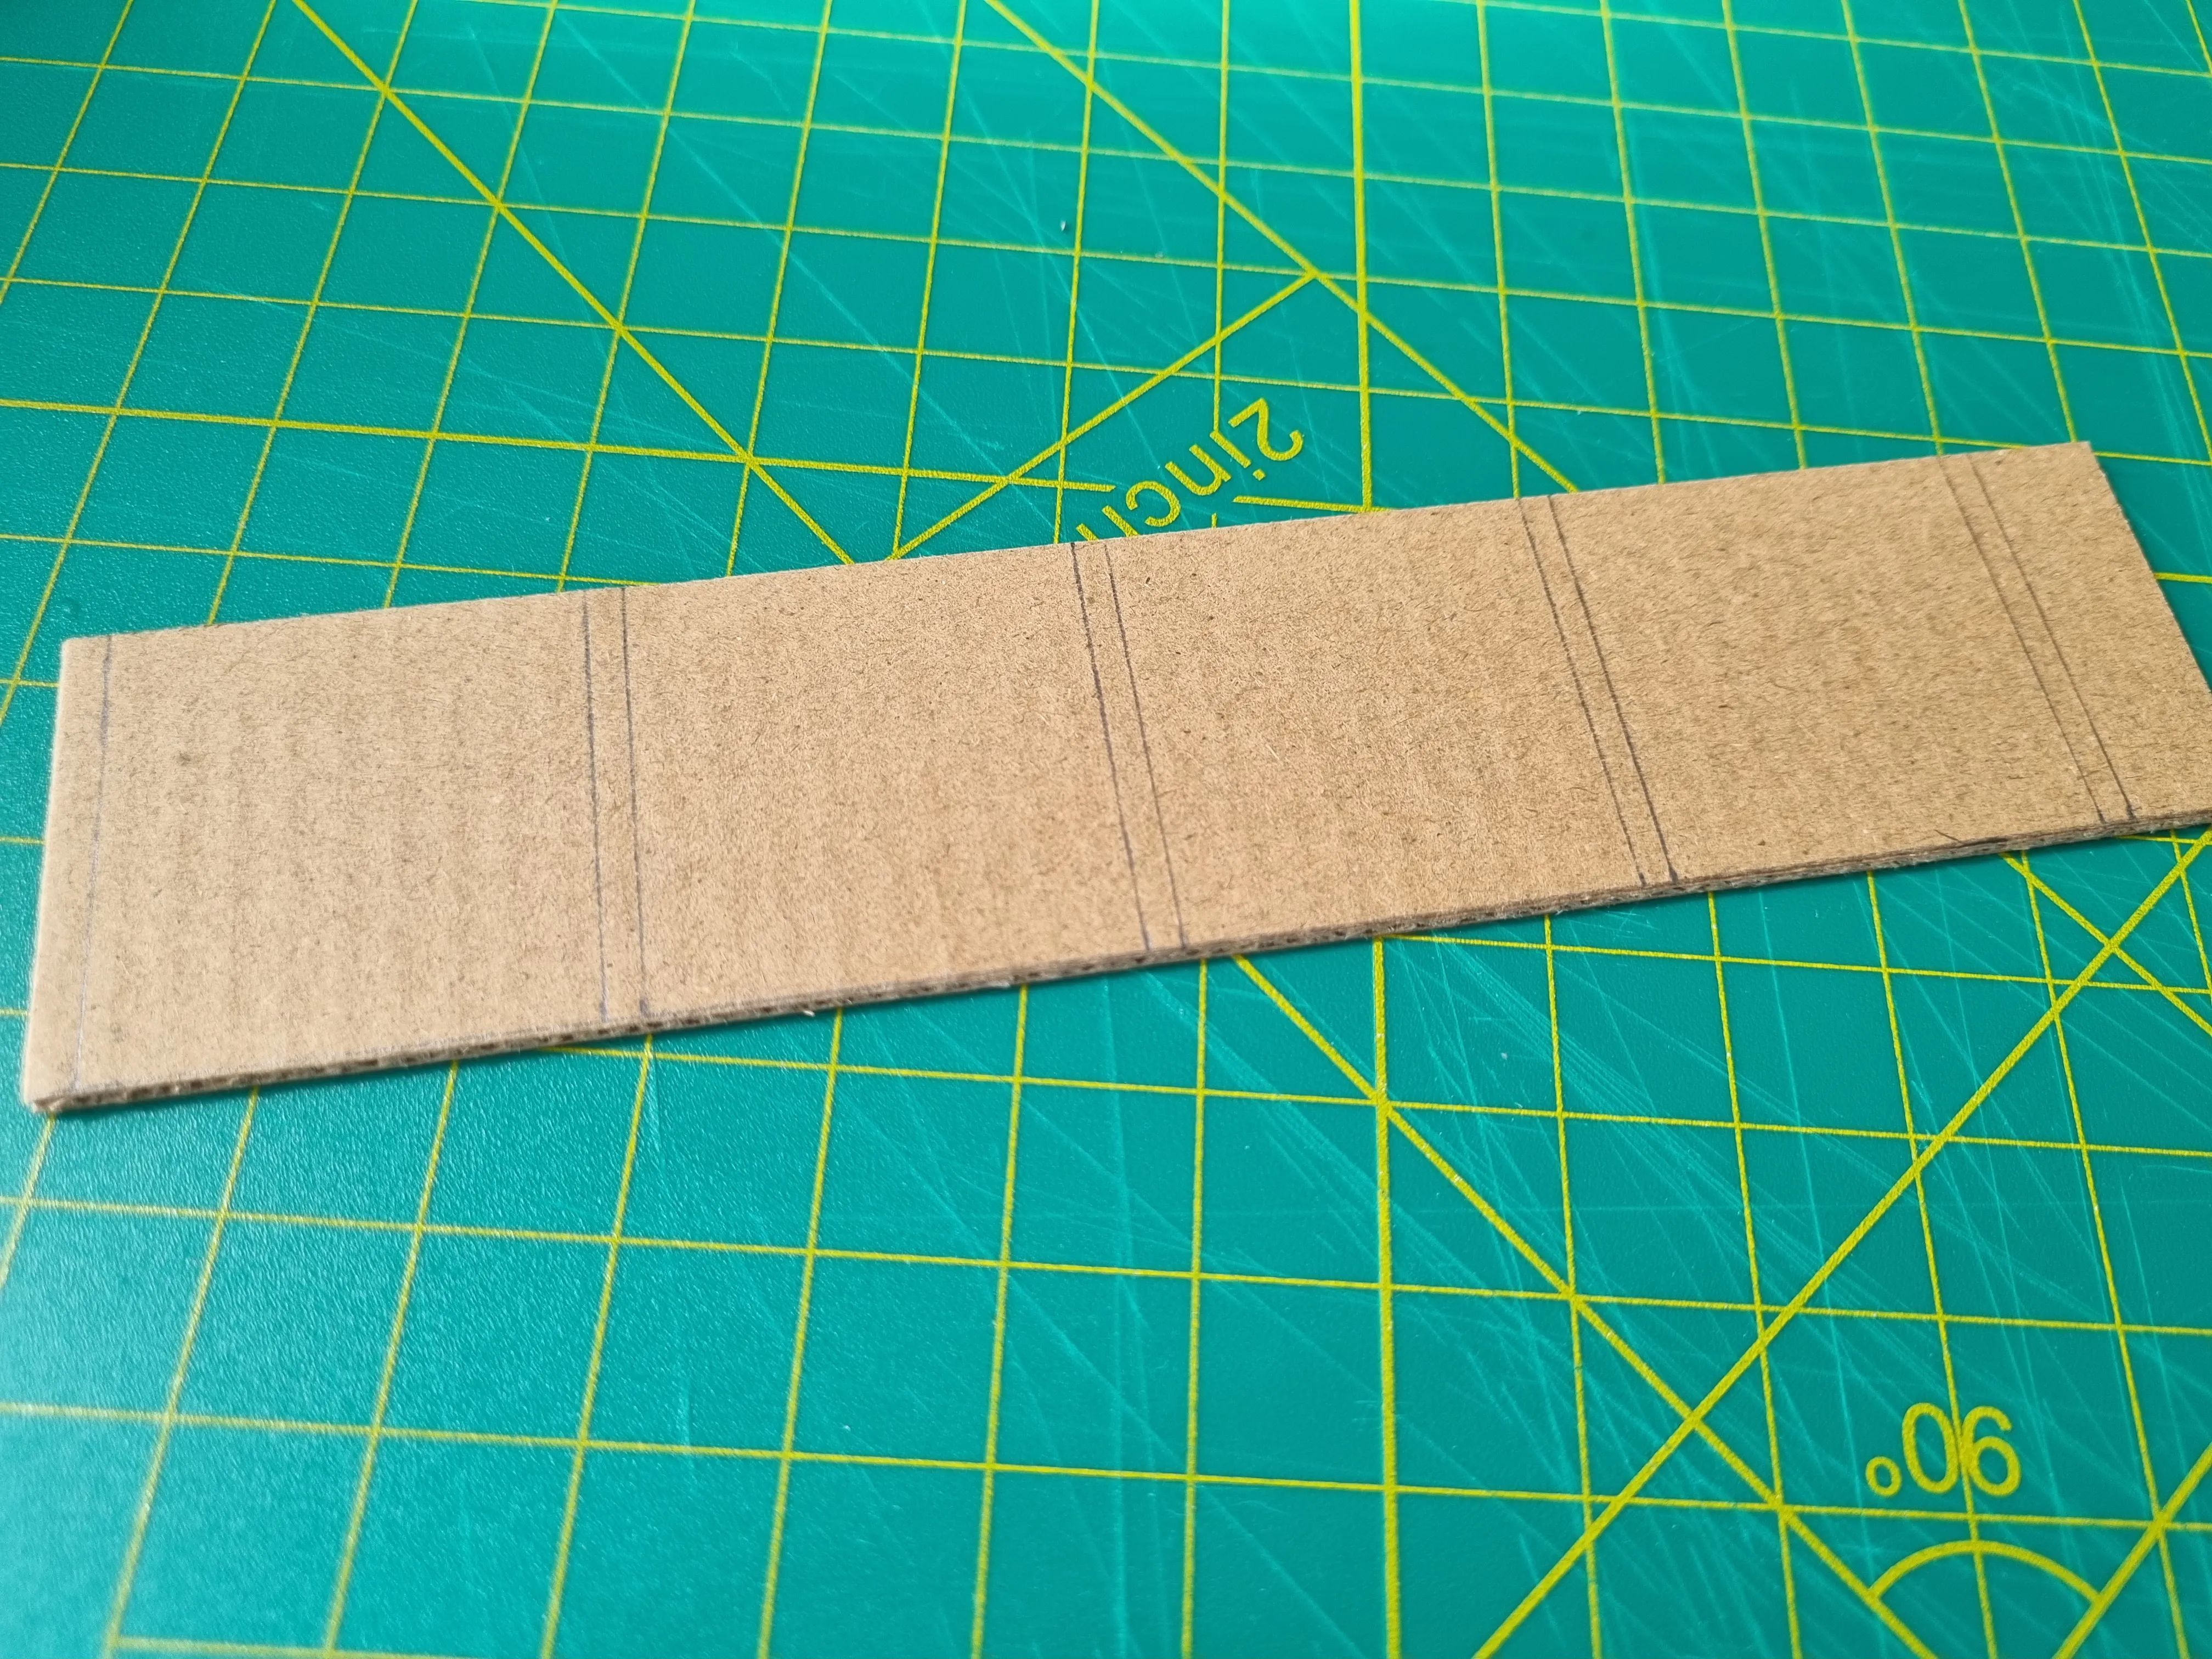
5- Score (don't cut!) the cardboard along the lines. Only cut the top layer of paper.
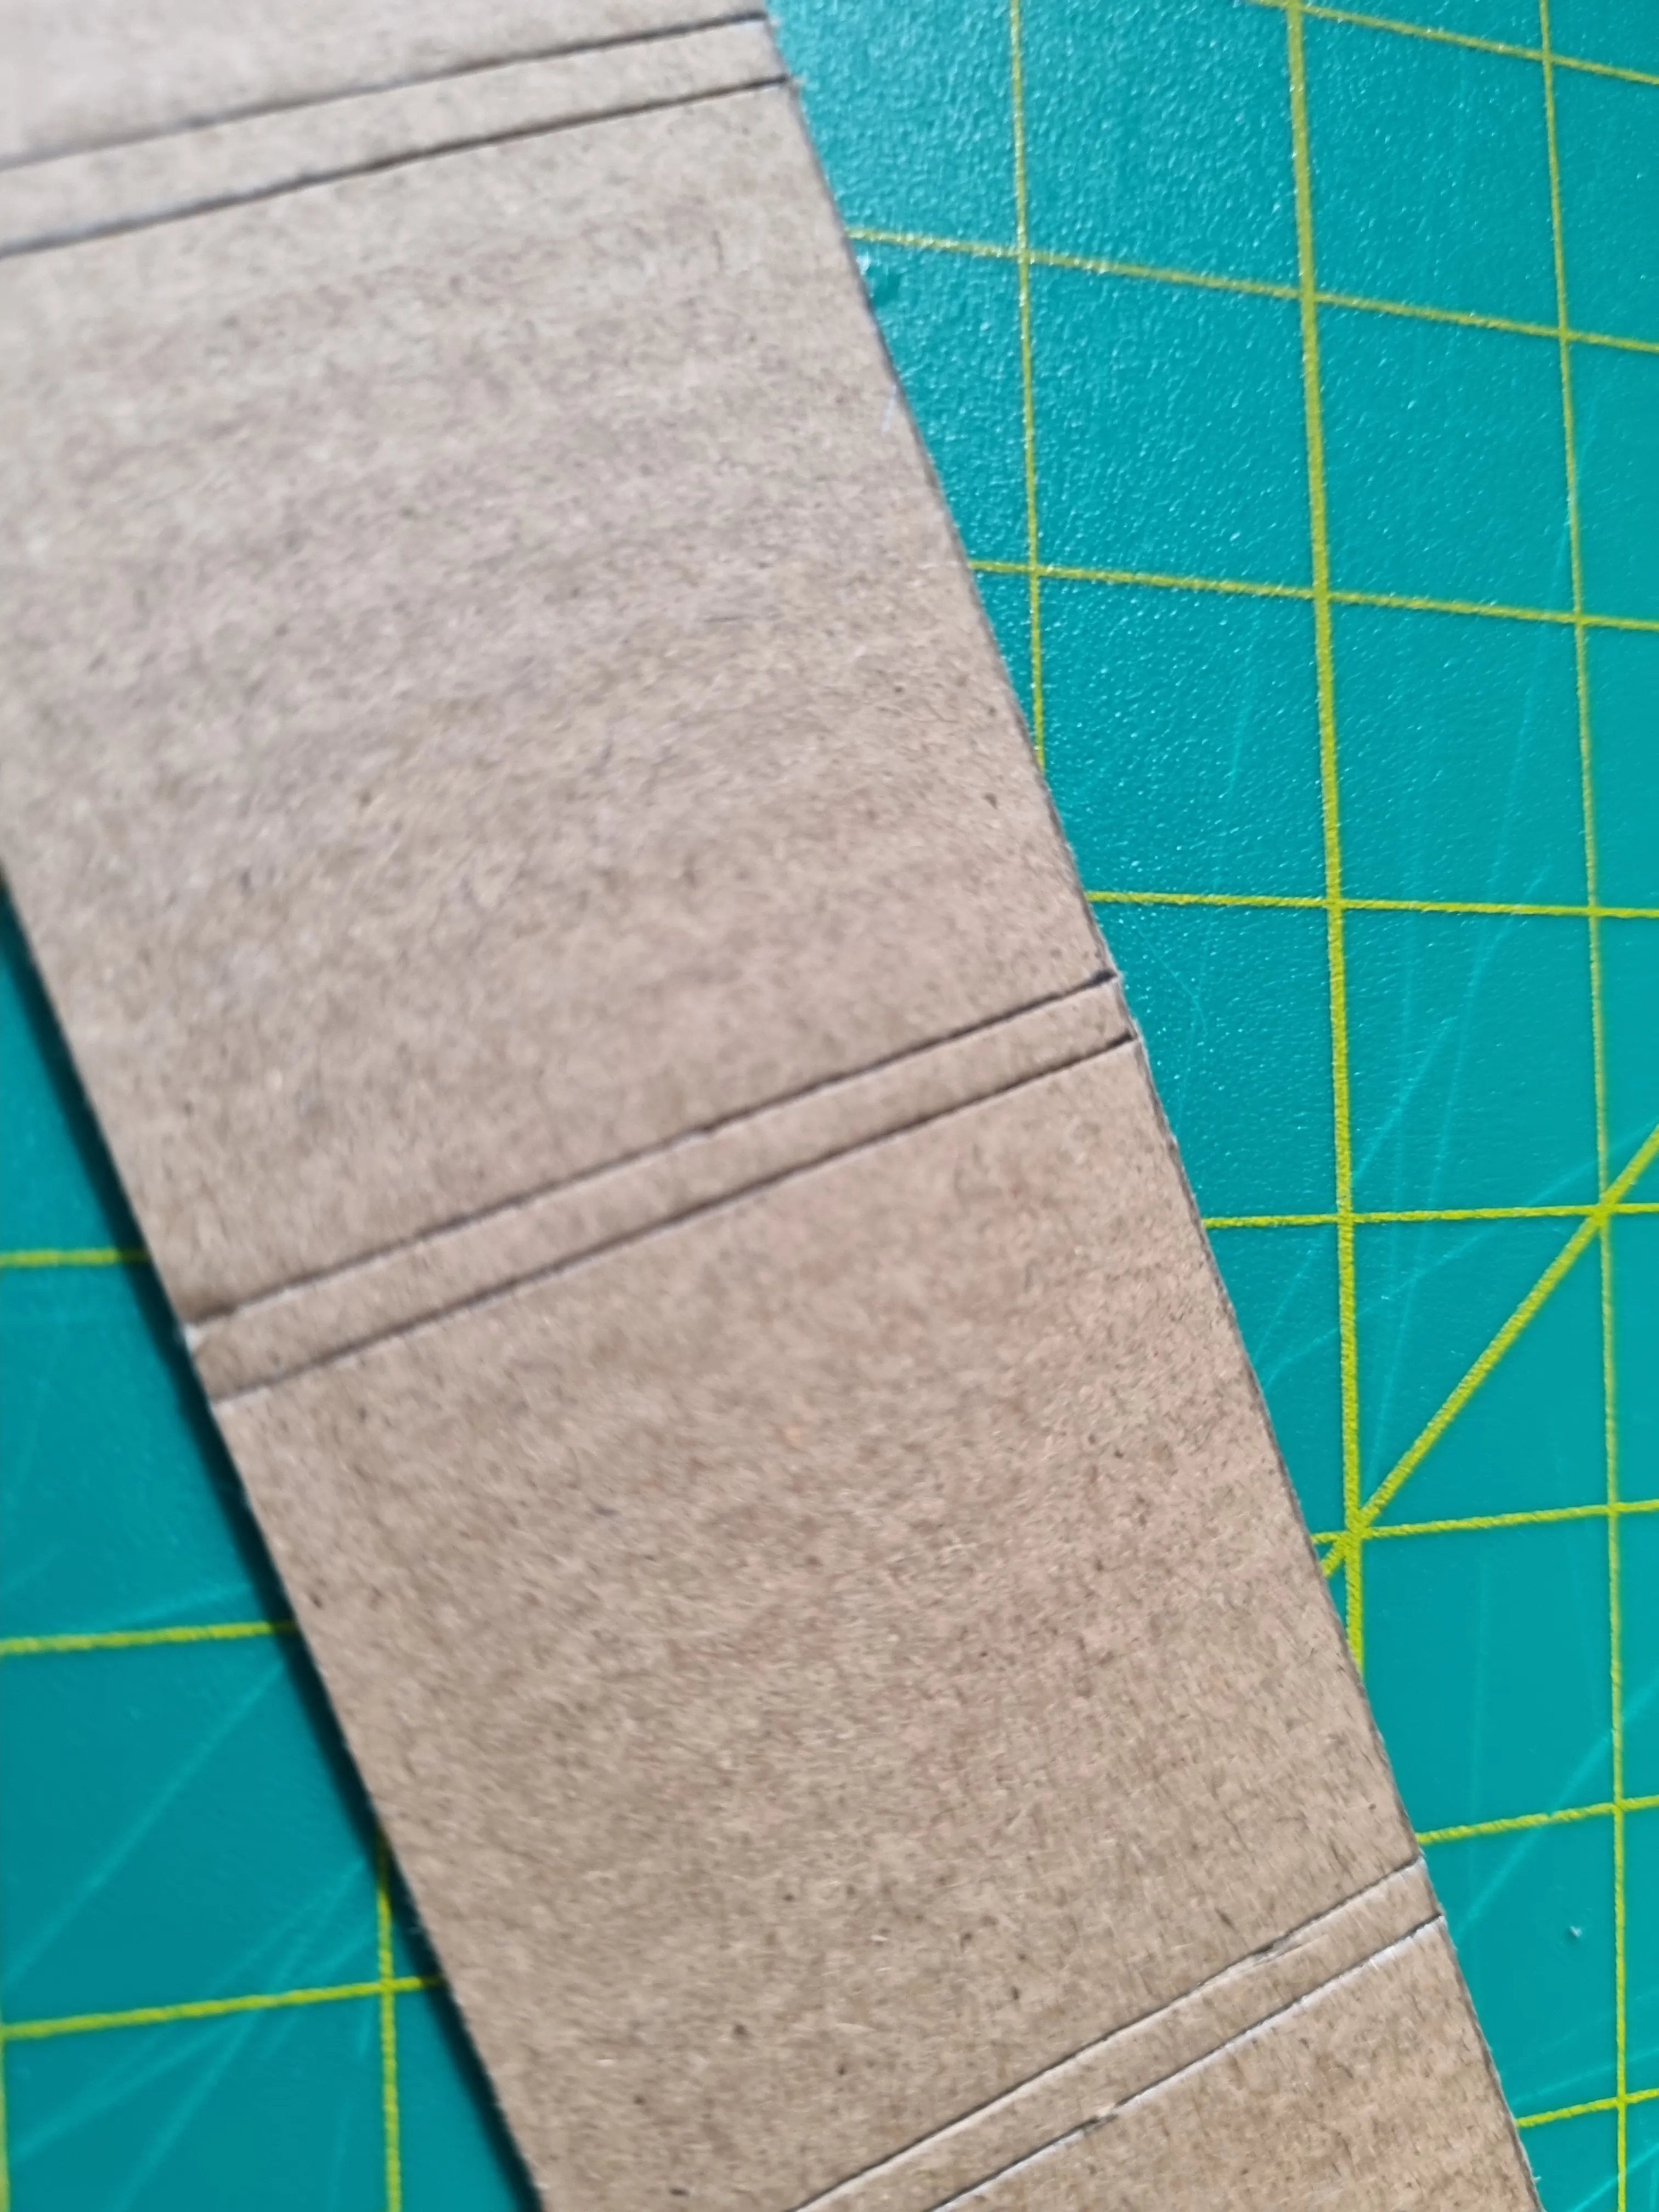
6- Remove the top and middle layers from the last strip, leaving behind only the back layer.
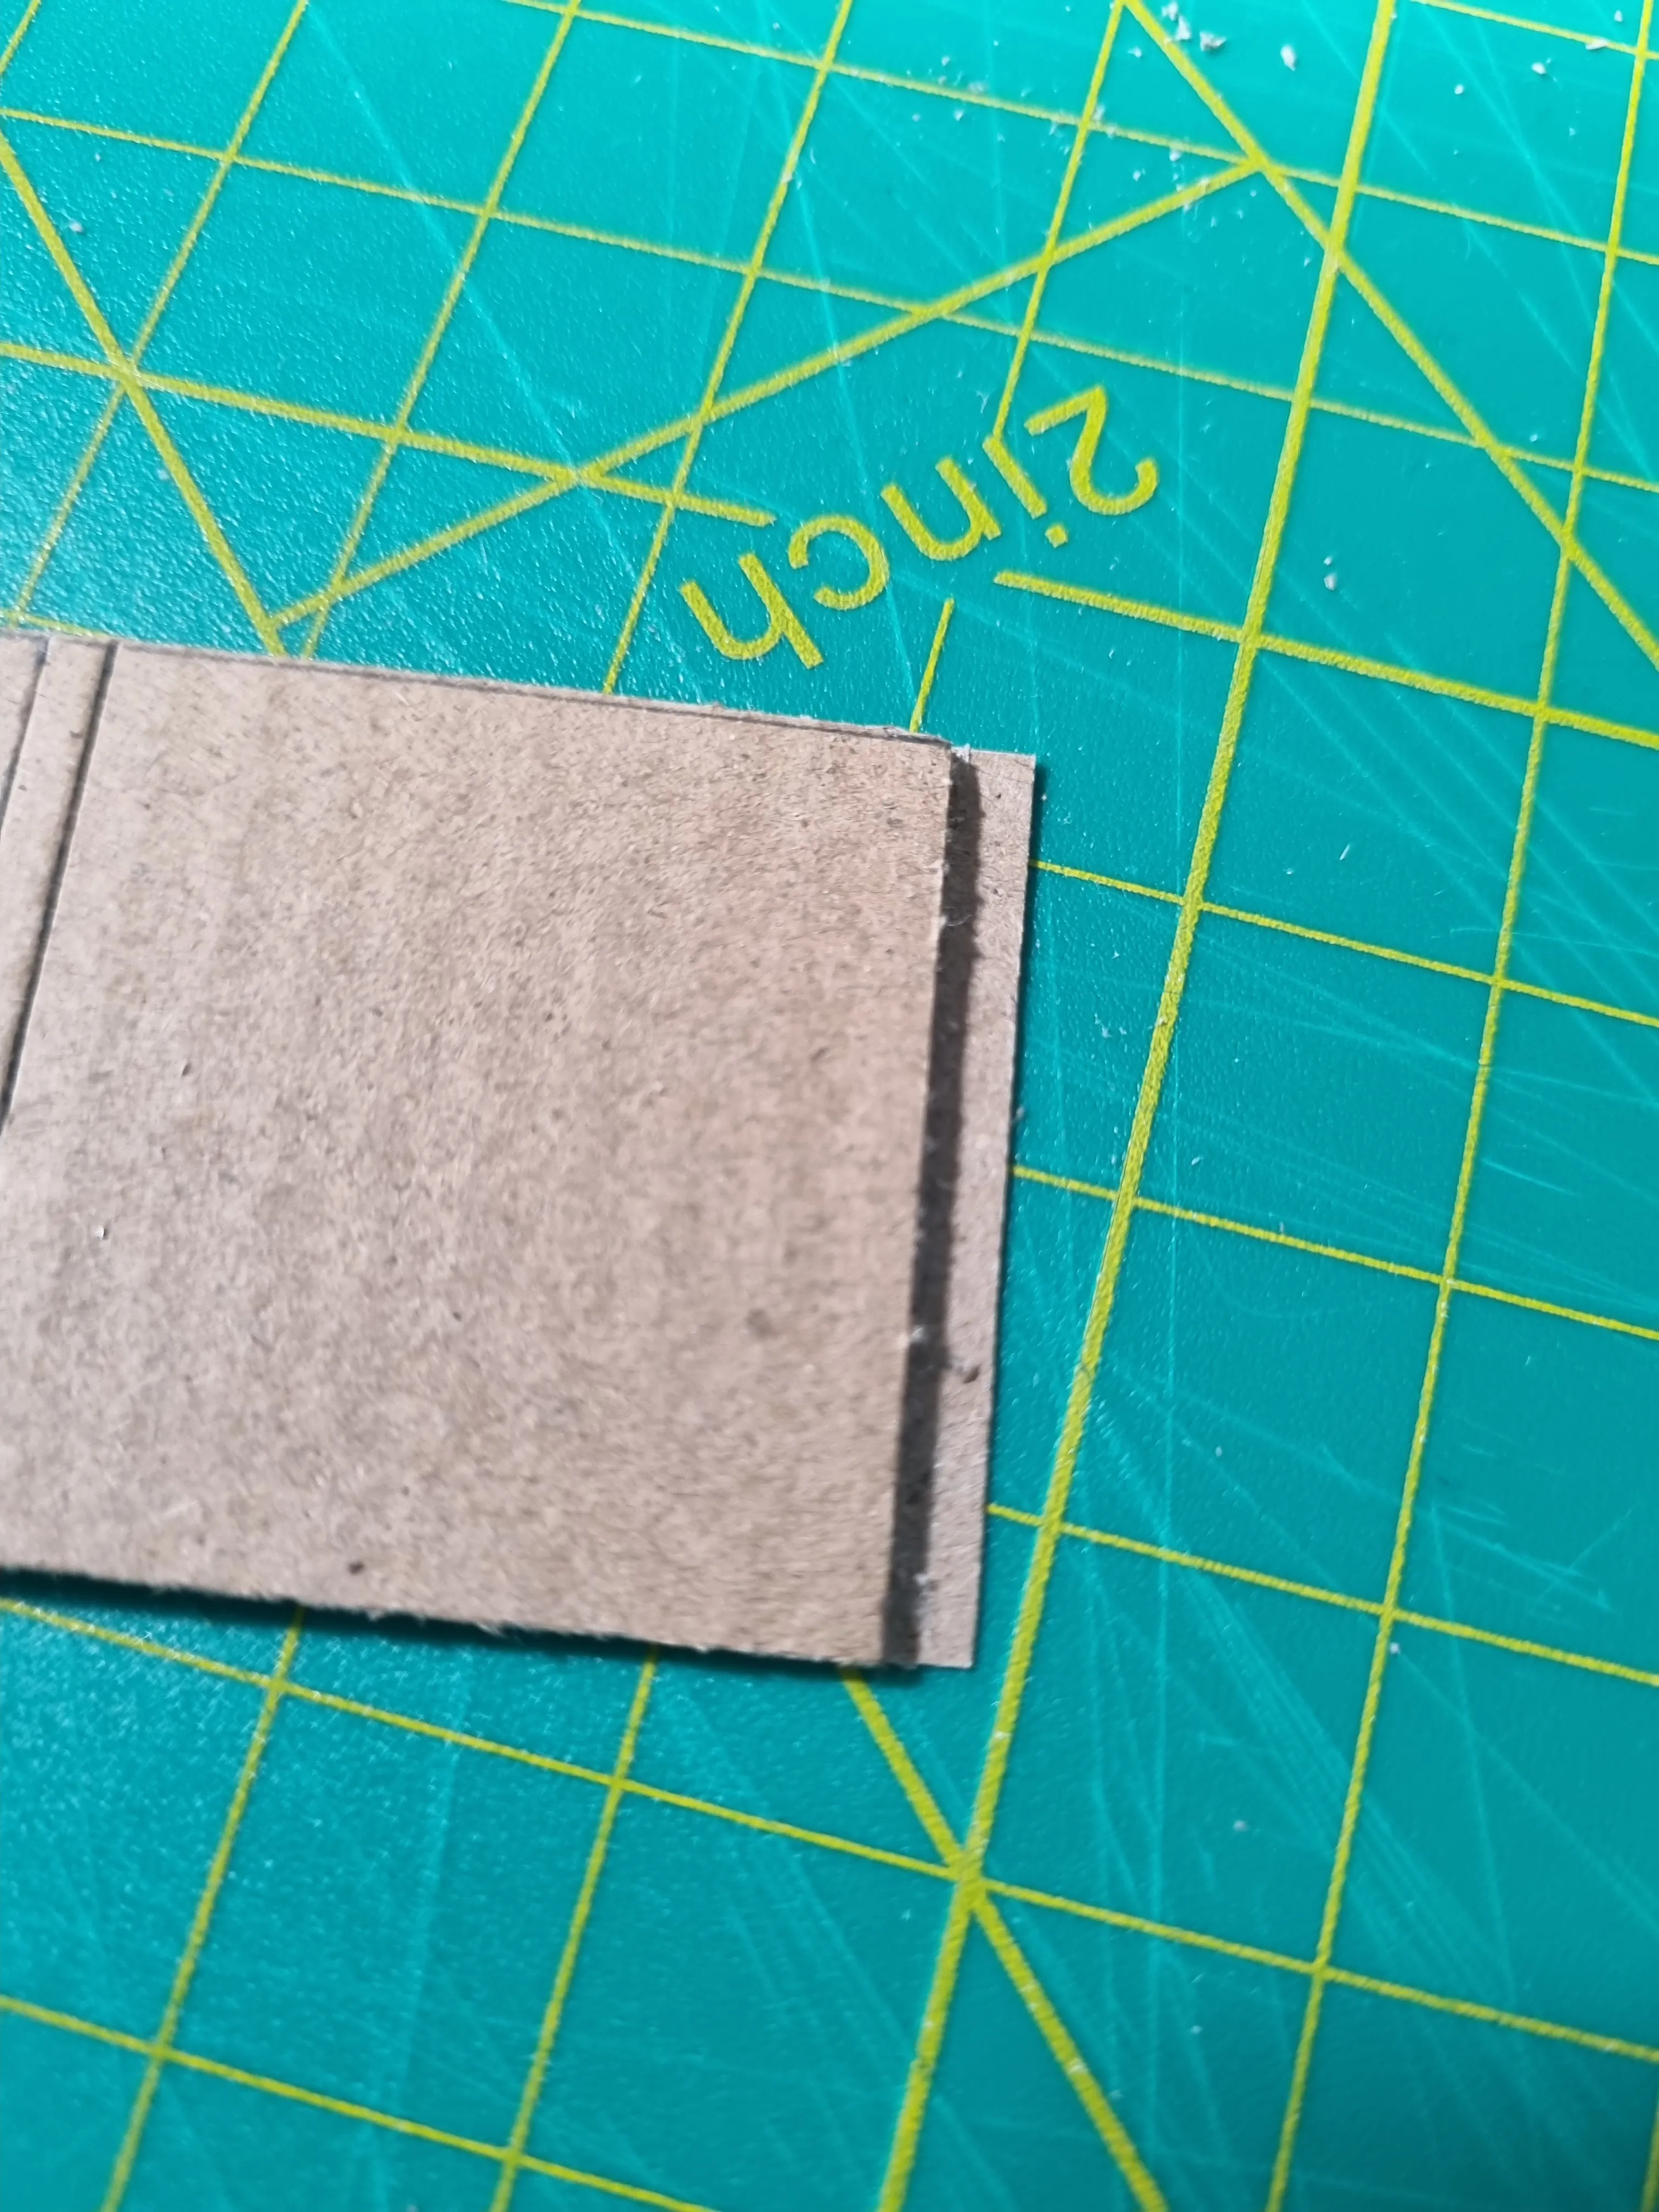
7- Fold the shape using the scored lines and glue the last strip to the first part.
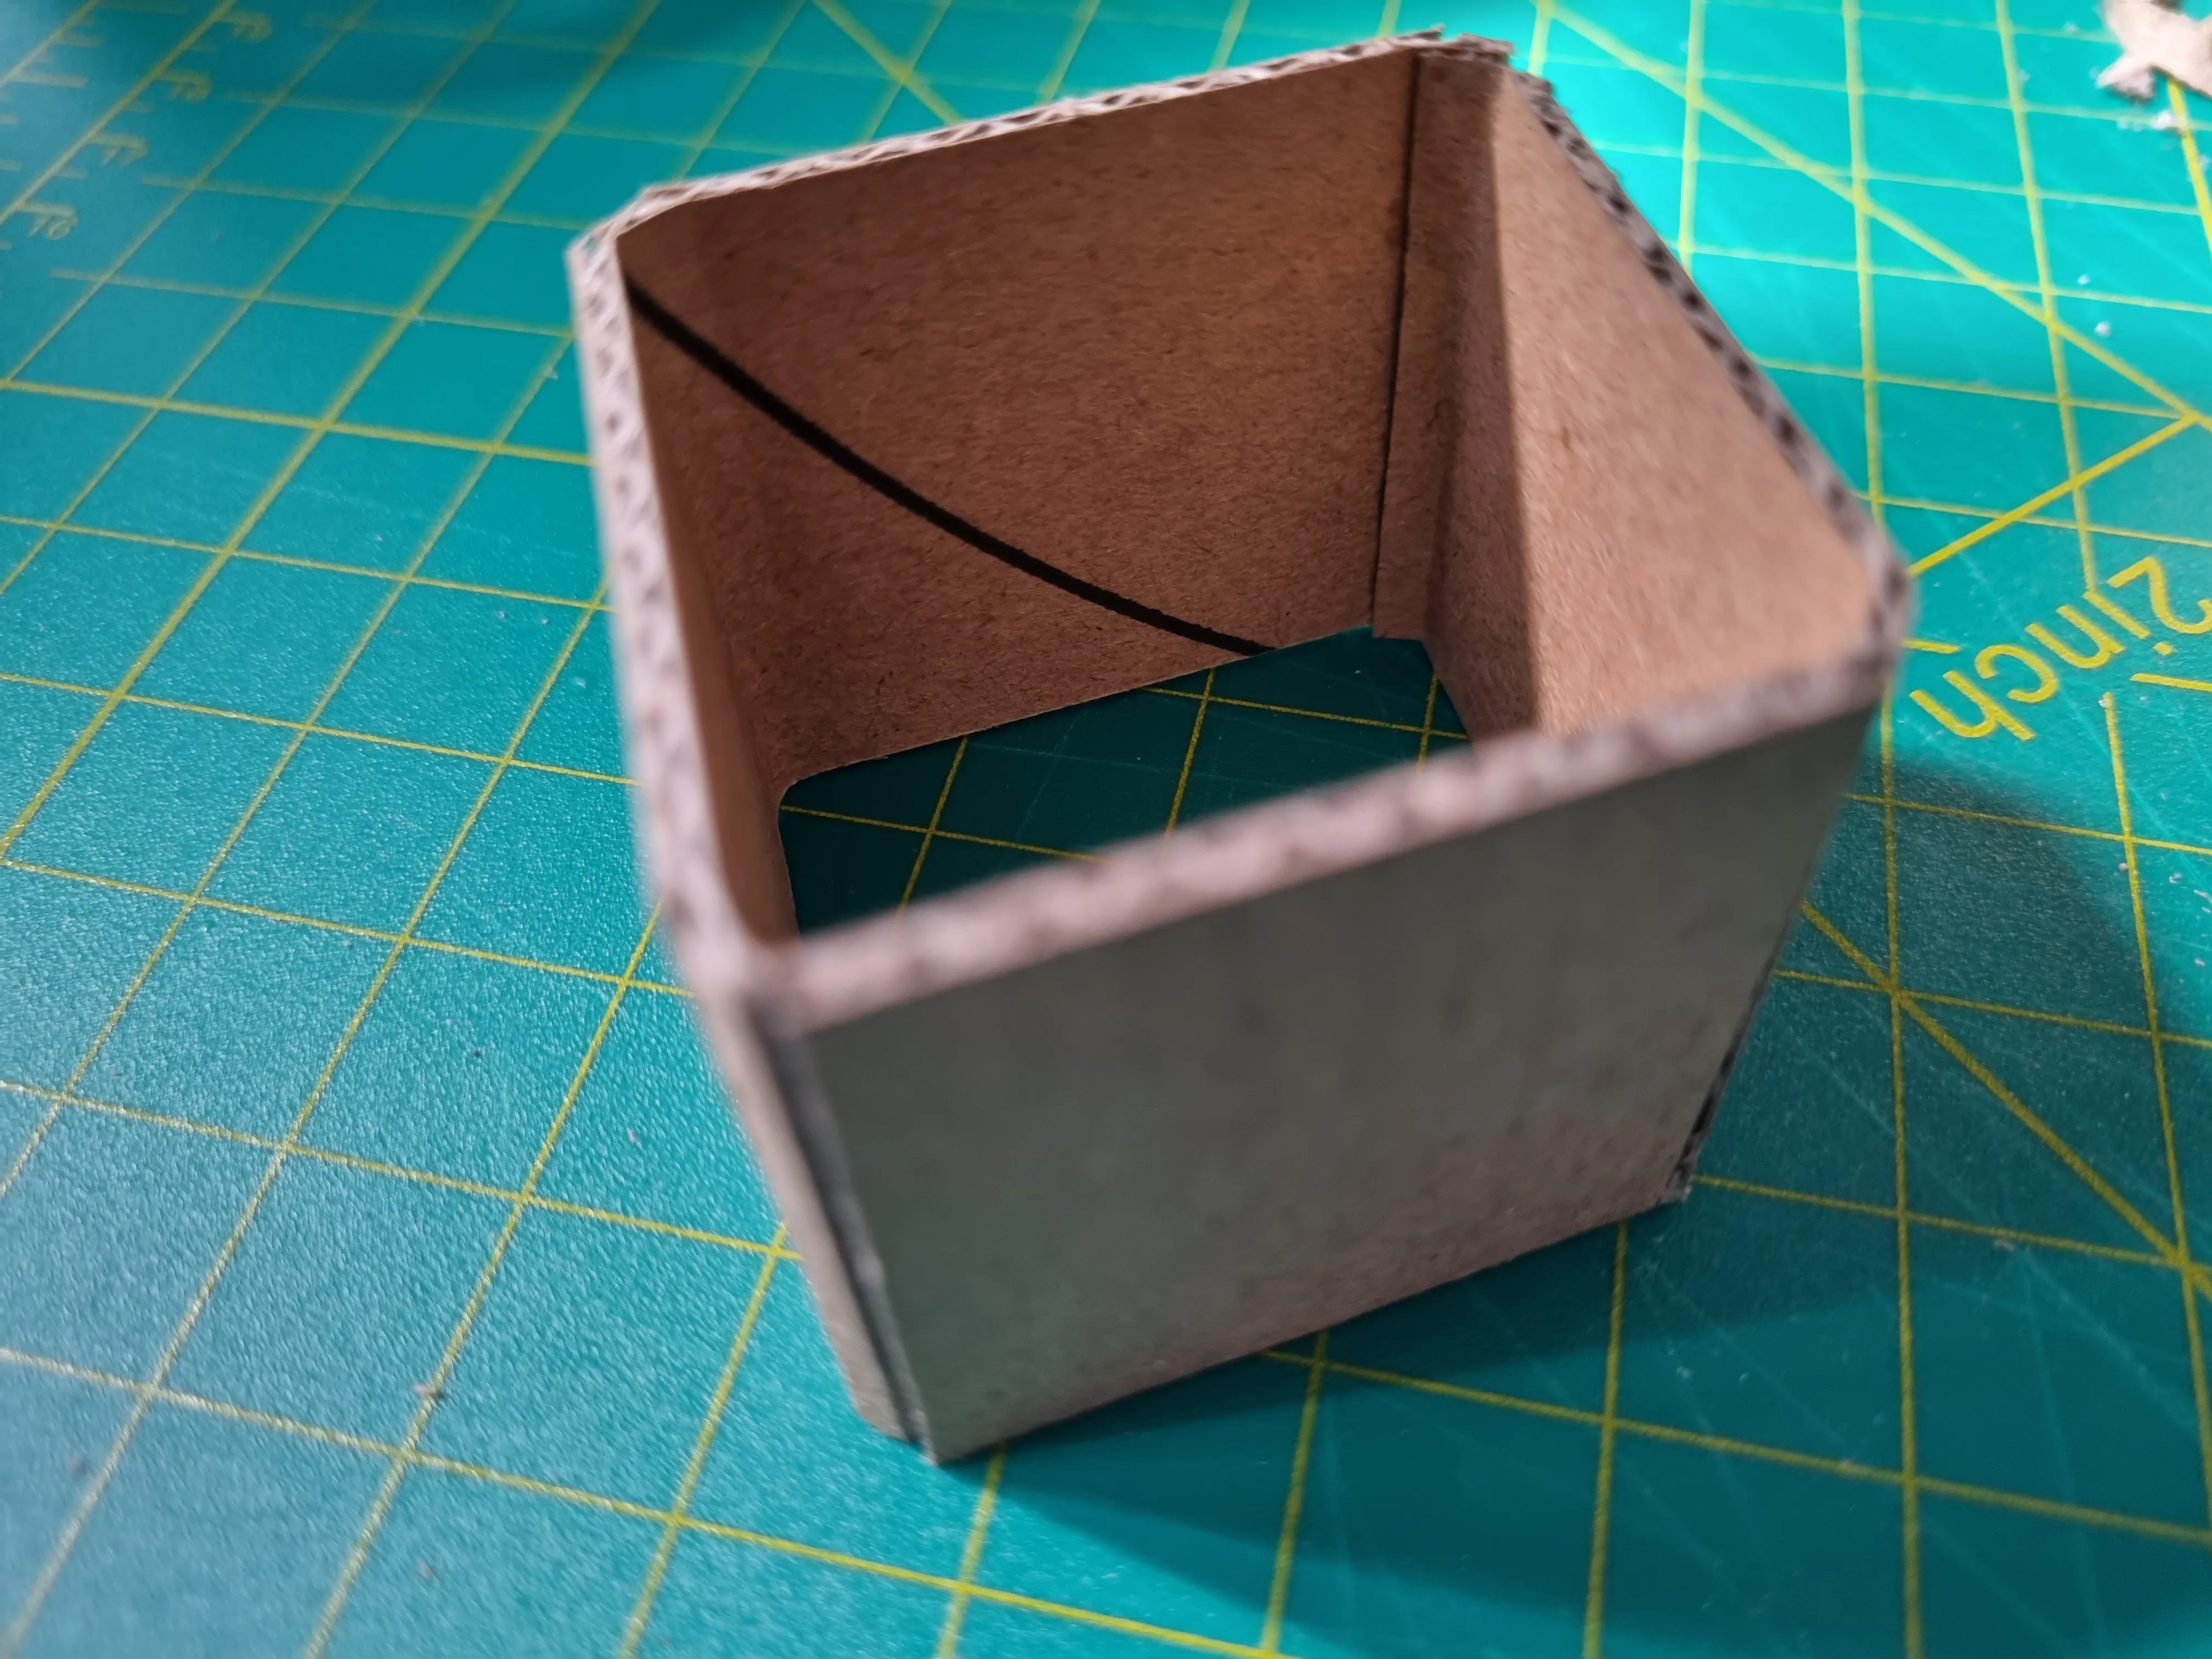
8- Fit the top and bottom pieces. Depending on luck and your crafting skills this should be a tight fit.
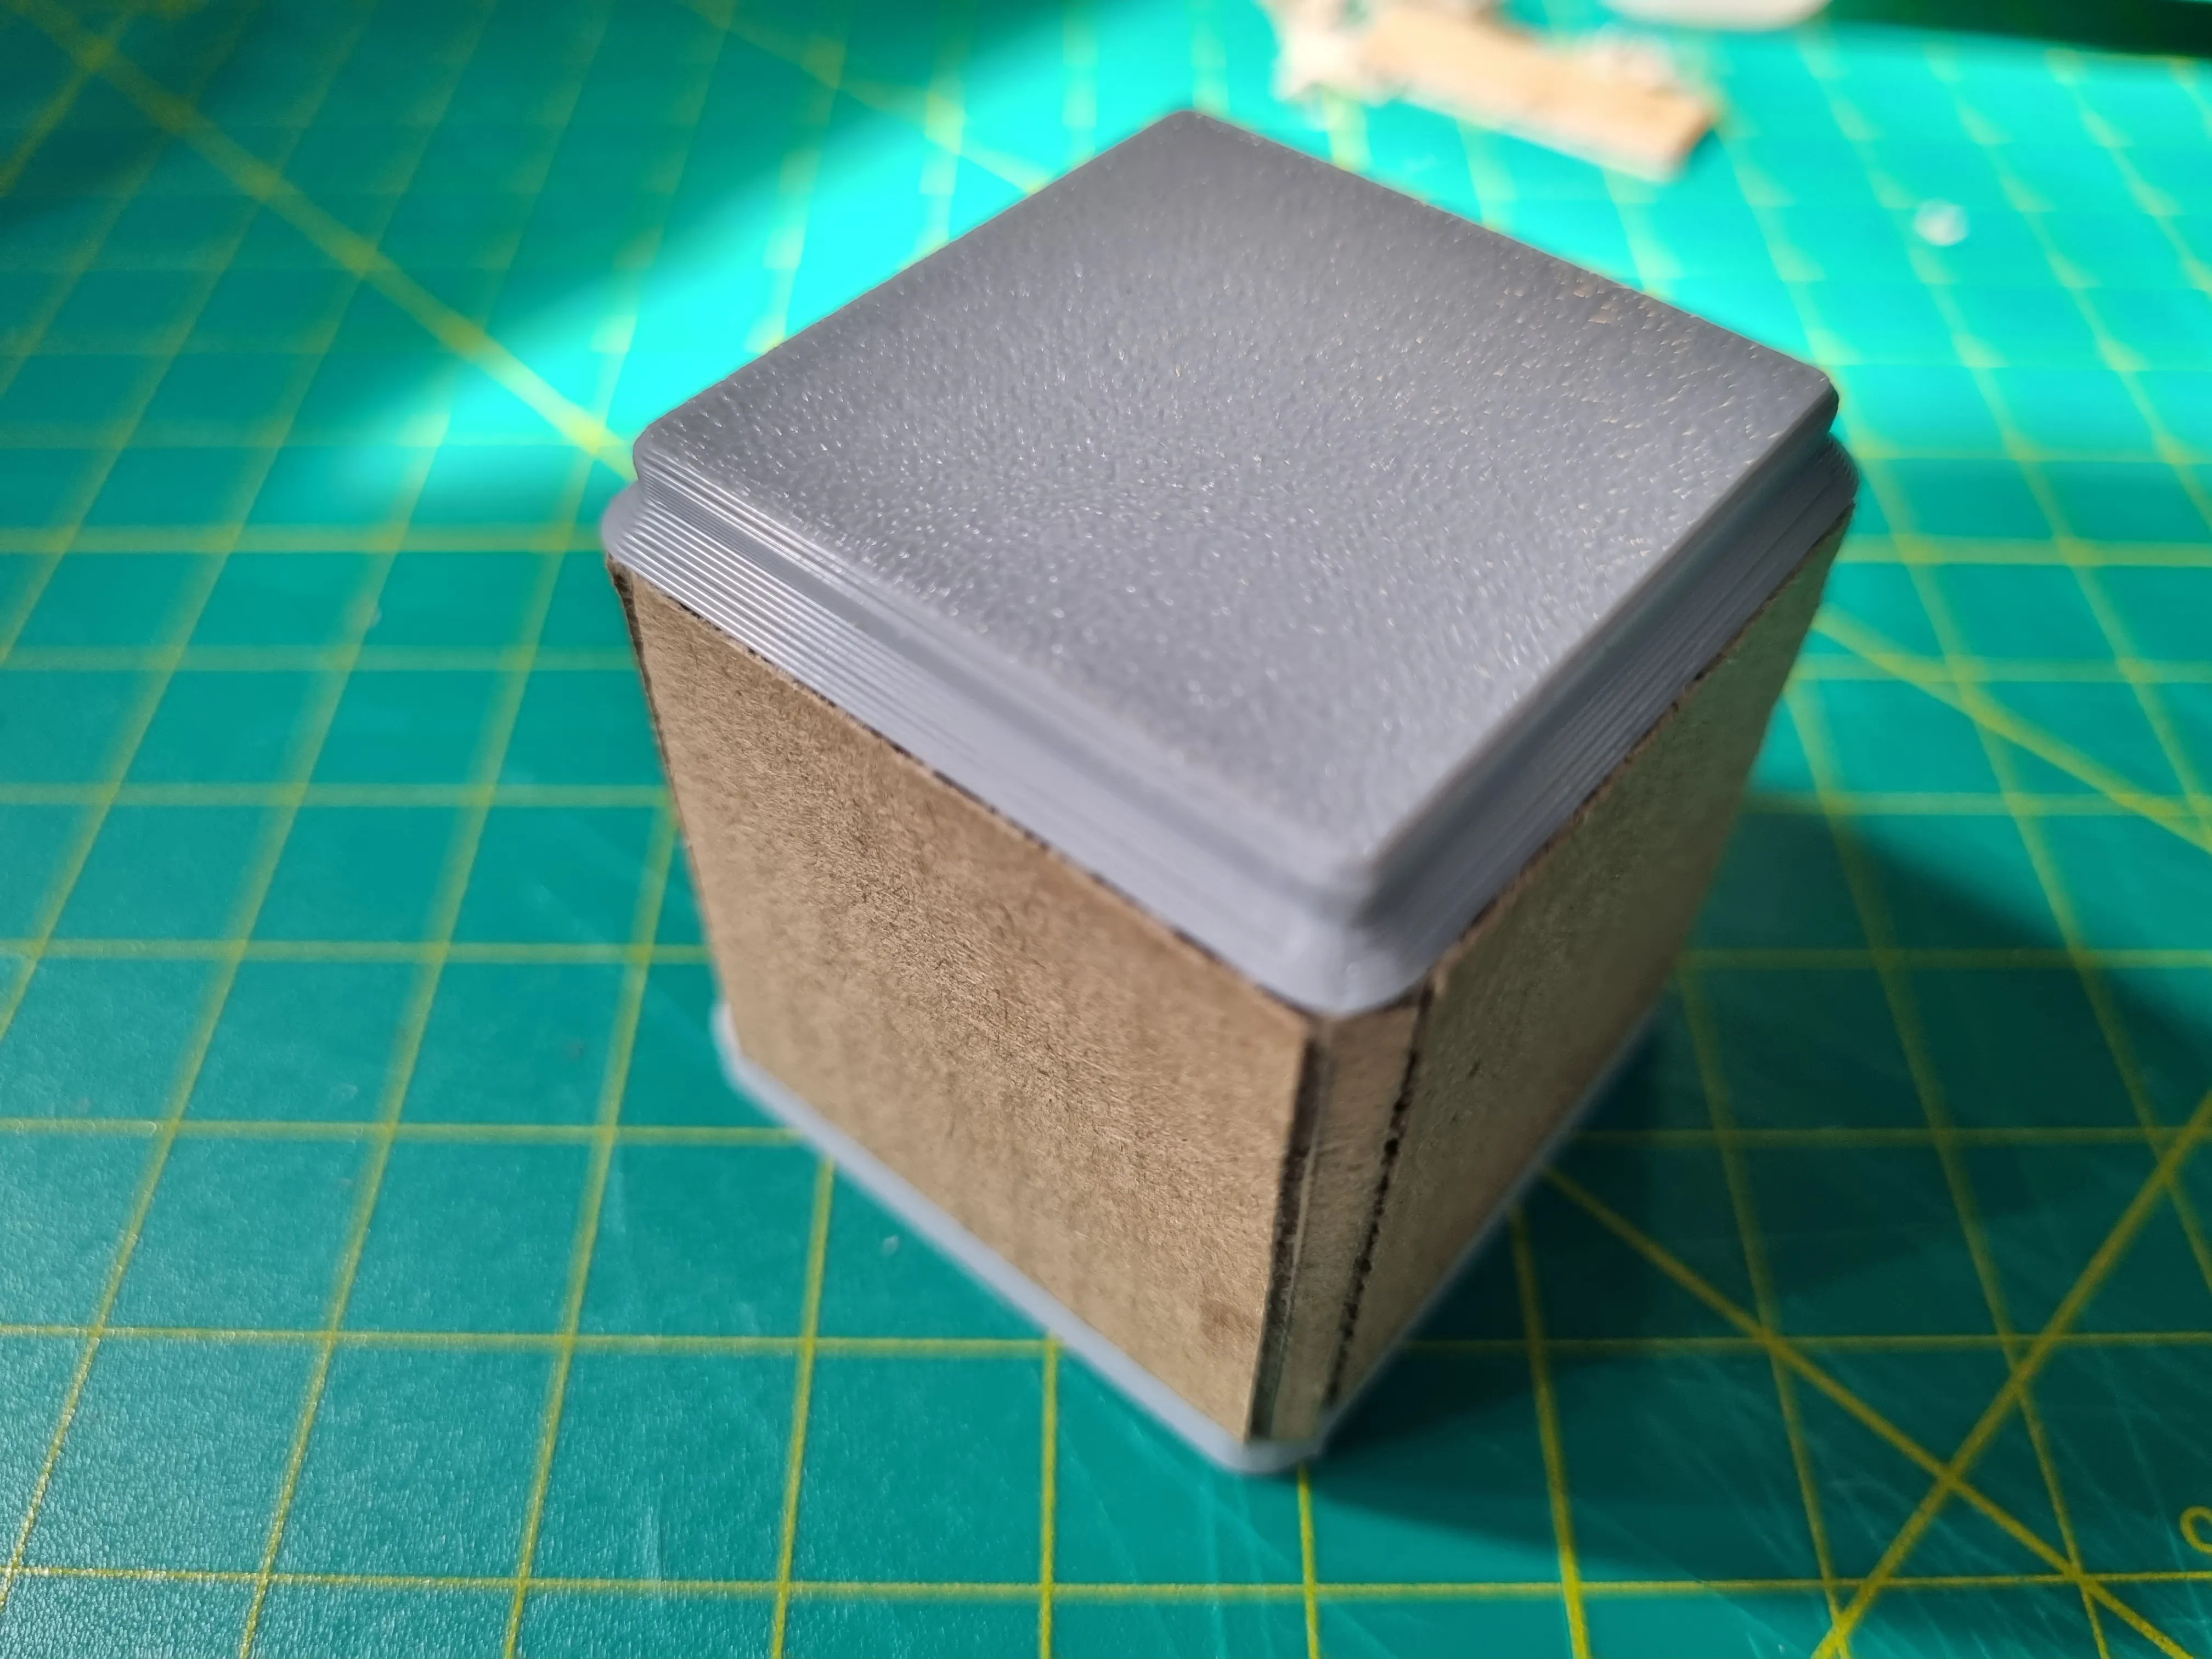
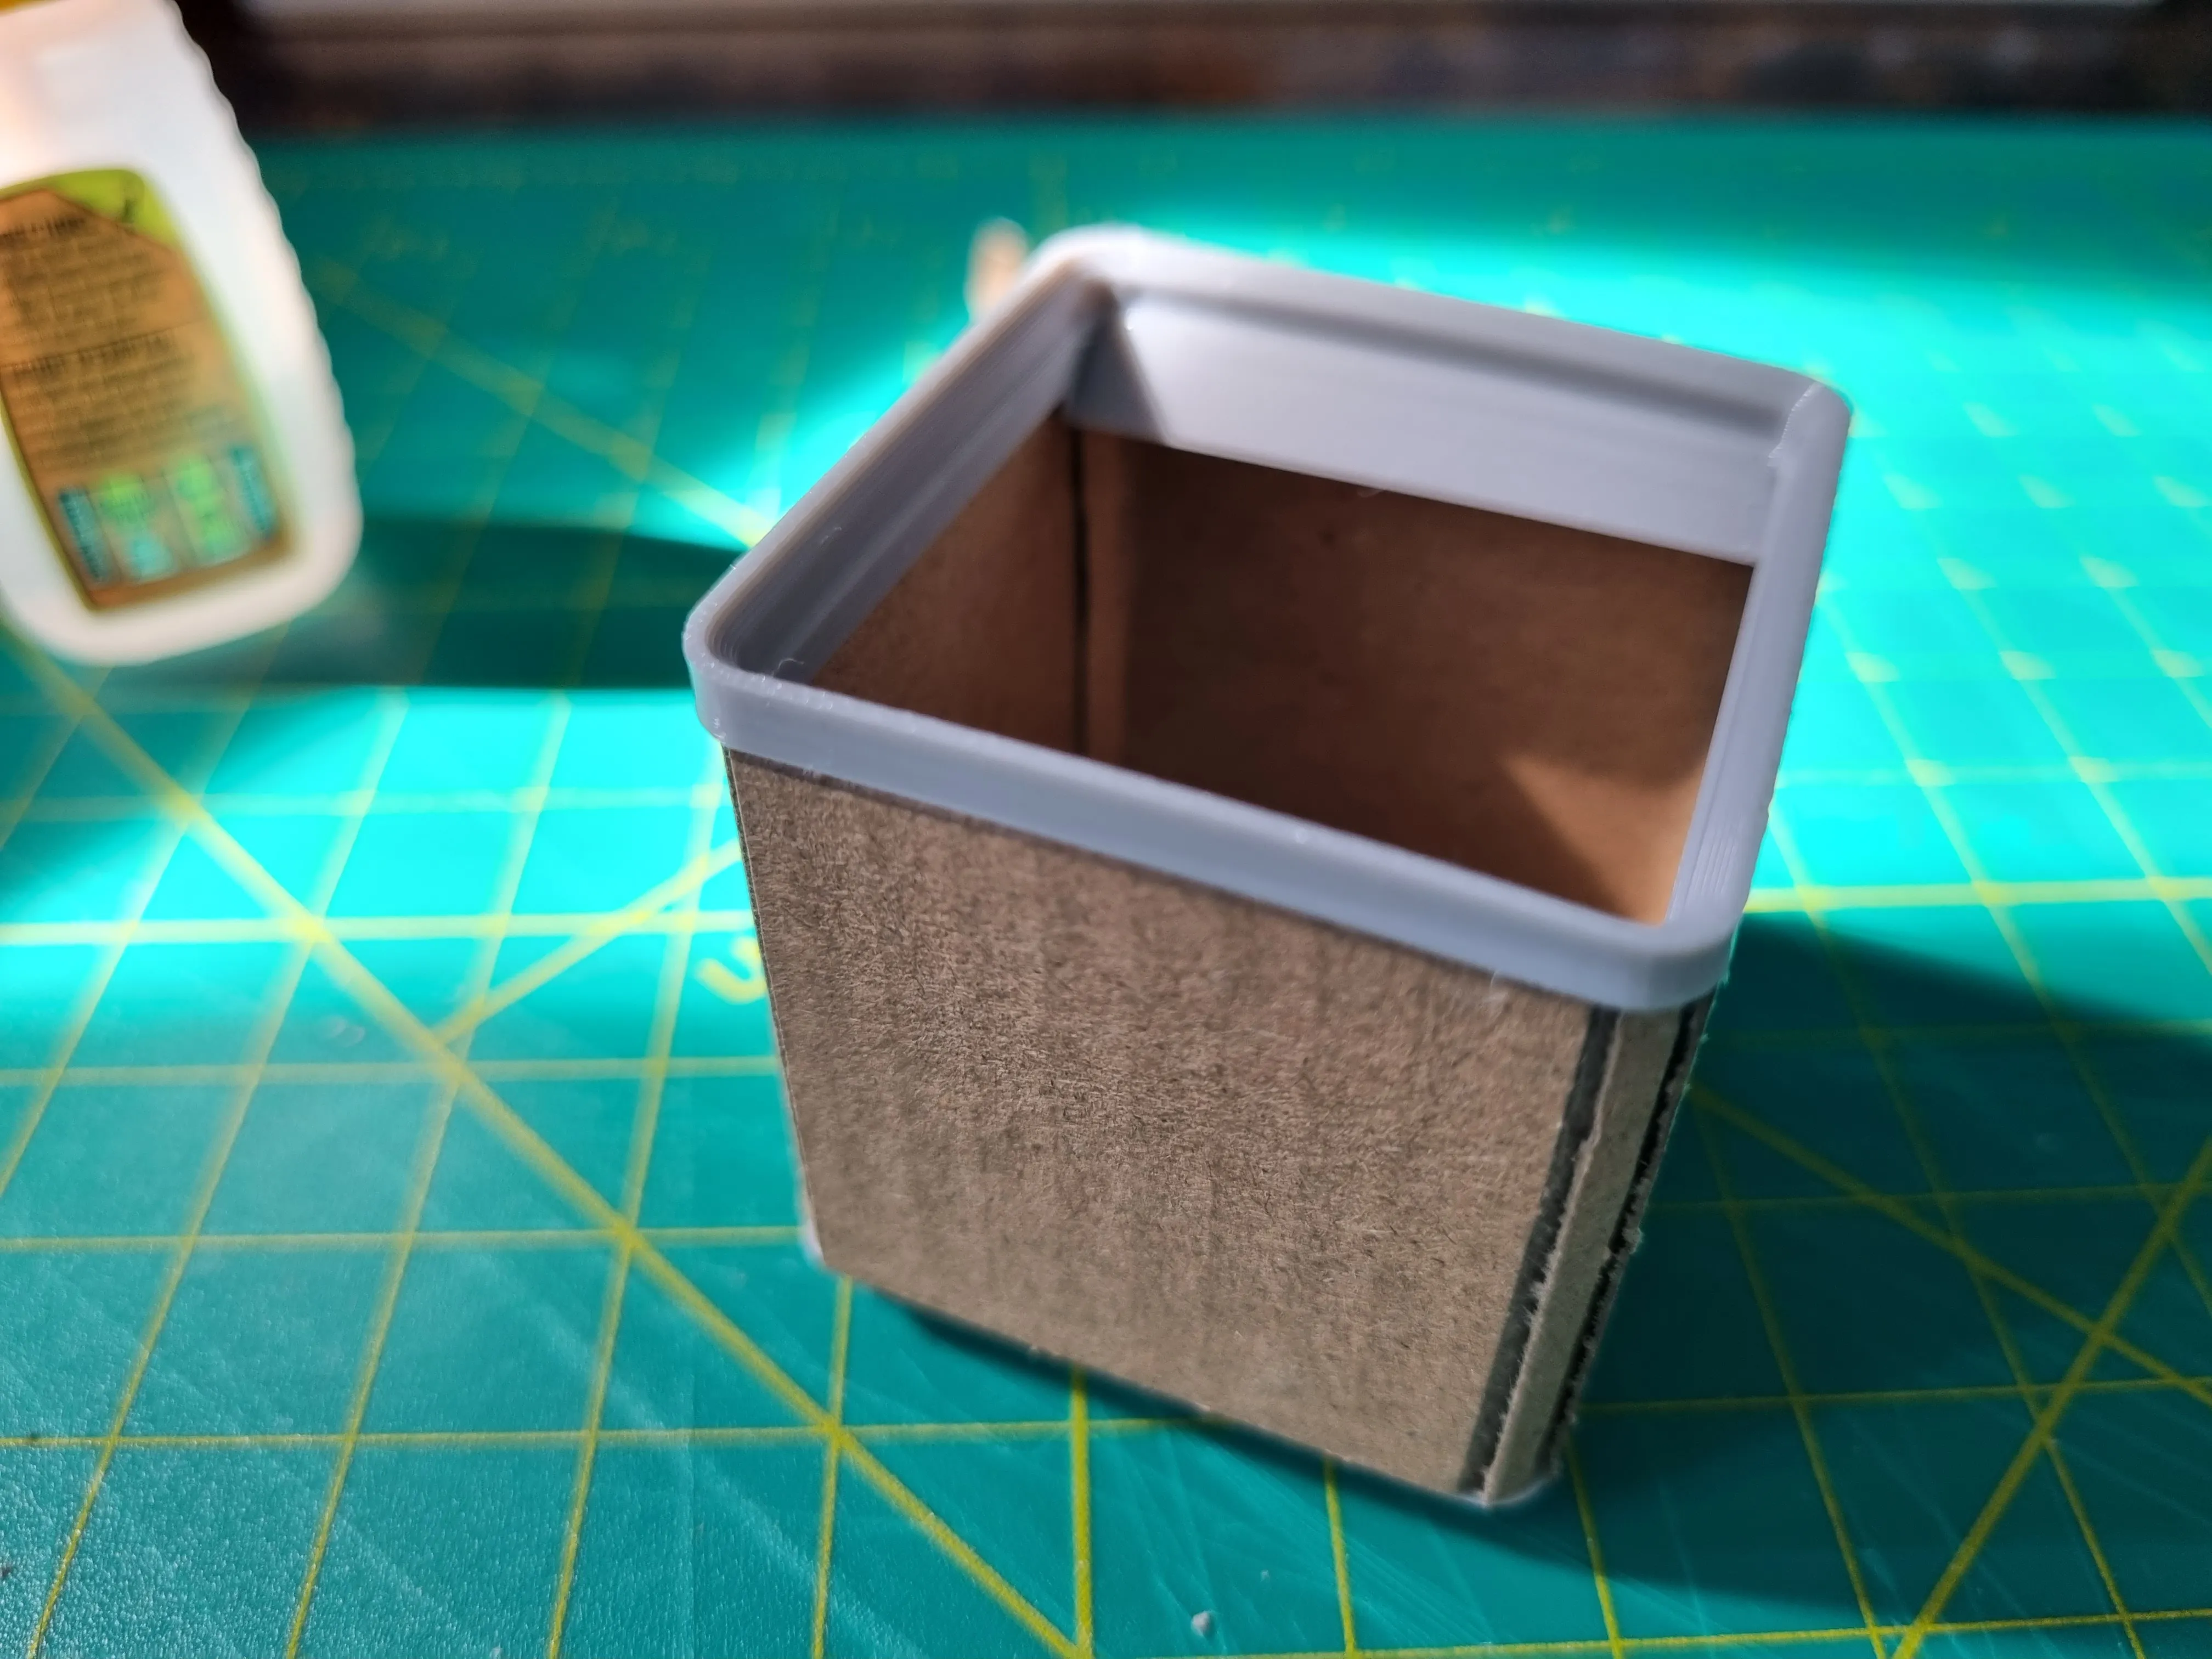
9- Fix the top and bottom pieces by gluing the corners.
10- Voila!
This remix is based on


License



Comment & Rating (33)