
House Number with Drilling Template
Print Profile(2)


Description
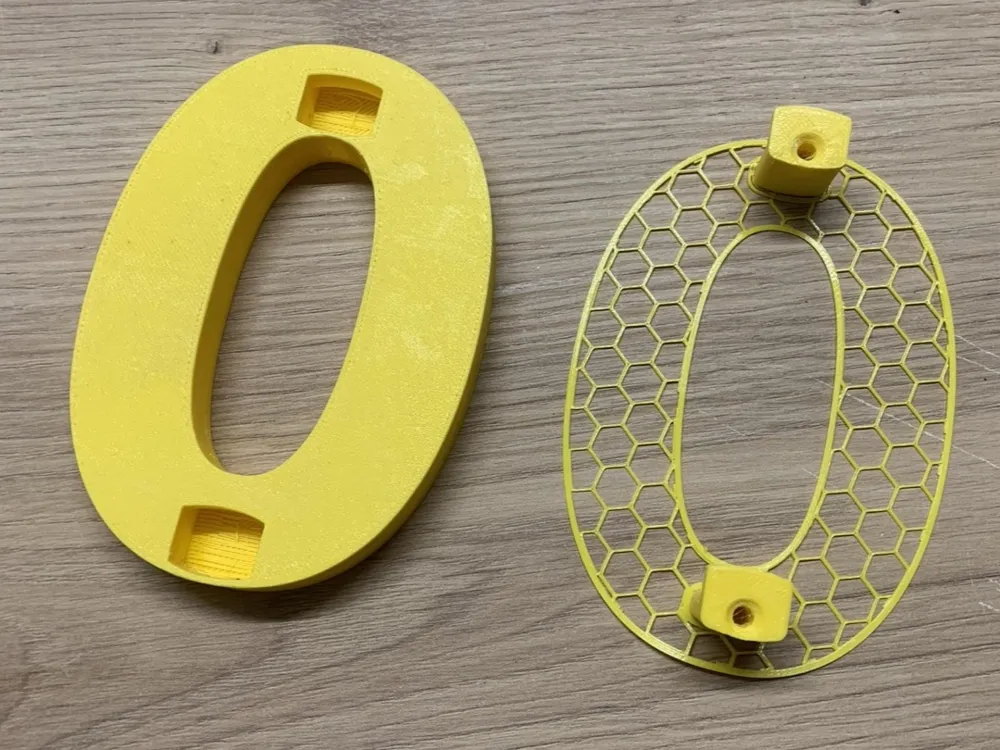
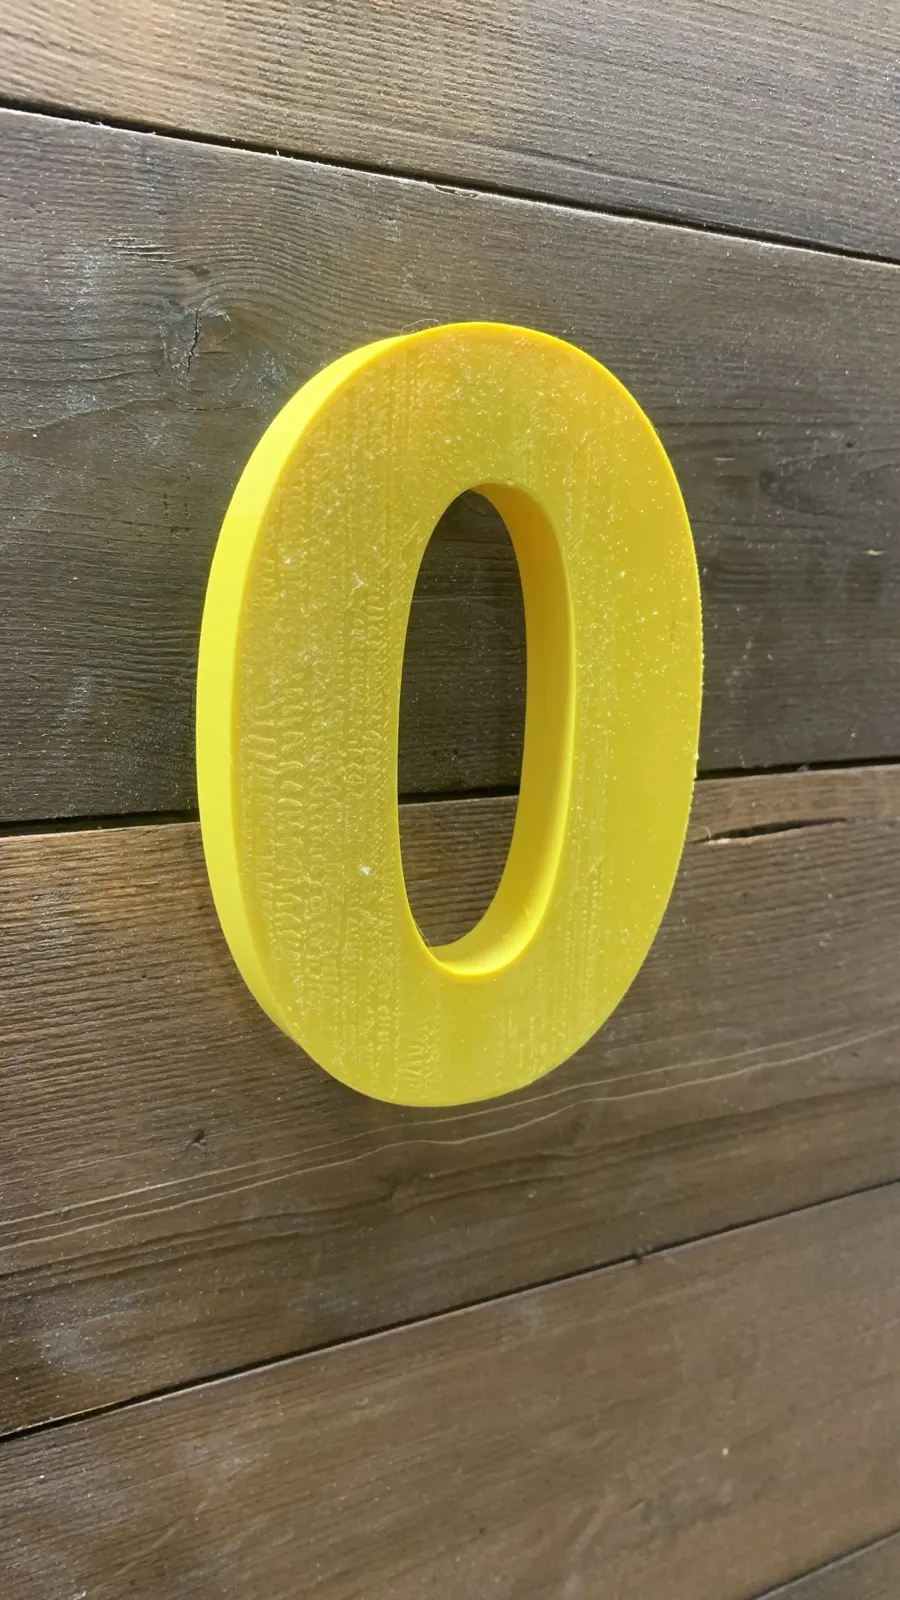
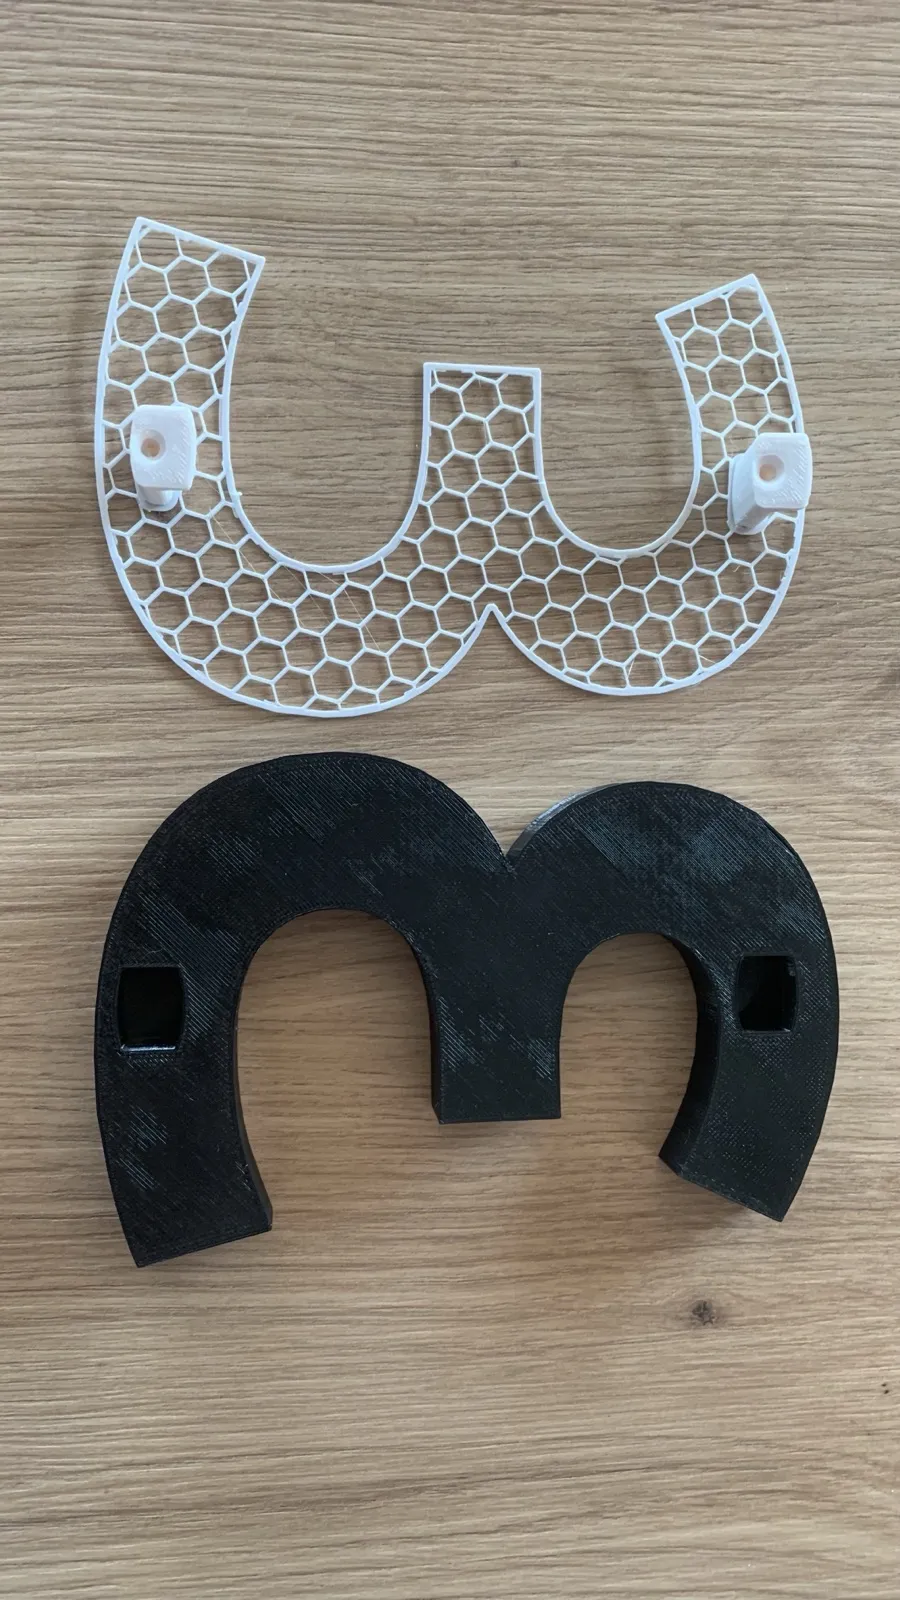
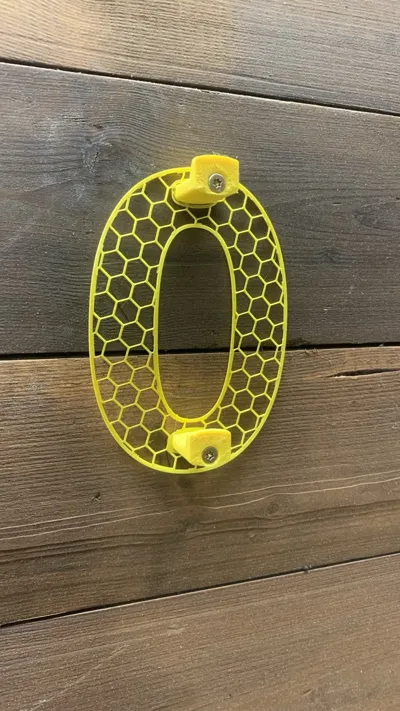
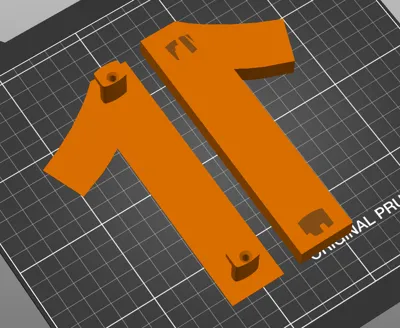
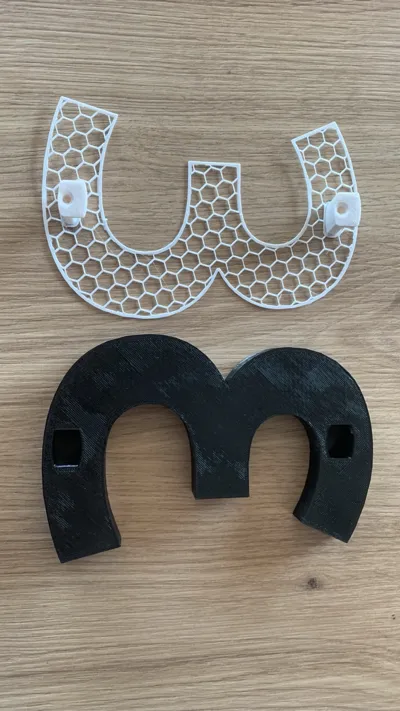
House number with drilling template
Update 2024-12-02: Digit 2 corrected and capital letter A added.
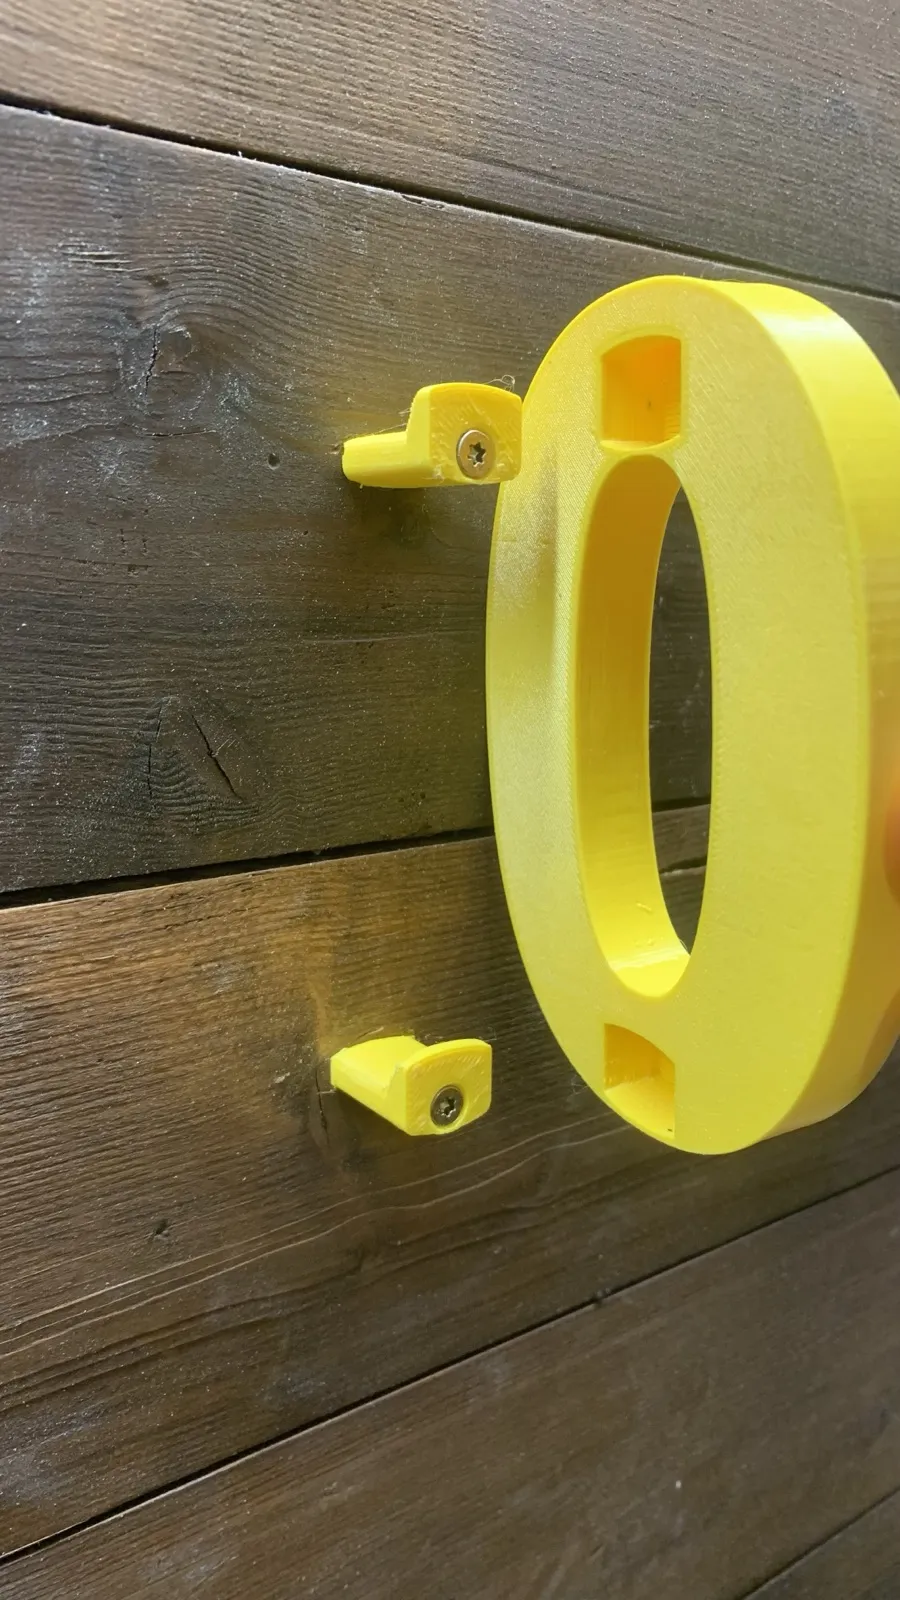
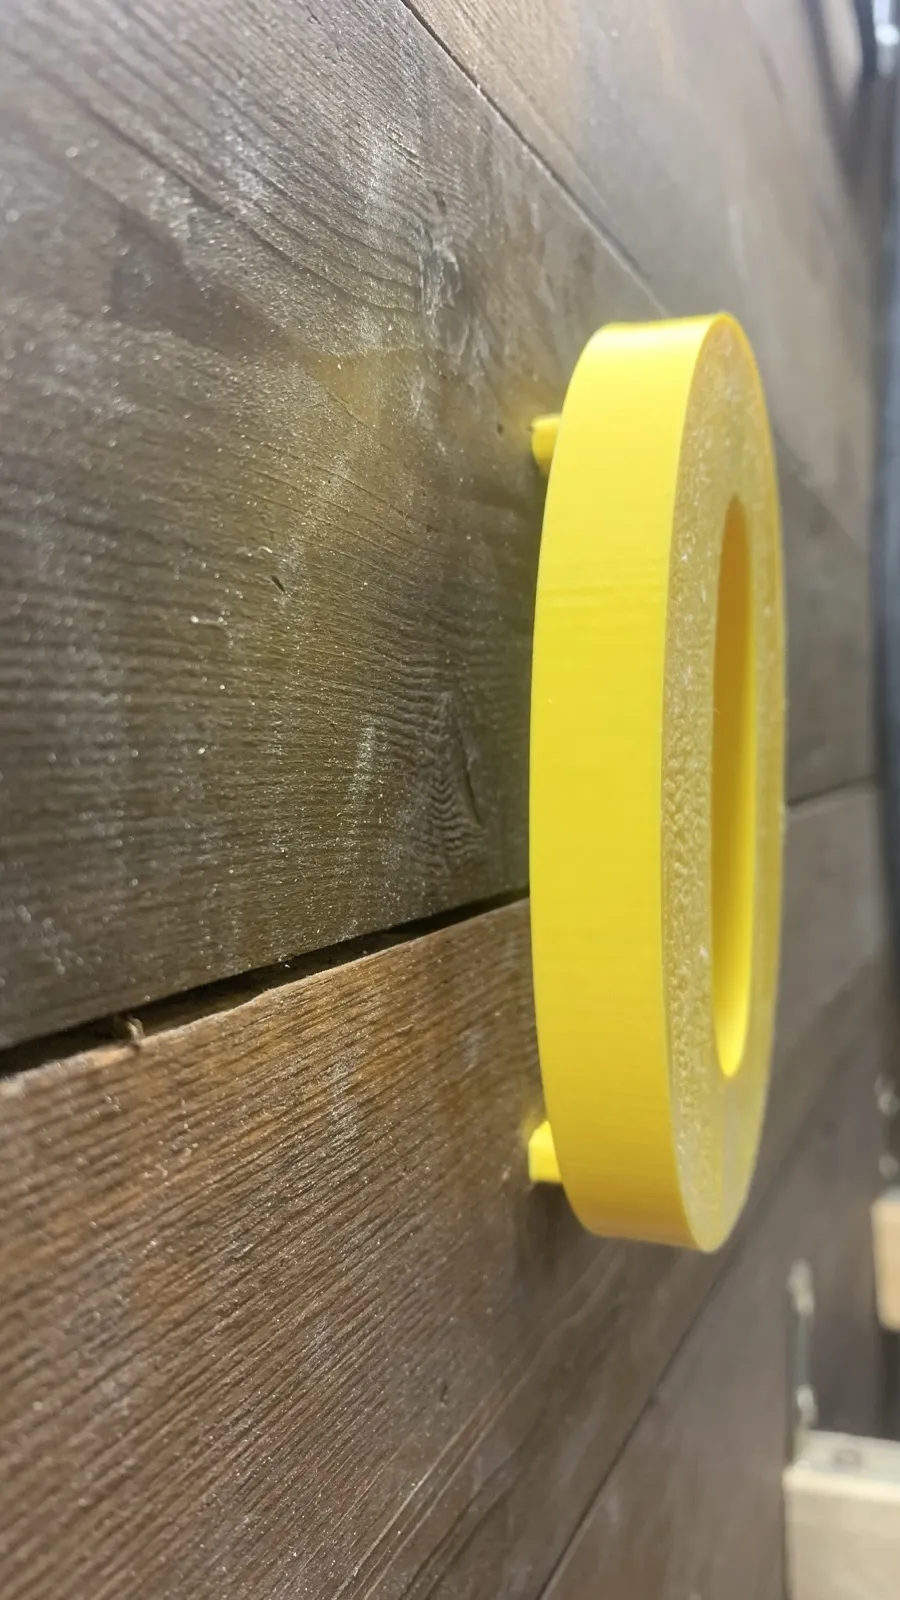
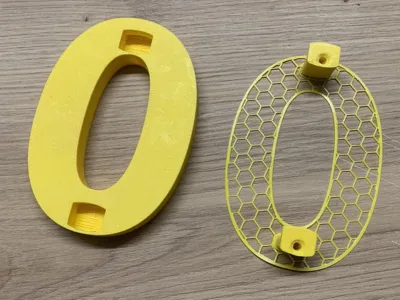
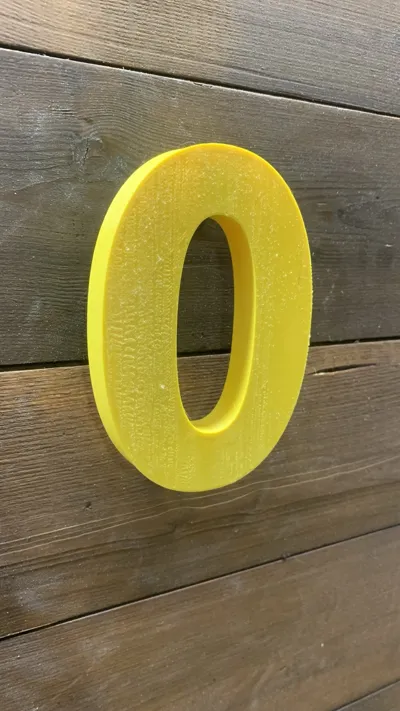
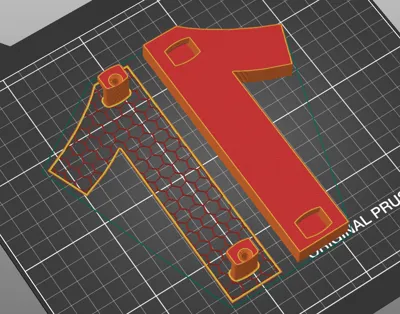
Please note: The images are sample images, as the principles apply equally to all numbers and symbols!
The following symbols are available:
0, 1, 2, 3, 4, 5, 6, 7, 8, 9, a, b, c, d, e, f, A, B, + (plus), - (minus), / (slash)
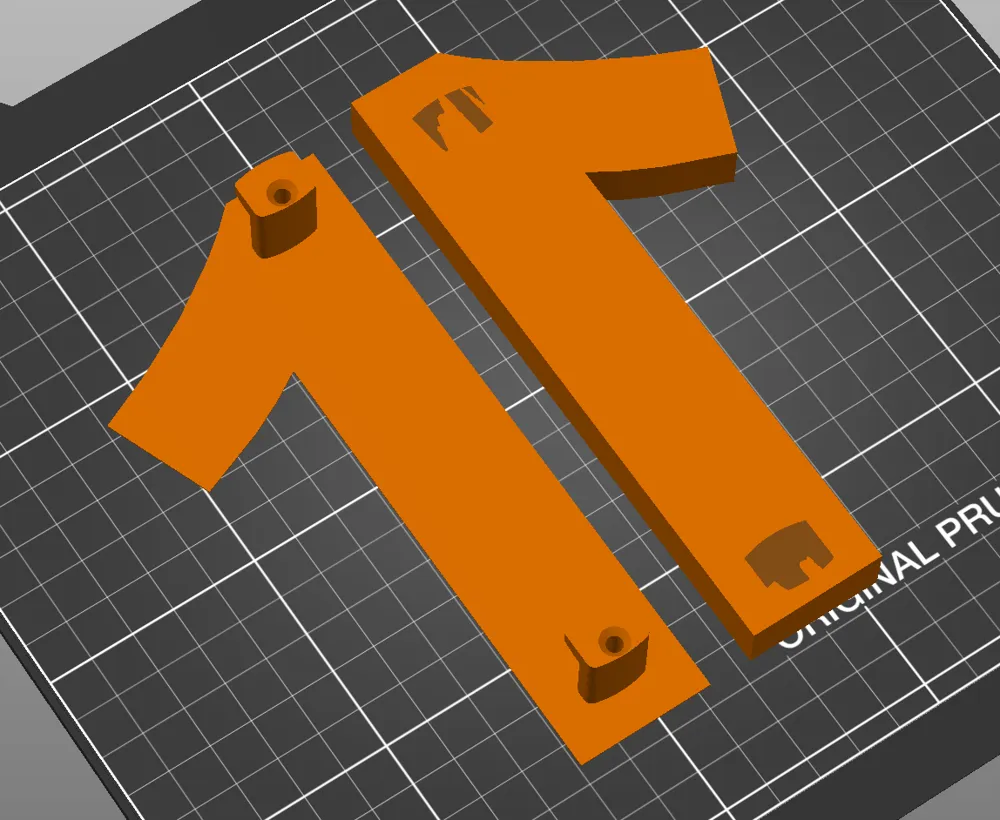
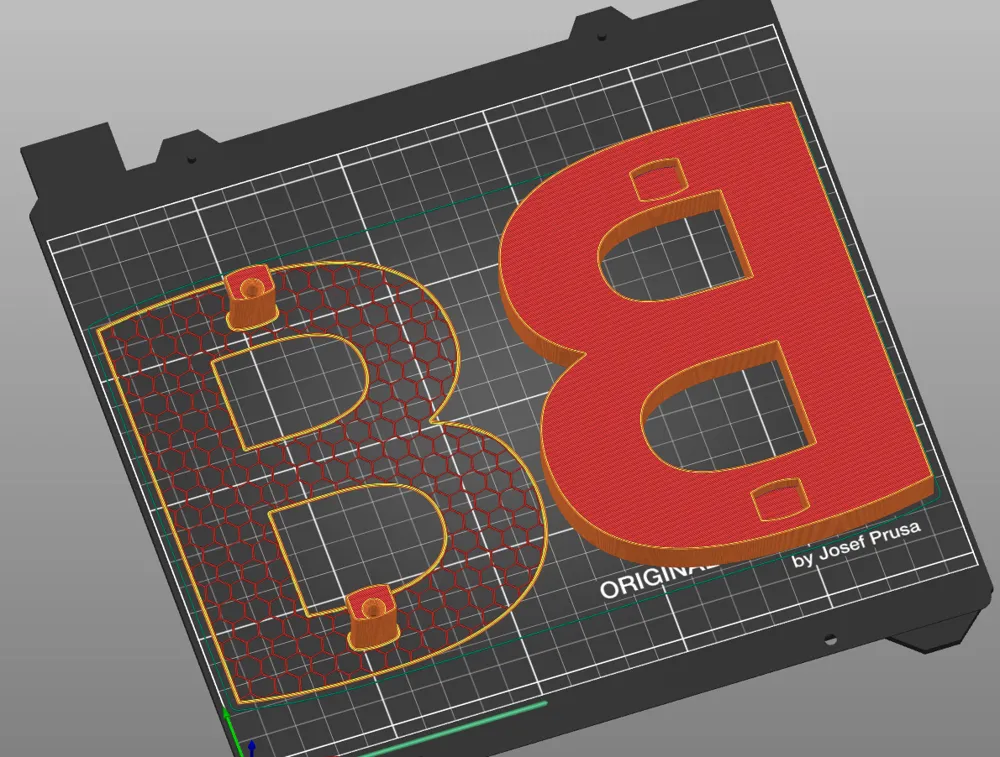
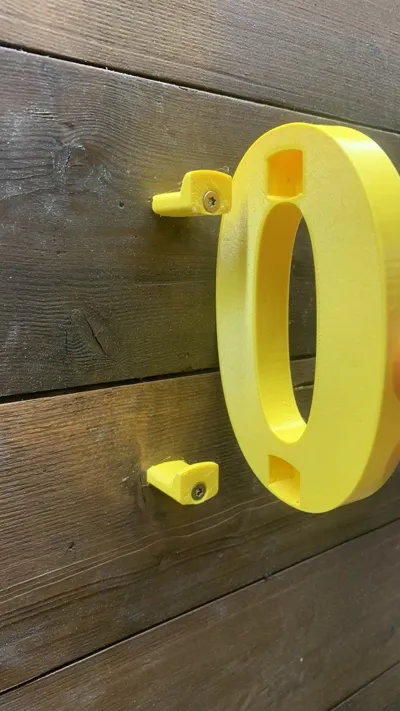
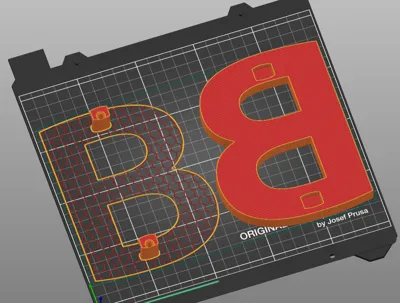
The “nummern.3mf” file contains all numbers and symbols, each together with a drilling template. The drilling template also contains the mounts for the number. For printing, the drilling template and the number must be placed in the print area.
Font size: 150mm.
I cannot provide finished STL files as the print file contains modifications in the slicer. Therefore, please use the project file.
I recommend PETG for outdoor use.
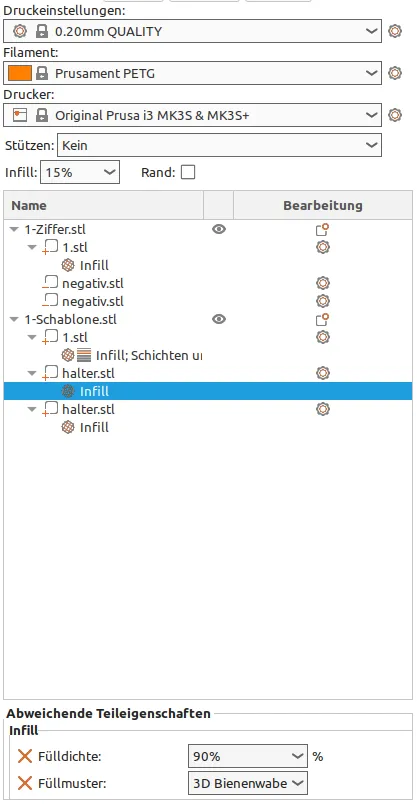
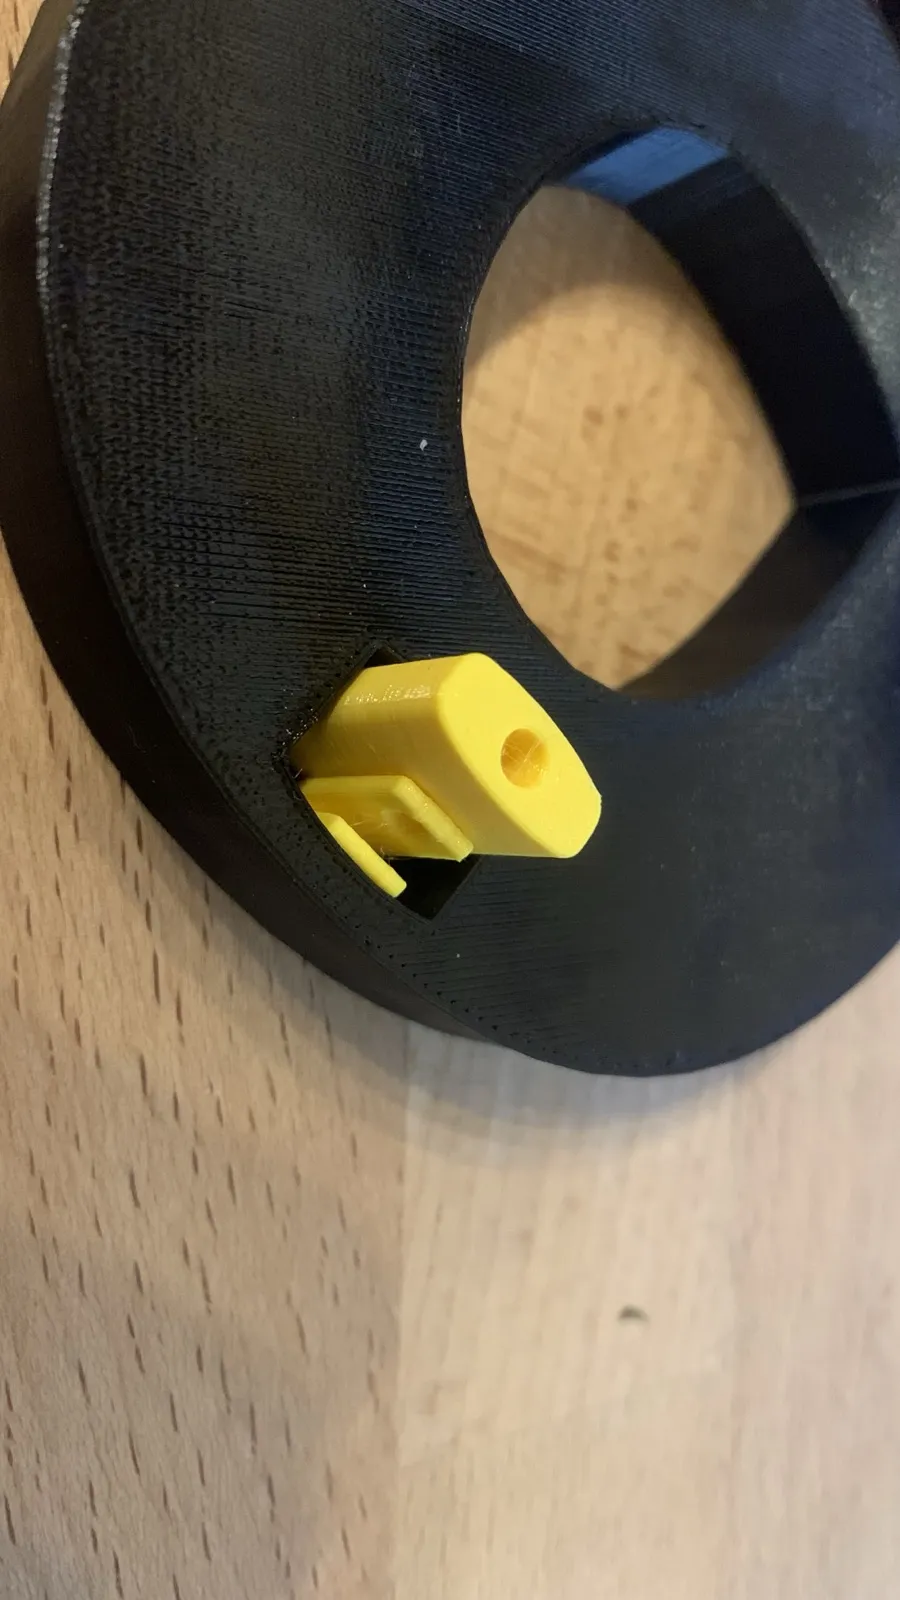
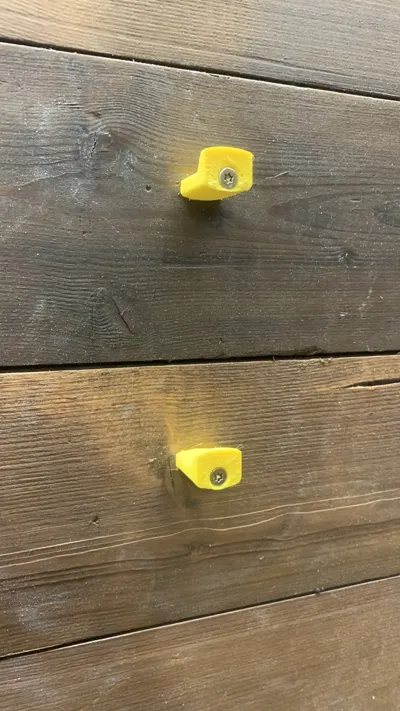
I have added longer holder elements as separate parts. These holders can replace the original parts after the holes have been prepared using a drilling template.
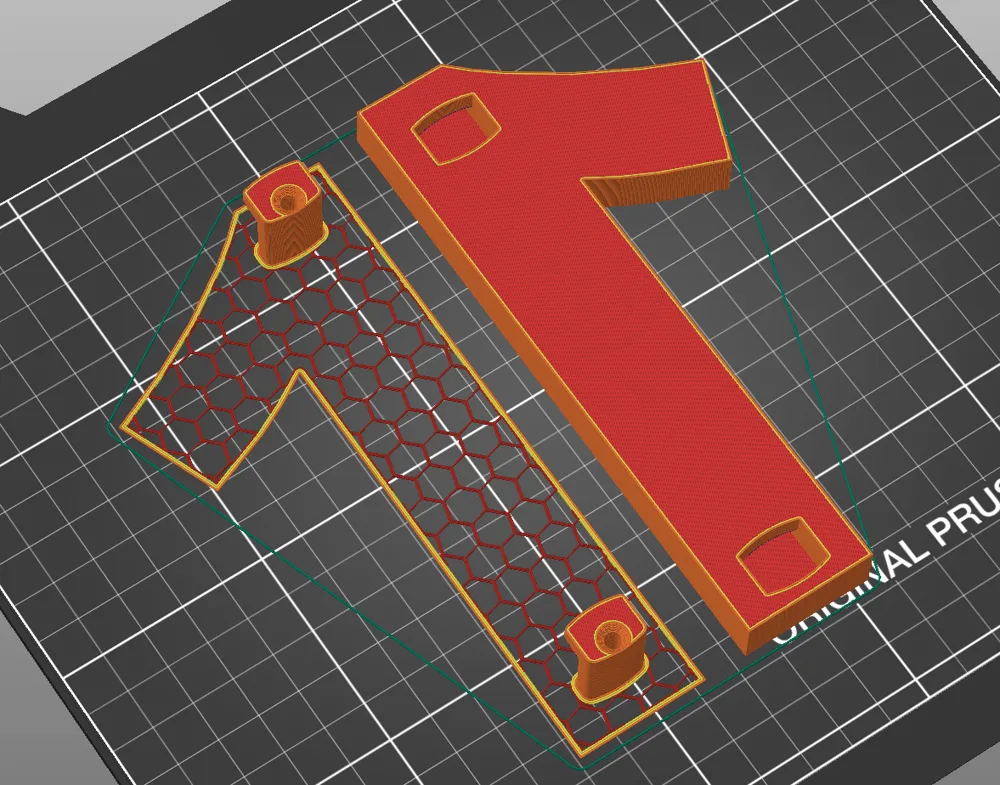
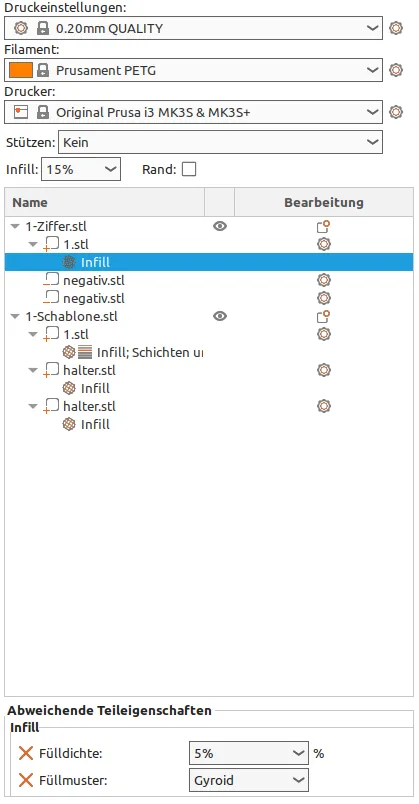
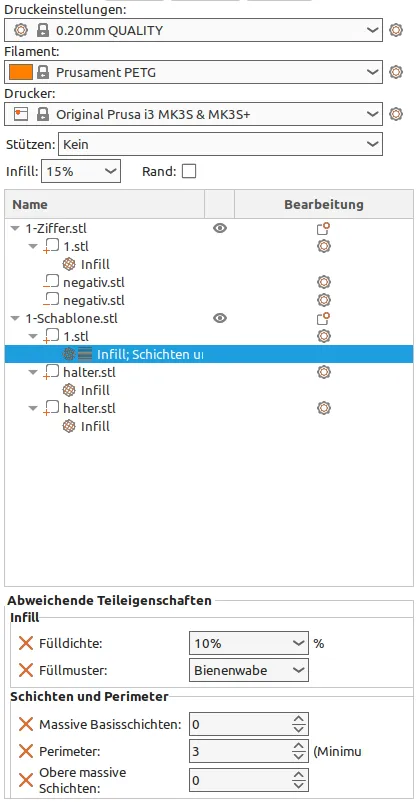
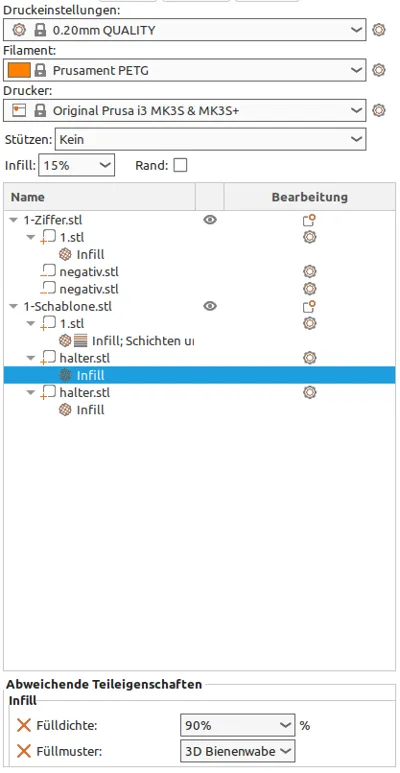
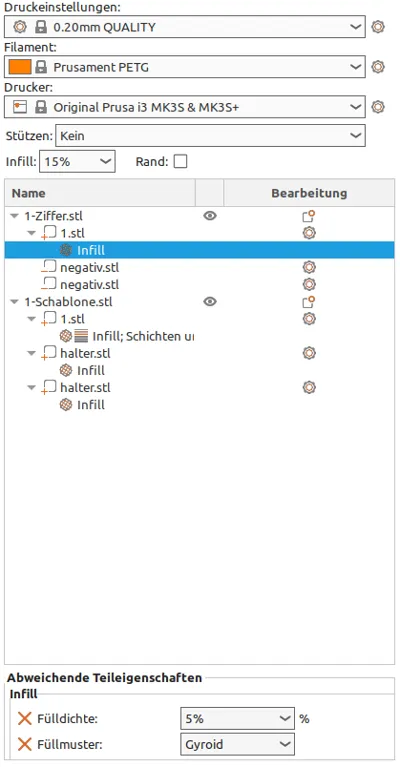
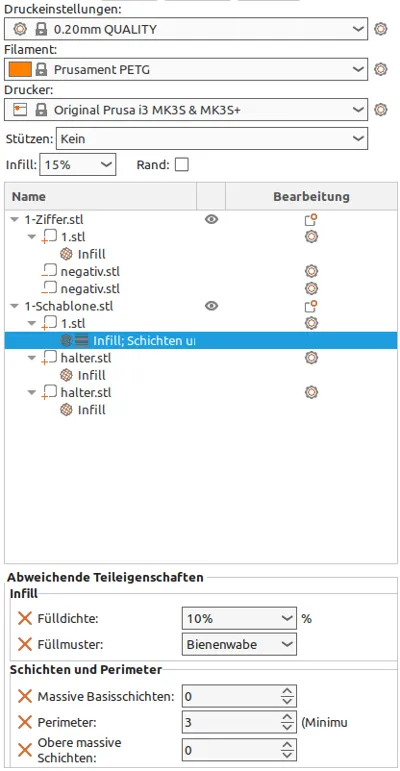
Slicer settings (see screenshots):
Drilling template (surface):
- Infill density: 10%
- Infill pattern: honeycomb
- Layers and perimeter: Solid bottom layers: 0
- Layers and perimeter: Perimeter: 3
- Layers and perimeter: Top solid layers: 0
Holders (are part of the drilling template):
- Infill density: 90%
Number:
- Infill: 5-10%
Suitable screw diameter: 3.5mm.
Instructions:
- Drag the desired drilling template into the print area.
- Print the drilling template in the desired color (e.g. to match the wall color). Note the different slicer settings for the template and the holders and number!
- Drag the desired number into the print area.
- Print the number in the desired color.
- Optional: Print additional templates and numbers.
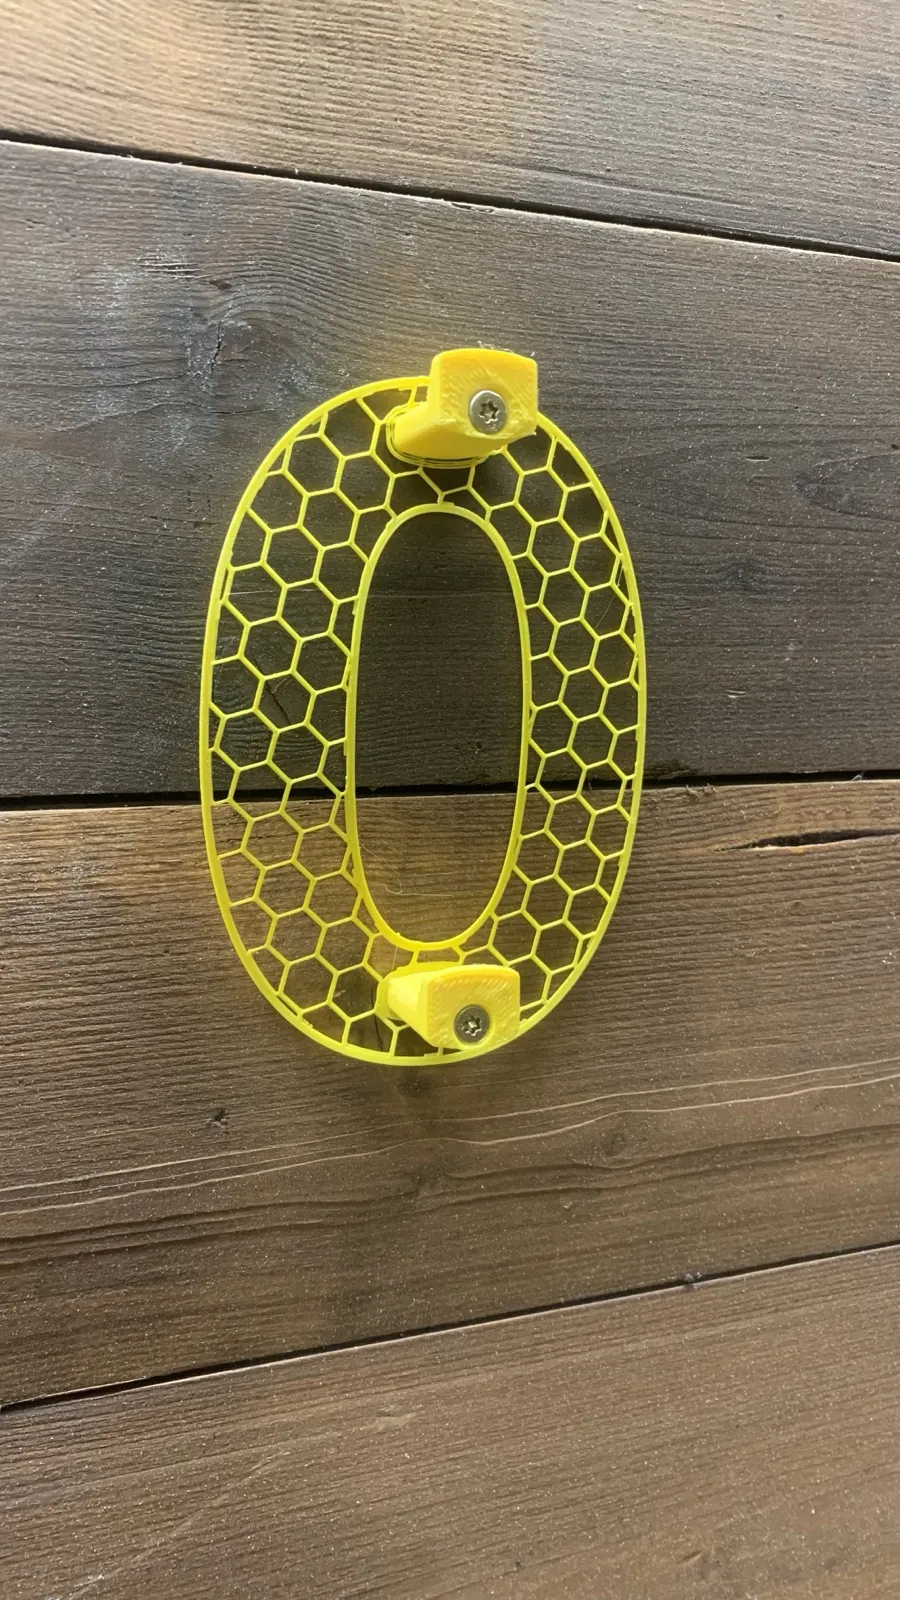
- Align the drilling templates on the wall. Temporarily attach them with adhesive tape.
- Optional (depending on the surface): Mark the holes if you need to drill and drill the holes. The intended screws have a diameter of 3.5 mm.
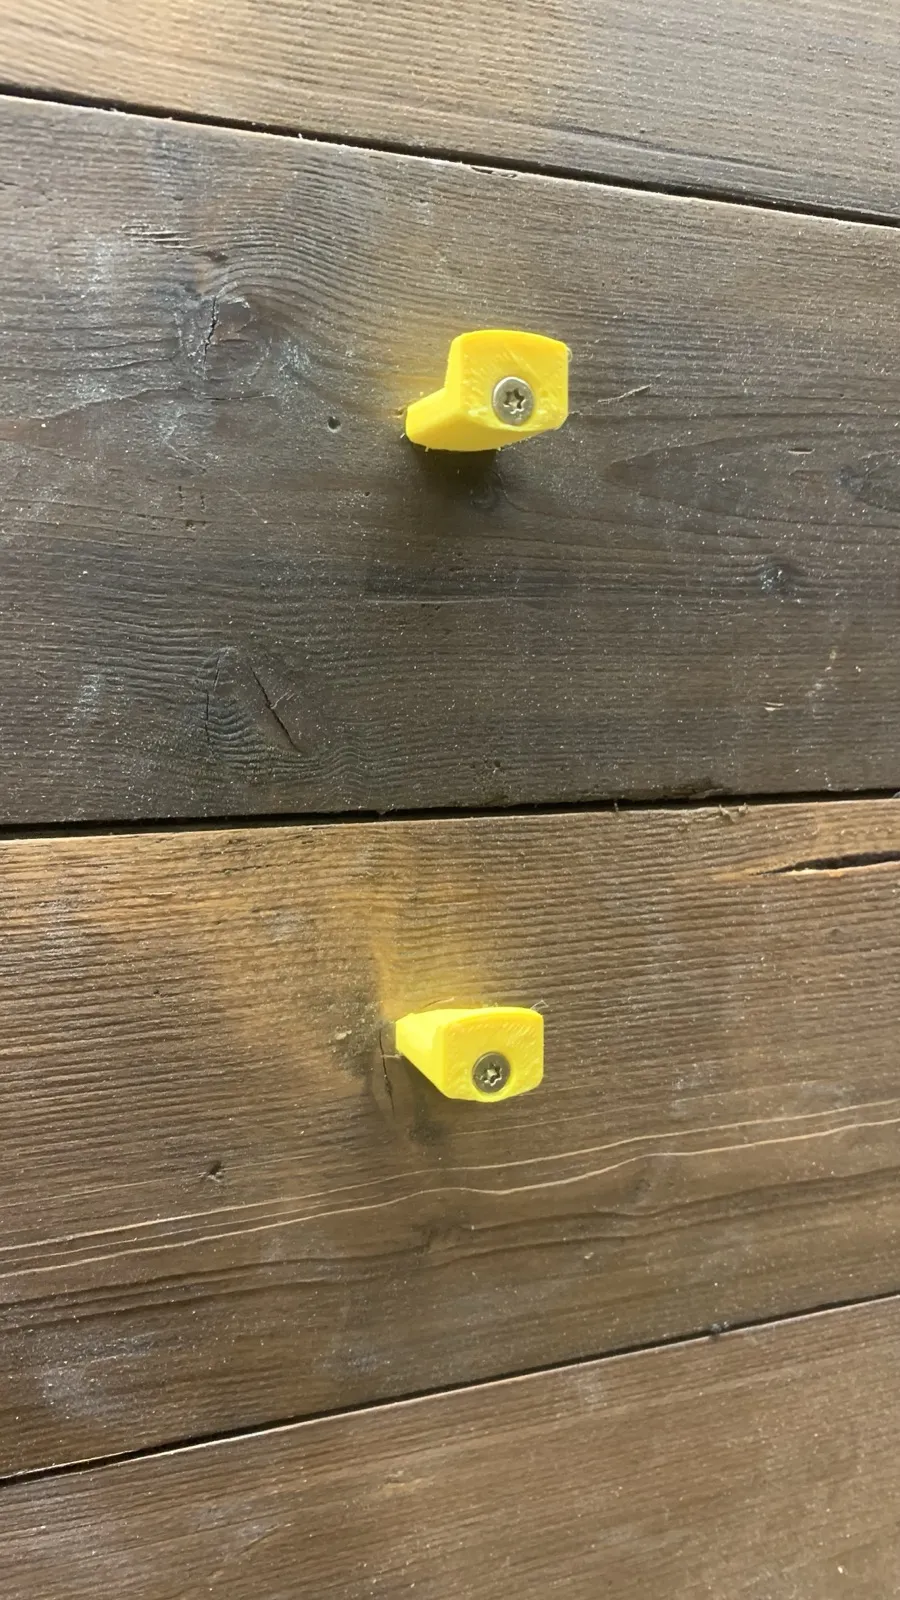
- Screw the holders firmly.
- Carefully remove the template, using a sharp knife if necessary.
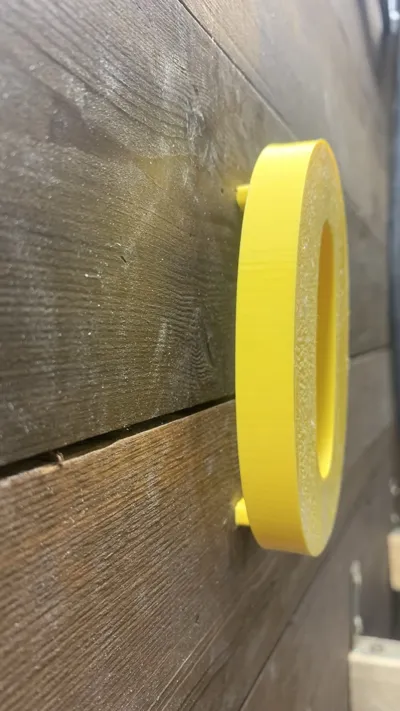
- Mount the number on the holders.
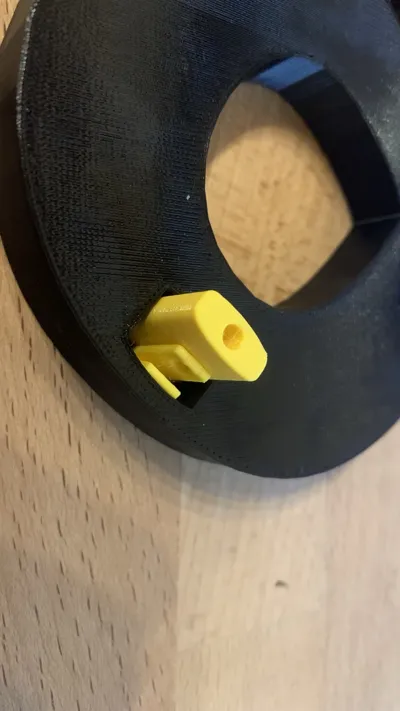
- Optional: Secure the numbers with the safety element (see pictures).
I look forward to your feedback!
License



Comment & Rating (101)