
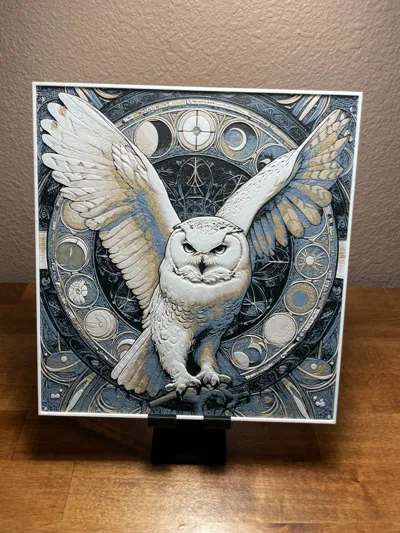
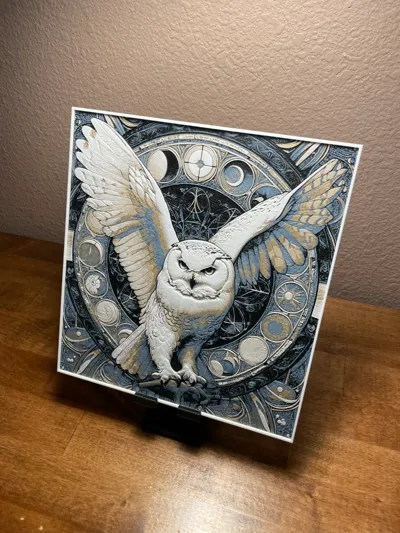
Hueforge - Harry Potter - Hedwig Astronomy
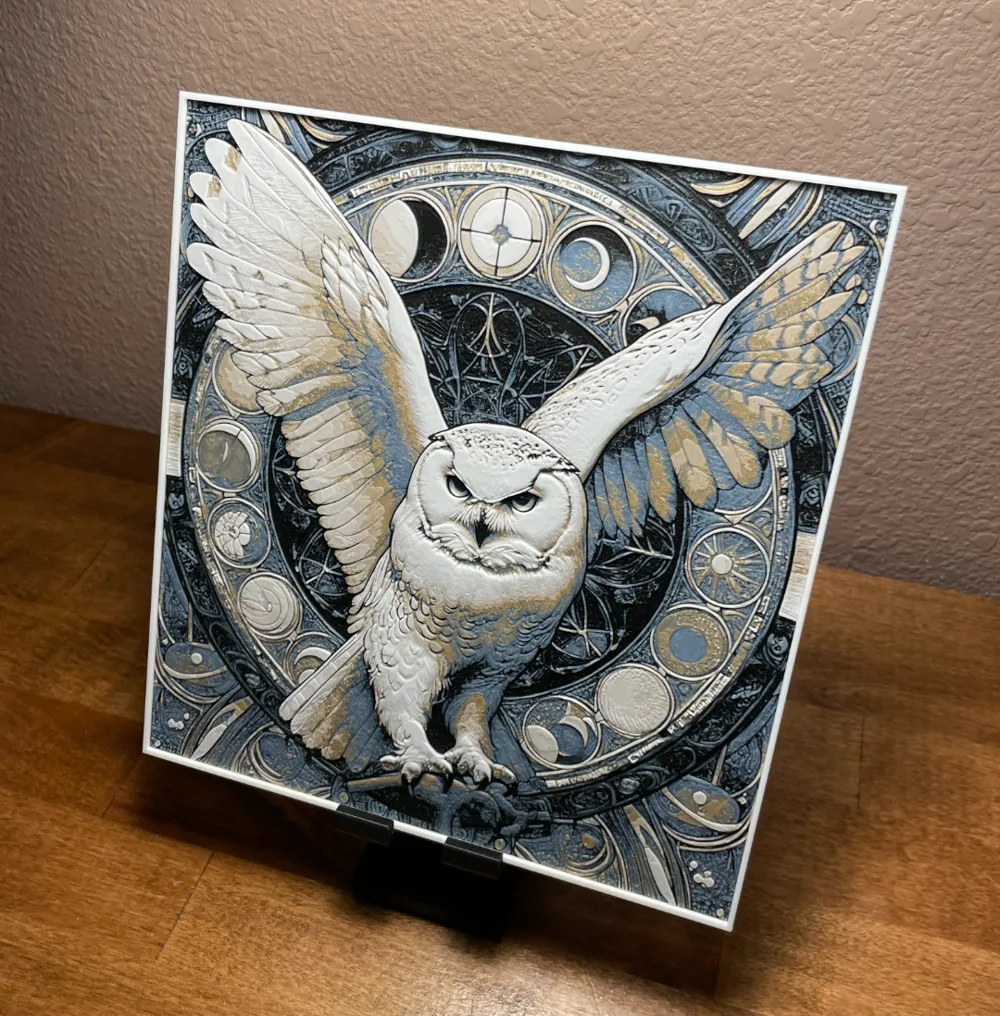
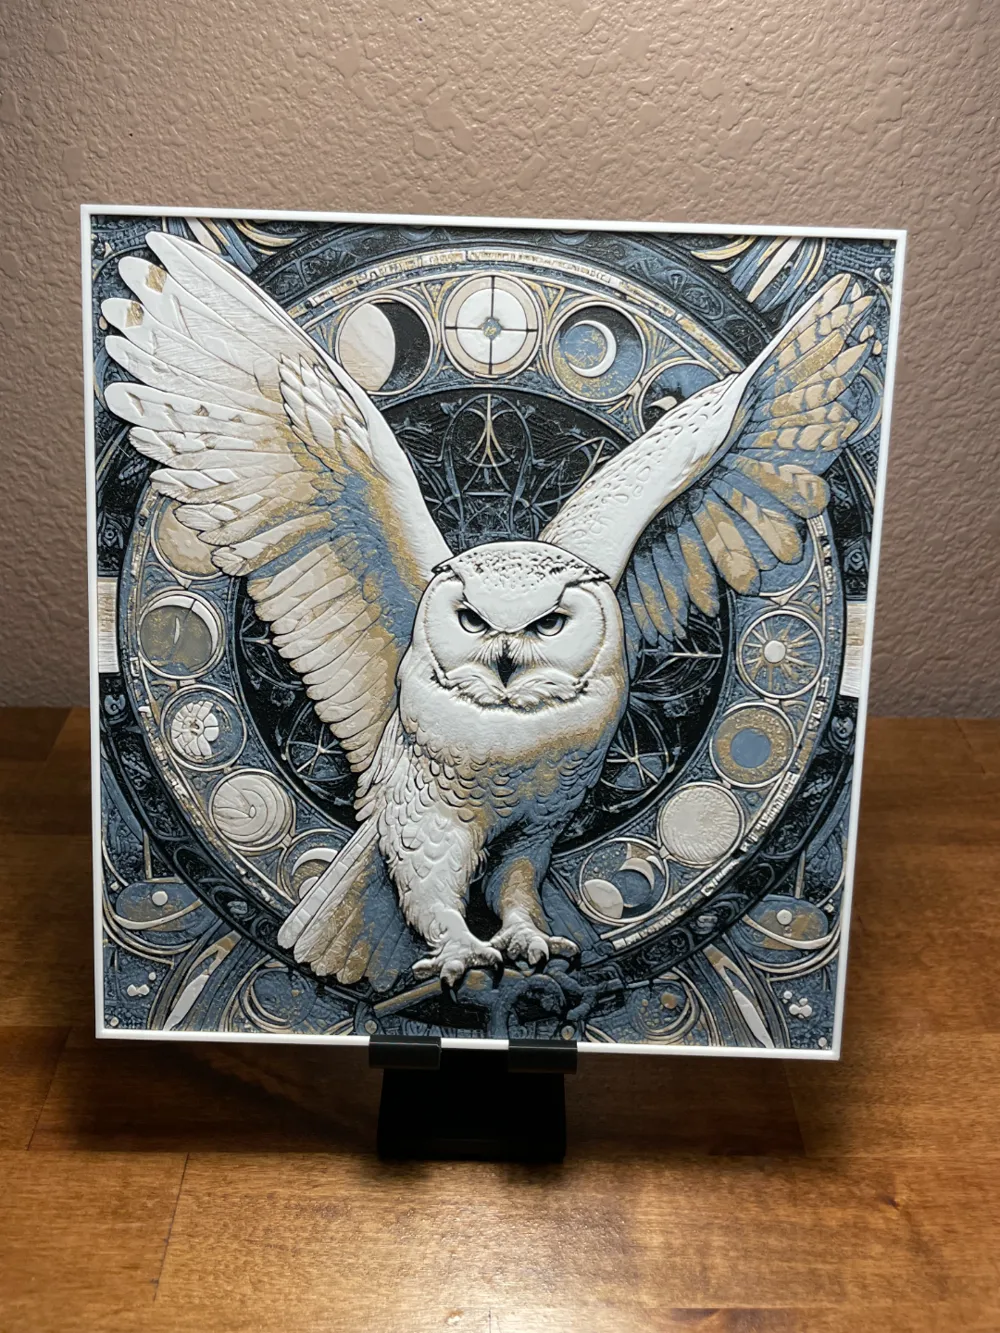
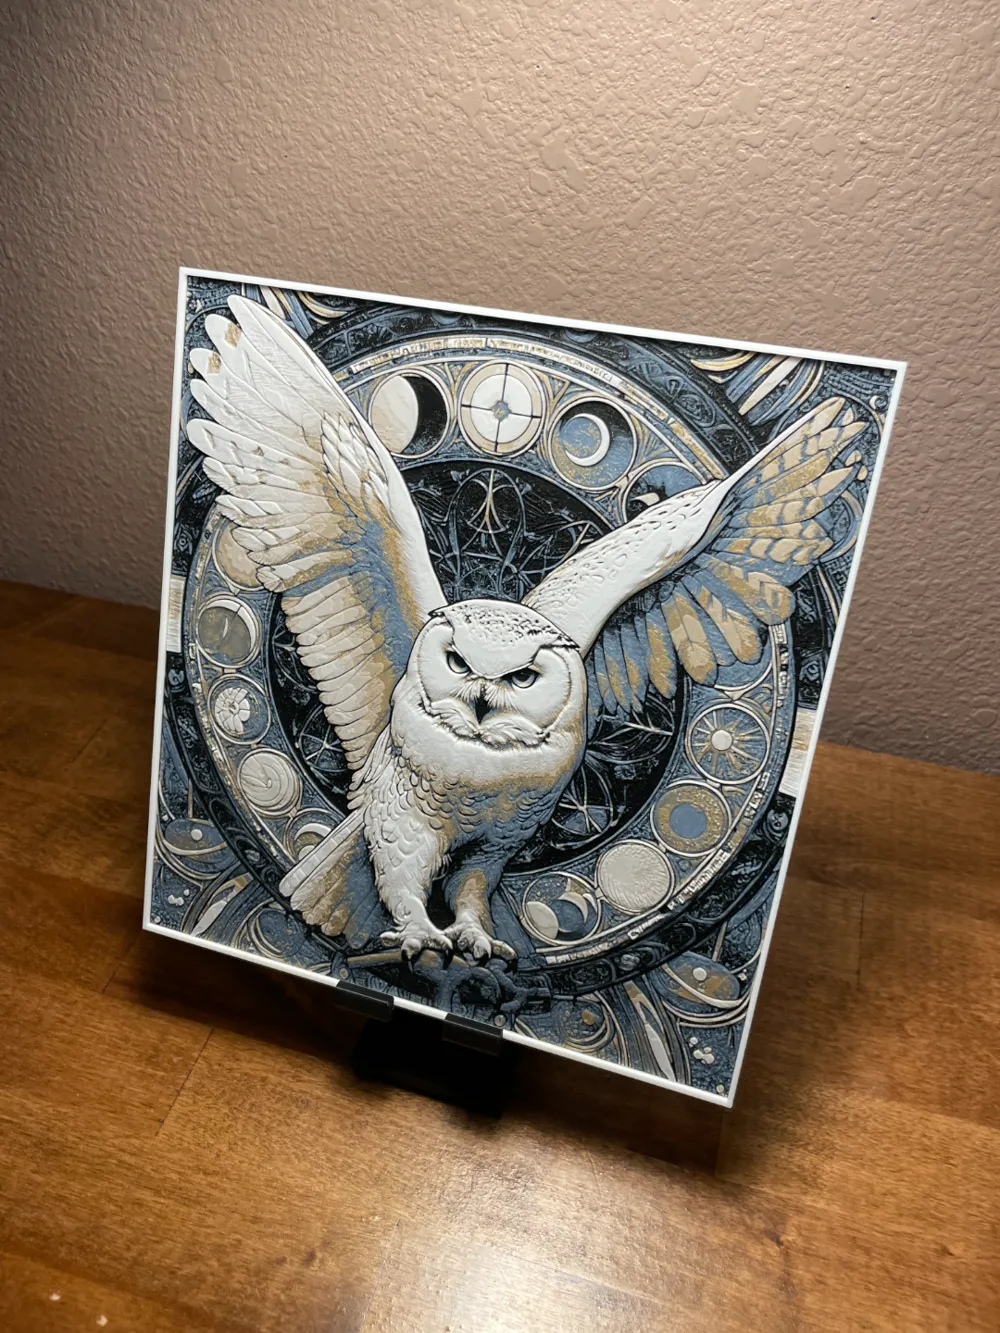
Print Profile(1)


Description
NOTE THAT THIS FILE TAKES A LONG TIME TO SLICE JUST LET IS SLICE AND DO SOMETHING ELSE WHILE IT FINISHES! THERE ARE A LOT OF SMALL MOVEMENTS SO IT TAKES A WHILE FOR IT TO SLICE! I COULD NOT UPLOAD A PRINT PROFILE BECAUSE OF HOW LONG THE SLICE TAKES IT TIMES OUT ON MAKERWORLD SO YOU WILL NEED TO SET THE CORRECT COLOR CHANGES YOURSELF.
- MAKE SURE THE COLORS NEEDED ARE SHOWN IN YOUR SLICER
- SLICE THE MODEL
- ONCE SLICED YOU CAN GO INTO THE SLIDER ON THE RIGHT SIDE AND MOVE TO THE SPECIFIED LAYER HEIGHTS GIVEN BELOW.
- ONCE YOU ARE AT THE LAYER HEIGHT OF THE COLOR CHANGE RIGHT CLICK THE SLIDER AND SELECT FILAMENT CHANGE
- CHOOSE THE COLOR YOU WANT TO SWITCH TO.
- DO THIS FOR ALL OTHER COLOR CHANGES
How to support me!
If you like my work, consider joining my Patreon where you can have a say in what I print next! You will also get access to my tips and tricks for making a hueforge start to finish. I offer a coaching session to some of my patreons! You will also get a commercial license to sell all my patreon exclusive hueforges and on makerworld. Finally, I began a competition where my patreons create a hueforge once a month and the winner get a $40 bambu gift card!
If you want more Chainsaw Man I have a new series for patreon members only! Here is a photo of the series!
Thank you for all your support!
www.patreon.com/CloudyNostalgia
Also, if you have any questions about how to print a piece of mine or if you need help troubleshooting, feel free to join my discord server where you can ask for help!
https://discord.gg/fKEjJD3n9z
Also, I upload videos every so often showing how to videos for Hueforge. If you’d like to view here is the link:
https://www.youtube.com/channel/UCG1IDrymVjUyYng7nXrdGnw
**IMPORTANT INFORMATION**
- You cannot adjust the z scaling on any hueforge. This will mess with the coloring done and your hueforge will not come out as intended. You can however change the x and y to scale the picture. I recommend only changing by the same percentage.
- To get an accurate print as shown in the photos you MUST use the same filaments listed below. You can change brands (as long as they are similar) but keep the filament colors the same. If you use any other color, you will not get the same results as me.
- What you see in the slicer will not be how the final results will look! Hueforge takes advantage of color bleed to make the blended colors!
- Be sure that you bed had really good adhesion! If not the print may lift and cause warping to ruin the print!
Project: Hedwig.hfp
Print at 100% infill with a layer height of 0.08mm with a base layer of 0.16mm
The Model is 219.55x234.97mm in size
You may print at higher layer heights below the Min Depth of 0.96mm
The Max Depth is 3.2mm and the Actual Depth is 3.2mm
Filaments Used:
PLA BambuLab Basic Black Transmission Distance: 0.6
PLA BambuLab Basic Blue Gray Transmission Distance: 3
PLA BambuLab Basic Gold Transmission Distance: 2.3
PLA BambuLab Basic Jade White Transmission Distance: 3.5
This print uses 4 unique filaments
Swap Instructions:
Start with Black
At layer #19 (1.6mm) swap to Blue Gray
At layer #25 (2.08mm) swap to Gold
At layer #27 (2.24mm) swap to Jade White for the rest.
License



Comment & Rating (120)