
Buzz Catyear lightbox


Print Profile(1)

Bill of Materials

Description

For commercial licenses please visit my Patreon
Buzz Catyear lightbox.
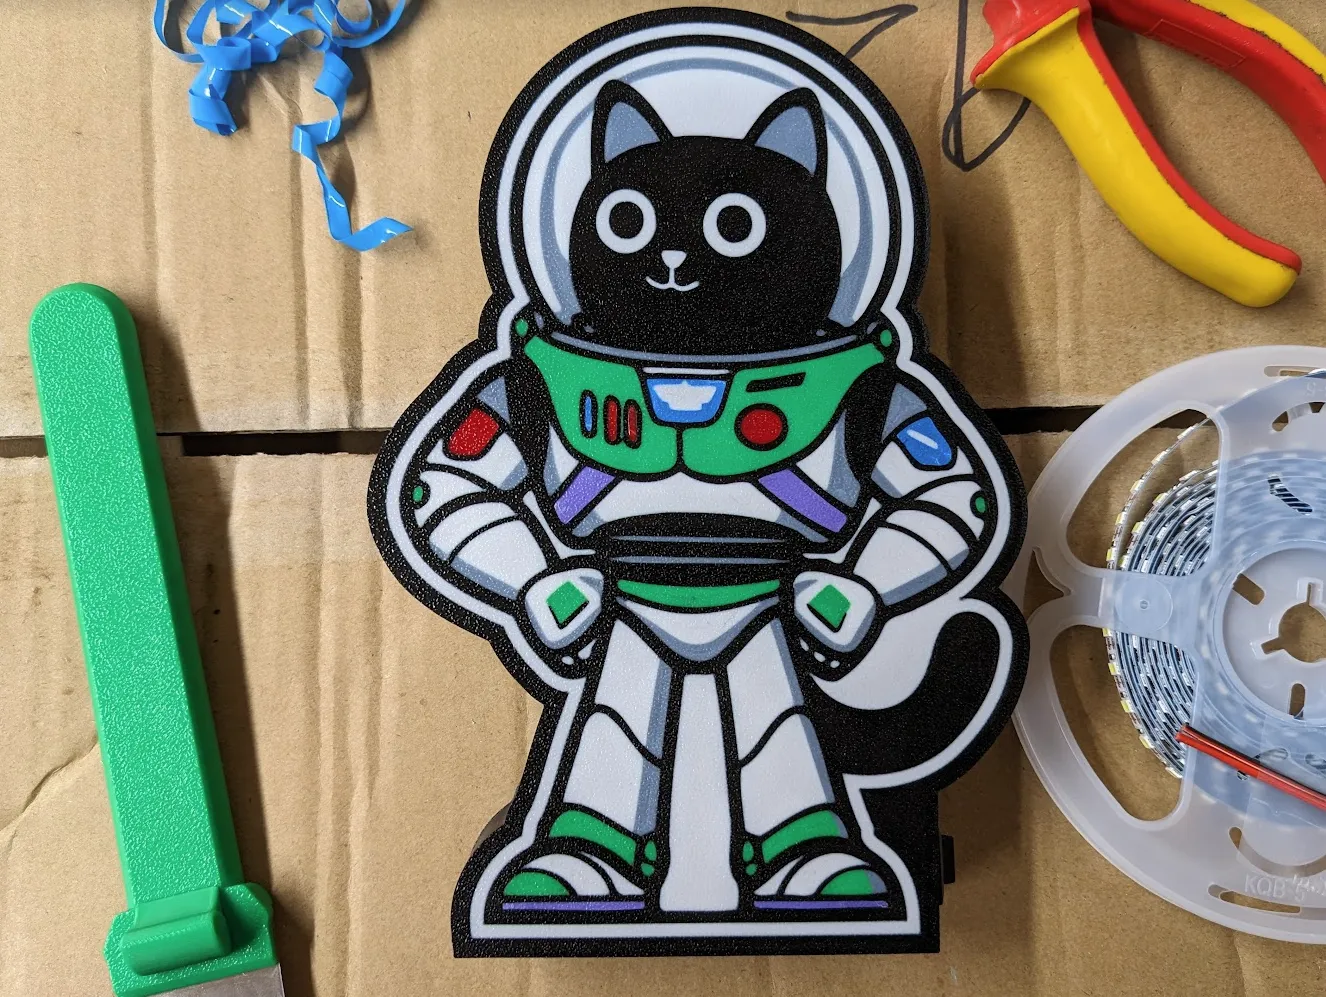
Why a cat? My friend has a cat called Buzz, so I made him this lightbox and thought I'd share.
PRINTING
The design has 7 colours so you have 3 options:
- Use 2 AMS
- Use 1 AMS and reuse some colours. e.g print grey parts with white, red and blue parts with purple.
- Use 1 AMS to print parts separately and then assemble
- Download 3mf
- Delete all red, blue and purple parts
- Print remaining black, white, grey and green parts
- Re-open 3mf, delete black, white, grey and green parts
Scale remaining pieces to 99% (you may need to experiment with the scale depending on filament settings/calibrations until you get a good fit)
Tip: clone all small parts in BS and print multiple copies at once at 99%, 98%, 97% etc to save time.
- Print red, blue and purple parts - these will all be individual pieces.
- Fit coloured parts into the main piece and fix with a dab of glue if needed.
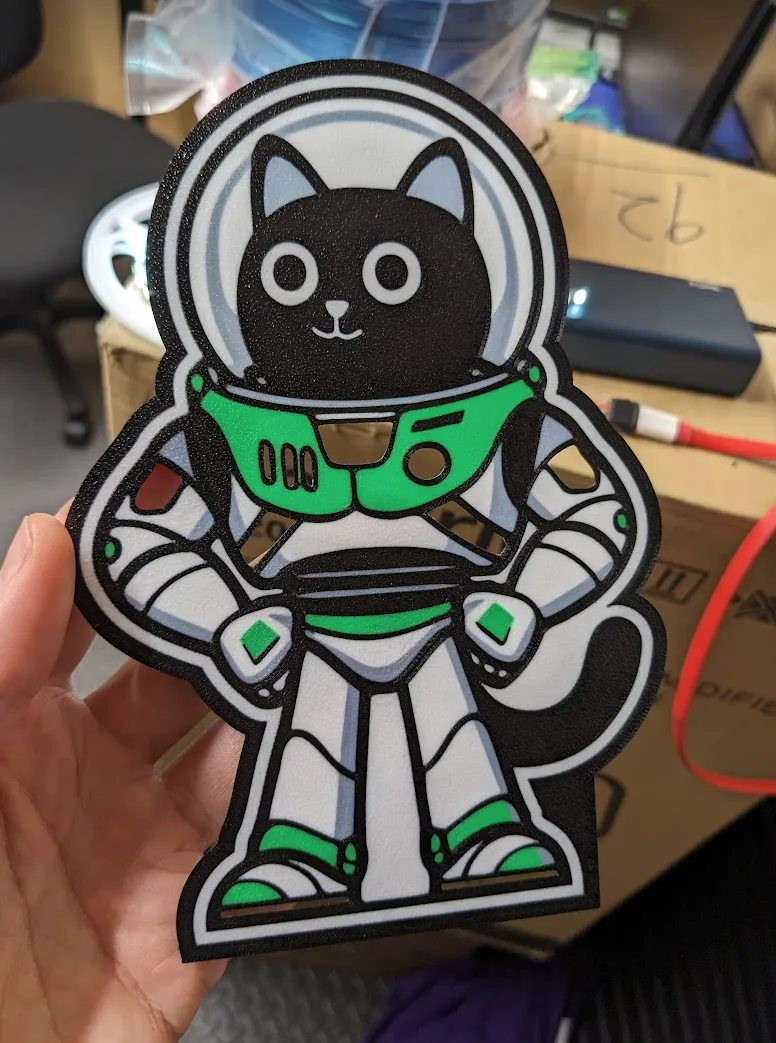
I went with option 3, here's the intermediate step with gaps for the coloured pieces I printed separately.
BASE
The included base has cutouts for a switch, but if you don't want this I've included a base STL without the switch cutout in the RAW files section.
PARTS USED
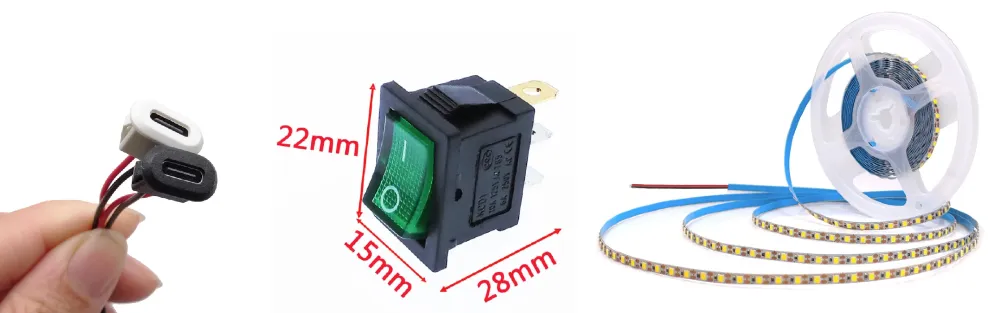
- USB-C port - AliExpress
- Switch - AliExpress
- 5mm LED strip - AliExpress
Alternatively, you can also use the 6500k LED strip in the Bambu Labs store
For commercial licenses please visit my Patreon
License



Comment & Rating (1)