A1 and A1 mini Extruder Cooling, Extruder Gear Cooling, Combined Bracket


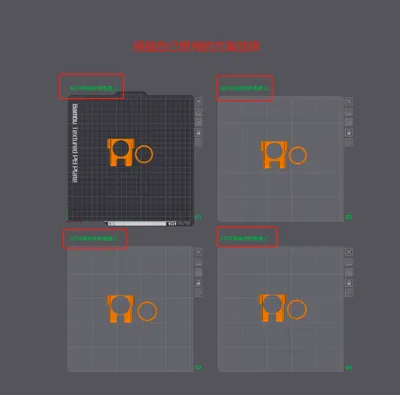
Print Profile(2)


Description
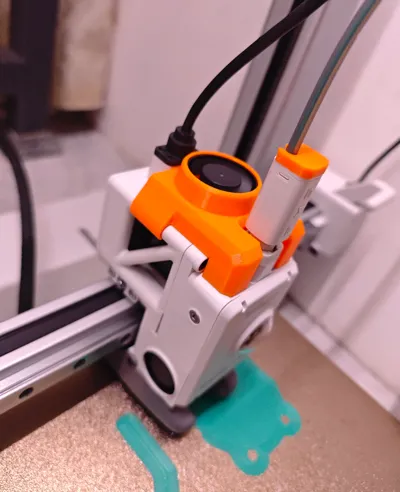
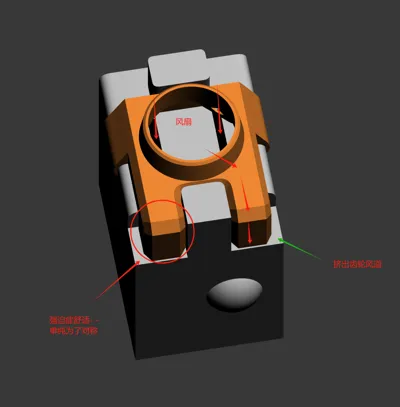
The extruder gets hot and it's uncomfortable to touch. This provides cooling for the extruder motor and gears.
Since I don't have a welding machine to implement the control scheme provided by welding experts, I used a 45-degree always-on temperature control switch attached to the extruder motor. It works well in practice.
The fan automatically turns on after about 10 minutes of printing and turns off when the motor cools down after printing is complete.
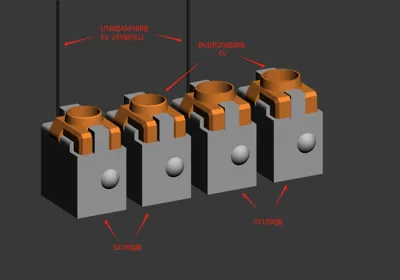
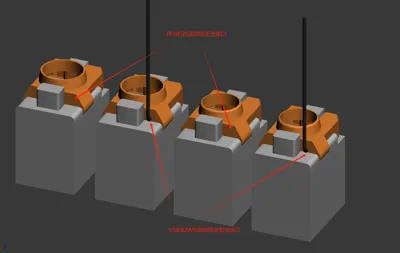
I've created four versions of the bracket. Download the version you need:
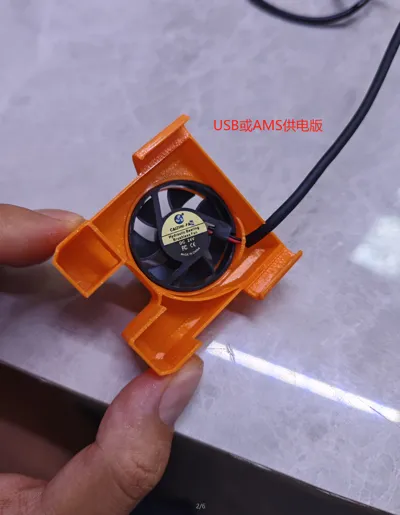
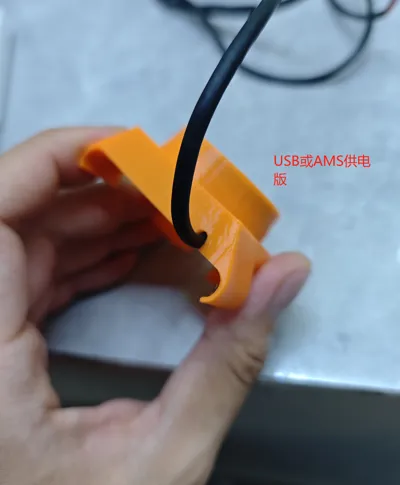
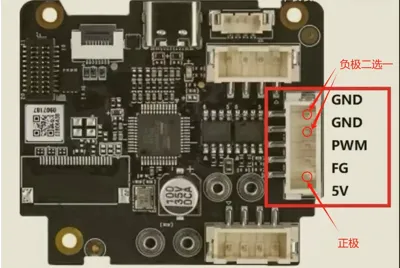
1. Use a 3010 circular fan, powered by USB or AMS, fan can choose from 5V to 24V.
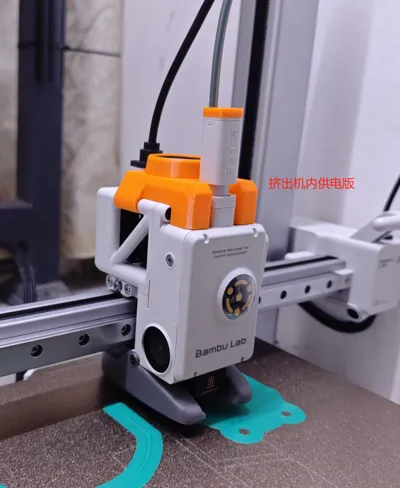
2. Use a 3010 circular fan, powered by the motherboard inside the extruder, fan is 5V.
3. Use a 3510 circular fan, powered by USB or AMS, fan can choose from 5V to 24V.
4. Use a 3510 circular fan, powered by the motherboard inside the extruder, fan is 5V.
Personally, I use the 3010 fan with the 45-degree temperature control switch and the motherboard's 5V power supply inside the extruder. It's clean and efficient, with no visible wires from the outside. Perfect for those who like things neat!
Just use the default print parameters. I recommend using PETG. Let me know if you have any questions!
License
You shall not share, sub-license, sell, rent, host, transfer, or distribute in any way the digital or 3D printed versions of this object, nor any other derivative work of this object in its digital or physical format (including - but not limited to - remixes of this object, and hosting on other digital platforms). The objects may not be used without permission in any way whatsoever in which you charge money, or collect fees.
Comment & Rating (30)