Gear Rhombo Stand - by TNTBA


Print Profile(2)


Bill of Materials

- Lubricant x 1:
Description
7/31/2024 UPDATE
I realized i never included the .3mf file for gear 8. it's there now! sorry!
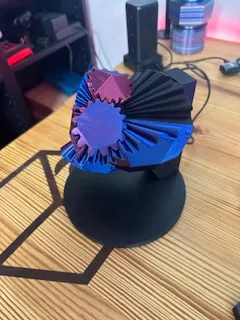
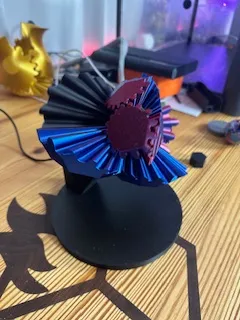
This is the Gear Stand for Gear Rhombo.
This has all the files from Gear Rhombo with some modifications to allow you to use it with the Gear Stand.
New parts:
- Gear 8 (has Hex insert)
- Hex Part
- Stand - free version (Stand v1.1 updated on 7/6/2024 to help with top print defect)
- Core (has stand insert)
- Speed Clips (smoother clips to allow easier spinning)
Required additional parts:
- TT Motor DC5V 59RPM CCW Single Axis(1PCS) - LA001 | Bambu Lab US (See Bill of Materials link at bottom)
Recommended Lube:
- Super Lube 92003 Silicone Lubricating Grease with PTFE, 3 oz Tube, Translucent White (Amazon Affiliate Link)
Instructions
It is very important to print the Gear Rhombo as light as possible. The motor is not very powerful and will not be able to spin the Gear Rhombo if the Gear rhombo is printed too heavy!
2 walls
3 tops
3 bottoms
6% infill
Assembly:
Apply a little lubrication inbetween the gears and the core. Be sure to install all the parts like you would a regular Gear Rhombo - follow the numbering on the gears and the core. This gear Rhombo should spin so well that it almost slips out of your hands as you rotate the gears.
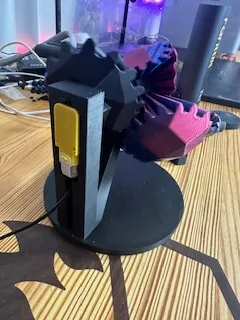
Place the TT Motor into the slot on the stand. It Does not need to be flush with the back of the stand. Place the Hex Part on top of the plastic shaft of the motor. Gear Rhombo slides onto the pole sticking from the base of the stand and the Hex part slips into Gear 8.
Plug in the motor and assist the motor through the first 10-20 rotations to allow the lubrication to spread between the gears. After a minute of assisting the motor to spin the gear rhombo, it should not have any issues spinning on its own.
If your Gear Rhombo does not spin on the stand, you need to review your original print file to see whether you printed the gear rhombo too heavy.
Make sure you are using the Speed clips and they are printed in PETG.
License
You shall not share, sub-license, sell, rent, host, transfer, or distribute in any way the digital or 3D printed versions of this object, nor any other derivative work of this object in its digital or physical format (including - but not limited to - remixes of this object, and hosting on other digital platforms). The objects may not be used without permission in any way whatsoever in which you charge money, or collect fees.
Comment & Rating (127)