Cablebee — a magnetic cable clip system


Print Profile(1)

Bill of Materials

- Small_command_strip x 1: https://www.command.com/3M/en_US/p/d/cobnaw017105/
Description
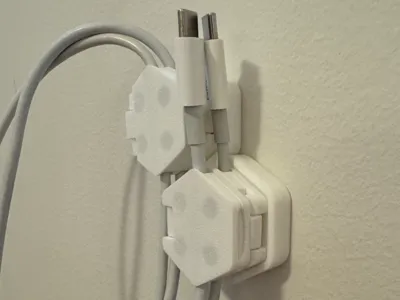
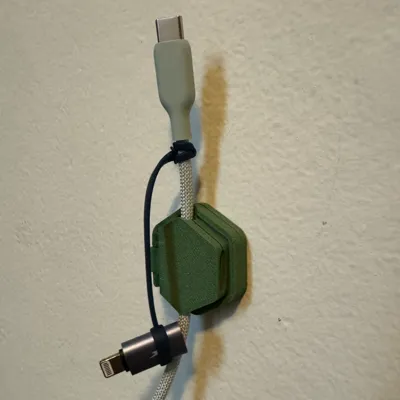
I made this because I wanted a way to stick a cable to a surface that was effortless to remove and attach one-handed, and didn't require any special orientation.
The alternating four-magnet system gives the attachment 180° rotational symmetry in all 3 axes, you only need align the cable vertically and the “hive” will hold the “bee”, and the strength of the magnets ensures one needn't be precise.
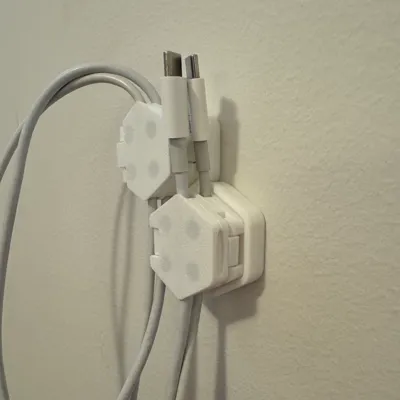
They stack quite well, and obviously they're hexagons so they also tesselate nicely if you find yourself building a big hive.
Requirements
- 12 6x3mm magnets per set: 4 for each hive, 8 for each bee
- 1 small command strip
(6x2mm will work in a pinch, but the adhesion will be weaker — make sure they push all the way into the well so they're as close to the outer surface as possible)
The included profile makes it so magnets can be press-fit… at least on this XC1, if your printer makes them too loose or tight you can compensate with the XY hole compensation setting — it shouldn't affect the print-in-place hinge.
Instructions
- print all three pieces
- if the worker's hinge is stiff, adjust the X-Y contour compensation until it can move freely
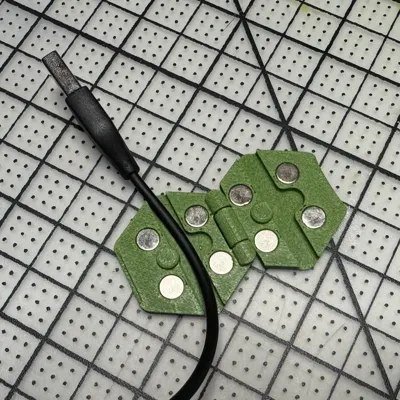
- push four magnets into the “hive top”, alternate them as in the diagram
- stick a small command strip on the back of the “hive bottom”
- fold the pull tab of the command strip around, and press the top drone down onto the bottom part. These pieces should hold firm, but still pull apart when you need to get at the pull tab (don't go crazy though, the clips aren't really good for repeated use)
- sit the open bee on top of the hive and insert magnets to match the orientation of the ones you already put in the hive below

Comment & Rating (1)