Magic Trick - Cut & Restore


Print Profile(3)


Description
Boost Me (for free)
NOTE: If the smaller rods are not staying in place, applying a bit of glue between them and the holes should do the trick.
We've all been fascinated by this mind-bending magic trick, but not many people actually understand how it works. Now, you can 3d print your own and uncover the magic for yourself. This simple trick will easily wow any audience, and is still impressive even once you know how it works. I hope you have as much fun with this trick as I had making it, and happy printing!
PRINTING:
I have provided both the individual parts, and plates in two colors with the parts already oriented properly. I suggest you print the latter files, but both will work. This model does not need support, and should be printed with 0.2 mm layer height. Print with a brim if necessary to avoid corner warping, but avoid using a raft as rough surfaces will lead to less smooth operation. Other than that, your normal settings should work fine!
ASSEMBLY:
1. Attach either the left or right slide onto one side of the base (it doesn't matter which) by aligning the slots and pressing the piece on as far as it can go. If it doesn't stay on its own with friction, just add some glue (super glue works fine) to the groove where the parts touch.

2. Take the center slide and press it into the groove with the hexagonal holes. It should be able to move around freely in the vertical axis.

3. Moving away from the main assembly, insert the 3 short rods into the short channels of the carriage piece. Glue them into place to stop them from moving.

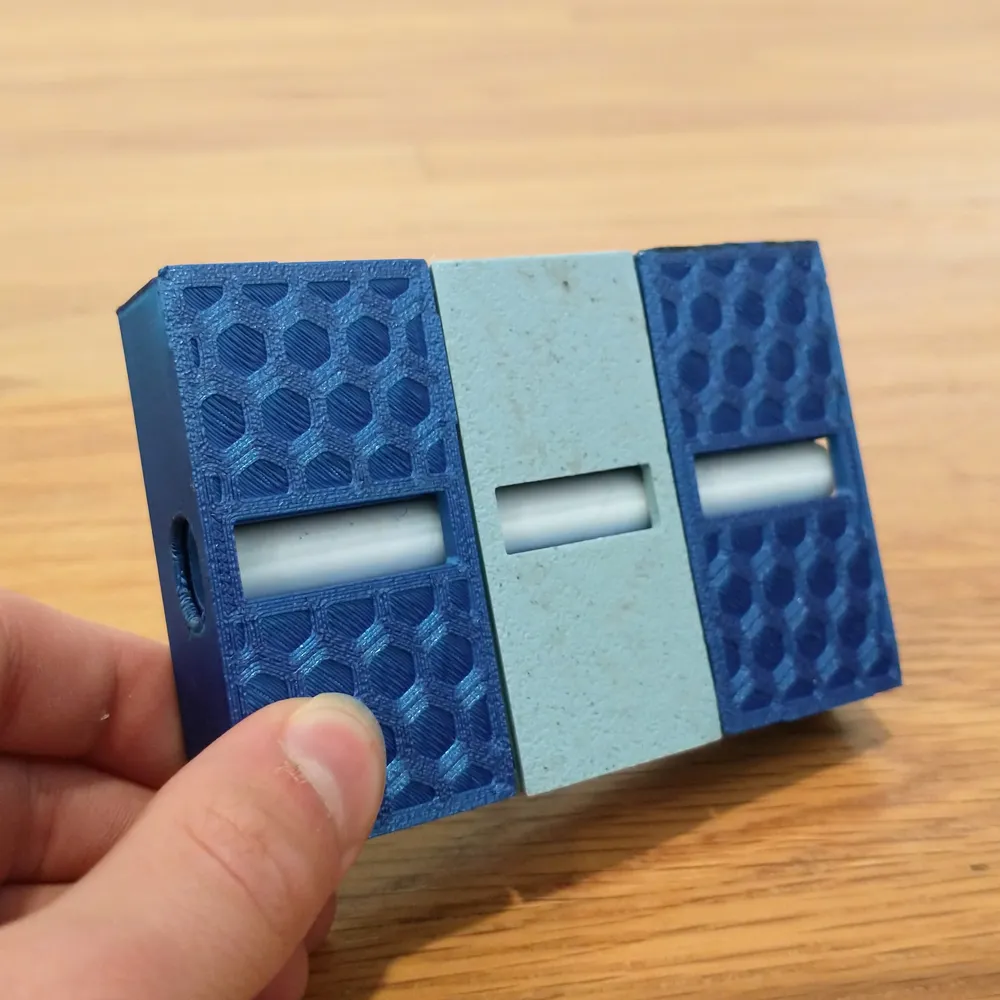
4. Put the assembly from step 3 into the main assembly from steps 1 and 2 by sliding it into the cavity, as shown below.

5. Finally, press the remaining piece into the grooves of the base so that the carriage is not visible anymore except through the rectangular holes. After making sure that everything is moving smoothly by sliding the center piece, feel free to apply glue to the groove where the parts touch if the final piece doesn't stay with friction.

Assembly complete!
OPERATION:
To operate, simply insert the full-length rod into the holes on the side of the apparatus so that it is flush with both edges. Then slide the center piece out of alignment to magically split the rod into three parts, and to the amazement of your audience, return it to its original position and retrieve the unbroken rod!
License
You shall not share, sub-license, sell, rent, host, transfer, or distribute in any way the digital or 3D printed versions of this object, nor any other derivative work of this object in its digital or physical format (including - but not limited to - remixes of this object, and hosting on other digital platforms). The objects may not be used without permission in any way whatsoever in which you charge money, or collect fees.
Comment & Rating (234)