
Aperolino "MK II" incl. Ventilbloecke & Klemme
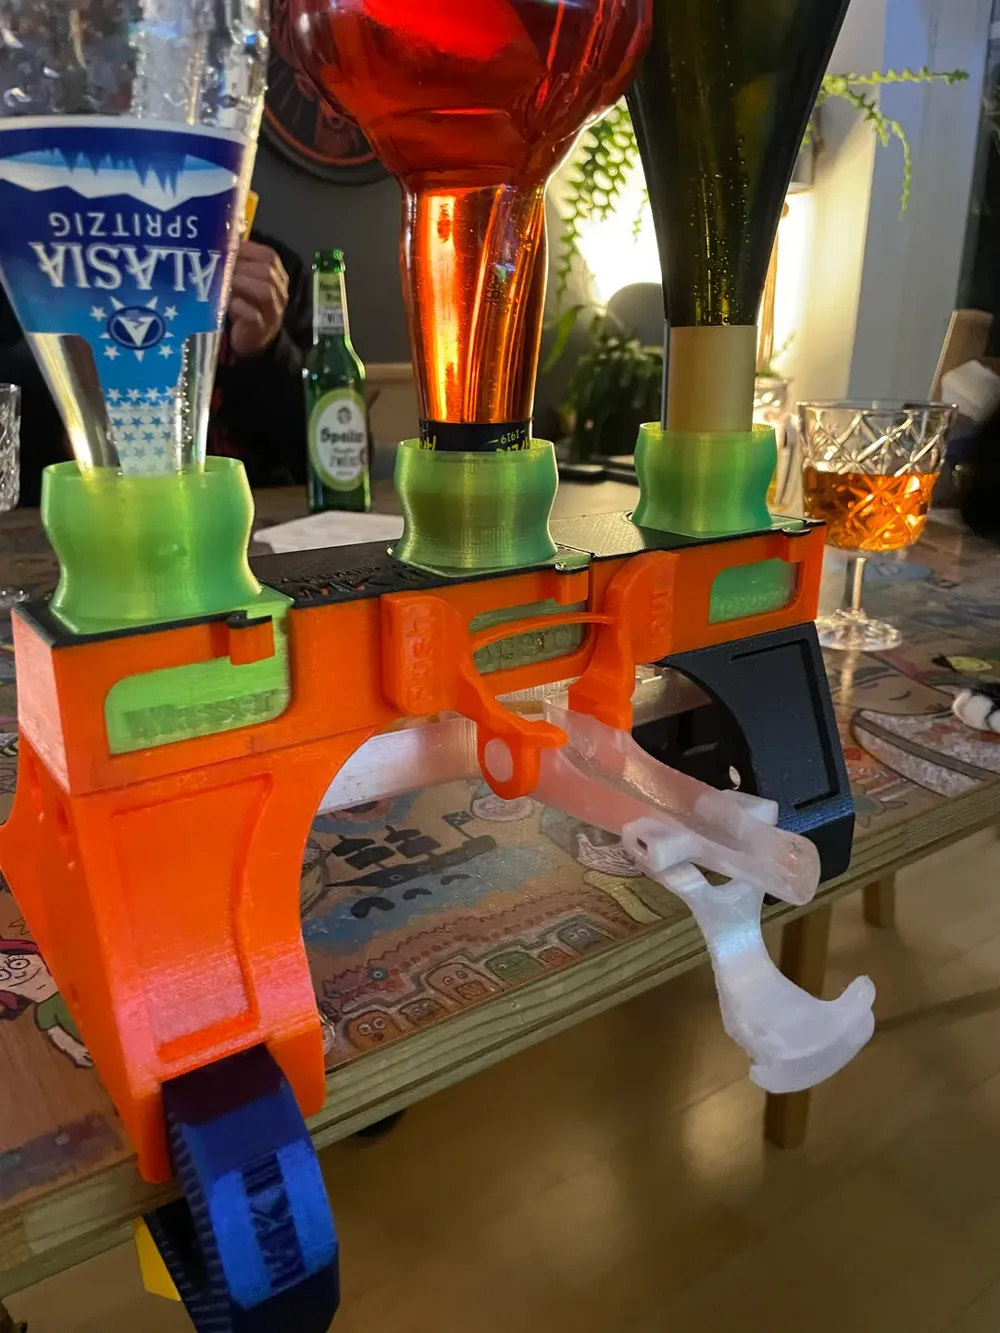
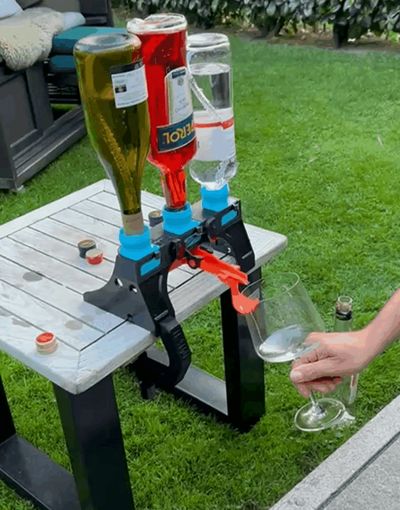
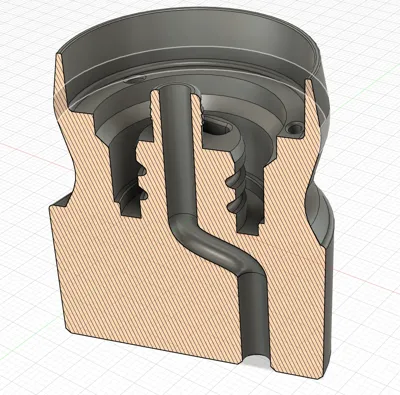
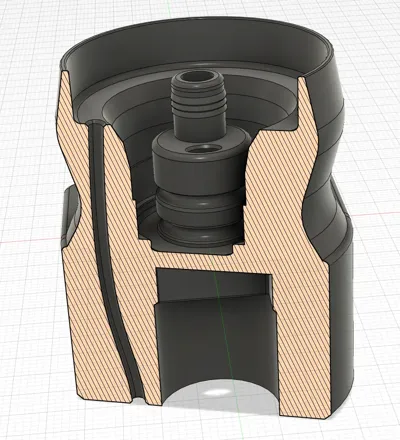
Print Profile(3)




Description


01.09.25: Thanks @GBorni for the gif
--→ This easily shows how it should work in the end :)!
14.07.2024: I only have Prusa printers ;) - Due to multiple requests, here is the clone of the project on MakerWorld!
Check out all my models on Printables if interested: LINK :)!
Hello everyone,
Thanks to @Luisengineering for this cool idea! I gave your version to a friend as a housewarming gift, and then it started that I had many ideas and also felt like playing in CAD again.
Optimizations in Version MK/II:
- Wobble-free with clamp
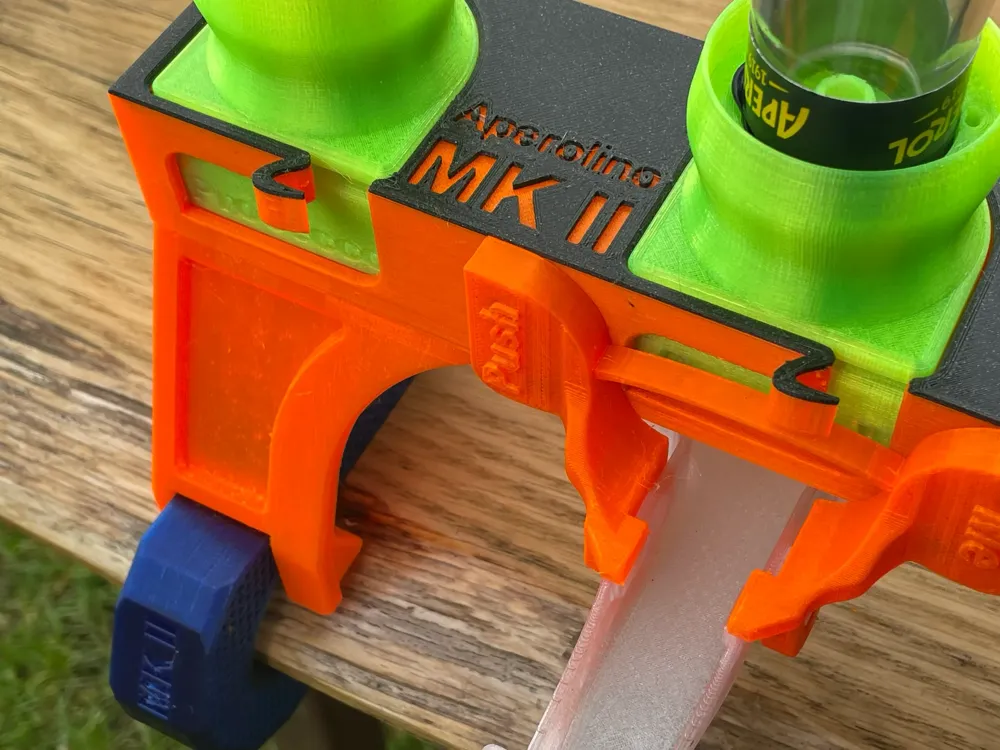
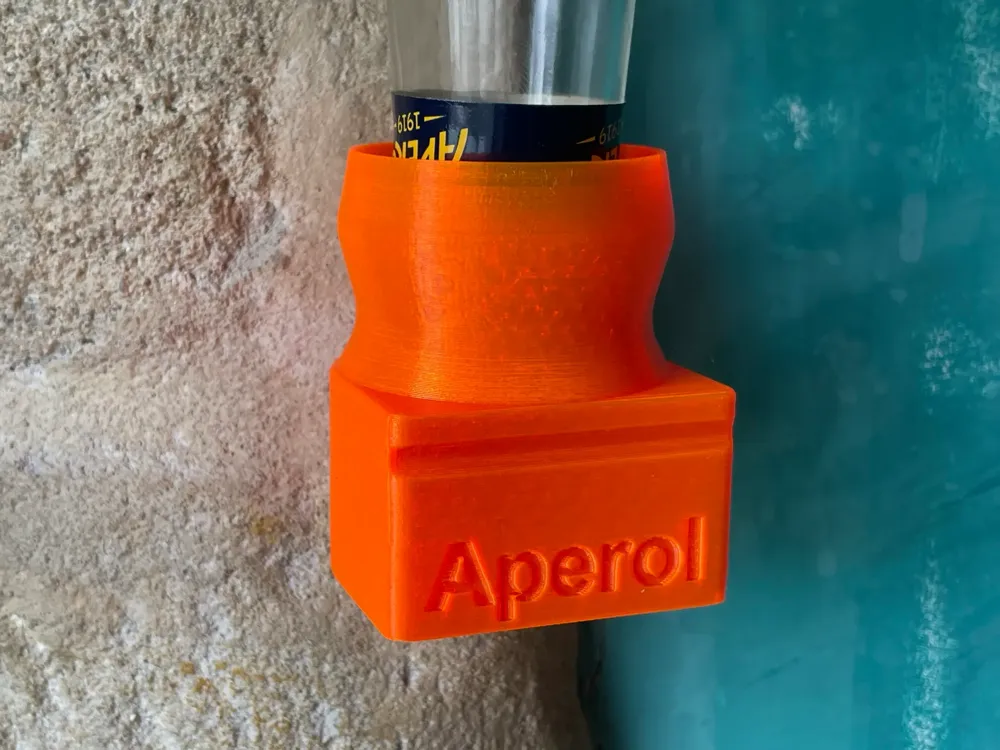
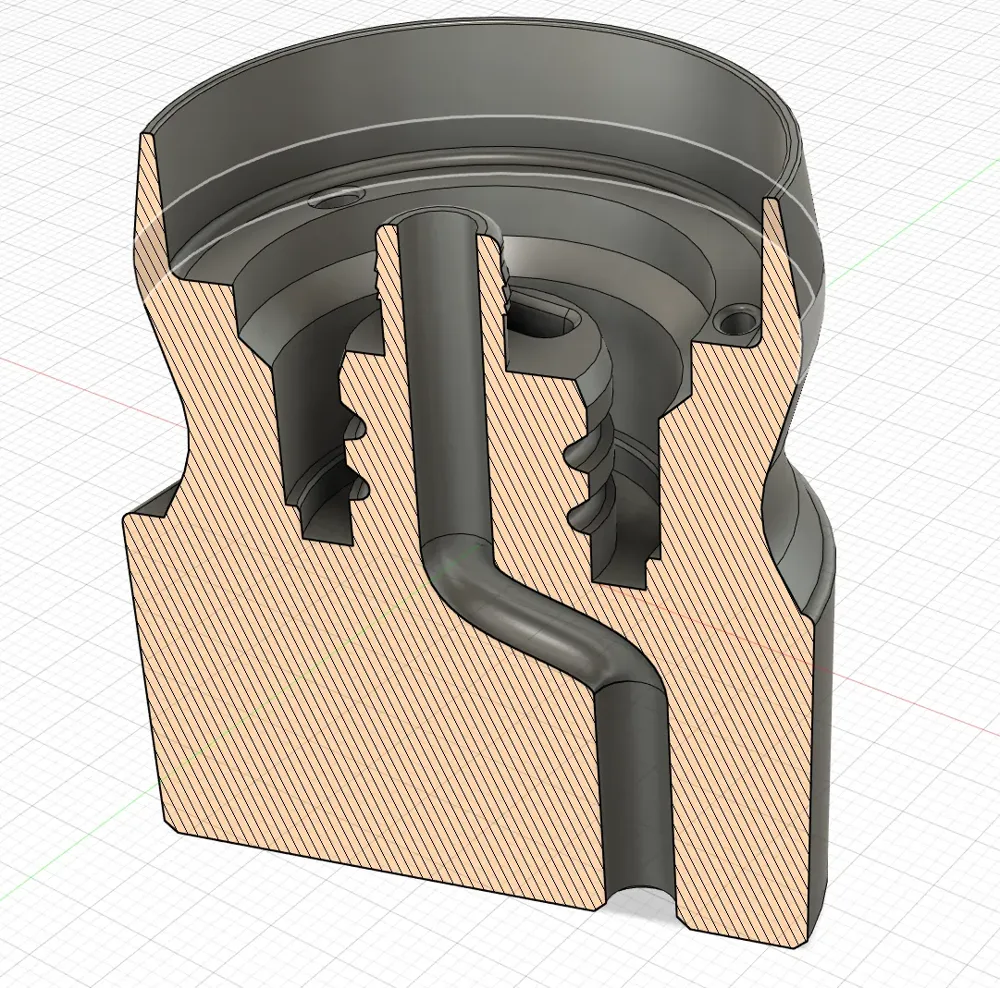
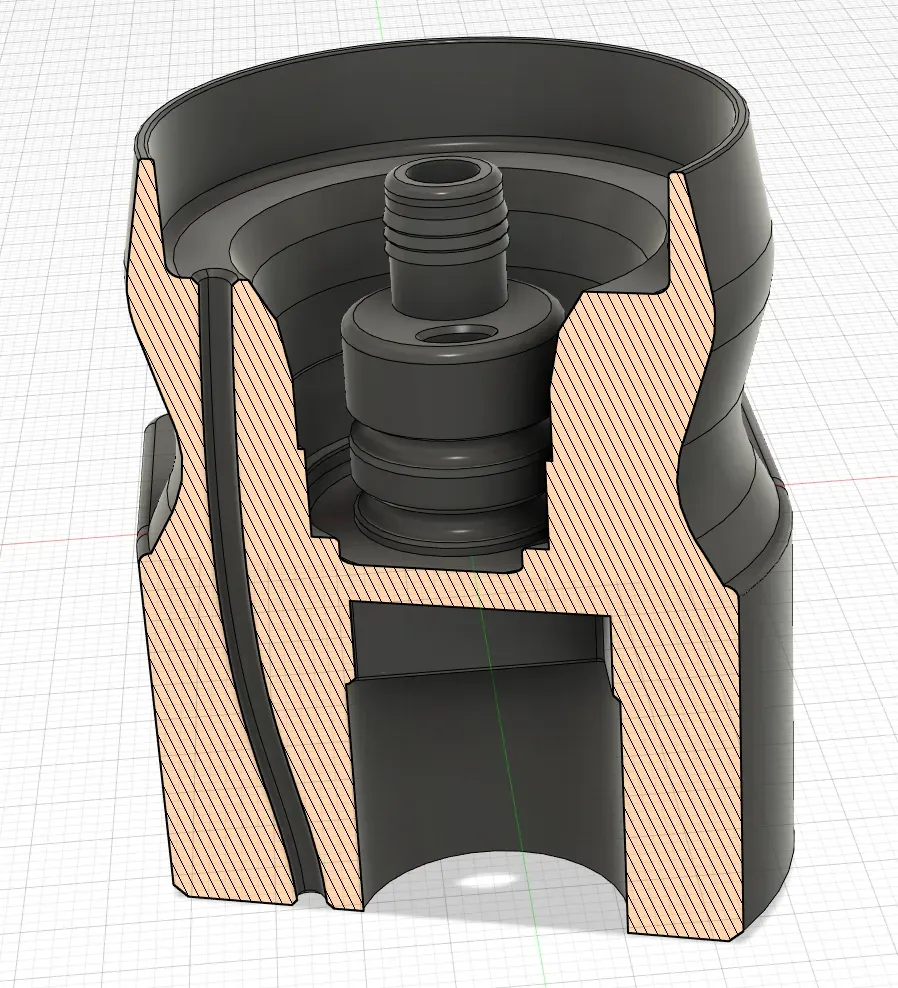
- Almost “Drip-free”, as potential leakage from the valve blocks should be fully directed into the mixing channel and thus intercepted by the design of the upper housing part
- No guarantee for 100% drip-free operation ;p - If the mixing channel eventually fills up due to minimal dripping from the valves and overflows, then you're drinking too slowly ;D
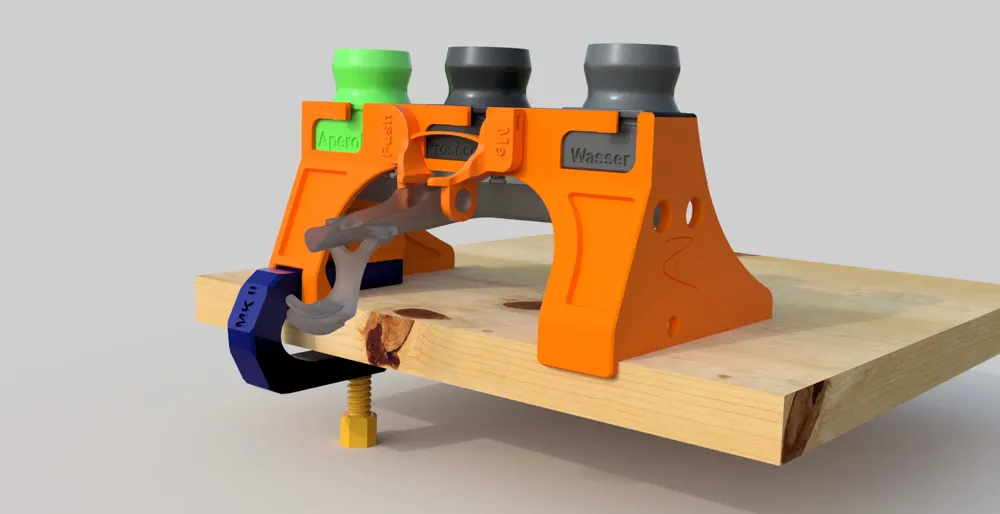
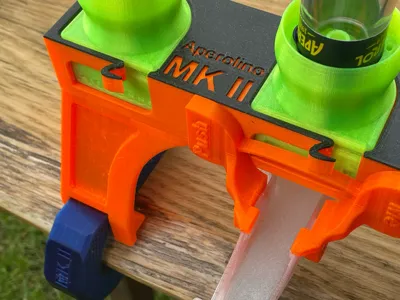
- Modular housing takes up less space when the Aperolino is stored away and allows for cooler design options.
- (Design) No visible screws / connections redesigned with hidden inserted square nuts
- Distance of valve block mounts increased so that bottles do not touch (even for 1L Aperol bottles)
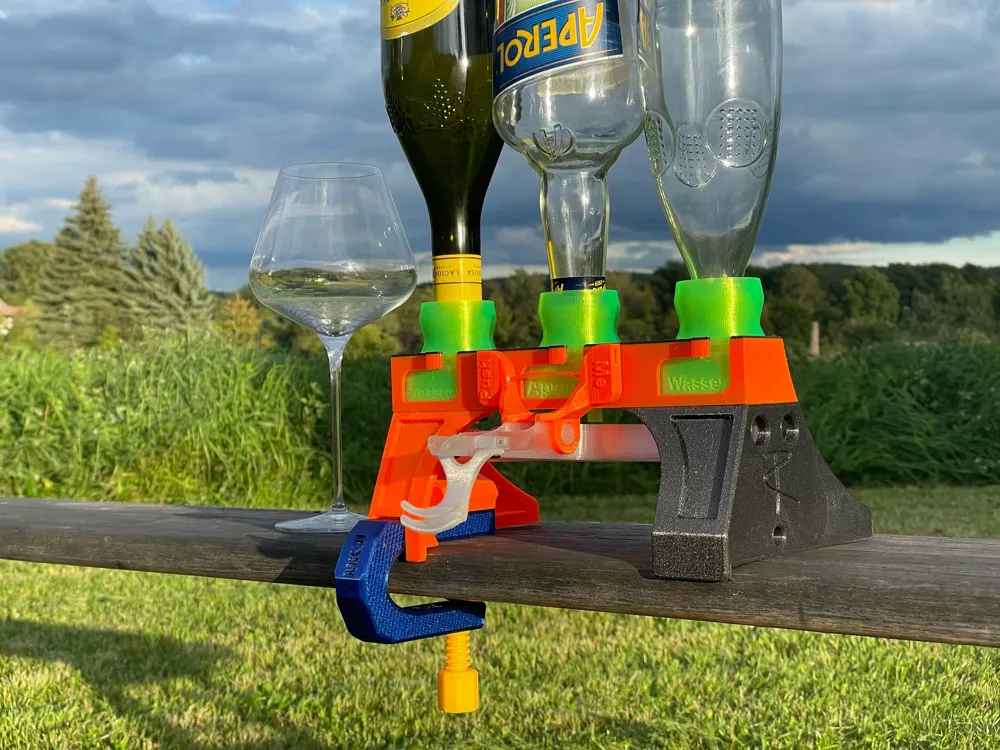
- Pressure point on the mixing channel for valve activation is designed to be directed downwards and aligned with a wine/champagne glass.
(Community Special) On the side of the housing legs, I have provided an interface in the form of "3-holes" for community extensions. e.g.: “Orange peel holder”, ice cube chute, champagne glass holder, …. etc. I will put a template online for this!
I look forward to your ideas and remixes :)!
The following “non-3D print” components are required: (updated September 25, 2024)
- M4 flat square nuts (DIN 562) (8x) - Link to eBay search: https://www.ebay.de/sch/i.html?_from=R40&_trksid=p2510209.m570.l1313&_nkw=DIN+562+M4&_sacat=0
- M4 screws 12mm (6x) - e.g.: https://www.amazon.de/dp/B0BKGVYV9R?psc=1&ref=ppx_yo2ov_dt_b_product_details - Option C
- M4 screws 8mm (2x)
- Seals: e.g.: https://www.amazon.de/dp/B094ZHJ45K?ref=ppx_yo2ov_dt_b_product_details&th=1 (Note: actually measured with a caliper, they are more like 2.2-2.3mm - That's why I'm referring to 2.2)
- (3 pcs.) Diameter = 14mm x (Thickness =)2.2mm
- (2 pcs.) 16mm x 2.2mm
- (7 pcs.) 18mm x 2.2mm
- Plastic hose 8x 1.5mm https://toom.de/p/schlauch-transparent-8-mm/4206939 (1m is enough for all 3 valves)
The following “3D print” components are required from my separate post:
- Clamp in required size from this remix https://www.printables.com/de/model/576362-clamp-with-feather-m16-screw-for-aperolino-mkii-si
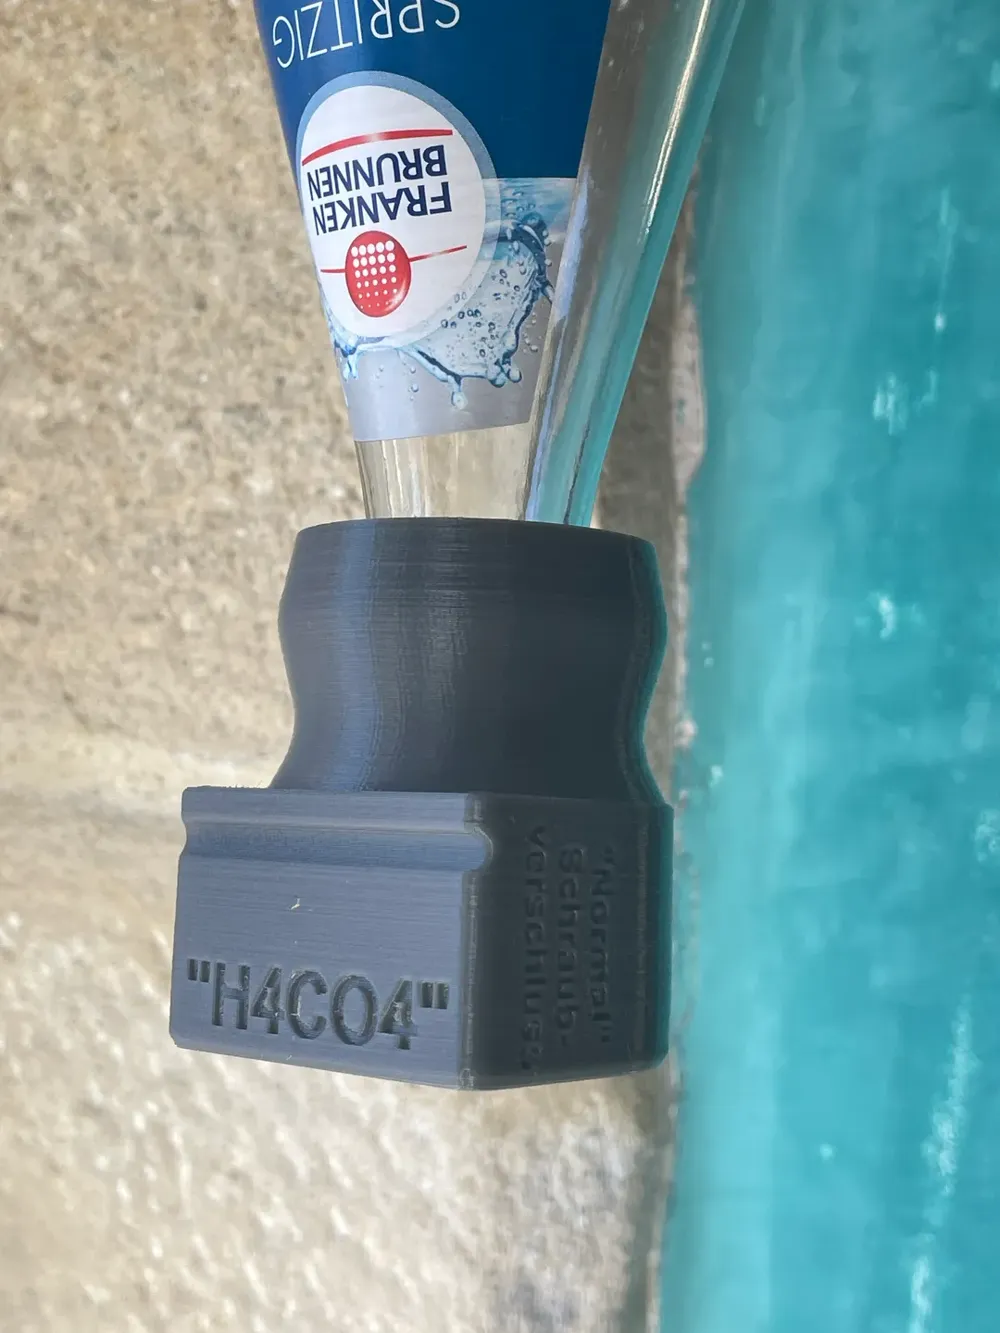
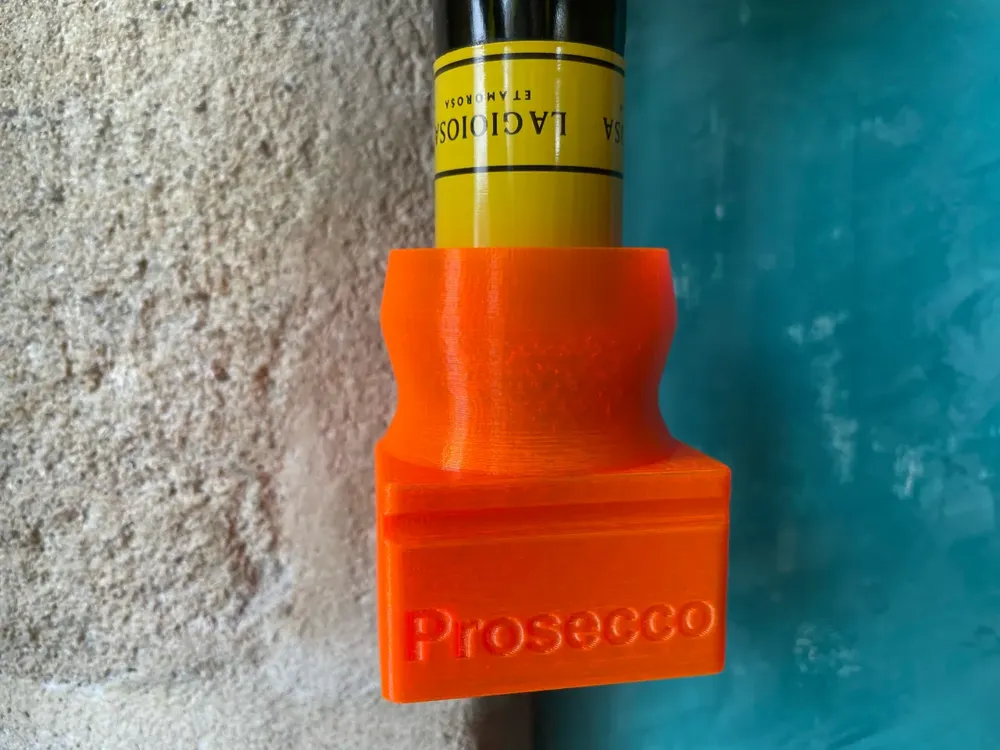
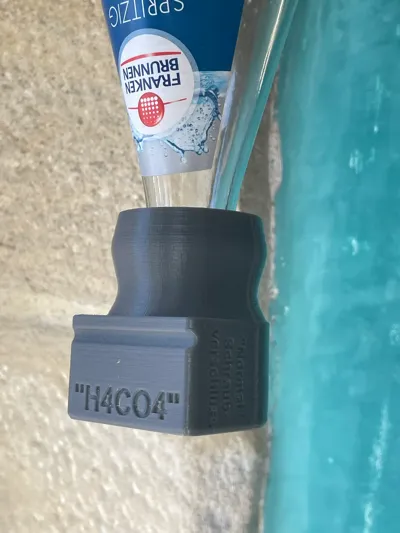
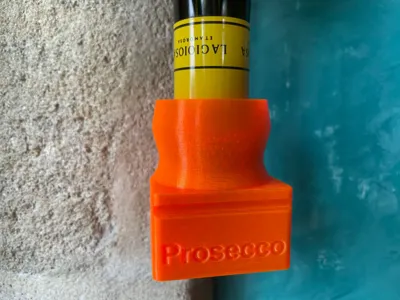
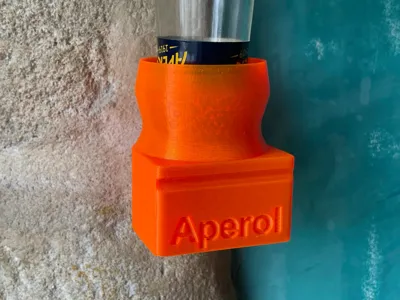
- New valve blocks in my profile: Aperol - Prosecco - Water
Printing notes:
- PETG - 20-40% infill
- Organic Supports sometimes needed.
- 0.4mm nozzle - 0.2mm layer height
- Valve blocks (to be inserted into bottles) without infill at the bottom
- For further details on the prosecco inner diameters check the original post on Printables - https://www.printables.com/de/model/566549-aperolino-mk2-ventilblock-prosecco-fur-sehr-viele-
https://www.printables.com/model/568794-aperolino-mk2-ventilblock-aperol-mit-leckage-ablau
- For further details on the prosecco inner diameters check the original post on Printables - https://www.printables.com/de/model/566549-aperolino-mk2-ventilblock-prosecco-fur-sehr-viele-
Assembly as follows:
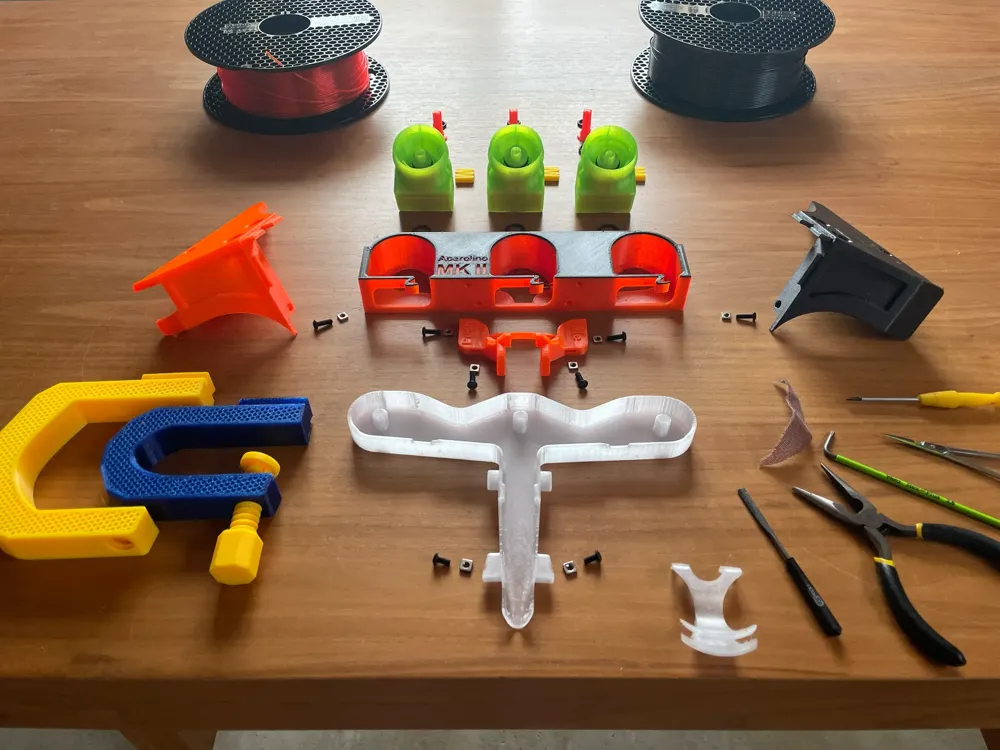
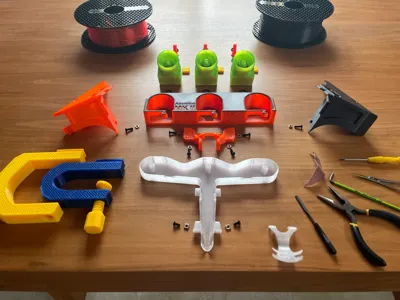
Attached are all parts laid out on the table in an exploded view. The tools I need are also shown.
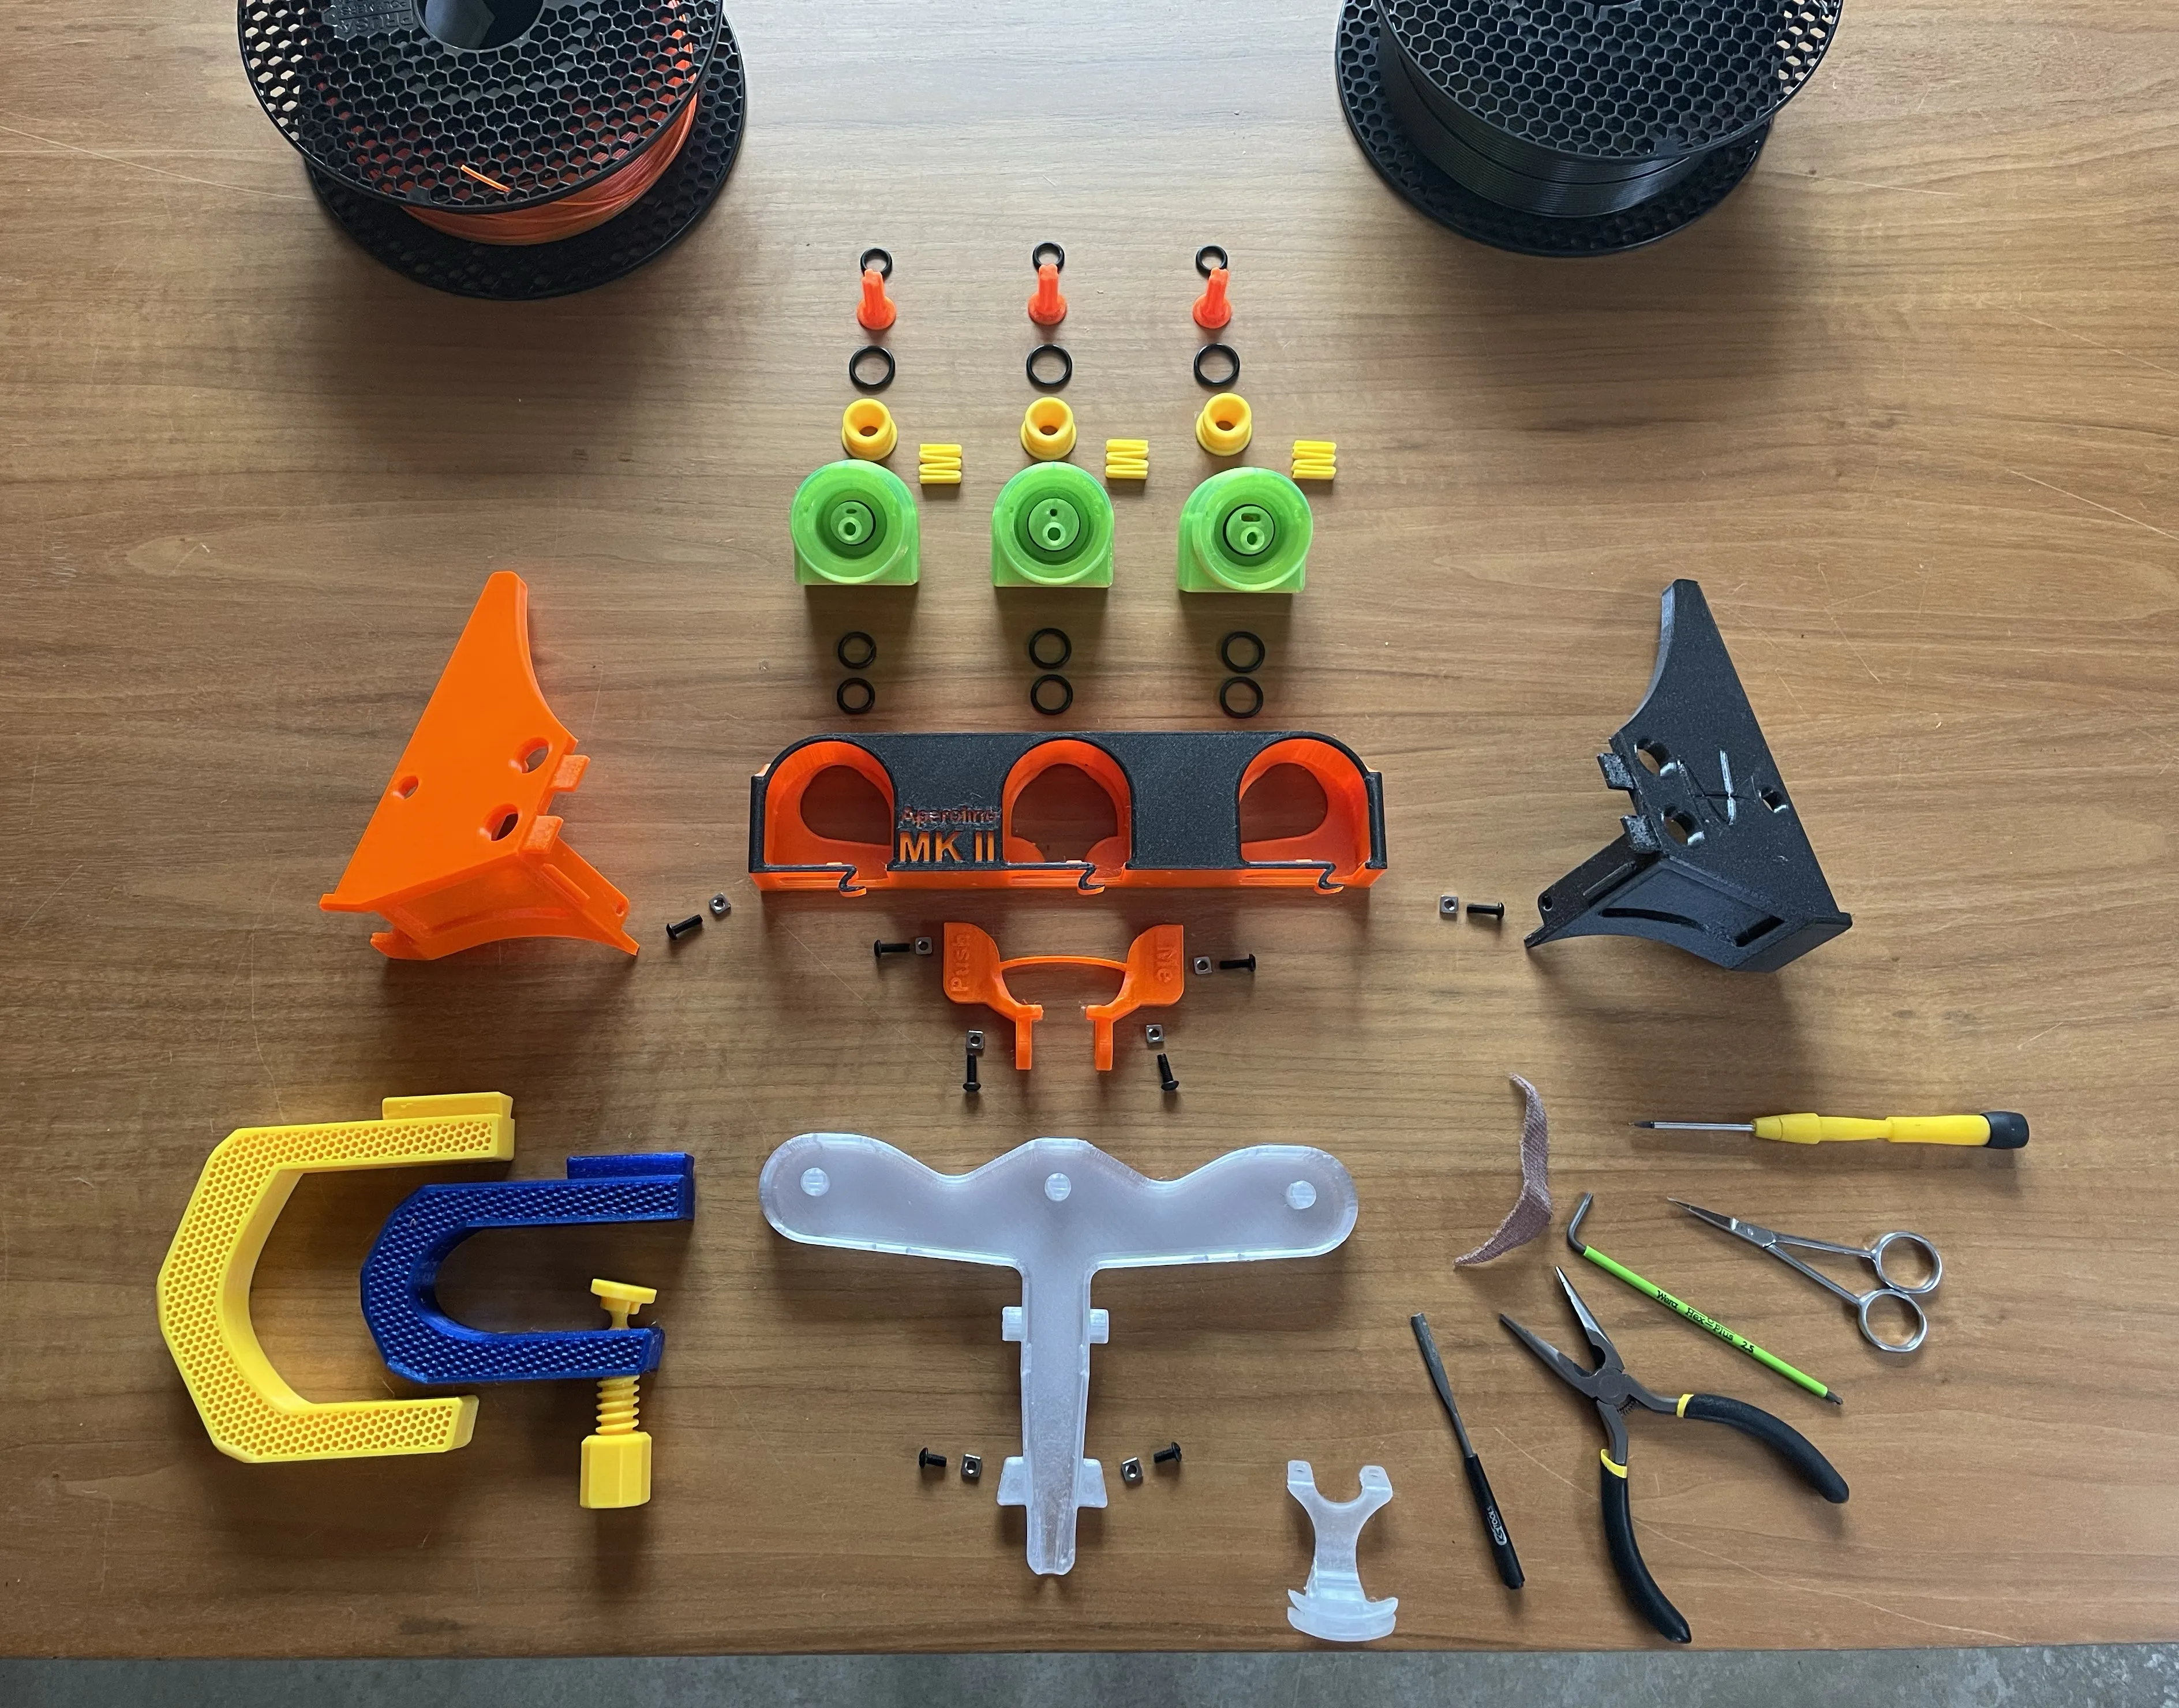
- Assembling the housing - It's not a bad idea to lightly file down the connectors on the legs so they are clean and free of support remnants.
- The round pivot axes on the mixing channel should also be smooth so that it can turn gently afterwards.
- One-sided mounting of the mixing channel holder on the top of the housing
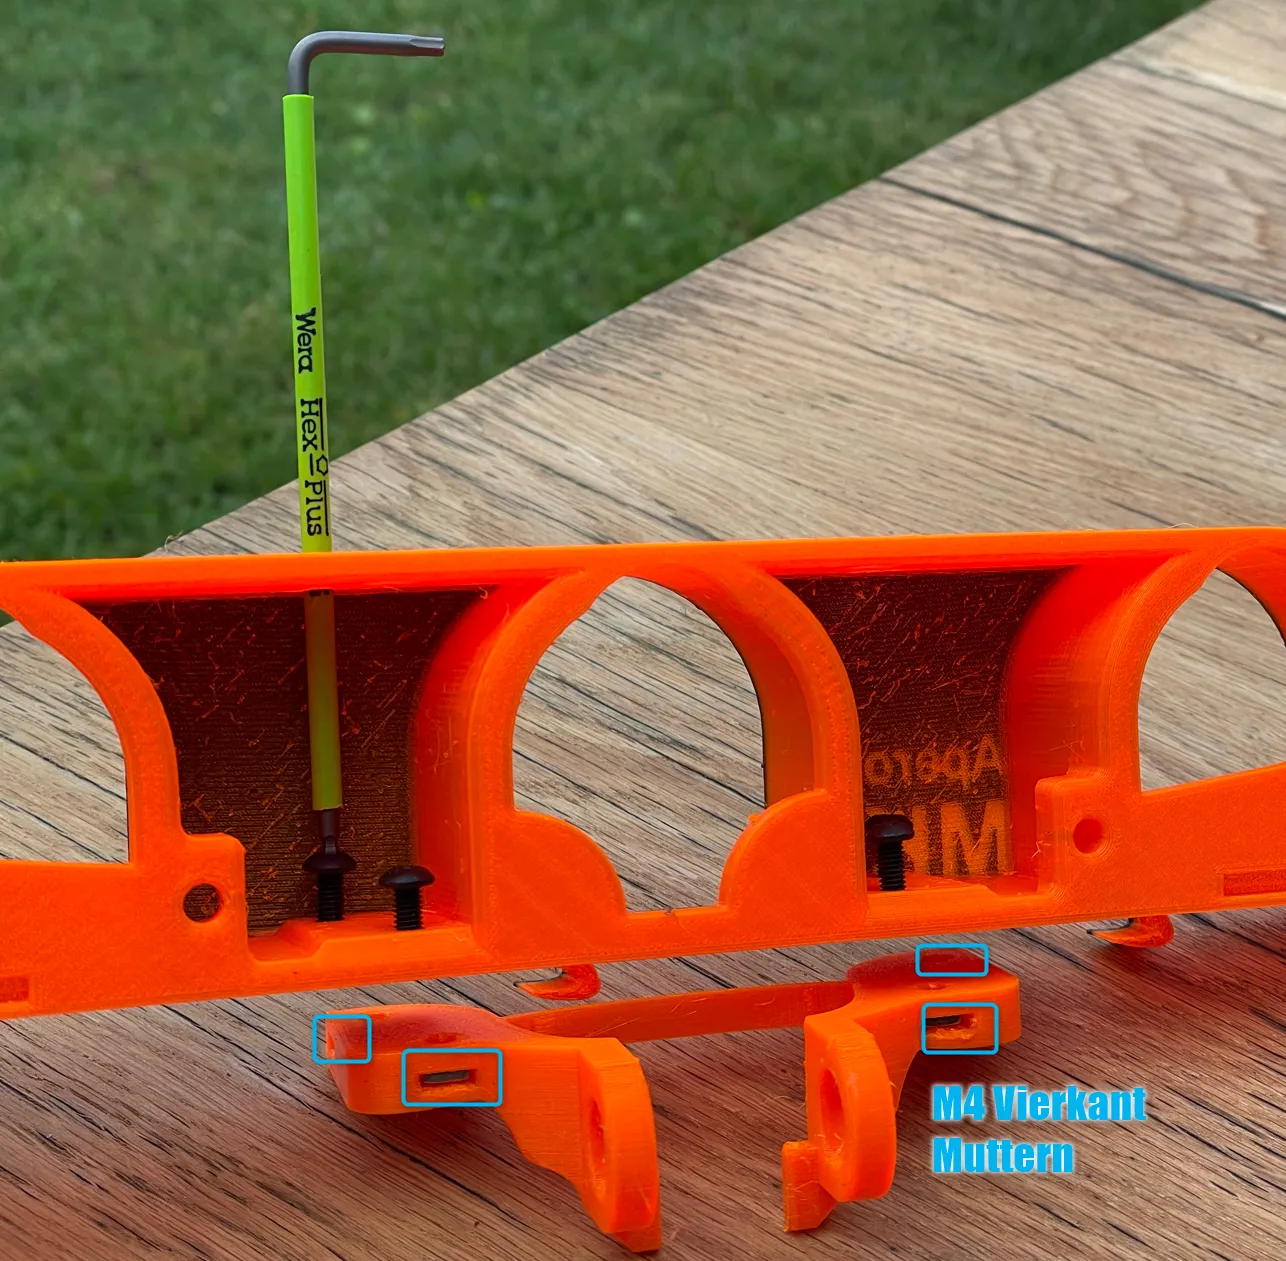
- Inserting the legs into the top of the housing with a slight wobble should already lead to a good hold of the legs.
- Final assembly of the legs to the top of the housing - For this, 2 square nuts are inserted into the top of the housing on the left and right and then tightened from below with an M4 screw. (Tip: Apply a little superglue to the nuts so that they don't fall out even after disassembly (e.g., for transport in a backpack).)
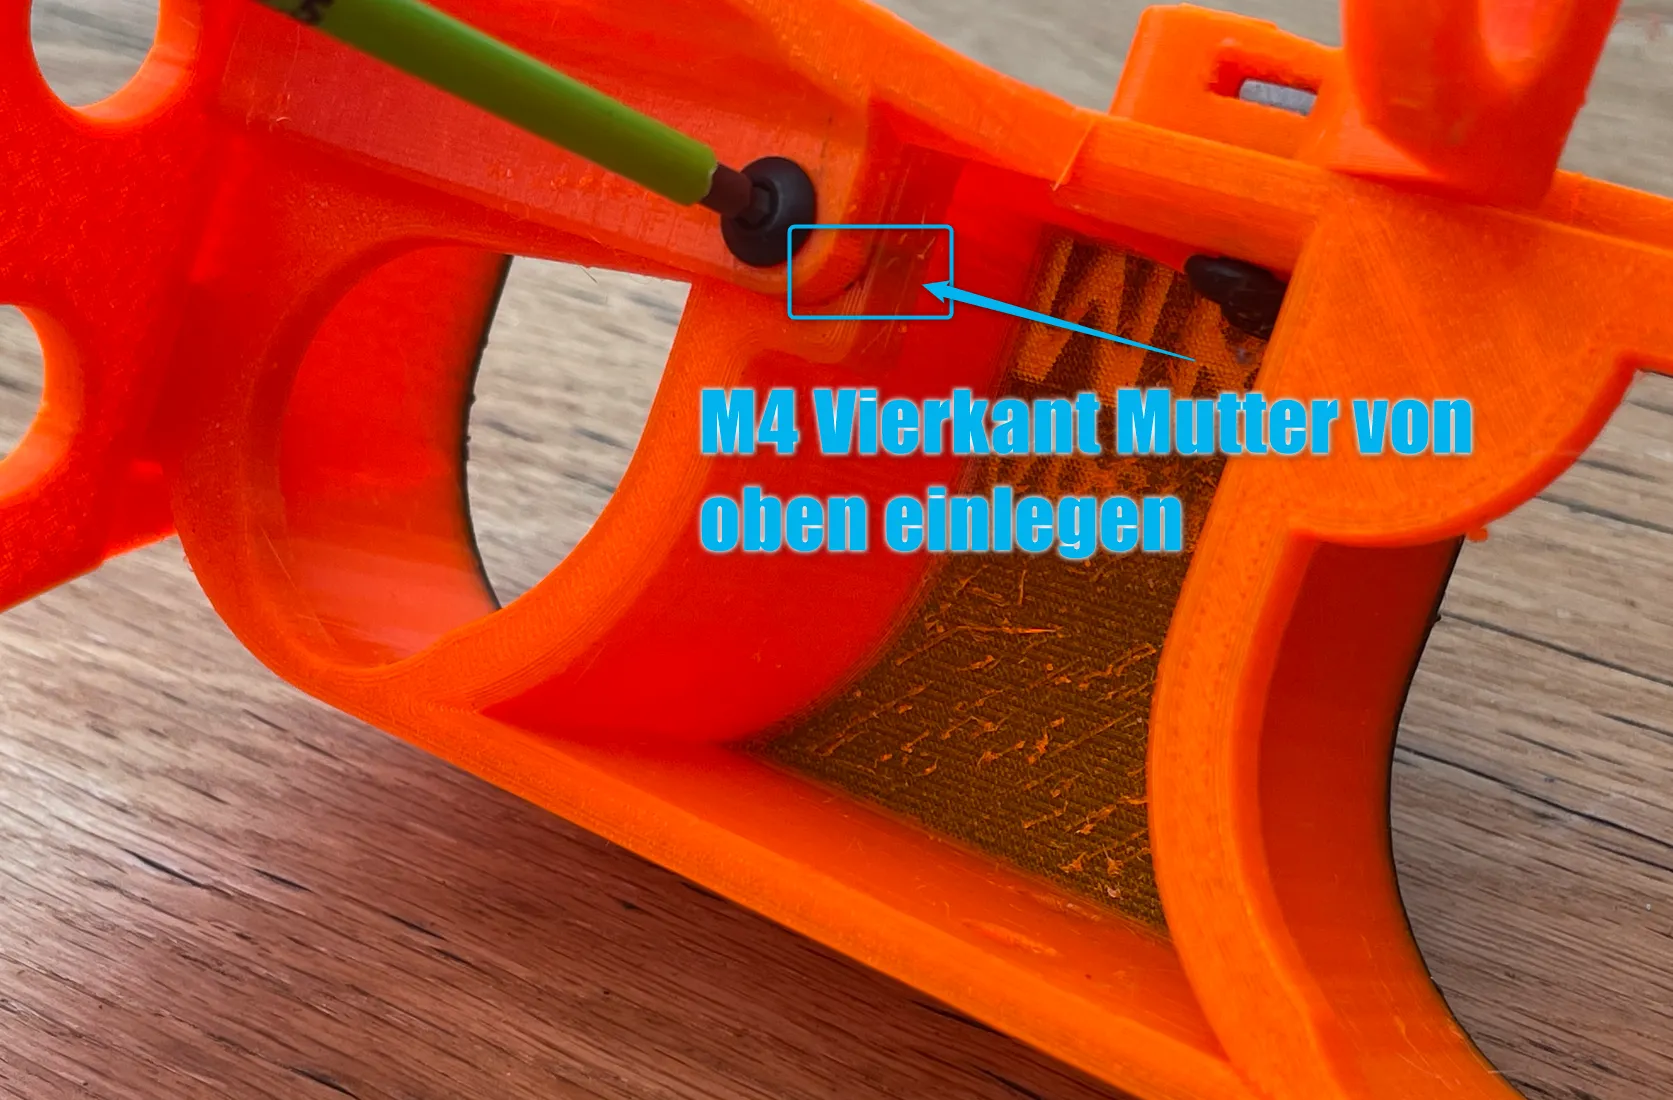
- The mixing channel joint is fixed on one side only and can be slightly bent to insert the mixing channel. Afterwards, the screws on the other side of the joint are lightly tightened.
Note: Check the smooth movement of the channel - Place the housing normally for this - The channel should always move downwards by itself, i.e. not get stuck in the pressed position - unless you simply have a very high and quick need for a spritz refreshment ;D!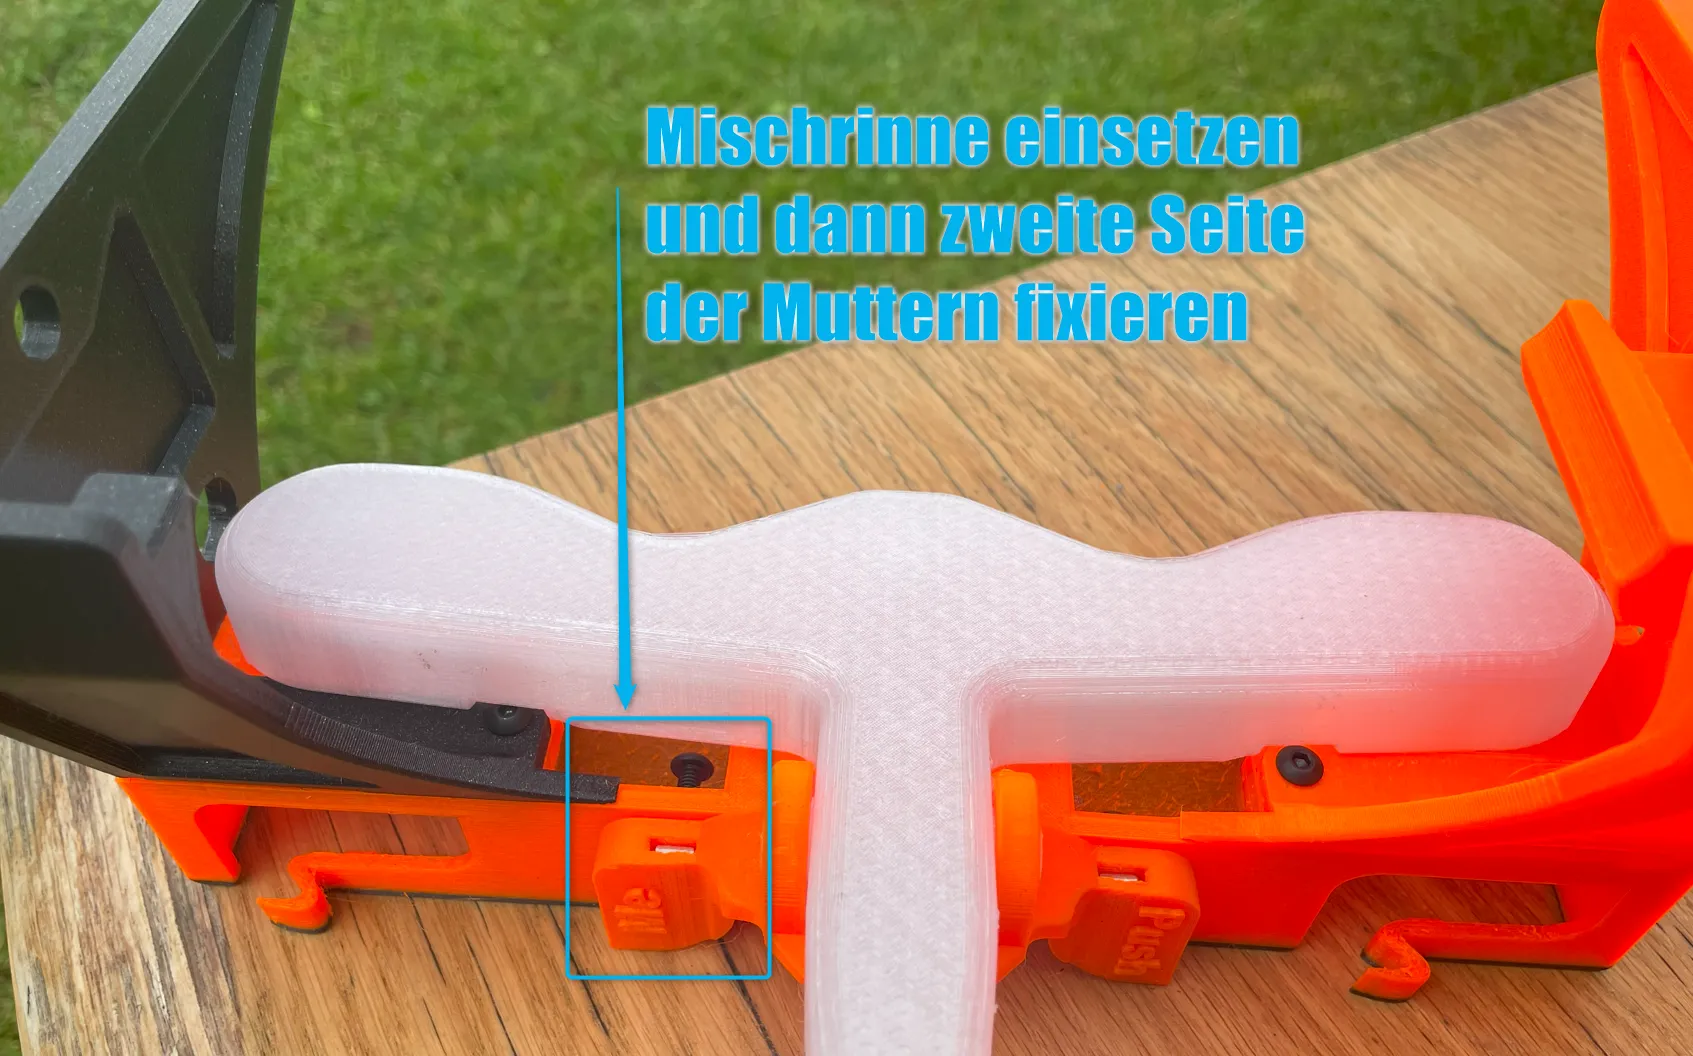
- Mount pusher on channel:
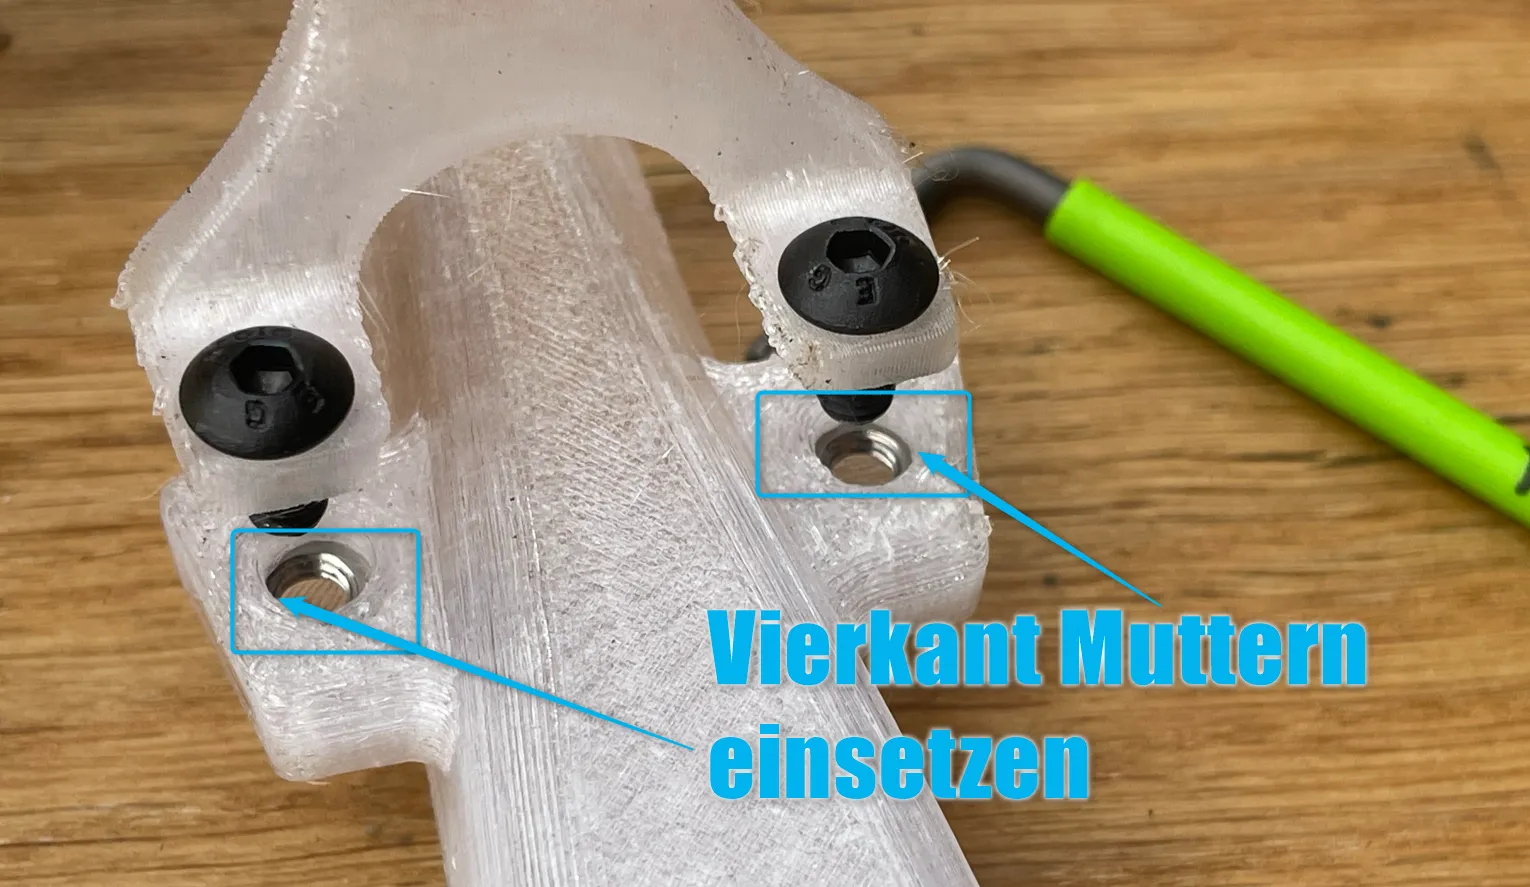
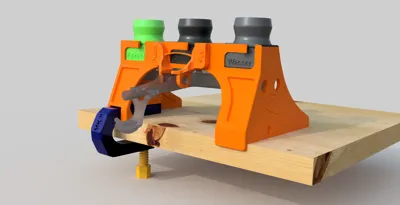
- Insert clamp with groove and then simply attach Aperolino to the table :) - Do NOT tighten the clamp like a metal one - it probably won't withstand it!
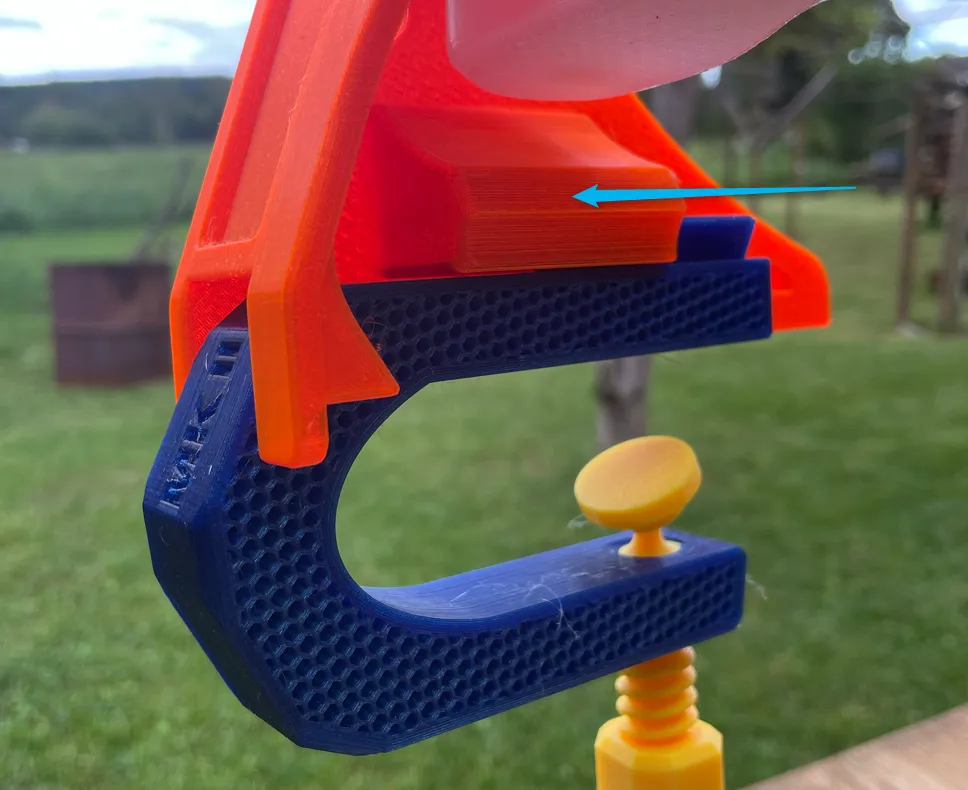
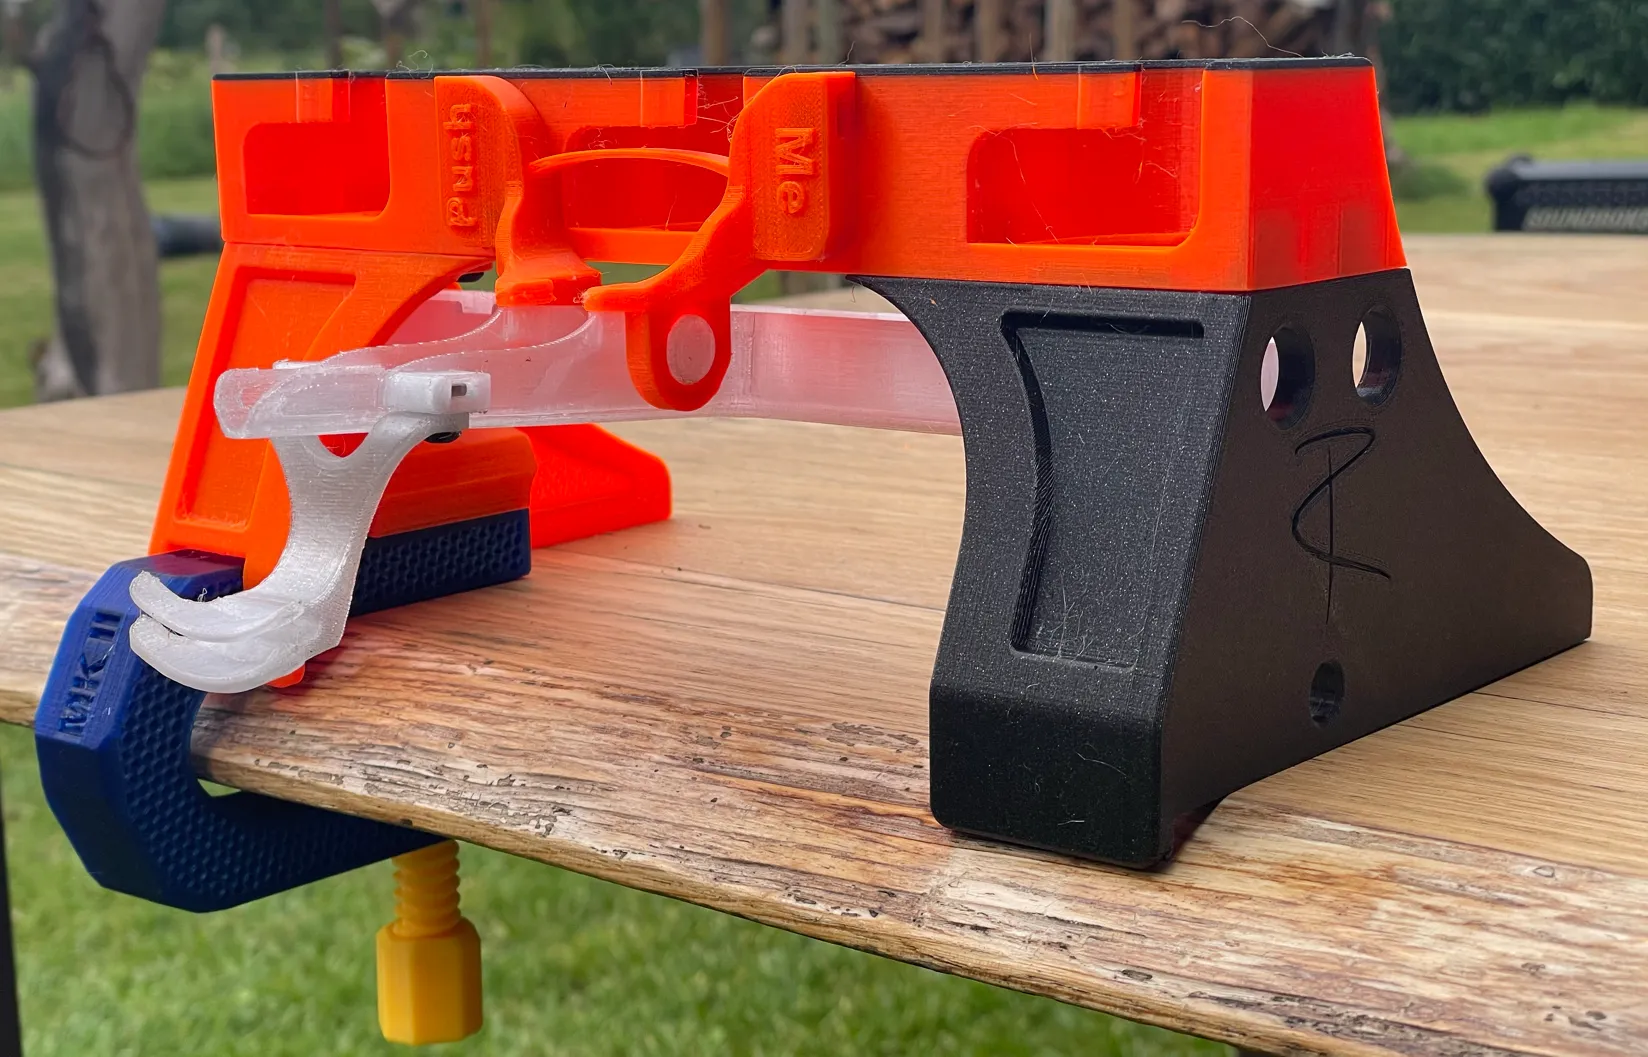
Assemble valve blocks as follows:
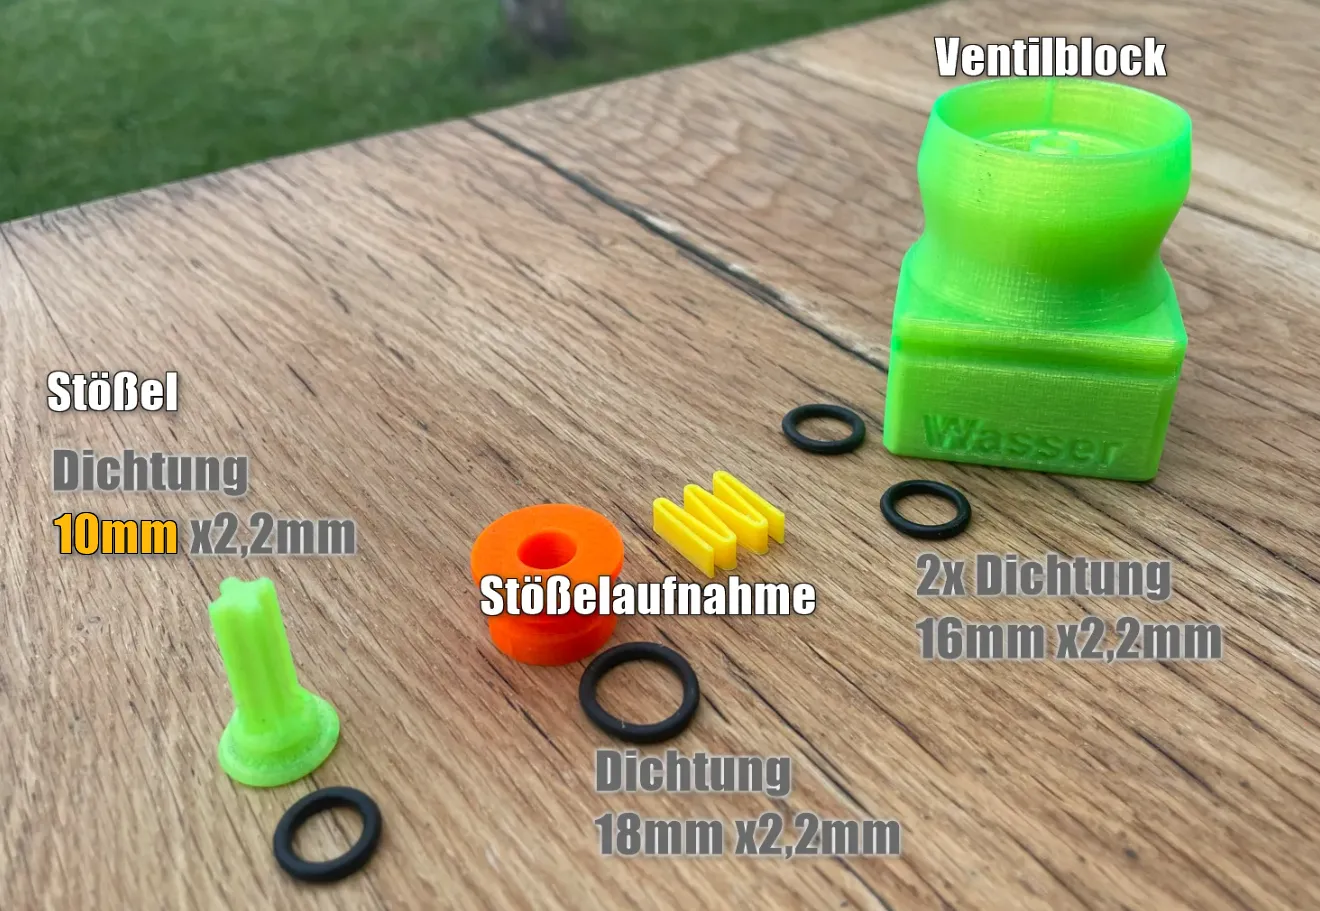
Note #1: Seal for Aperol & Prosecco 18mmx2.2mm. The seals are listed as 2.4mm on Amazon, but they are smaller - I measured 2.2 - 2.3mm with a caliper here.
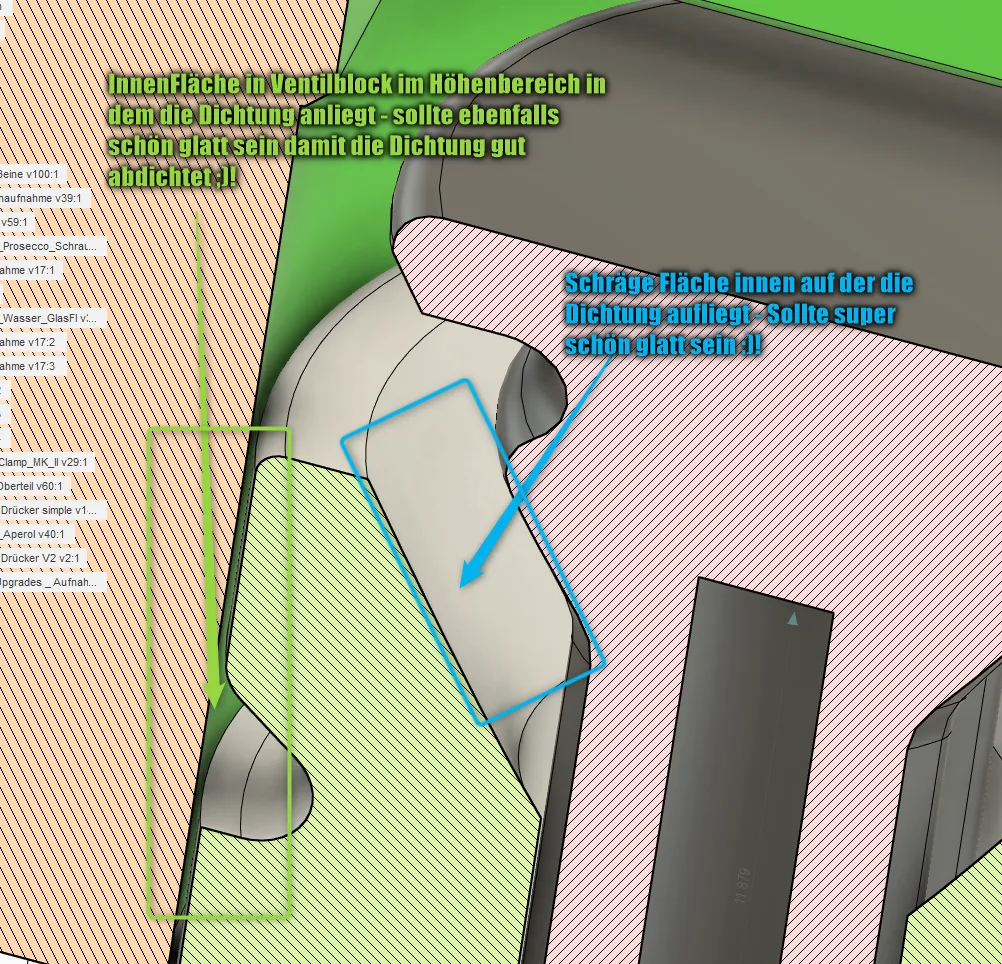
Note #2 “Leakage avoidance”: The sealing surface of the plunger seal as well as the sealing surface on the inner bore at the bottom of the valve block should be finely sanded (180 grit sandpaper works). Roughness is not really sealed well by the rubber, as there is too little contact pressure with a rubber that is too hard.
10. First insert the spring, then it's best to screw in the plunger with the plunger holder (=twist & push), not just press vertically ;).
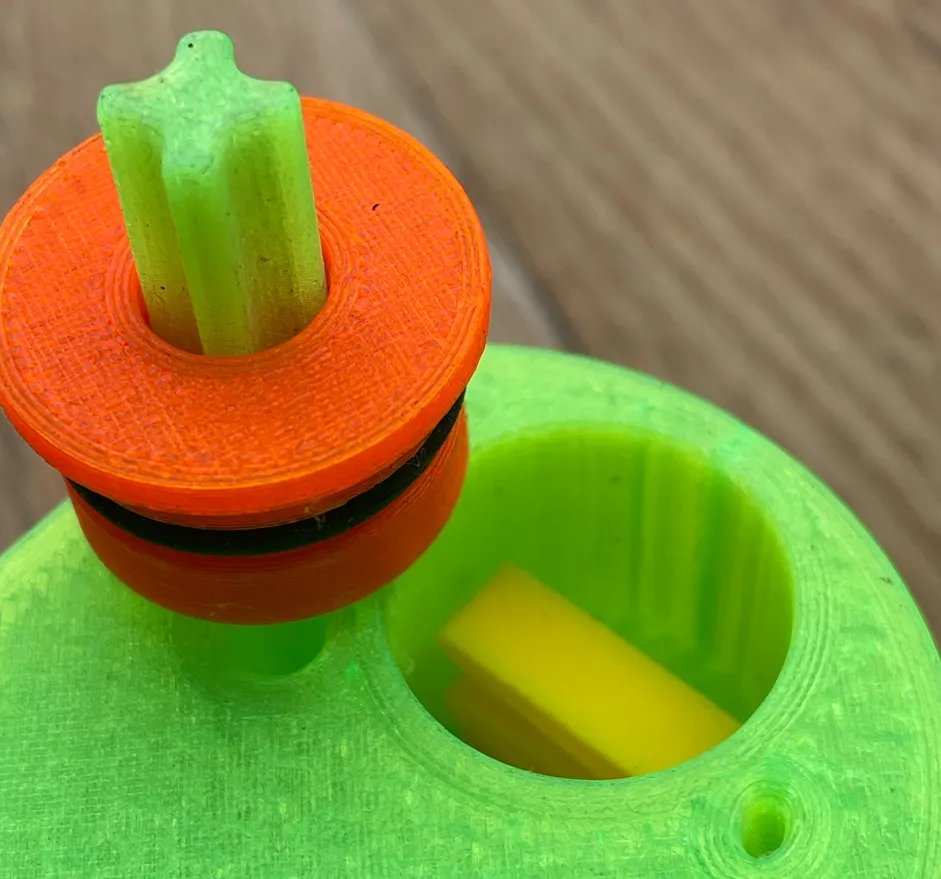
Note: The hoses are screwed onto the ribbed nozzles of the valve blocks - These are needed to bring air all the way to the top of the bottle and thus ensure an even emptying of the liquid! Important: Hoses must reach all the way to the top of the bottle so that they hang in the air bubble when the bottle is full and inverted.
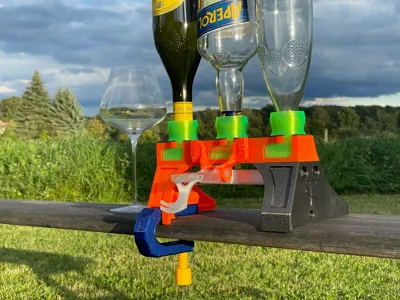
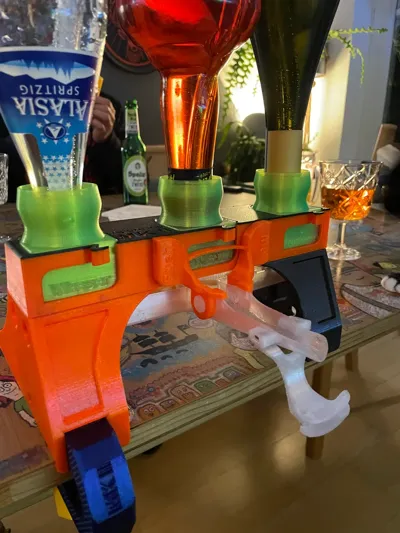
Finished :)
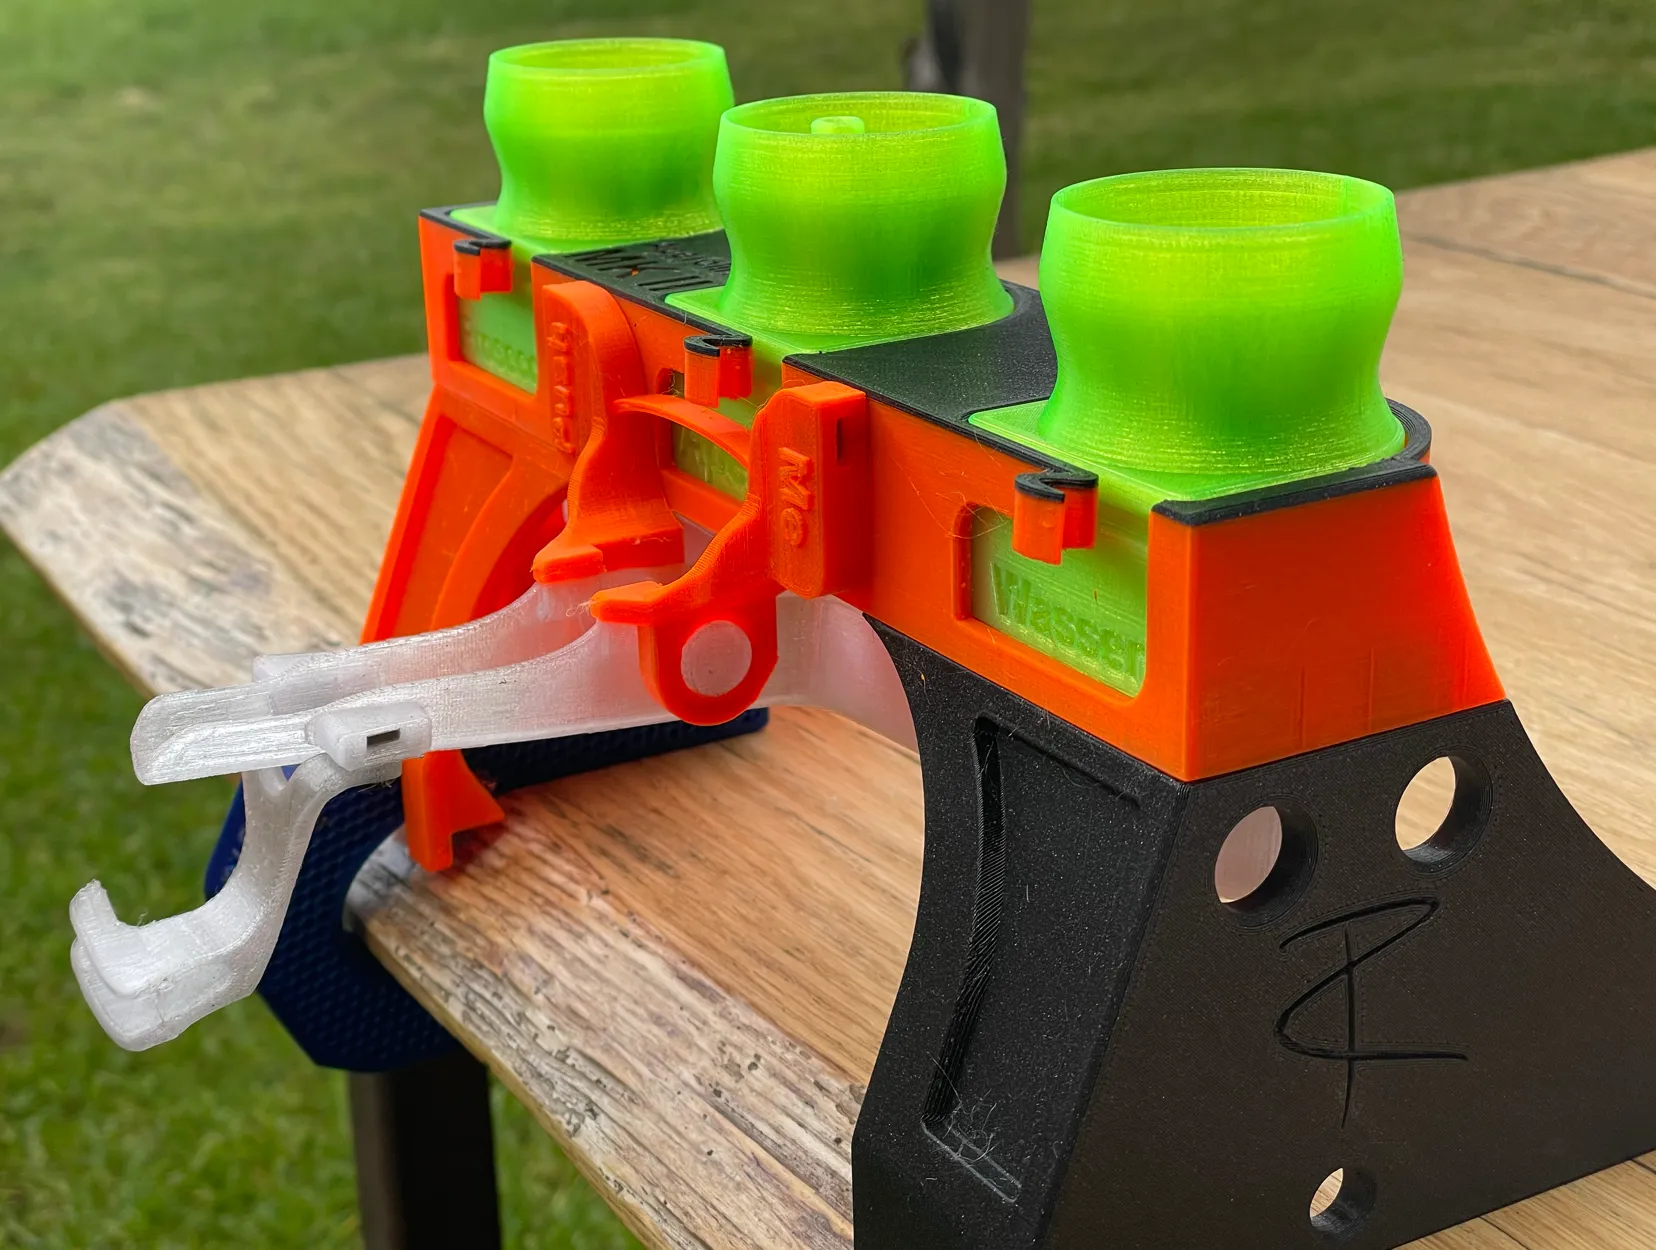
Note: To get rid of fine strings, it's best to quickly go over them once with a heat gun at 250 degrees Celsius! - I haven't done that yet ;)
This remix is based on

License



Comment & Rating (382)