Search models, users, collections, and posts

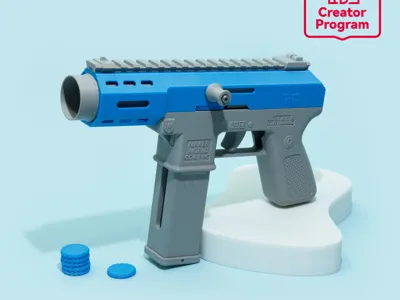
TEC-9独立回弹拉栓Independent recoil bolt
Remixed by
IP Report
Print Profile(1)

0.2mm layer, 2 walls, 15% infill
Designer
1.4 h
2 plates
Open in Bambu Studio
Boost
26
49
3
0
45
6
Released
Description
Content has been automatically translated.
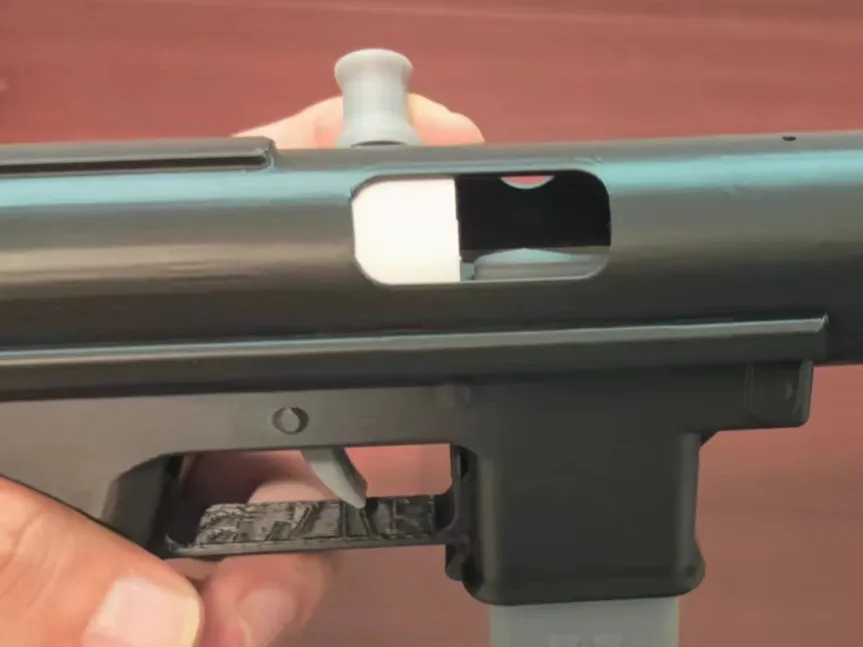
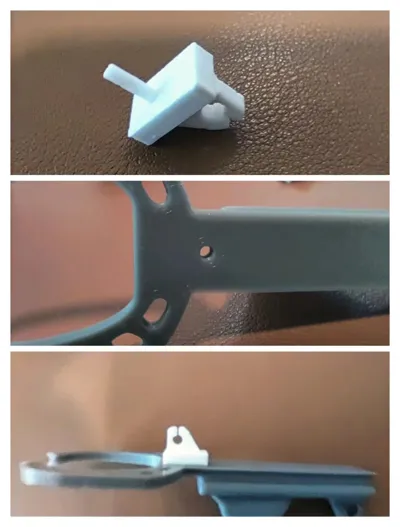
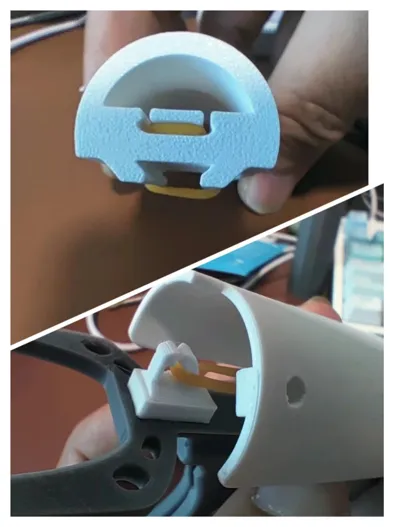

The original TEC-9's charging handle was fixed to the firing mechanism, so it could not be pulled separately after loading a bullet.
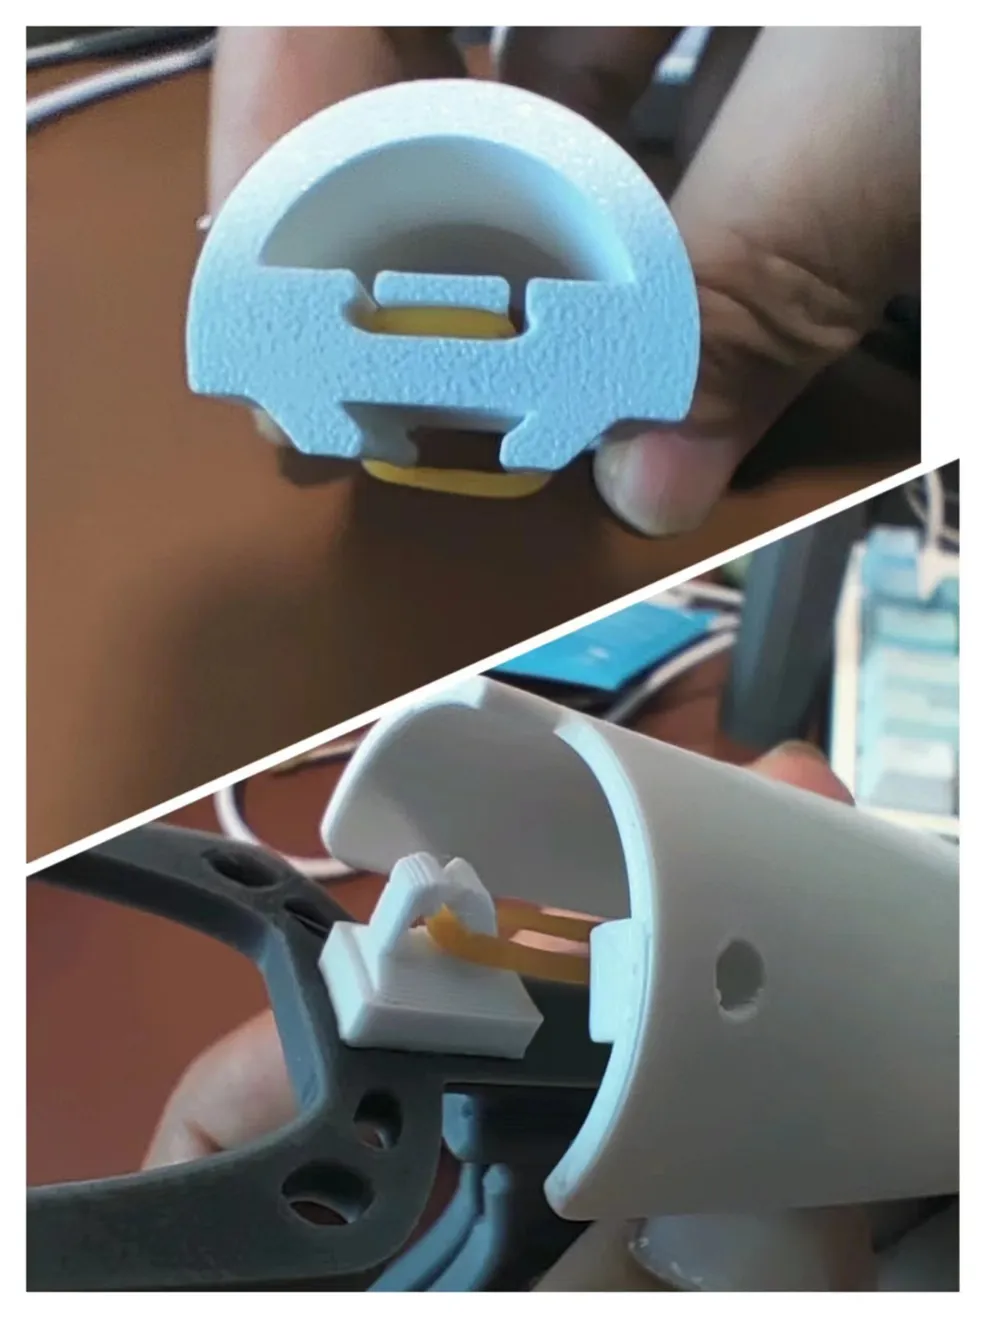
Using the same 2cm diameter rubber band from the original project, you will also need some quick-drying glue.
In fact, this simple modification was quite challenging for me as a beginner. After about three versions, I finally adjusted it to a better position.
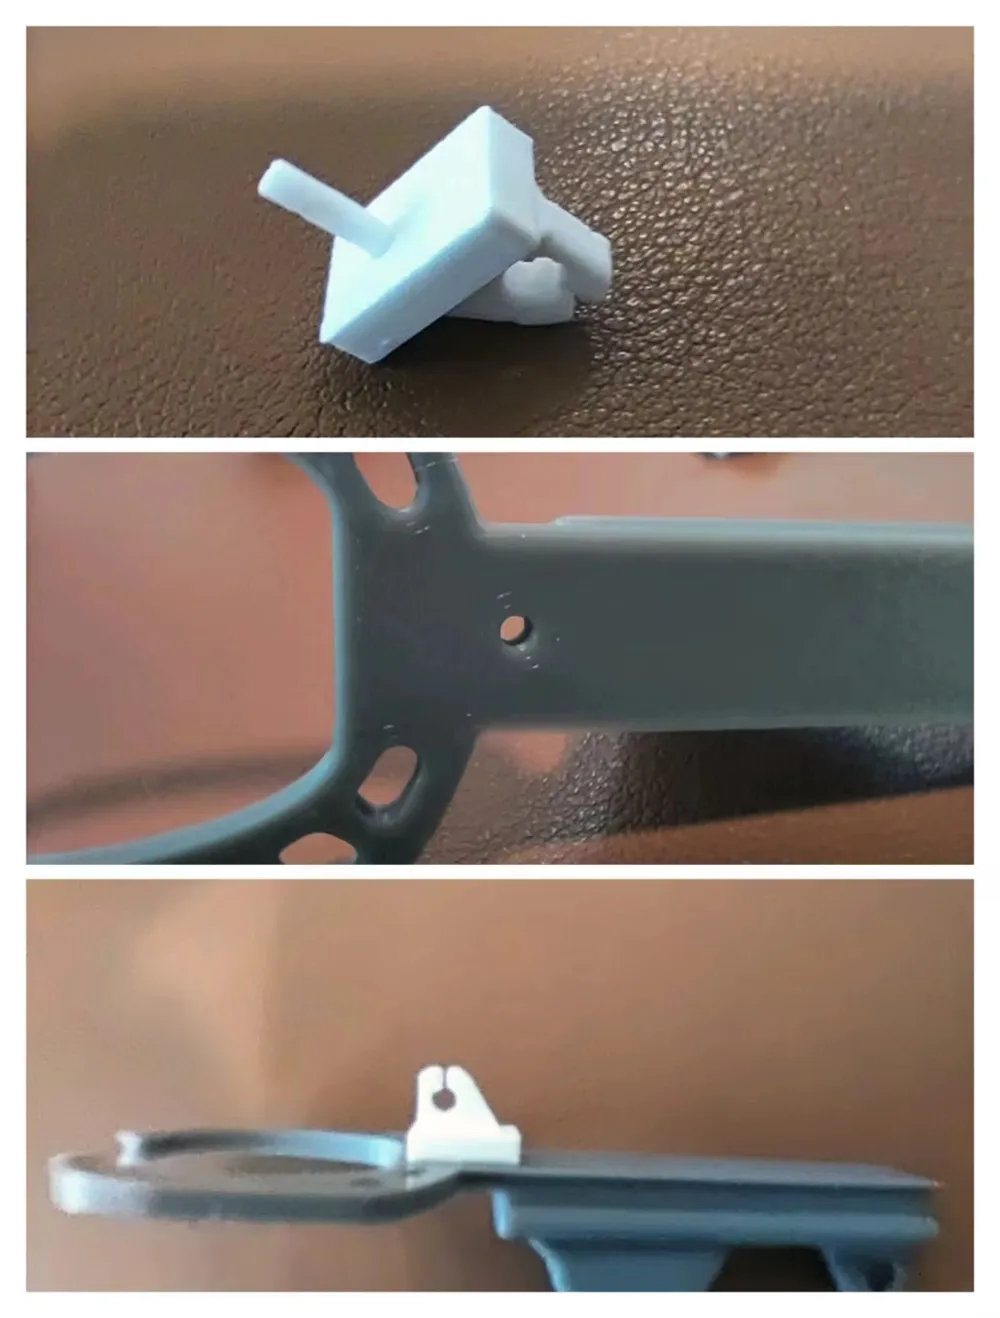
After printing, you will get two parts. The smaller part needs to be connected to the original trigger with filament wire and glued. It is recommended to clean the surface with alcohol first.
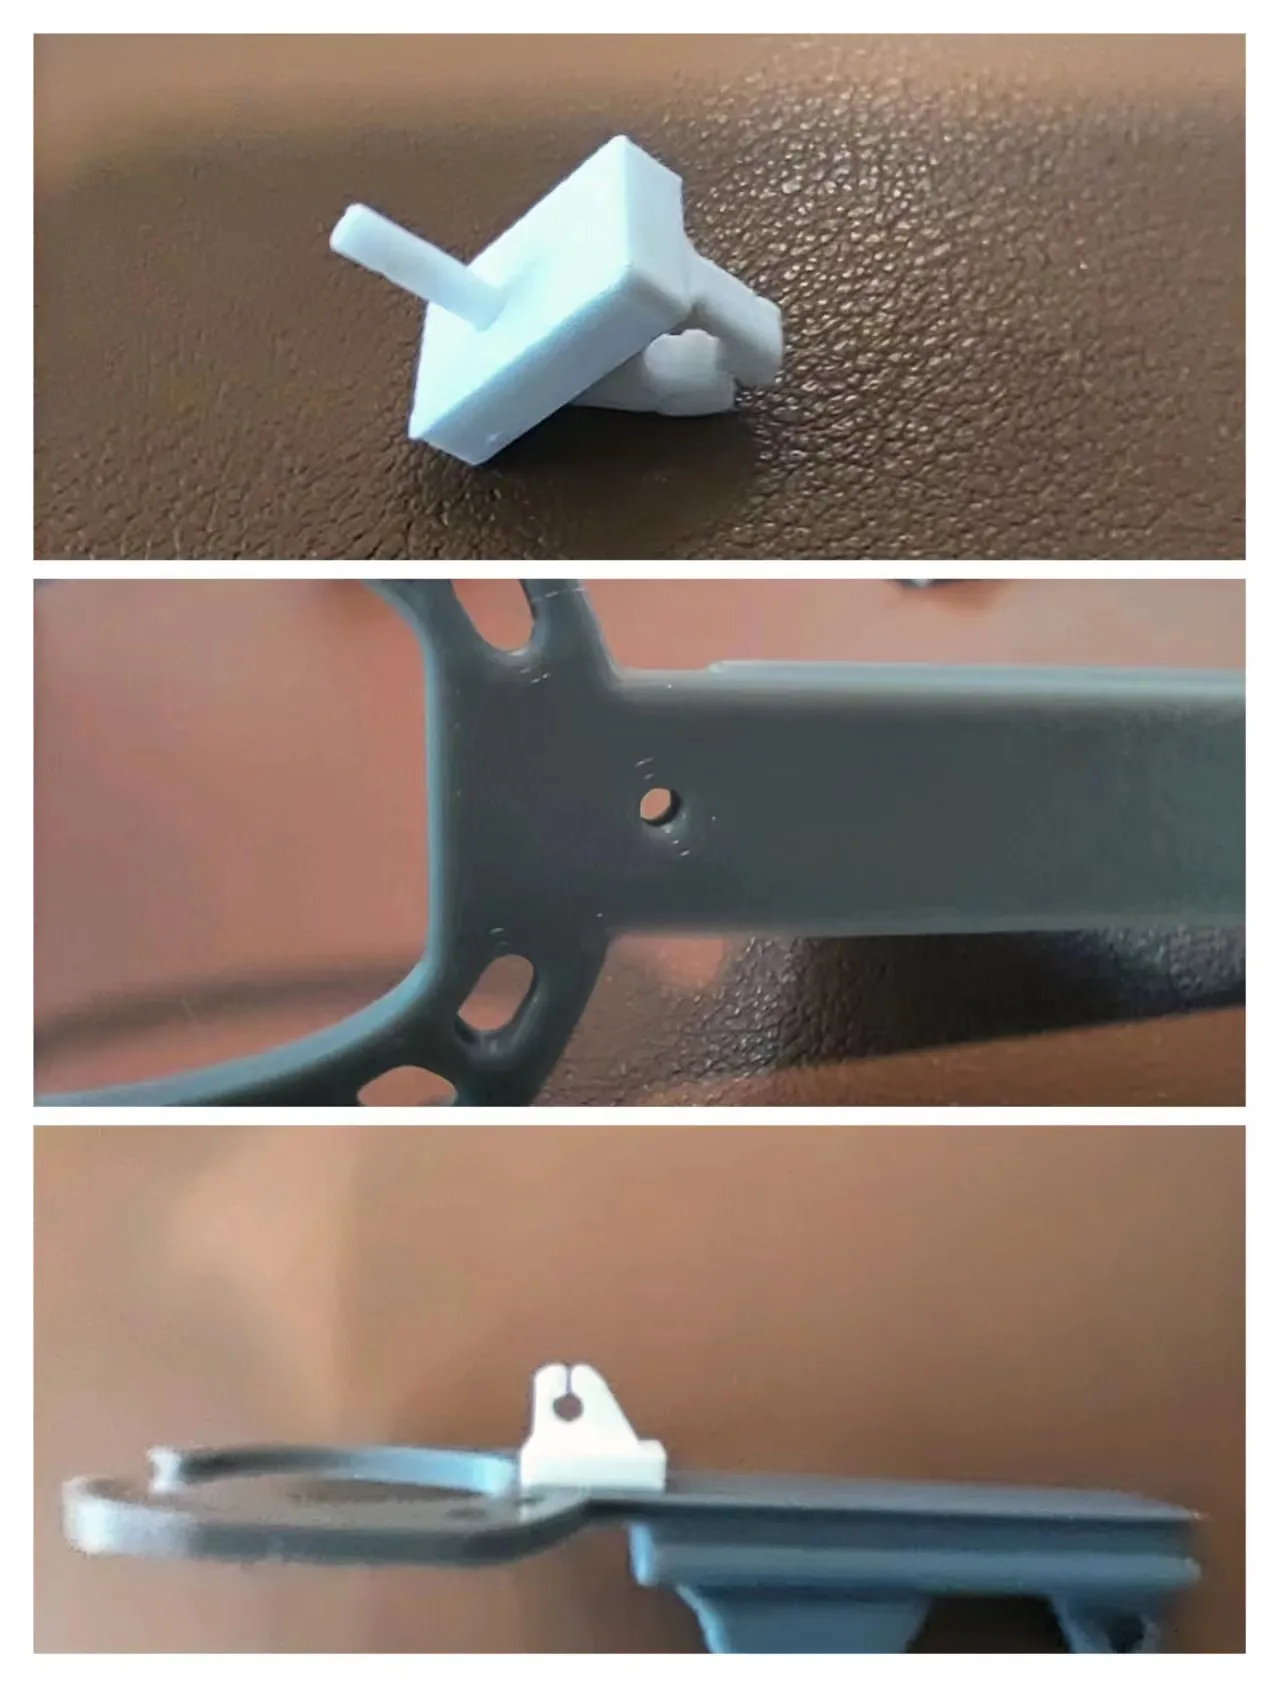
Put the other part on the rubber band, and assemble it with the trigger that is glued to the number.
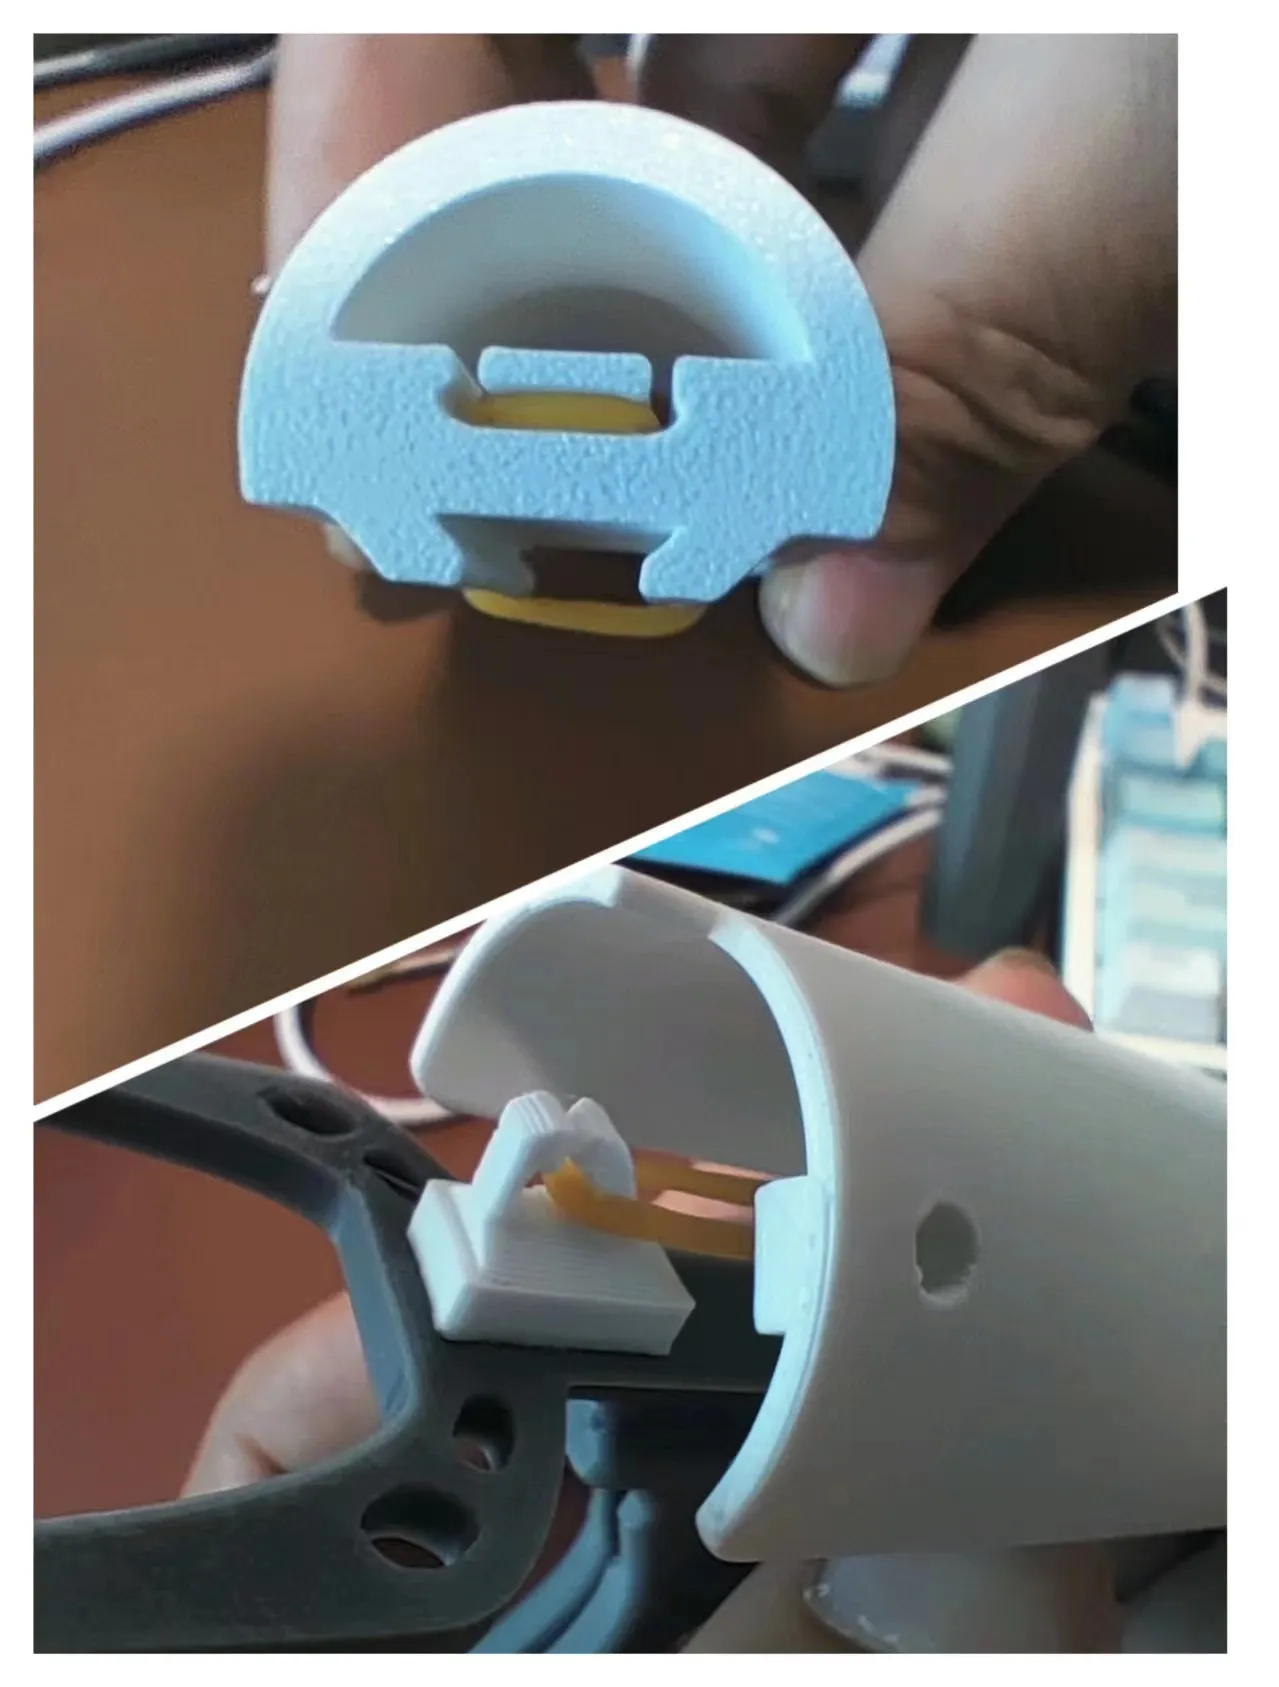
Reassemble your launcher, and you're done!!
This remix is based on
This source model was used for remixing/sharing before its license was restricted.

License

This user content is licensed under a
Creative Commons Attribution-Noncommercial-Share Alike


Comment & Rating (3)