


Print Profile(1)

Description
V2 UPDATE: the tolerances between the screw and the tapped hole are fixed, you should not have issues with the screw snapping anymore :)
If you love my work, support me! paypal.me/Giggigx
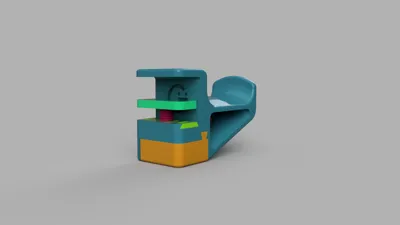
A simple and practical headphone holder that is adjustable for most desks without sacrifying looks, after tightening the screw mechanism can be neatly hidden away by a little cover.
it is suitable for all desks ranging from 10mm all the way to 28mm thick (if you discard the little spacer attached to the screw).
BUILDING INSTRUCTIONS
Before building, run the screw around the threaded part a couple of times to loosen it up, it will make inserting the screw much simpler, if the screw is too tight to be turned with the provided flat tool, use a flat head screwdriver.
Start screwing the screw in the threaded hole using the flat part of the little tool provided, stop when the screw is flush with the underside of the threaded part, follow the arrows around the screw hole to ensure you're actually screwing it in correctly.

2. Insert the spacer (or not if your desk is over 23 mm thick) ensuring the open part faces the direction of the 2 arrows on the sides of the threaded piece, then slide the entire assembly into the main body always making sure that the 2 arrows are pointing to the back.

3. Using the flat part of the tool again, turn the screw until the threads start coming out the hole in the bottom.

4. After the threads have come out, you can turn the tool upside down and use it to lower the spacer and the tighten it to your desk.
Use the tool to do the final tightening as opposed of a flat head screwdriver, you'll risk breaking the threads.

5. After tightening, you can put the tool in its slot inside the holder and then cover the screw with its cover.

Enjoy your new headphone holder! :)
License
You shall not share, sub-license, sell, rent, host, transfer, or distribute in any way the digital or 3D printed versions of this object, nor any other derivative work of this object in its digital or physical format (including - but not limited to - remixes of this object, and hosting on other digital platforms). The objects may not be used without permission in any way whatsoever in which you charge money, or collect fees.
Comment & Rating (16)