Hueforge Backplate Maker for CMF Phone 1


Print Profile(2)


Bill of Materials
Description
This was created for the CMF Phone 1 by Nothing MakerWorld Contest in July, 2024.
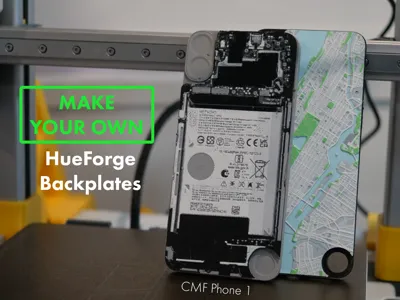
Make Your Own Hueforge Backplate for CMF Phone 1 by Nothing
This file allows you to easily create your own custom hueforge backplates for the CMF Phone 1 by Nothing. You can take any hueforge file, load this ‘negative’ STL to cut it into the right size. The only requirement is that the hueforge minimum size is 76.21mm x 162.3mm. You can freely scale your hueforge's length and width (x and y) but do not change the height (z) or it will affect the color mixing.
Instructions:
Step 1:
Open the 3MF File in Bambu Studio,
Add a new plate,
Place a hueforge STL of your choice in this new plate
I'm using Harry Potter Hogwarts castle HueForge by enricoRE as an example.
|   |
Step 2:
Download the ‘negative’ STL file, either directly from makerworld above, or by exporting from the 3MF
|
 |
Step 3:
Right click the hueforge model, add a negative part, and load the file from step 2 (CMF Phone Hueforge Negative V5.stil)
| 
|
Step 4:
Center/crop the negative file
Adjust the position and size of the hueforge model so it fits well within the negative frame. (Note, do not scale a hueforge by height or z, it will ruin the color mixing)
You may need to cut & remove excess first from the hueforge if it spills past the negative
| 
|
Step 5:
Slice to preview, and assign color swaps like a normal hueforge model.
|
 |
Step 6:
Hit print!
Note: you may find these more challenging to print than a normal hueforge |  |
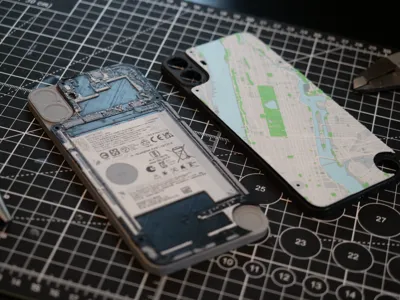
I've included a custom ‘teardown’ case of the CMF Phone internals as an example. I also used this technique to create my custom city map backplates. If you would like to make your own teardown backplate, here are my hueforge settings (.2mm nozzle):
Print at 100% infill with a layer height of 0.08mm with a base layer of 0.16mm
The Model is 76.21x162.3mm in size
You may print at higher layer heights below the Min Depth of 0.48mm
The Max Depth is 1.5mm and the Actual Depth is 1.5mmFilaments Used:
PLA BambuLab Matte Charcoal Transmission Distance: 0.6
PLA Sunlu Meta Grey Transmission Distance: 3.5
PLA PolyTerra Fossil Grey Transmission Distance: 0.3
PLA Overture Matte White Transmission Distance: 3.7
This print uses 4 unique filamentsSwap Instructions:
Start with Charcoal
At layer #8 (0.72mm) swap to Grey
At layer #12 (1.04mm) swap to Fossil Grey
At layer #17 (1.44mm) swap to White for the rest.
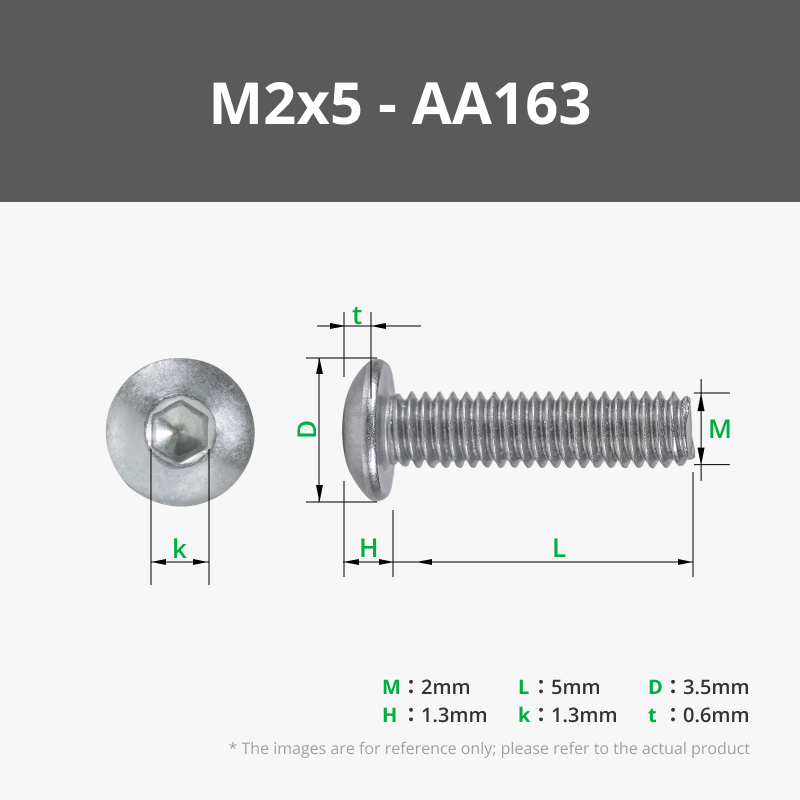
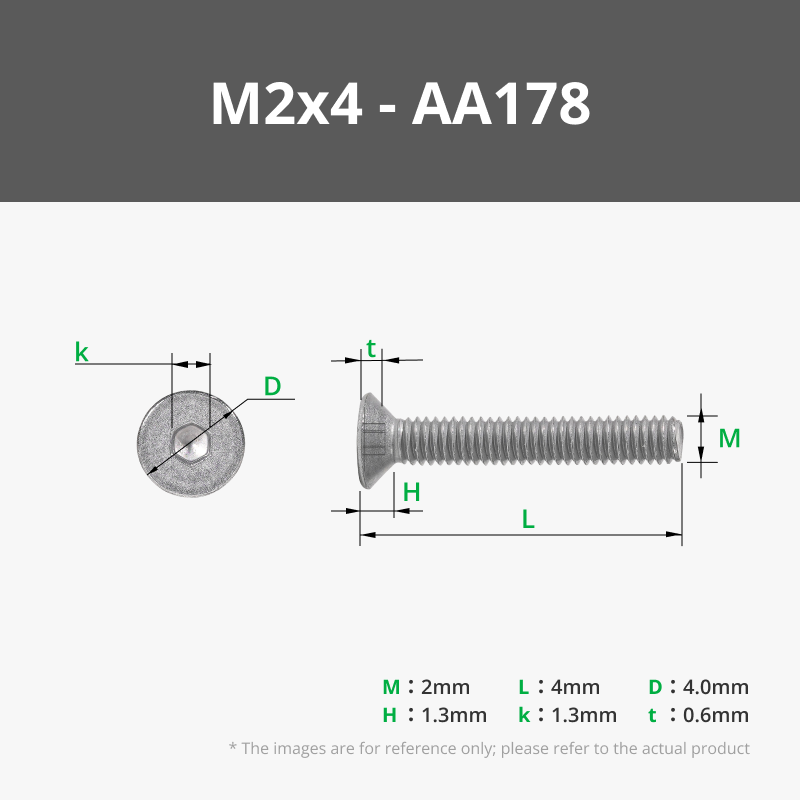
These backplates are designed to work with M2x5 screws, but they may also work with the default screws from the device. Note: The CMF phone is not yet available in my country, so unfortunately I cannot yet test with a real device. Let me know if you find any issues and I will update.
I'm using the DUMMY Nothing Phone 1 model by mirenirati to display in the photos.
Comment & Rating (4)