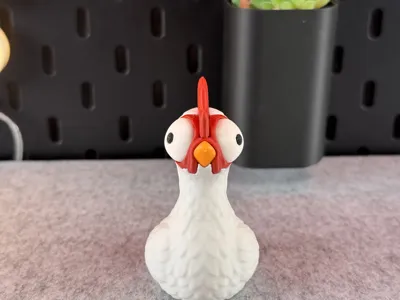
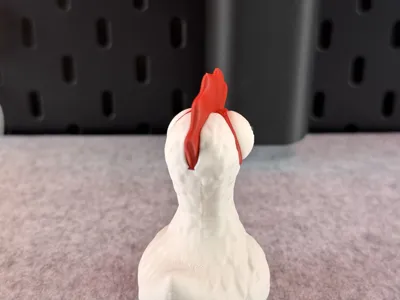
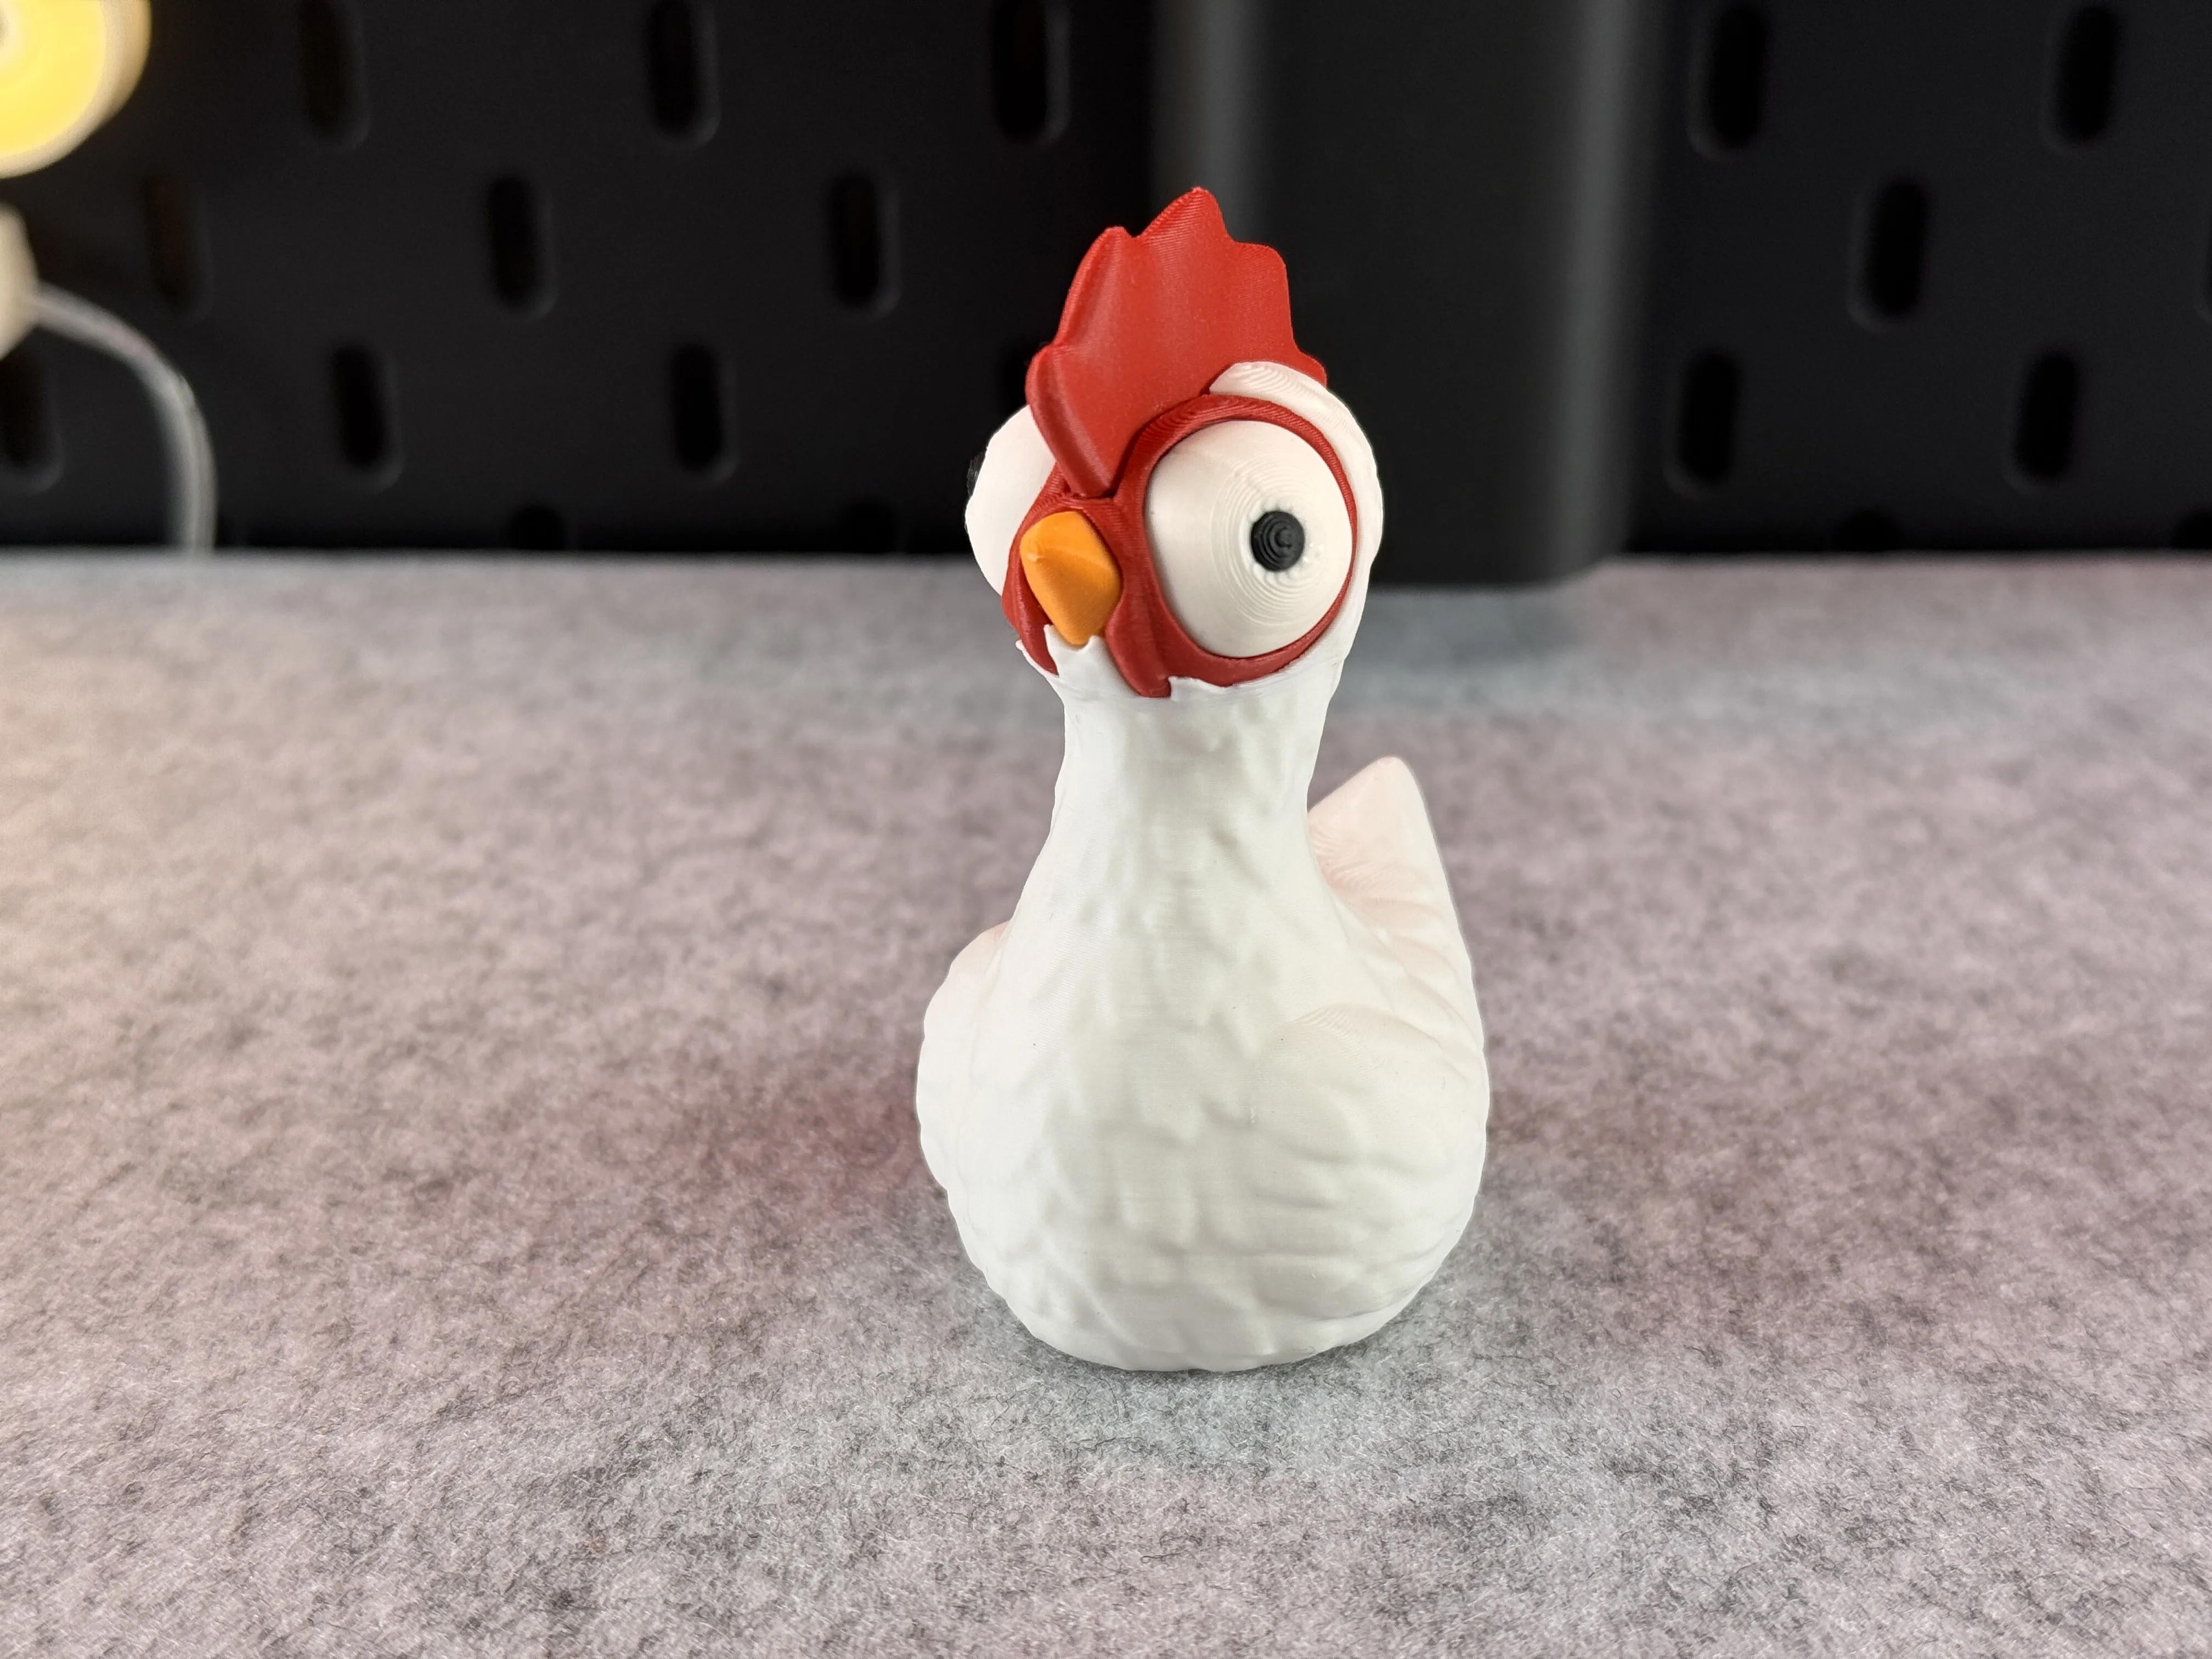
Cute Chicken


Print Profile(14)


Description
Tips for printing:
- Supports: No
- Layer height: 0.16mm (optimal)
- Wall loops: 3
- Infill: 15%
- Seam position: back
- Wall generator: Arachne
- Detect thin walls: -
- Brim: Yes
Colors and filament I used (4 Color Version):
- PLA / White - for the body and eyes
- PLA / Black - for the eyes
- PLA / Red - for the face
- PLA / Orange - for the beak
Or decide for yourself which colors and how many you want to use!
When you decide to print my multicolor Pre-Sliced (3mf file) for BambuLab I would recommend printing several models at once, not just one, to reduce waste!
Boost Me (for free)
If you enjoyed this model, please consider boosting it to support me to further develop creative and more cute looking designs🥰. Thank you!
--------------------------------------------------------
Tips for printing:
- Supports: No
- Layer height: 0.16mm (optimal)
- Wall loops: 3
- Infill pattern: Aligned Rectilinear
- Infill: 15%
- Seam position: back
- Wall generator: Arachne
- Detect thin walls: -
- Brim: Yes
Colors and filament I used (4 Color Version):
- PLA / White - for the body and eyes
- PLA / Black - for the eyes
- PLA / Red - for the face
- PLA / Orange - for the beak
Or decide for yourself which colors and how many you want to use!
When you decide to print my multicolor Pre-Sliced (3mf file) for BambuLab I would recommend printing several models at once, not just one, to reduce waste!
---------------------------------------------
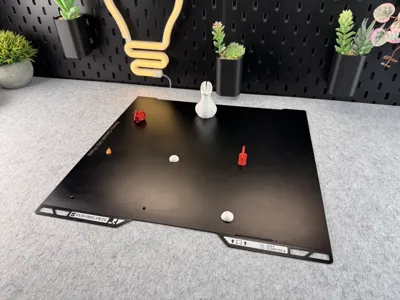
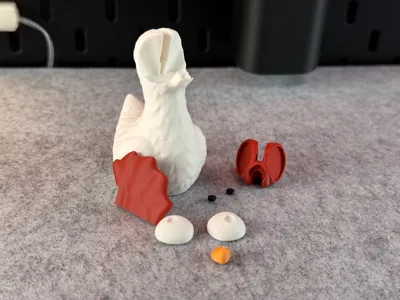
Multiple Parts:
Tips for printing:
- Supports: Yes! Snug Supports!!!!
- Layer height: 0.16mm (optimal)
- Wall loops: 3
- Infill pattern: Aligned Rectilinear
- Infill: 15%
- Seam position: back
- Wall generator: use Classic!!!! (Don't use Arachne!)
- Detect thin walls: No!!!
- Brim: No, but if you don't have good adhesion use a brim!
- Part Orientation: Print as orientated
Colors and filament I used (4 Colors):
- PLA Matte / White
- PLA Matte / Black
- PLA Matte / Red
- PLA Matte / Orange
All parts are marked with the color intended for them. Or decide for yourself which colors and how many you want to use!
Below, I've created a small photo gallery showing which parts should be used first for assembly. The hair requires more force when affixing. Please use tweezers to glue the inner eyes in place! All parts are secured with glue!


Comment & Rating (1180)