
Dry Erase Cards - TCG / MTG Tokens / Pokemon
Print Profile(1)

Bill of Materials
- clear-dry-erase-stickers x 1:
Description
If you like this model and it's not too much trouble, please hit the 👍 button - it helps out a lot 😀

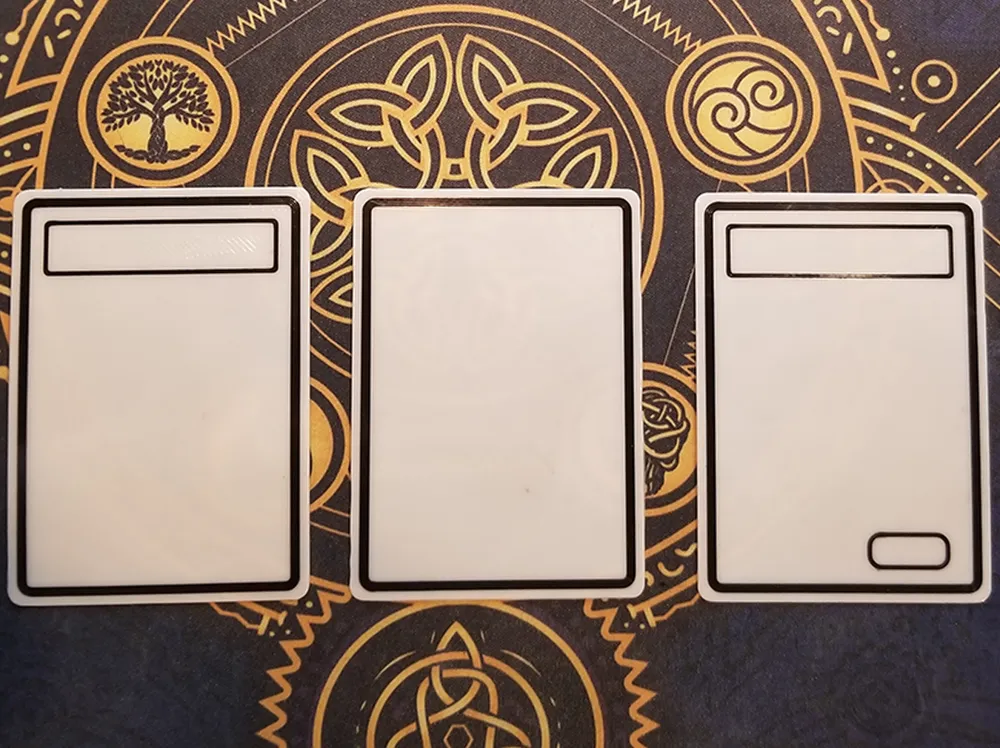
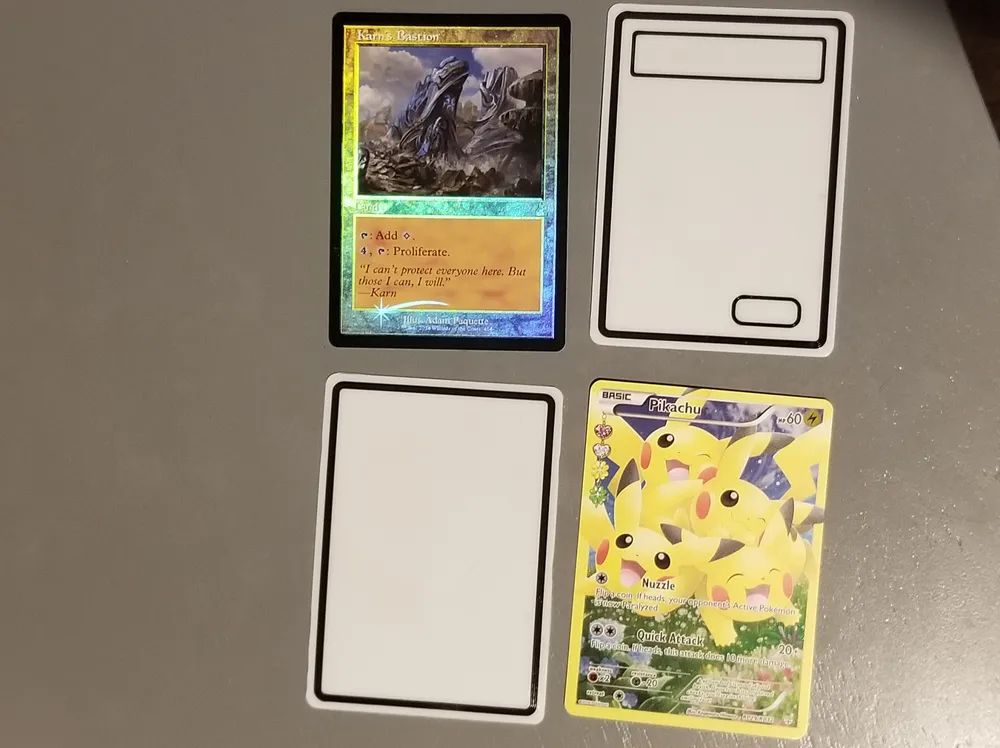
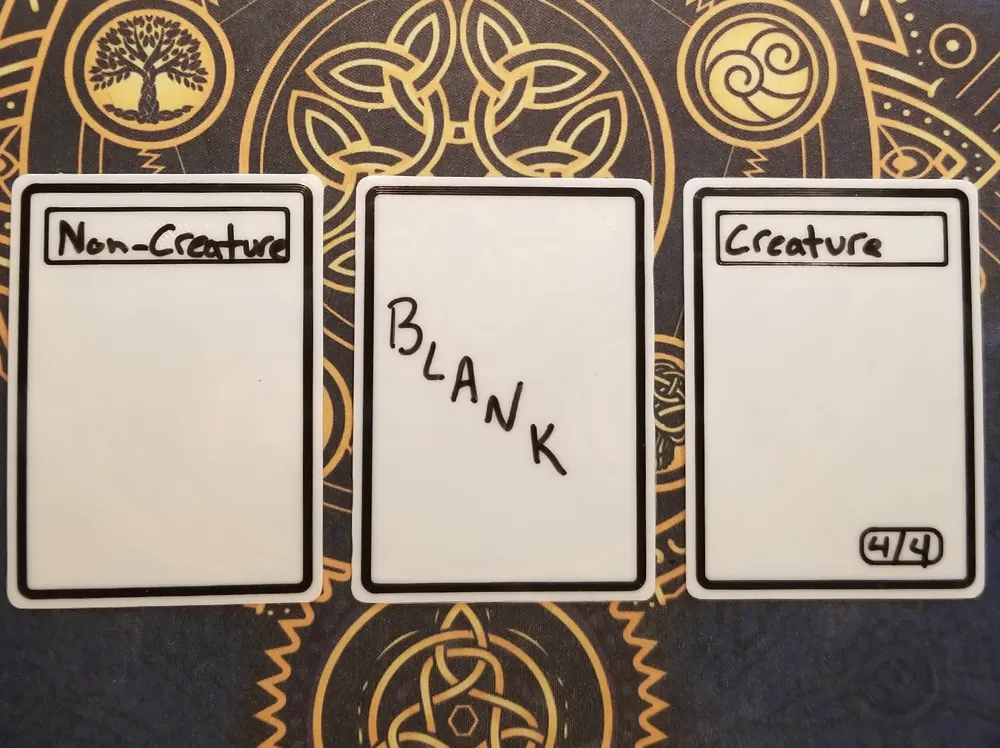
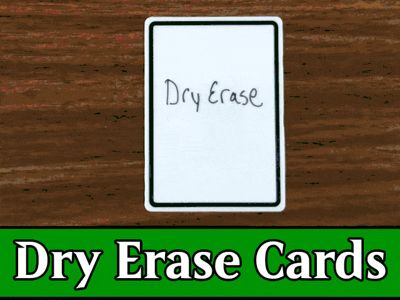
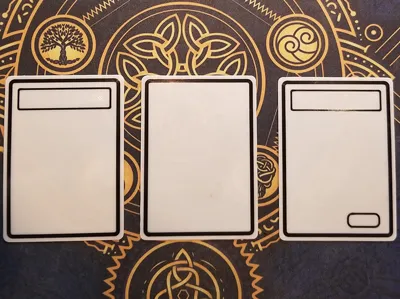
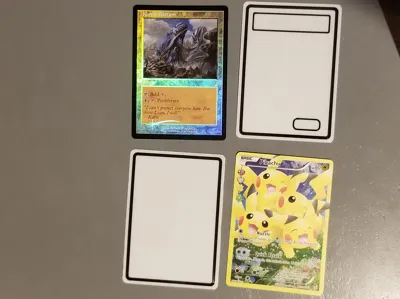
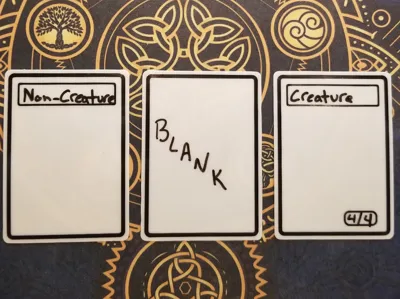
This is a collection of dry erase cards that can be used with various TCGs such as Magic the Gathering, Pokemon, One Piece, etc. These are sized at typical standard playing card dimensions, 63.5mm wide x 88.9mm tall. The height is slightly larger than standard playing cards at 0.48mm high. There are 3 different types of cards to print:
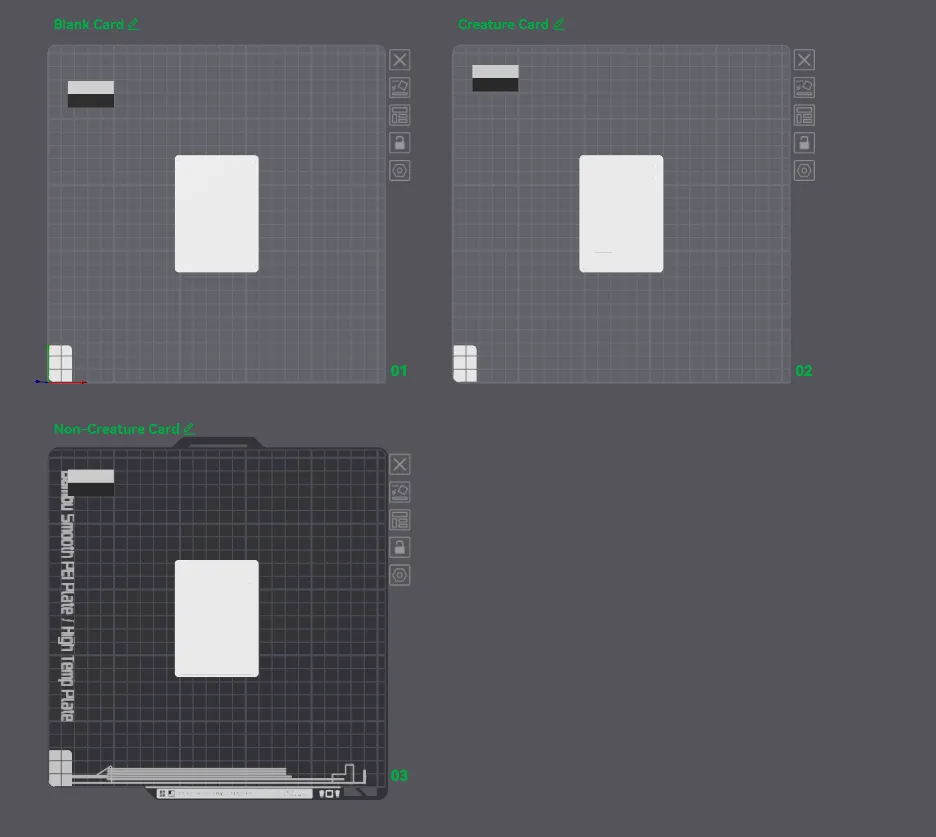
- A blank card
- A card with just a name box
- A card with a name box and a power/toughness box (for MTG, for example)
❗❗❗You MUST use a flat surface build plate (not textured)❗❗❗
❗❗❗The dry erase stickers will not stick if the printed surface is not 100% flat❗❗❗
Additional Materials
The entire card itself is printed, but you will need a (affiliate link) dry erase sticker to place on the printed card. These are the exact sticker sheets I use, and if you cut it out properly, each sheet will give you 9x stickers.
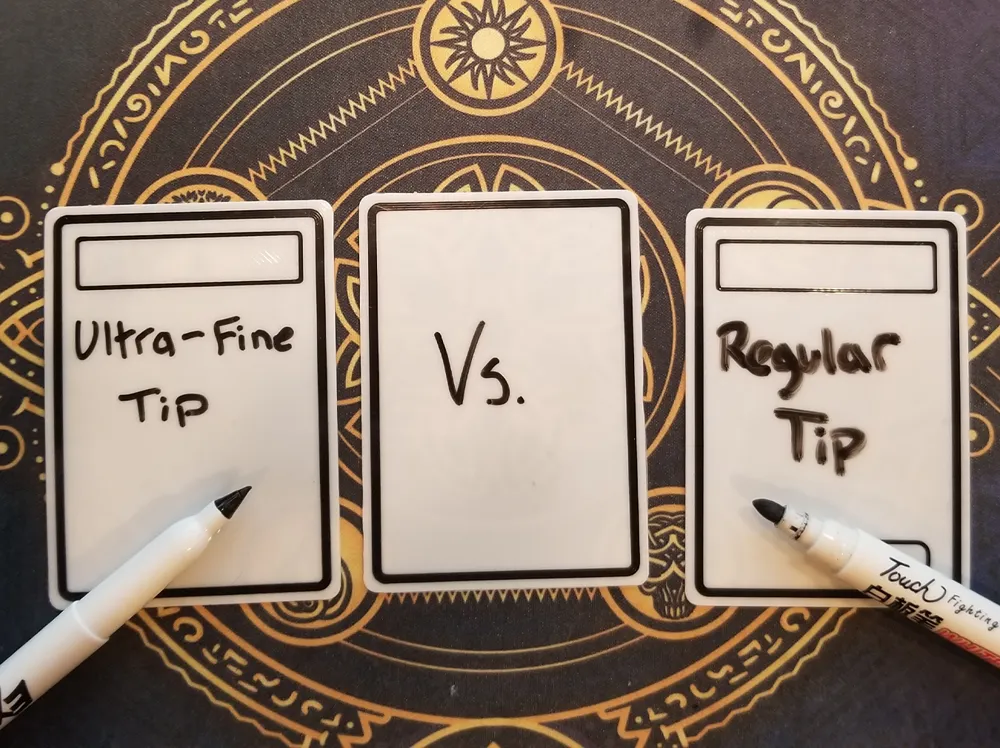
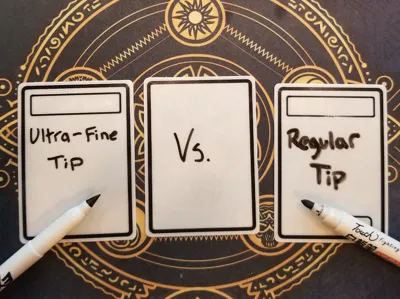
I'd also really recommend some (affiliate link) ultra fine-tipped dry erase markers. They work so much better than traditional dry erase markers with fat tips. See the image on the model for a good comparison!
Boost Me (for free)
Show your support by boosting this model. Any support is highly appreciated!
Applying the Dry Erase Sticker
- Cut the dry erase sticker sheet out into 9x piece
- Take one of the cut out pieces and figure out which side has the sticky backing and remove that side's protective film
- ❗❗❗Both the front and the back❗❗❗ of the dry erase sticker sheet have a protective film that needs to be eventually peeled off
- Lay the sticker down on a flat surface, sticky side up, and place the 3D printed out card on top of it (printed side down)
- Apply pressure to make sure the sticker is stuck on - if there are any air bubbles, work them out
- Remove the top side's protective film
- Using an Precision / X-Acto knife, trim any excess material from the card so the sticker is flush with all sides
- Be very careful (super sharp!) and take your time, especially around the card's corners
Printing Tips
❗❗❗You MUST use a flat surface build plate (not textured)❗❗❗
❗❗❗The dry erase stickers will not stick if the printed surface is not 100% flat❗❗❗
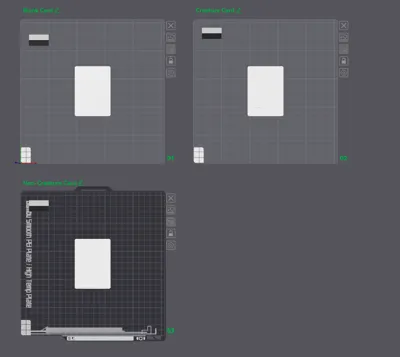
You will need to make sure you have near perfect bed adhesion. These cards print at 0.08mm layers (including the first layer).
Make sure you thoroughly wash your build plate with Dawn dish soap to remove any hand/finger oils. If you are still having trouble with adhesion and are using the PEI Smooth plate, try bumping the bed's temperature up 5 or 10 degrees (60 or 65 degrees).
The printed side needs to be as smooth as possible!
It is not recommended to use ‘Sport’ or ‘Ludicrous’ mode when printing this. Please just use the ‘Standard’ option to ensure a successful print.
Disclosure: As an Amazon Associate, I earn from qualifying purchase
License

You shall not share, sub-license, sell, rent, host, transfer, or distribute in any way the digital or 3D printed versions of this object, nor any other derivative work of this object in its digital or physical format (including - but not limited to - remixes of this object, and hosting on other digital platforms). The objects may not be used without permission in any way whatsoever in which you charge money, or collect fees.


Comment & Rating (6)