
Tuggy! - A Magnetic, Tuggable Hanger for Children
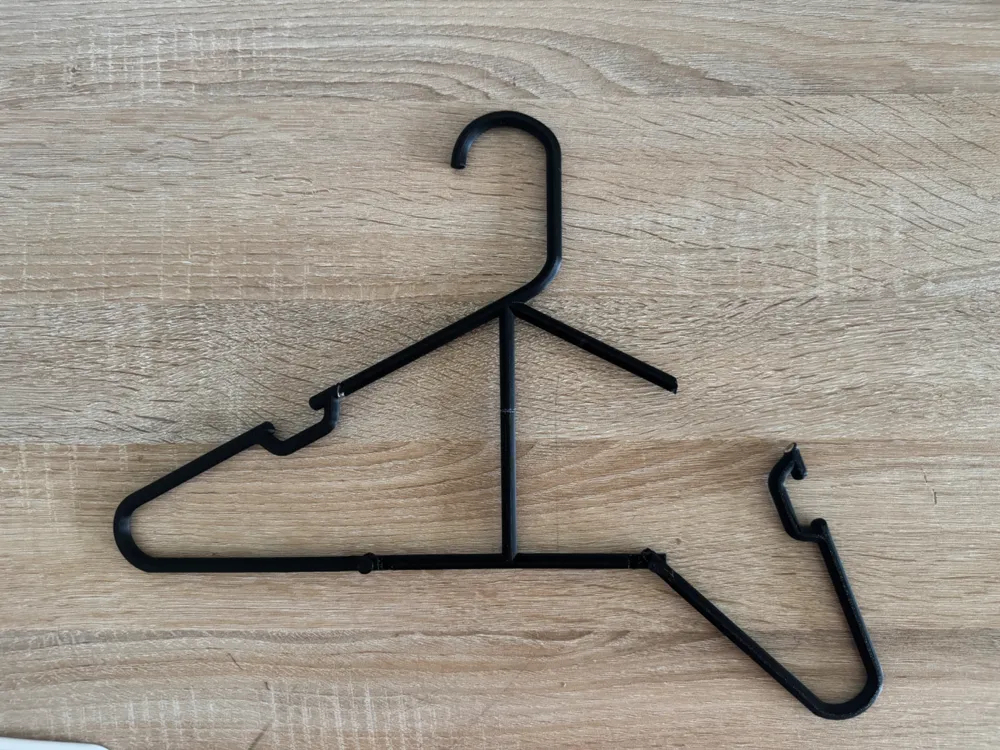
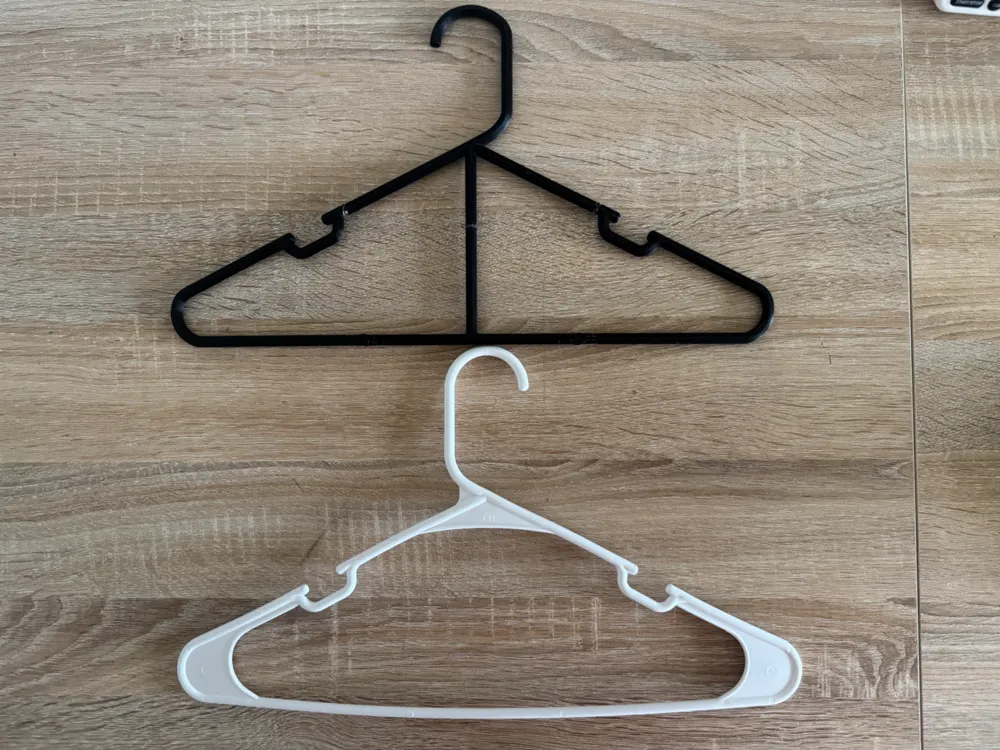
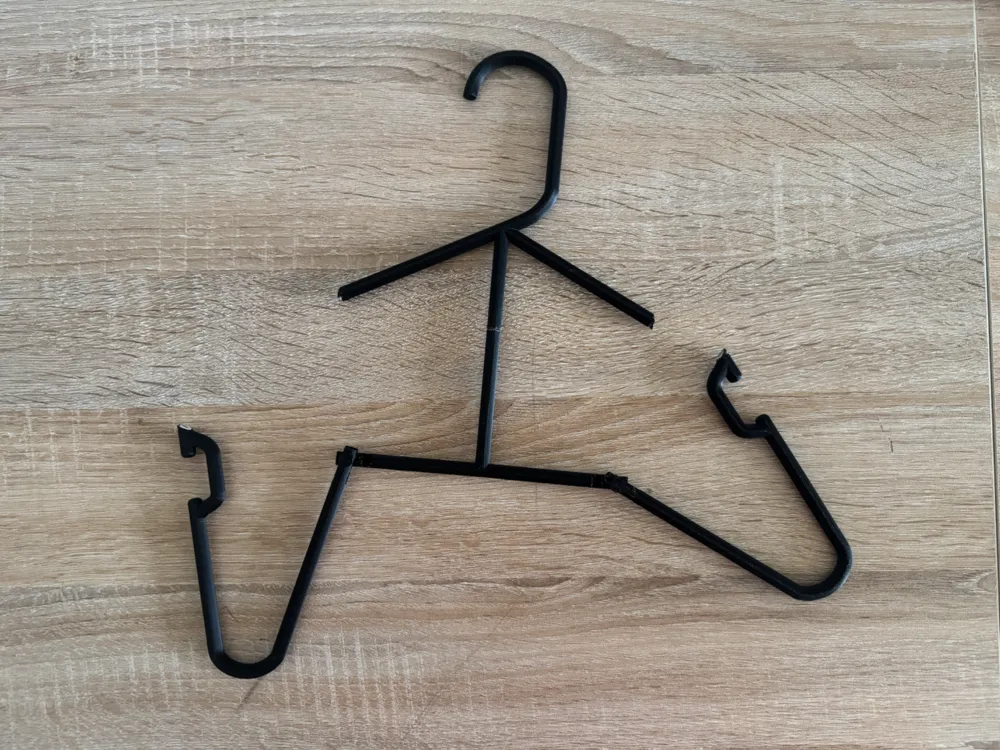
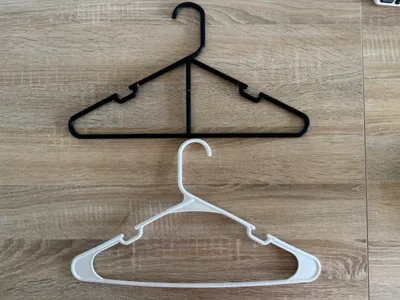
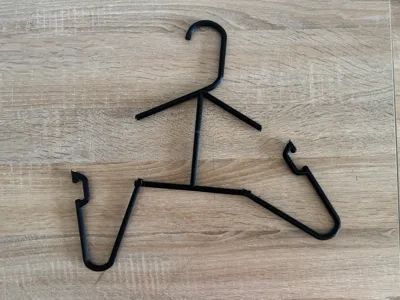
Print Profile(2)


Bill of Materials

Description
Assembly Instructions (Rubber Band and Magnet)
I've tried to make the assembly intuitive, but if it's a little difficult to figure out, hopefully this makes it easier.
- If using A1 Mini, connect the HangerTop piece to the HangerBottom piece. Use glue in between to ensure it doesn't fall off, even if the fit does feel tight enough without it.
- Connect both side pieces, and stick the small screw-looking piece through them. Depending on print settings, this might be a tight fit, and use of something to apply more force may be necessary.
- Add the circle piece on the other end of the screw, this should also be a tight fit
- Lastly, add the magnets into each of the four holes. I used 6x2mm, but 6x3 works as well. I can also change for other sizes if requested
- For Rubber Bands: Fit either one, or two rubber bands (I prefer two) in between the divots of the hanger (shown in picture). Also put it through the middle piece, so the rubber band stays attached.
-------------------------------------------------------------------------------------------------------------------------------------------------------------------------------------------------------------
Have you or your children ever tugged on a hanger to get something off of it, only to have it break? As a vertically challenged individual, I encounter this problem a lot.
This hanger is designed specifically with smaller children in mind, who would prefer to have their clothes in a closet, but are also unable to reach them to take the clothes off the hanger. It requires a pretty simple assembly, and is in many cases, more durable than normal, plastic hangers which can break easily, and have pieces go flying in different directions.
Don't have any magnets?
No problem! Rubber bands work just as well. Simply attach one to the divot on either side of the hanger, and connect it to the center shaft. This way, the hanger will also return to it's “normal” position after being used.
I used these for the magnets:
https://www.amazon.com/dp/B0CDLF9K2Z?ref=ppx_yo2ov_dt_b_fed_asin_title&th=1
Print Settings:
I highly recommend using gyroid infill, as it has allowed me to print on as low as 25%, and maintained a very sturdy structure. I also encountered issues with tolerances on my A1 mini, so you might have to really push some pieces in, or use a little glue to make it all stay together. I can also publish a lower & tighter tolerance model if many people encounter that issue.
License

You shall not share, sub-license, sell, rent, host, transfer, or distribute in any way the digital or 3D printed versions of this object, nor any other derivative work of this object in its digital or physical format (including - but not limited to - remixes of this object, and hosting on other digital platforms). The objects may not be used without permission in any way whatsoever in which you charge money, or collect fees.


Comment & Rating (0)