Search models, users, collections, and posts

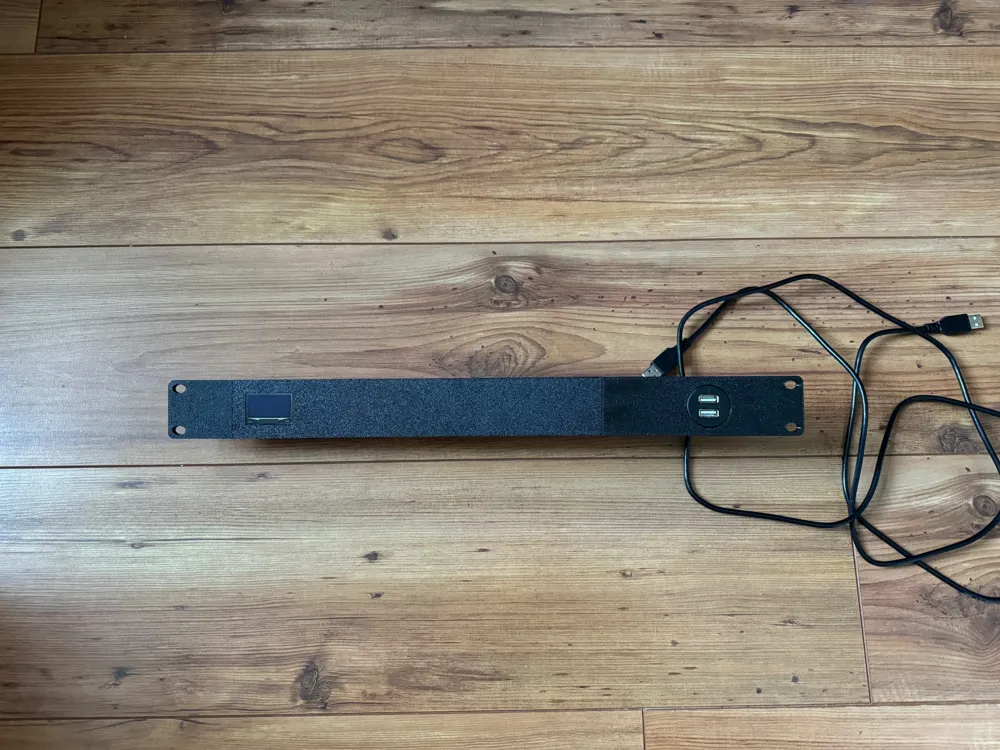
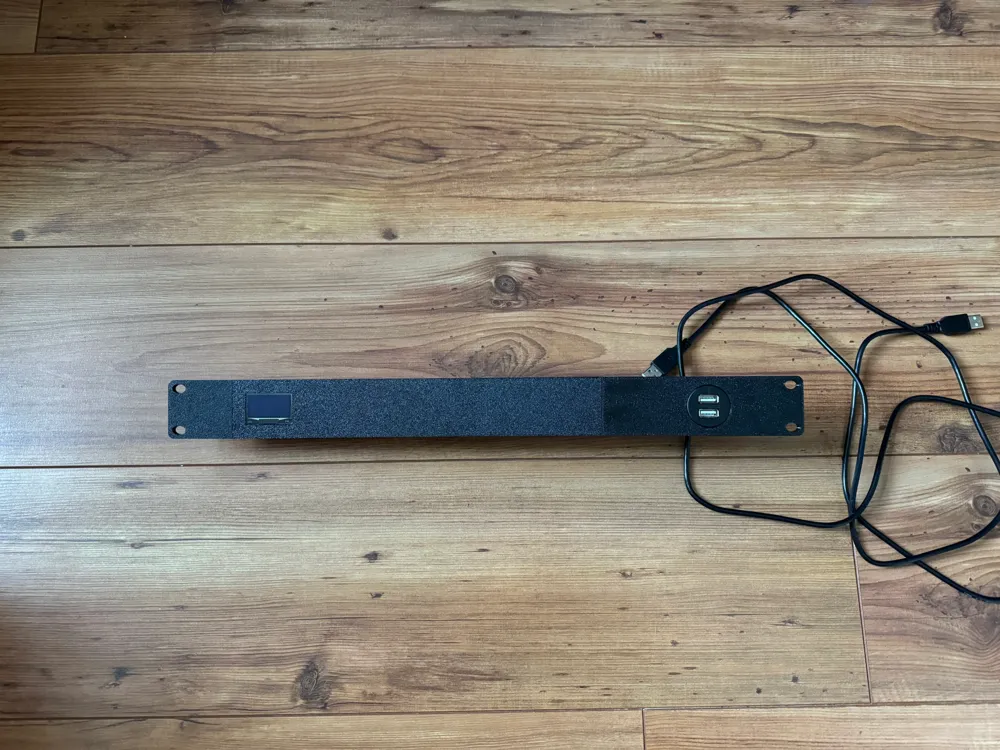
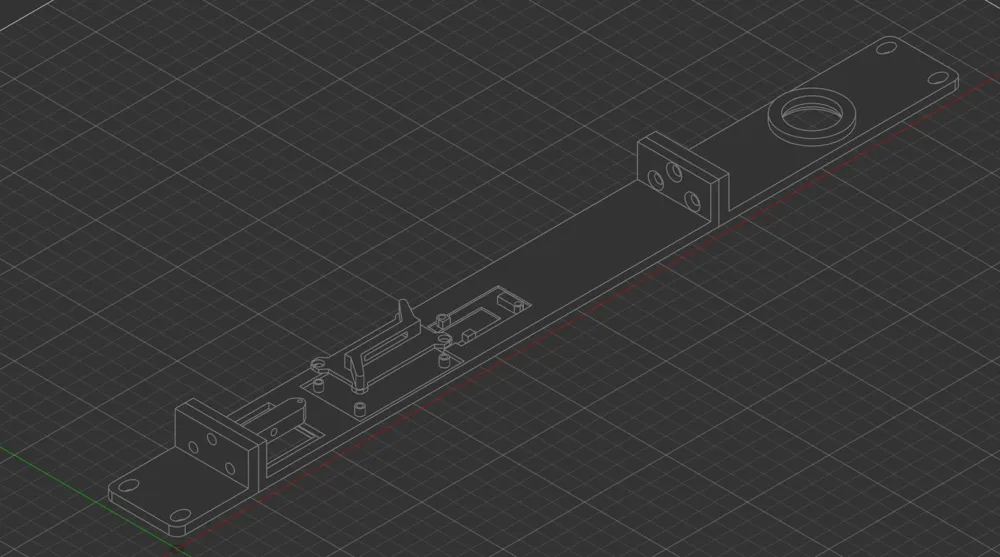
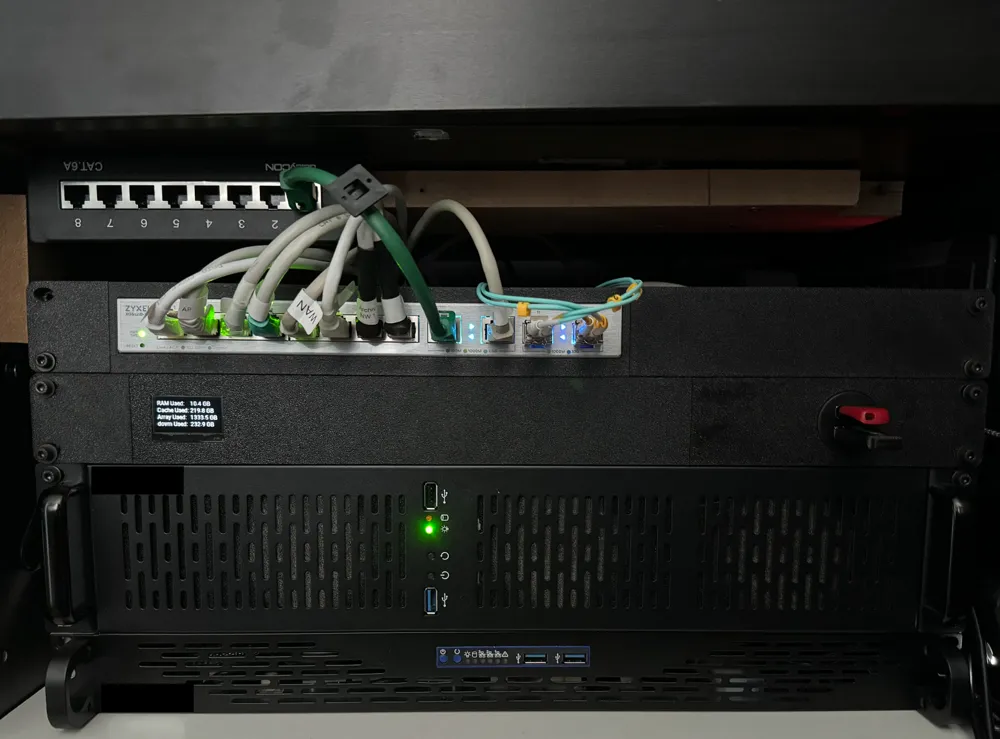
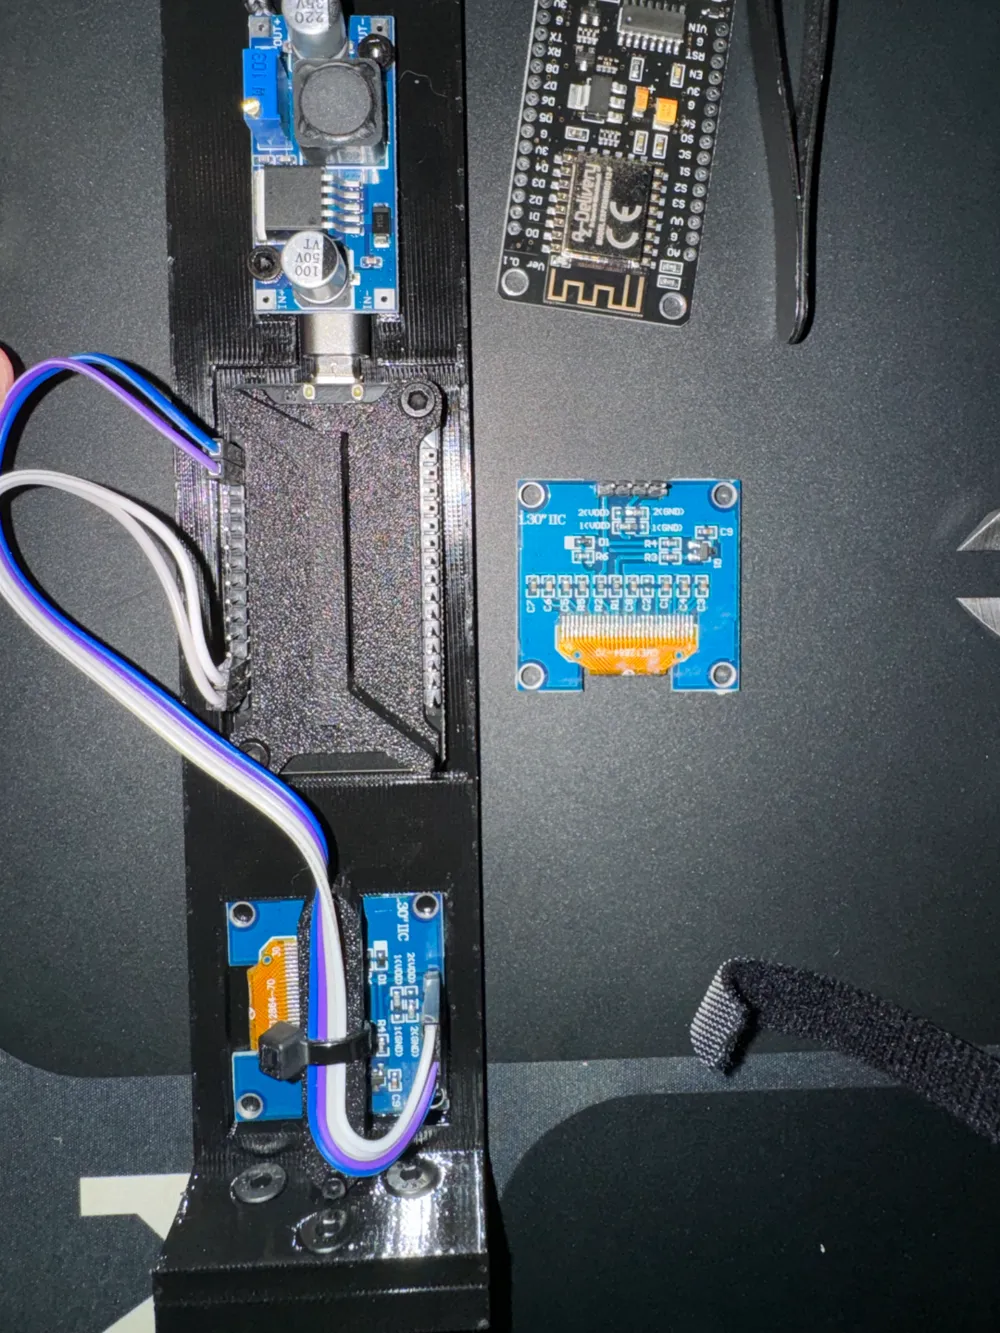
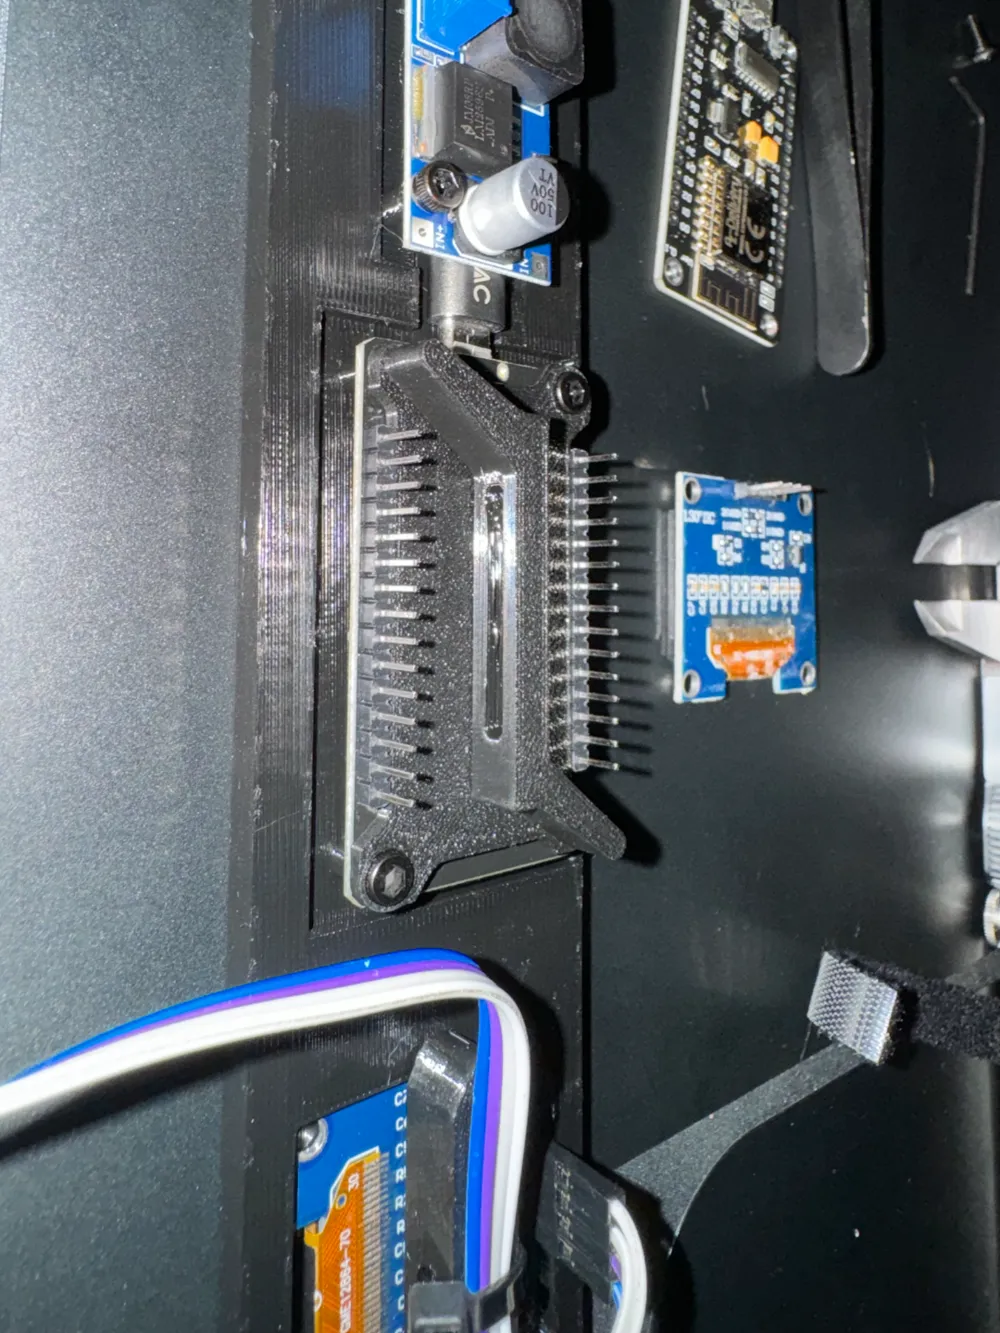
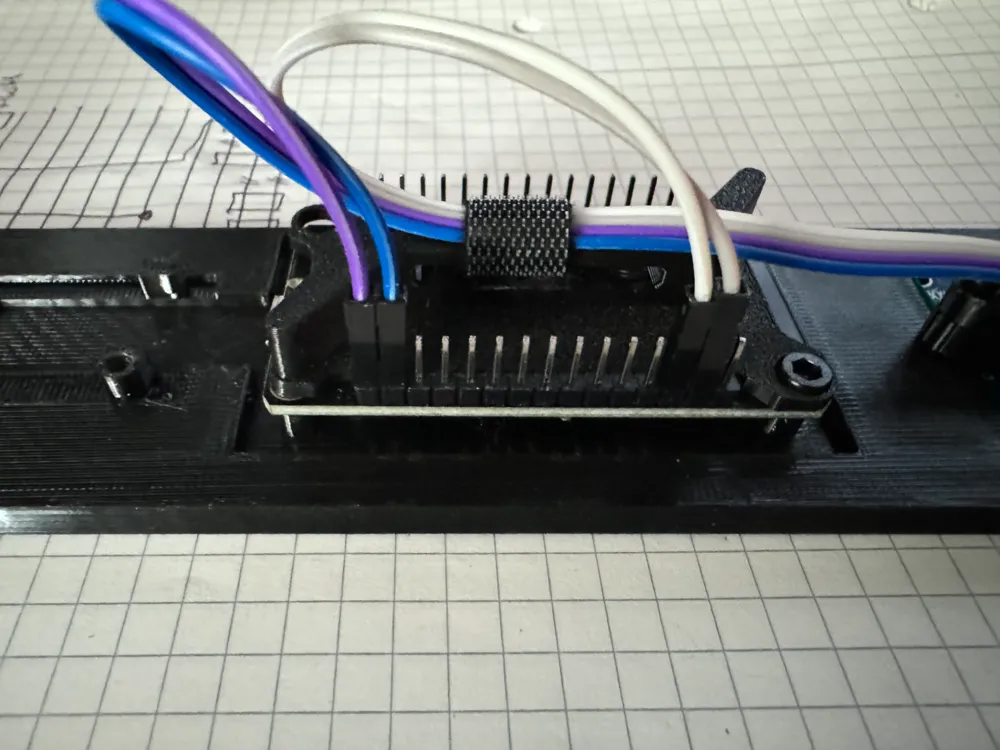
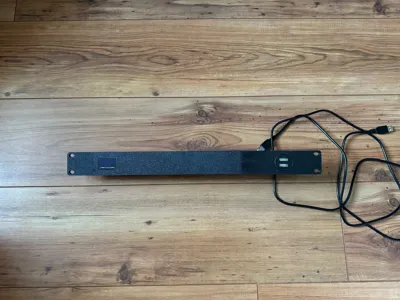
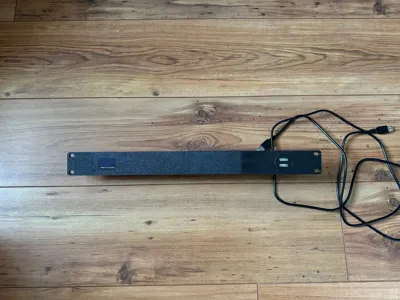
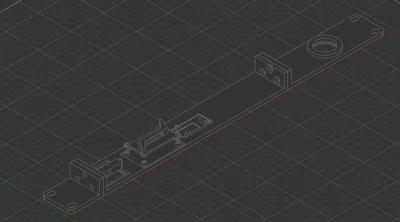
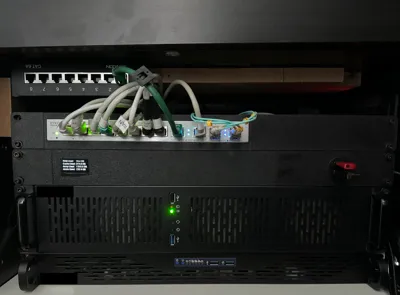
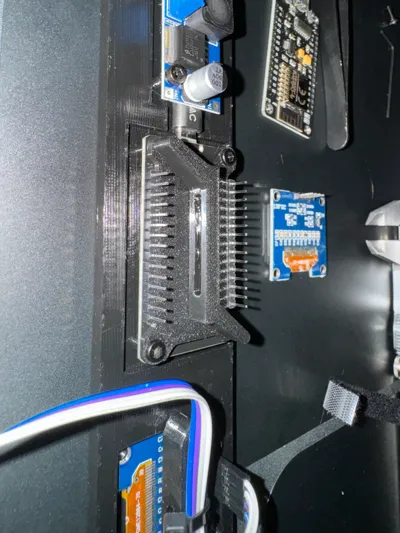
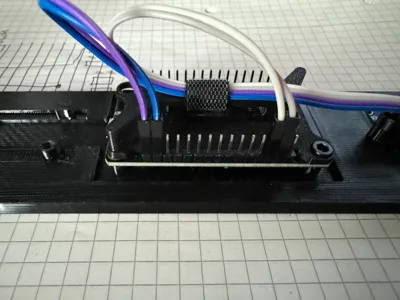
19 inches rackcover oled & esp8266
IP Report
Print Profile(1)

0.2mm layer, 2 walls, 10% infill
Designer
2.7 h
2 plates
Open in Bambu Studio
Boost
11
25
2
0
8
1
Released
Description
Content has been automatically translated.
Selling the model and the printed version is not allowed.
Material list:
- 6x M4x12 countersunk screws
- 6x M4x6x6 brass threaded inserts
- 2x M2x8 socket head screws
- 2x M2x8 countersunk screws
- 2x M3x8 socket head screws (if you want to implement power supply via a step-down module, you'll need 2 more here)
- ESP8266
- Jumperwires
- USB socket
My screws and threaded inserts come from the following sets:
Instructions:
- Print all the parts.
- Insert the threaded inserts into the right and left parts.
- Screw the three parts together (make sure everything fits perfectly).
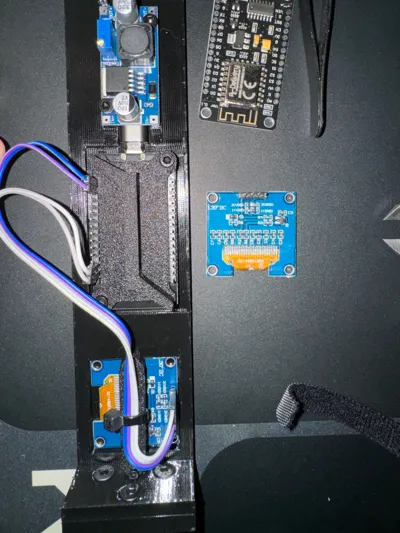
- Place the display in position and attach the display holder onto the guide.
- Secure the display holder with the M2 socket head screws.
- Mount the ESP8266 at the top left and bottom right using the M3 socket head screws. Screw the cable holder to the ESP8266 cover (M2 countersunk screw).
- Press the cover onto the two M3 screws.
For the displaydata, I use Unraid and Home Assistant.
Boost Me (for free)
License

This user content is licensed under a
Creative Commons Attribution-Noncommercial


Comment & Rating (2)