
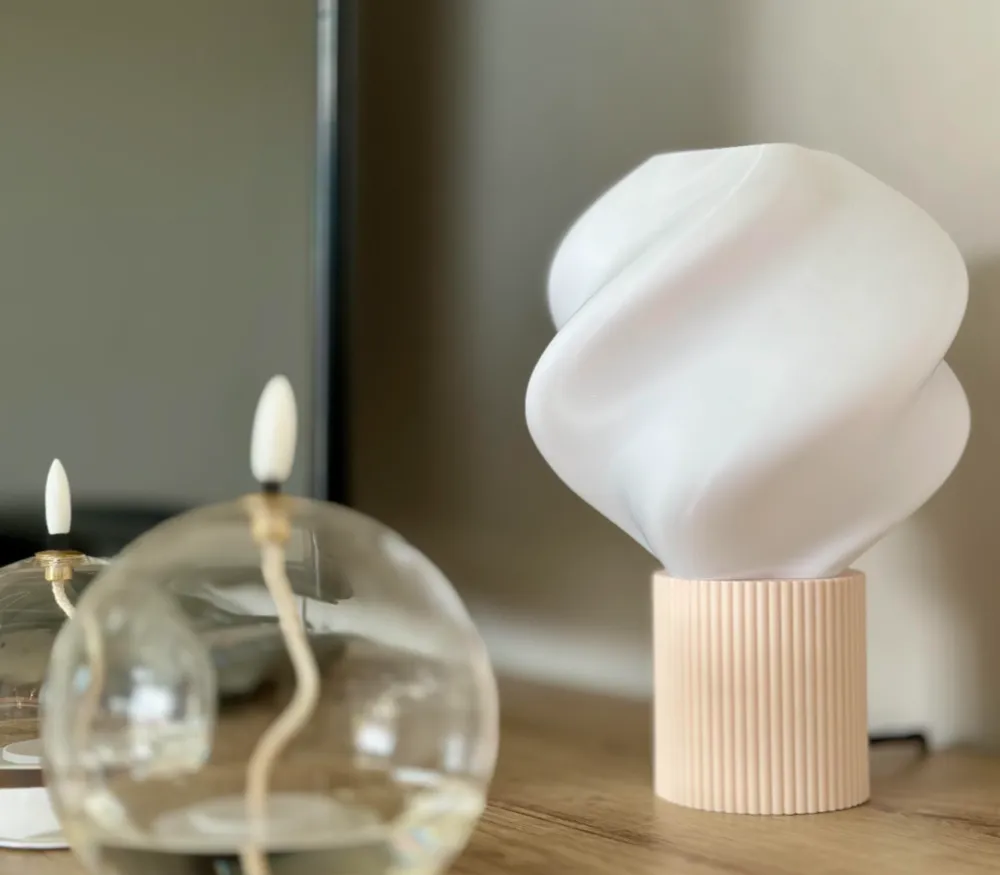
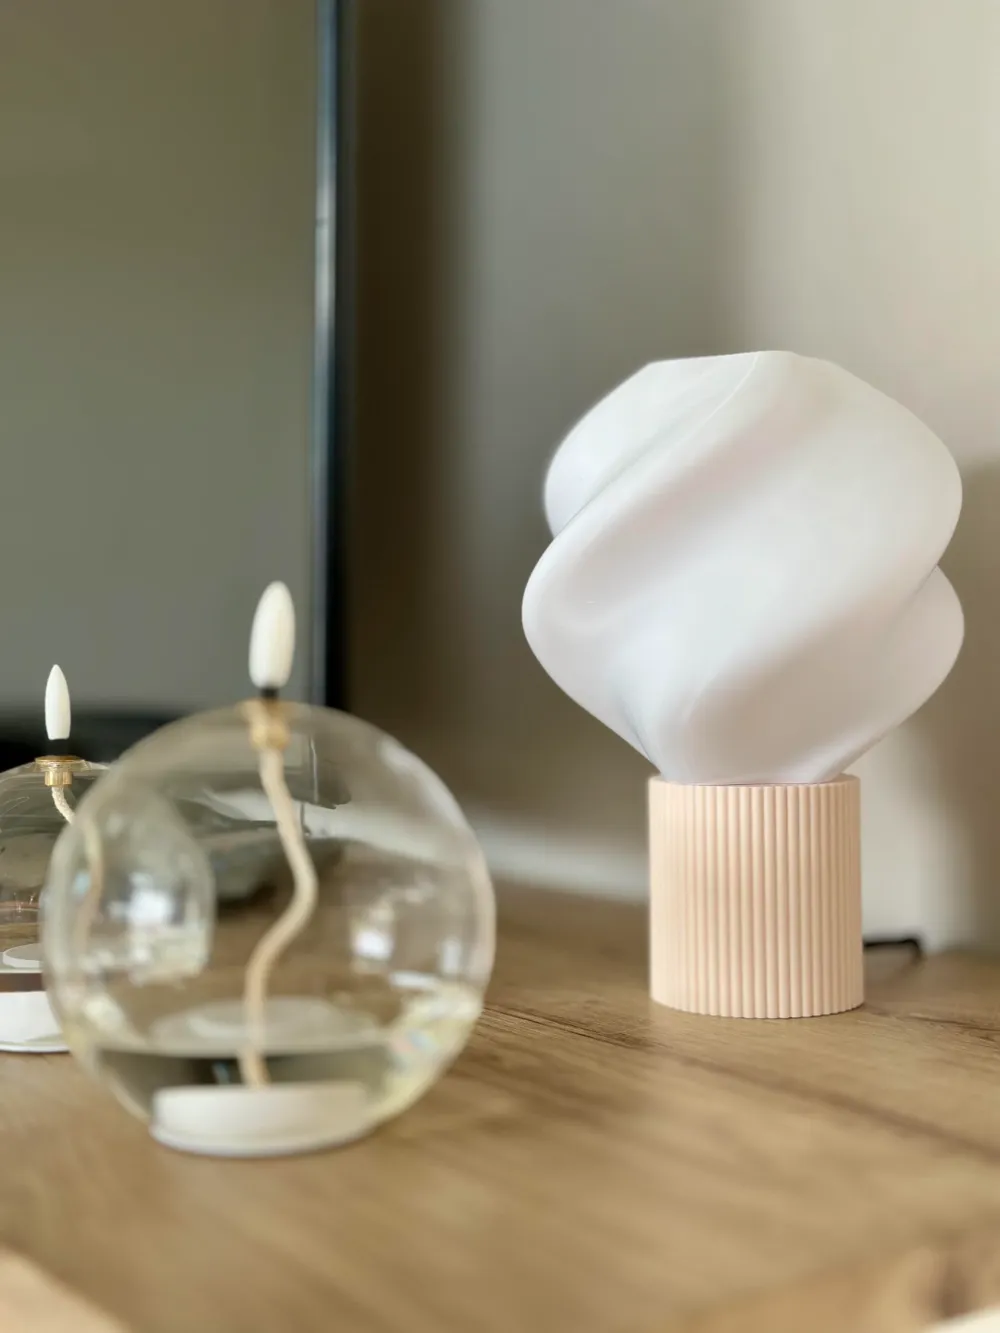
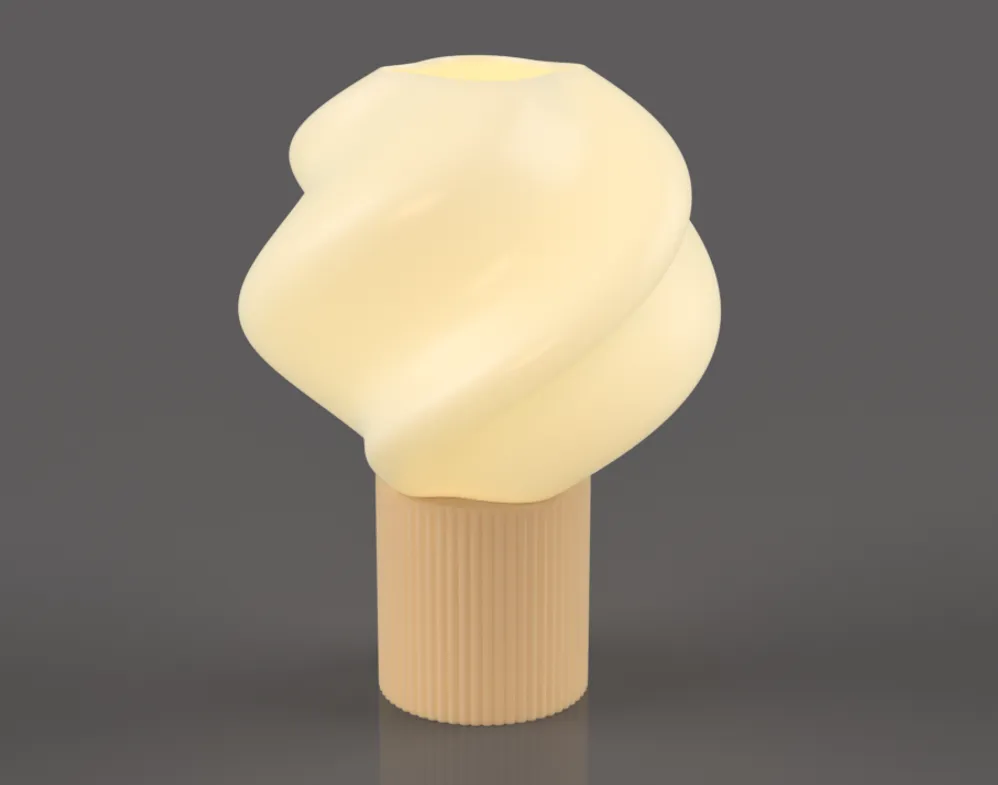
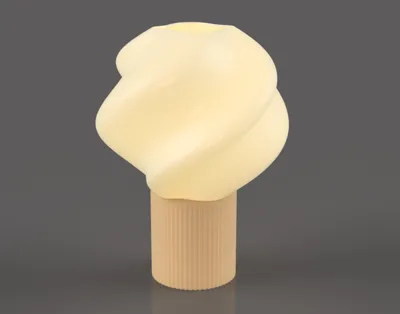
Decorative Lamp

Print Profile(1)

Description
I would recommend using the settings I use and dont change anything.
- Layer width it set to 0.7mm to gain extra thickness.
- Speed is slowed down to get better layeradhesion
- A modifier is used to get a cutted hole in the lampshade.
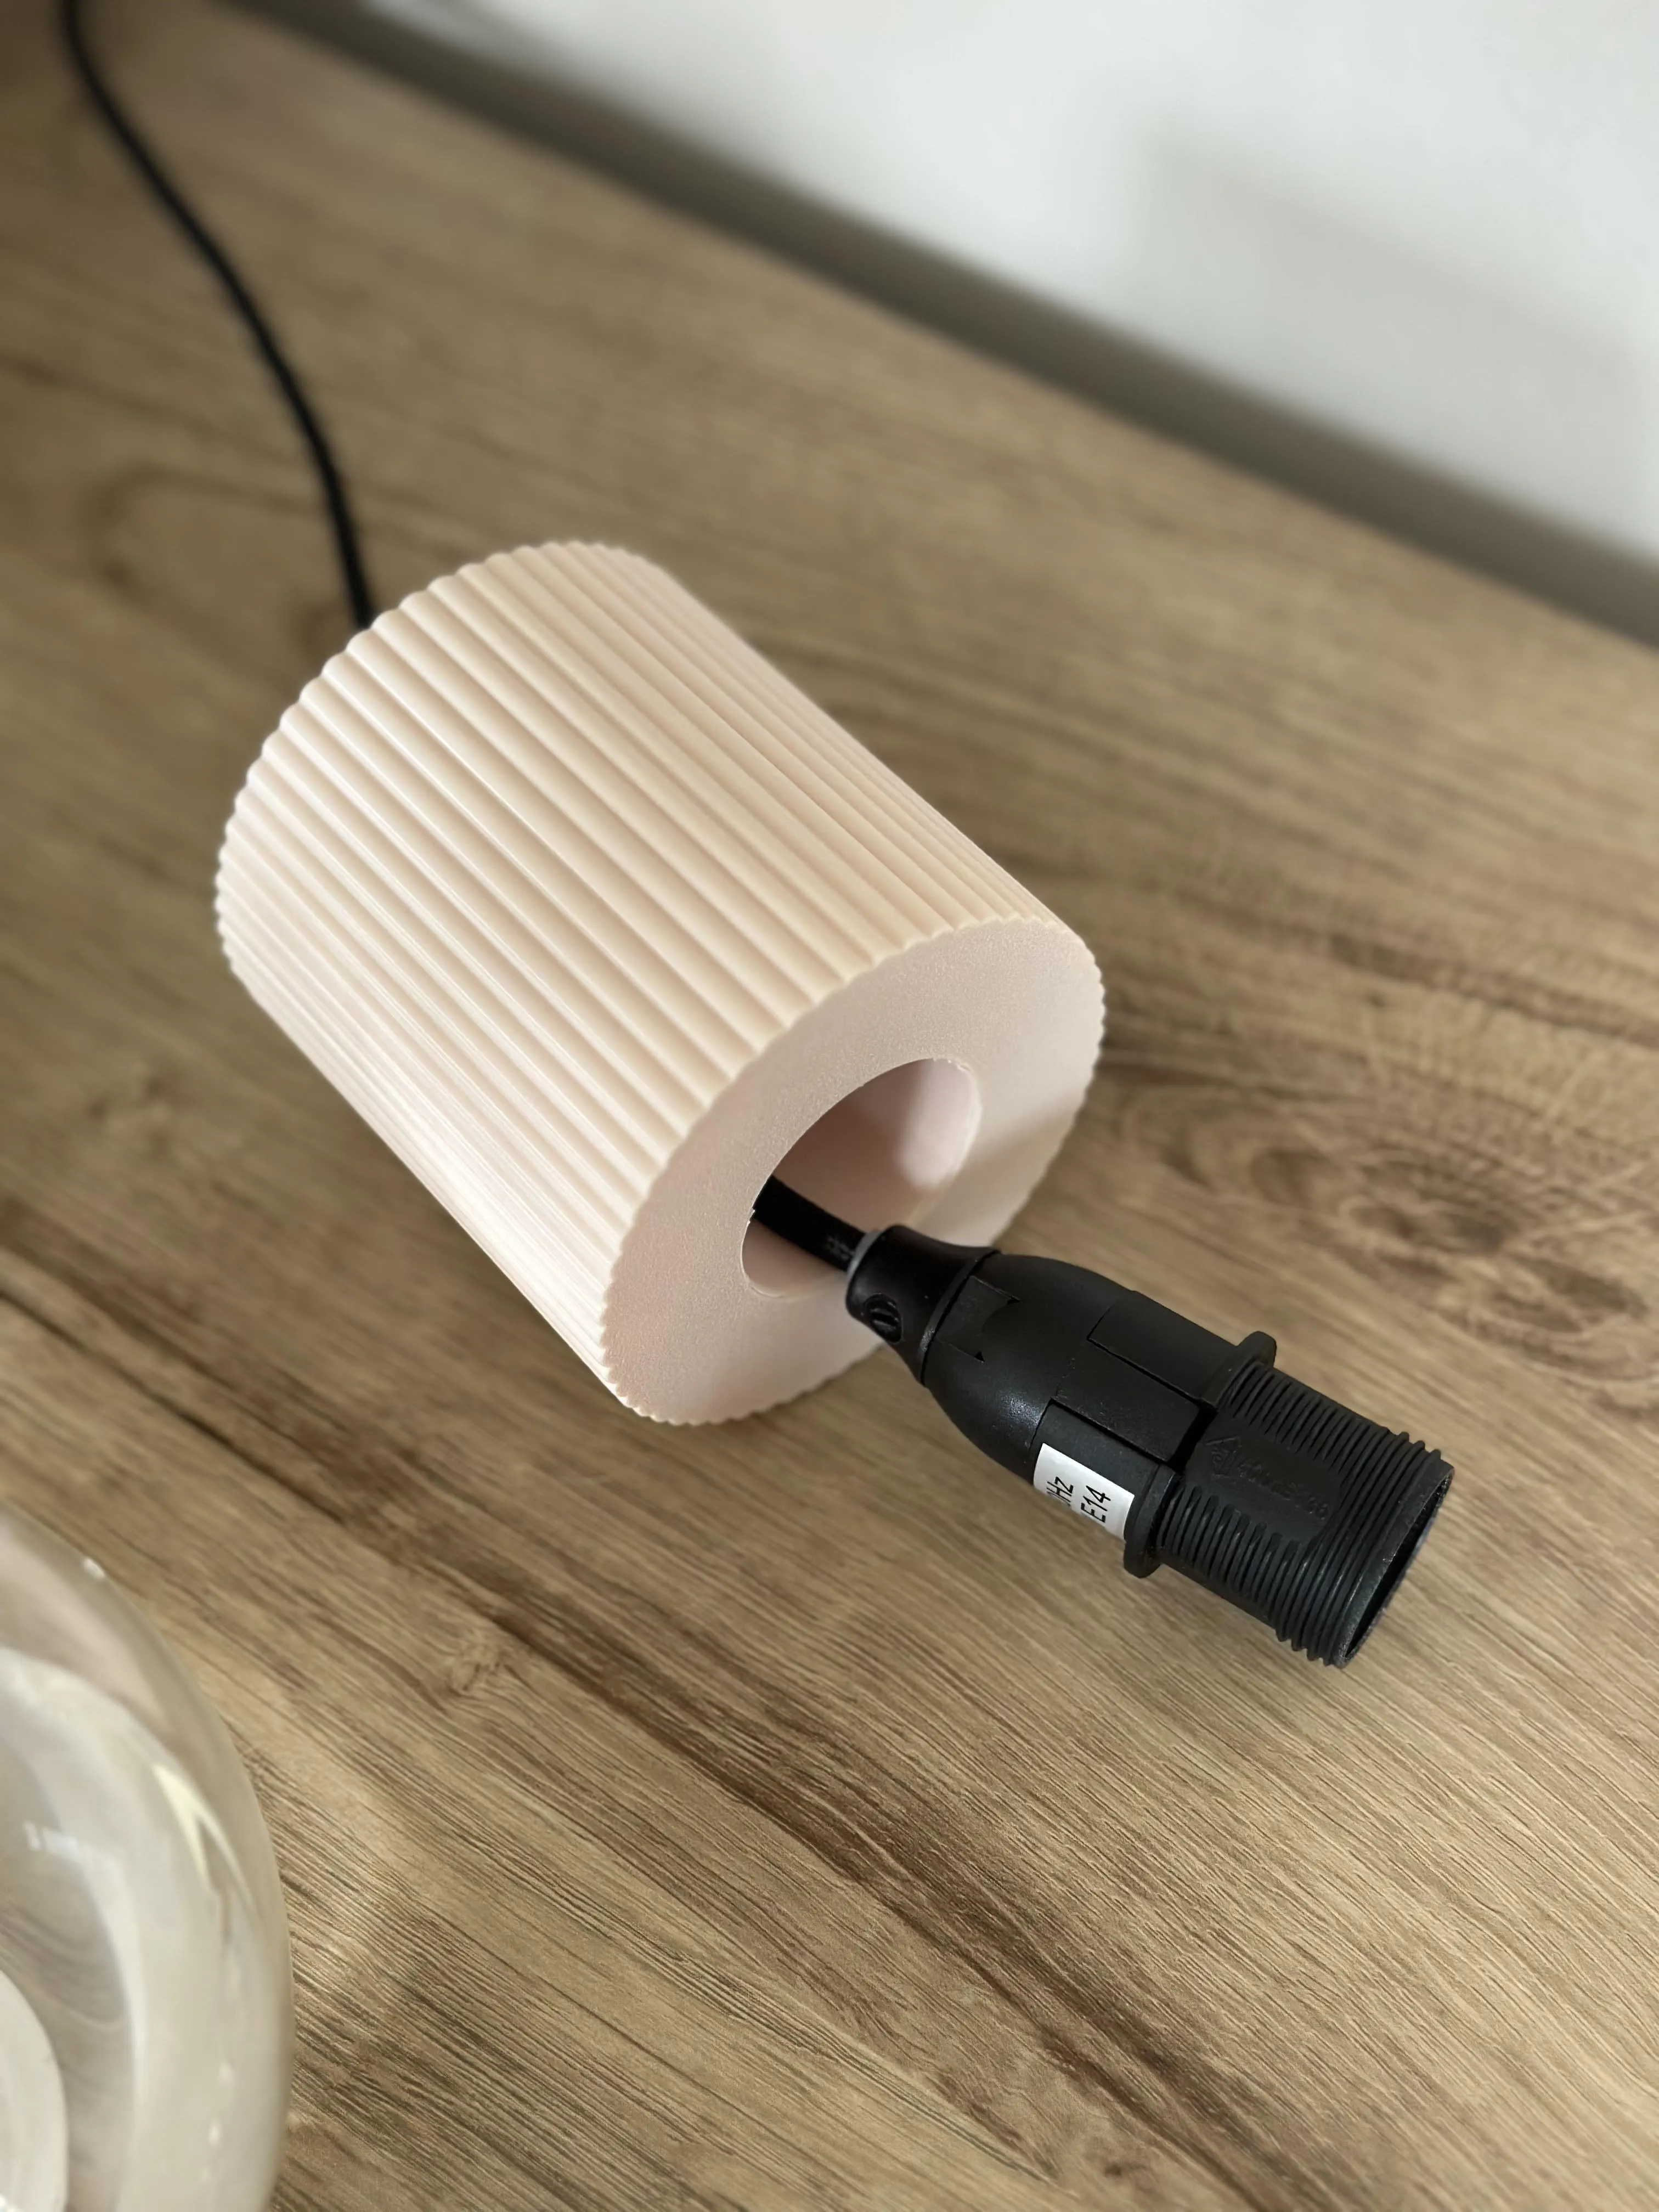
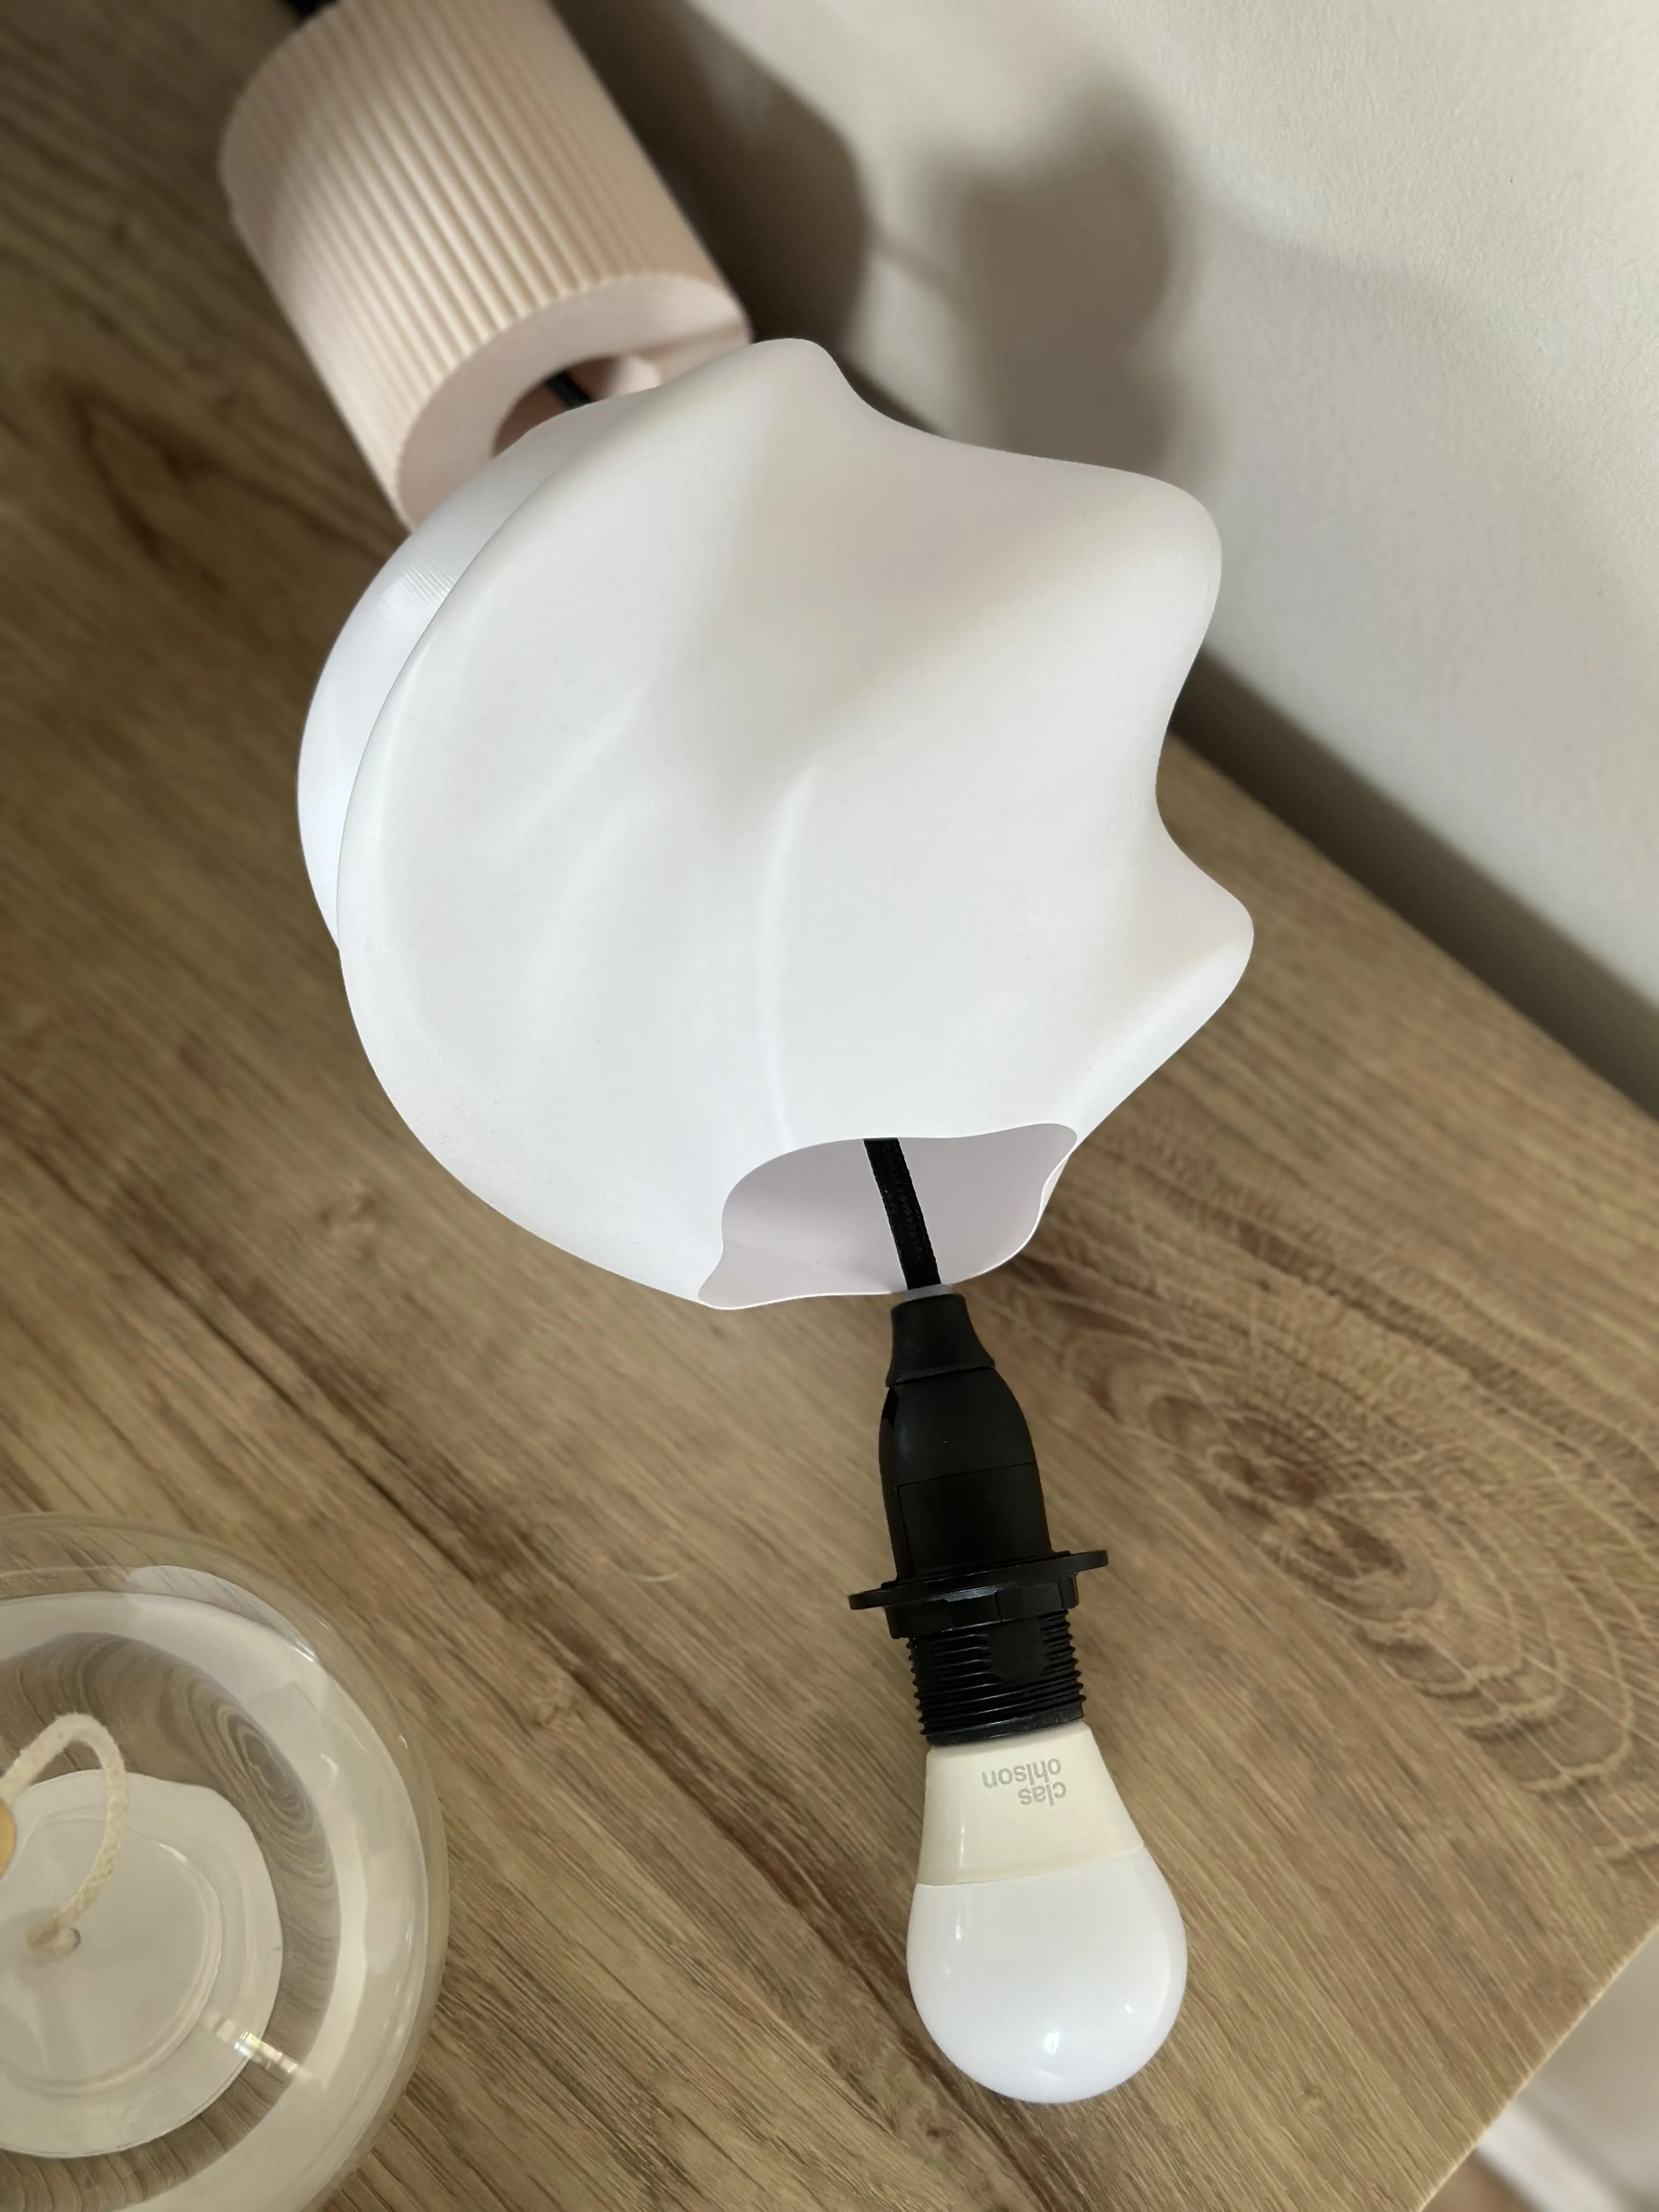
- The hole in the base is 35mm and the hole for the lampshade is 31mm so make sure you use a cable that can pass through it and secure the lampshade.
- The lamp itself is E14
The installation is simple.
1.
2.
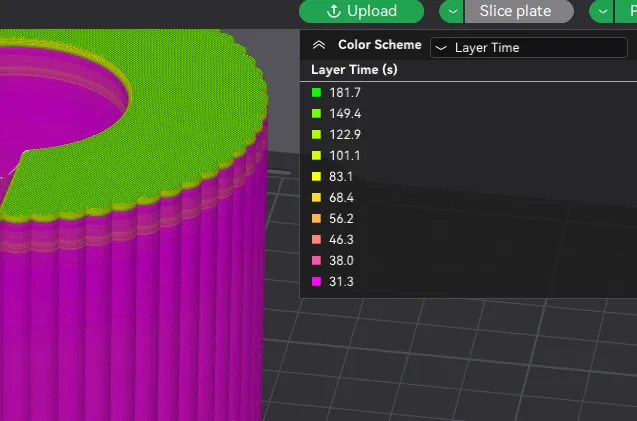
The infill on the base is set to triangles because of the layer time.
I want even layertimes to get more even “surfaceshine” from the filament. This is a decorative print and its all about getting the print as pretty as possible.
See the differences in the images below.
On this one I use “Cross Hatch”
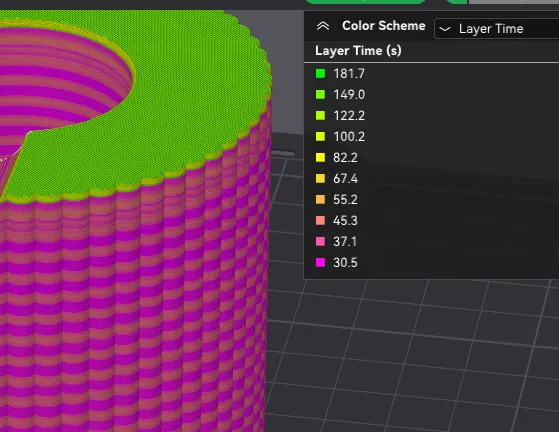
And on this one “triangles”
You can change order of walls to ”inner wall/outer wall/inner wall" but bare in mind you will have layer problems from the overhang at the beginning of the print. It wont affect the final results, because you cant really see it. But that order of walls will get you the best results.
Boost Me (for free)
Feel free to give me a boost as it keeps me motivated to share this stuff to you guys! <3
License

You shall not share, sub-license, sell, rent, host, transfer, or distribute in any way the digital or 3D printed versions of this object, nor any other derivative work of this object in its digital or physical format (including - but not limited to - remixes of this object, and hosting on other digital platforms). The objects may not be used without permission in any way whatsoever in which you charge money, or collect fees.


Comment & Rating (64)