A1 / A1 Mini Tool Head Halloween Decoration


Print Profile(1)

Description
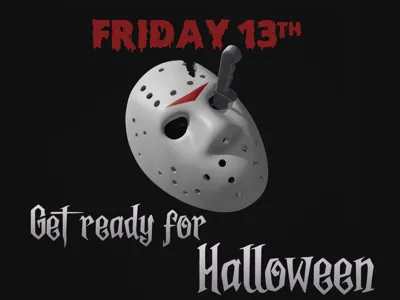
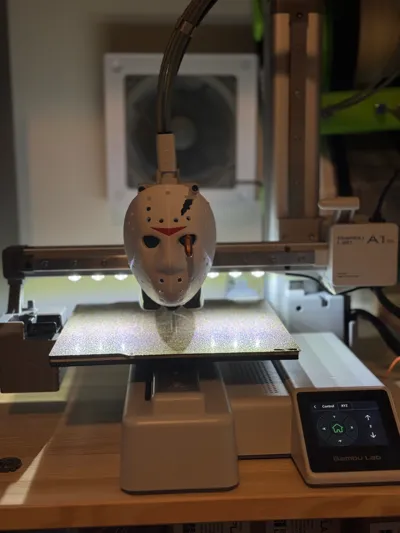
Decorate your A1 or A1 Mini tool head with this scary hockey mask!
Made to look like the poster for the fourth (and best?) movie in the Friday the 13th series, featuring Jason's mask with the axe mark he got in part III. The knife is made to spin around with the extruder movement, and since the eye hole is located off center of the extruder axle I've made a geared solution.
BEWARE! This is a semi working prototype! An updated version will be released, but I wanted to get this out there today, since today is Friday 13th after all 😁 I will rework the gear solution, but will try to do it in a way that doesn't require a re-print of the mask which is the part that takes the most time to print, so go ahead and print it today, and celebrate Friday 13th with a slightly wonky tool head decoration, that will only get better as halloween draws closer! 😆
Print your choice of mask, with or without the iconic axe cut mark. If you have an AMS and both grey and brown filament, you can use the AMS version of the knife. If not, print the single color version in white or gray and paint it yourself with paint or markers, or any other color you like. Use black for the backplate, gears and eye piece.
Installation instructions
- Pick your choice of mask and knife, and print.
- Take the mask decal and push into the opening on the mask. You might need to use a bit of force (i.e. hammer it in 🔨😬)
- Glue the knife in the opening in the knife holder with gear. It's a bit roomy in this version, so you might want to add pad the hole with something. Be creative!
- Pop off your tool head front cover.
- Carefully bend the front cover slightly to remove the clear plastic dome.
- Replace tool head cover.
- Tape back plate to the tool head cover with double sided tape.
- Install the extruder gear on the pin from the extruder.
- Place the knife base in the holder behind the left eye, and block out the right eye with the eyepiece.
- Place the mask on the back plate.
- Be scared! 🧟
License
You shall not share, sub-license, sell, rent, host, transfer, or distribute in any way the digital or 3D printed versions of this object, nor any other derivative work of this object in its digital or physical format (including - but not limited to - remixes of this object, and hosting on other digital platforms). The objects may not be used without permission in any way whatsoever in which you charge money, or collect fees.
Comment & Rating (8)