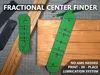
Fractional Center Finder


Print Profile(6)


Description
This is the Fractional Center Finder with build in lubrication system (TDI).
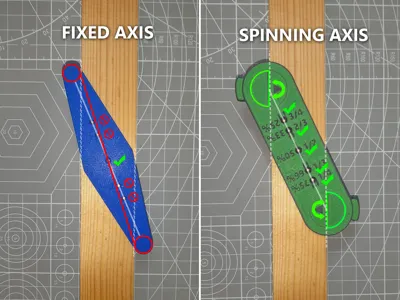
The stoppers on each side are vertical print-in-place axis that rotate and sit flat on the piece you want to mark. This moves the center axis of the tool through the middle of the two stoppers and aligns it with the marking holes. Like this you can not only draw a marking along the very center of your workpiece (at ½ ) but also draw 2 equally spaced lines (⅓ and ⅔ ) or divide it in 3 sections (¼ , ½ and ¾ ). The graphic below explains the concept further:

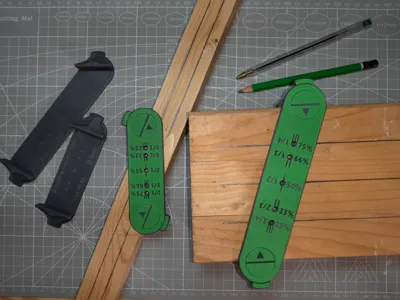
The Fractional Center Finder comes in 2 sizes. There is a smaller 8 cm version (on plate 1) that works with any width up to 8 cm (3 1/8 inch) and a bigger 12 cm version (on plate 2) to work with big beams up to 12 cm (4 11/16th inch). I would recommend the smaller 8 cm version for common purpose as it is easier to hold and align with just one hand.
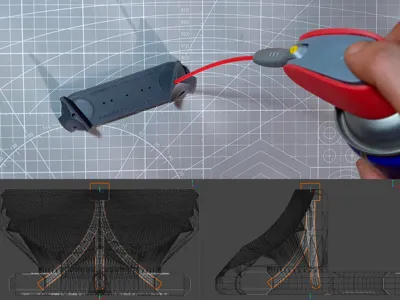
Triple Direct Injection (TDI) System:
This tool has been designed for wood- or metal working and in these environments the accumulation of dust in the rotating parts is a concern. That's why it has an integrated Triple Direct Injection system (TDI ;). It consists of a small inlet on top of each axis that fit these small red tubes that come with cans of lubricant (e.g. WD-40) or compressed air. This fitting splits into 3 smaller pipes that lead directly to the inside of the axis, allowing you to shoot compressed air through them to blow out dust or deliver lubricant equally to the 3 spots that need it the most. To lubricate the part, you will only need a very small amount (1 drop). The pipes will additionally act like a small capillary storage and help keep the part lubricated for a longer time.

But to be honest: this whole system is absolutely overengineered and quite unnesecary. The parts rotate perfectly without any lubrication and the dust buildup is minimal… but i had this idea, it prints without any downsides and hey, maybe it inspires some other designs ;)
Print Settings:
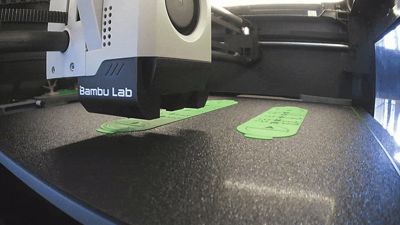
The print settings in the profiles have been tediously dialed in to ensure a good quality but it is still a difficult print. Before starting, clean your buildplate and make sure your filament and printer are calibrated well.
There is a filament change on layer 3 to highlight the markings on the front. I find it easiest to read if you start with a bright, opaque colour (lots of pigments, matte?) and change to a contrasting colour for the rest. There is a manual print profile with a pause set on layer 3 to do the colour change by hand while paused and a dedicated AMS profile that changes the filament automatically.
The tolerances on the axis are very small to make sure they sit stable and don't bent. After printing you will have to turn them with a little force and should be rewarded with a satisfying “crack” as they come loose.
There is a 2nd set of print profiles with a bigger tolerance available. I would advice printing that only if you got problems with the original files
If you like this print, you might find these models to be a nice and unique addition to your workshop as well:
 |  |
Have fun and if there are any flaws or suggestions, feel free to message me.
Cheers and happy printing,
fmod :)
License
You shall not share, sub-license, sell, rent, host, transfer, or distribute in any way the digital or 3D printed versions of this object, nor any other derivative work of this object in its digital or physical format (including - but not limited to - remixes of this object, and hosting on other digital platforms). The objects may not be used without permission in any way whatsoever in which you charge money, or collect fees.
Comment & Rating (283)