
Solder Fume Extractor - With Magnetic Cover

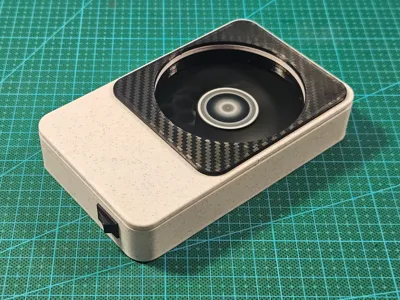
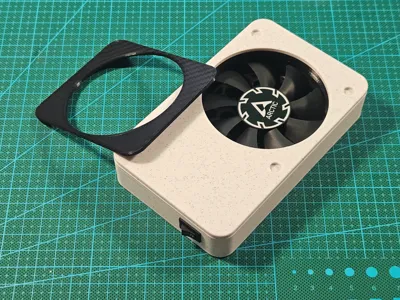
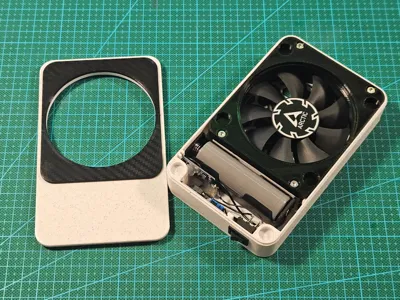
Print Profile(3)


Bill of Materials



- 18650 battery cell x 1: Any capacity
- 18650 battery holder x 1:
- TP4056 battery charging and protection module x 1:
- MT3608 step-up converter module x 1:
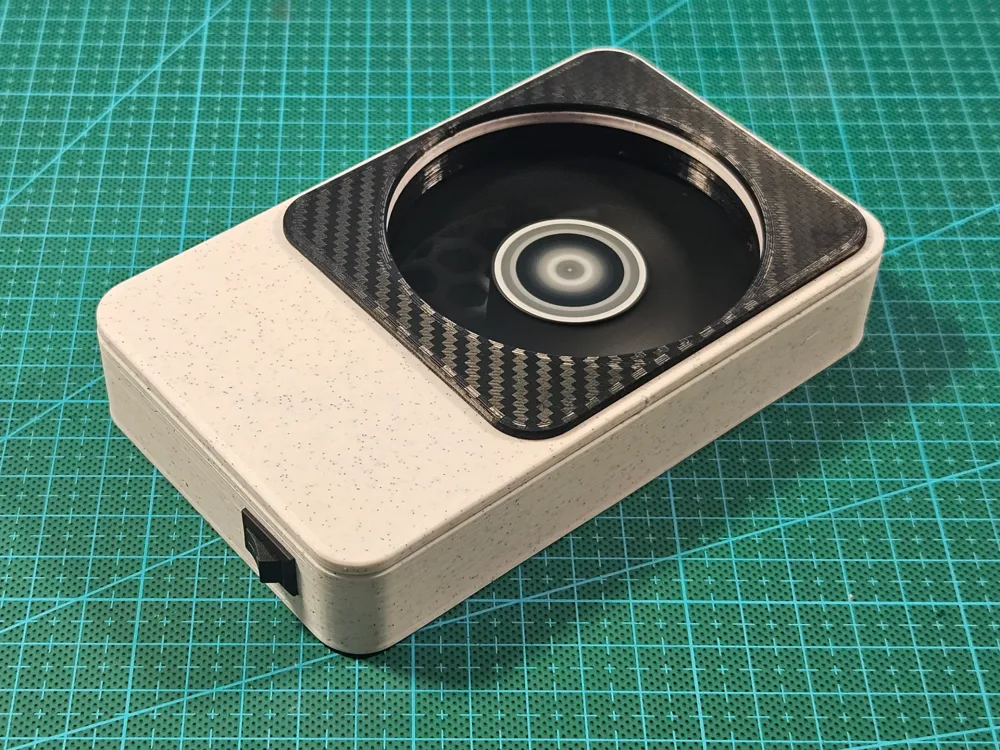
- On/Off switch x 1: 14x9mm cutout
- 80x15mm PC fan x 1: Mine is the ARCTIC P8 Slim PWM PST
Description
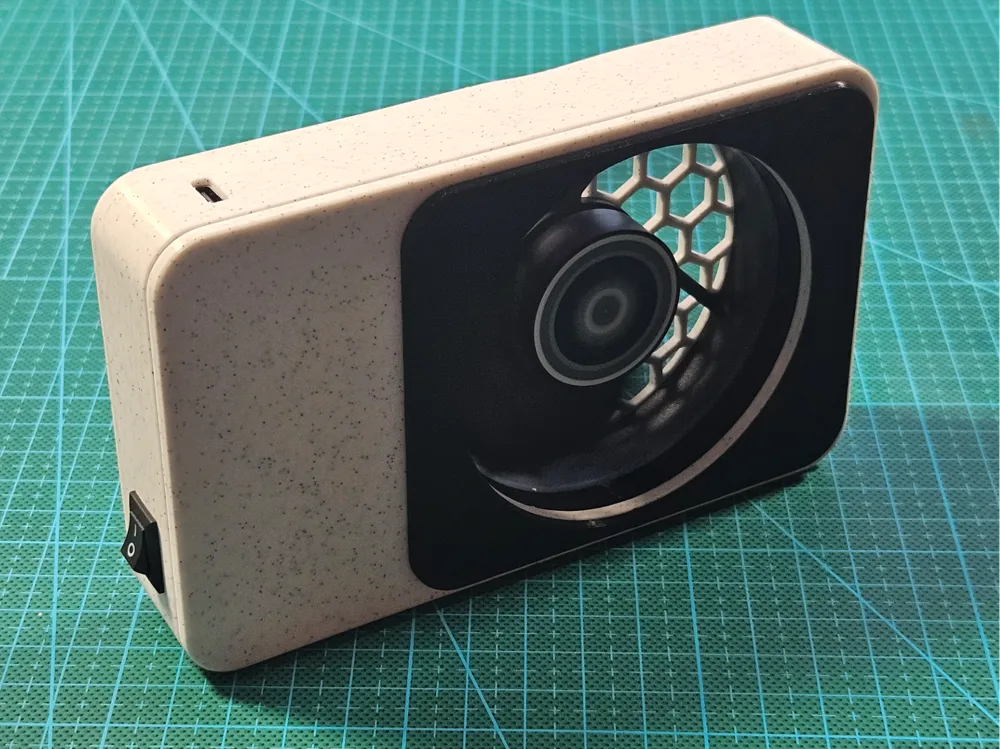
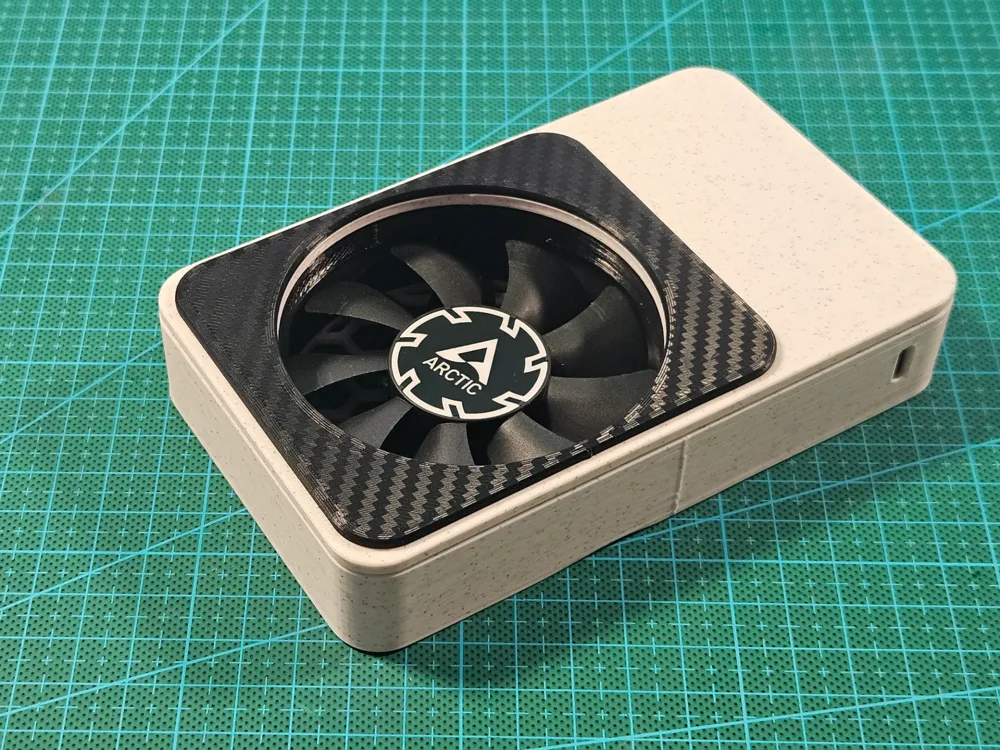
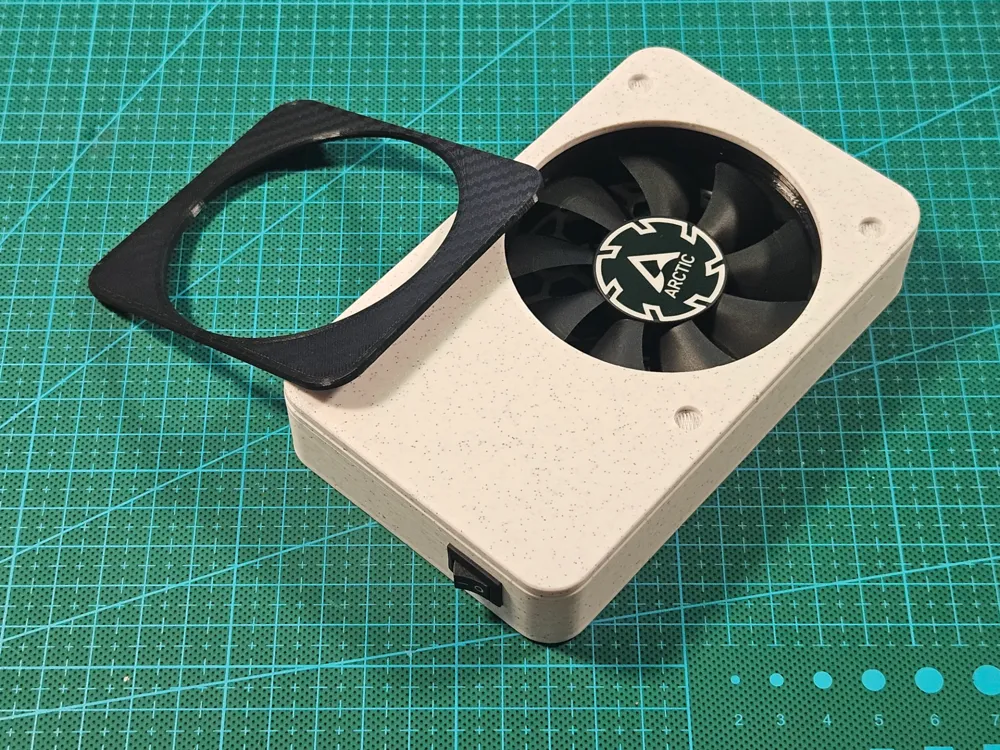
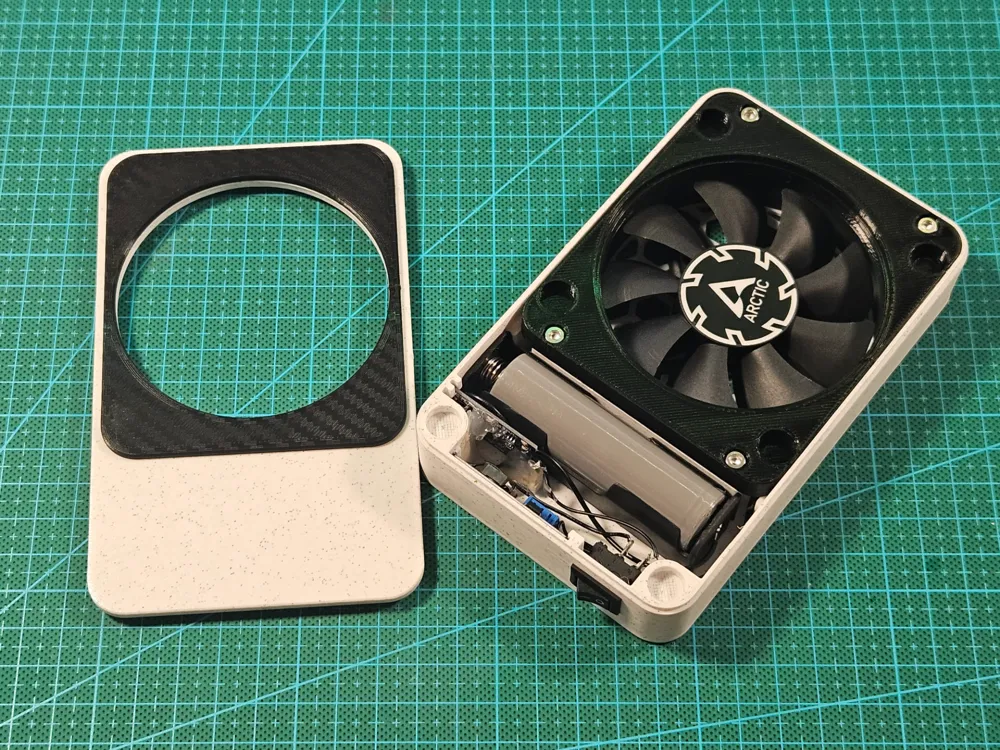
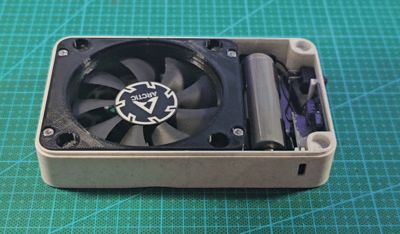
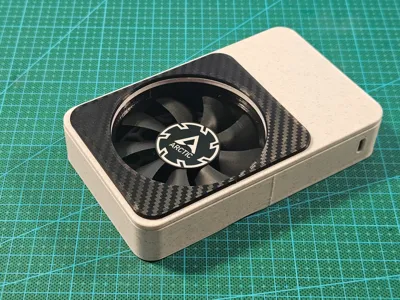
I wanted to design a fume extractor that had a rechargeable battery and had a modular design if you want to quickly swap filters and such. I also wanted it to have relatively simple electronics inside, so people with less advanced electronics skills could also assemble it.
It's features include:
- A rechargeable 18650 battery cell
- A slim 80x15 mm PC fan
- Space to add a filtering sponge in front of the fan
- A screwless design using 6x3mm round magnets
- Easily swappable front grille
- Easily replaceable filtering sponge
Assembly
To assemble, you'll need to following components:
- 1x 18650 battery cell, any capacity
- 1x 18650 battery holder
- 1x TP4056 battery charging and protection module
- 1x MT3608 step-up converter module
- 1x On/Off switch (14x9mm cutout)
- 1x 80x15mm PC fan (mine is the ARCTIC P8 Slim PWM PST)
- 16x 6x3 round magnets
- 4x m3 threaded inserts
- 4x m3 screws
- 3d printed parts
PRINT PROFILES
There are 3 different print profiles. If you don't want to pause the print to insert the magnet there's a profiles for that. If you do want to, choose the profile with the layer pause, in this case you have to print the insert and decoration from the 3rd profile too.
Wiring
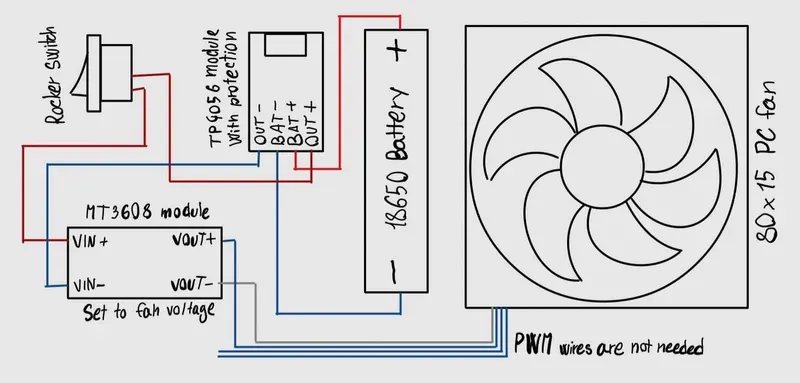
(I couldn't find a single designer app which had all the components I was looking for, so I just drew it by hand. I hope it's good enough…)
IMPORTANT
If you print lid and main body with visible magnets, you'll need to glue those in. The front decor/grille was designed to have friction fit magnets, but it's a good idea to glue those as well.
If you don't want to use a filter, print the hollow insert, because having a grille in front of the fan will significantly increase the noise it creates.
License



Comment & Rating (80)