
UFO Lamp - Compatible with Google Home or Alexa
Print Profile(1)
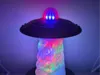
Bill of Materials
- WLED WS2812B x 1: https://www.amazon.com/gp/product/B09XXKVB9S/ref=ppx_od_dt_b_asin_title_s00?ie=UTF8&th=1
- LED Controller x 1: https://www.amazon.com/gp/product/B07RTGWTVL/ref=ppx_yo_dt_b_search_asin_title?ie=UTF8&th=1
- Power Brick x 1: https://www.amazon.com/gp/product/B09281KTS8/ref=ppx_od_dt_b_asin_title_s01?ie=UTF8&psc=1
Description
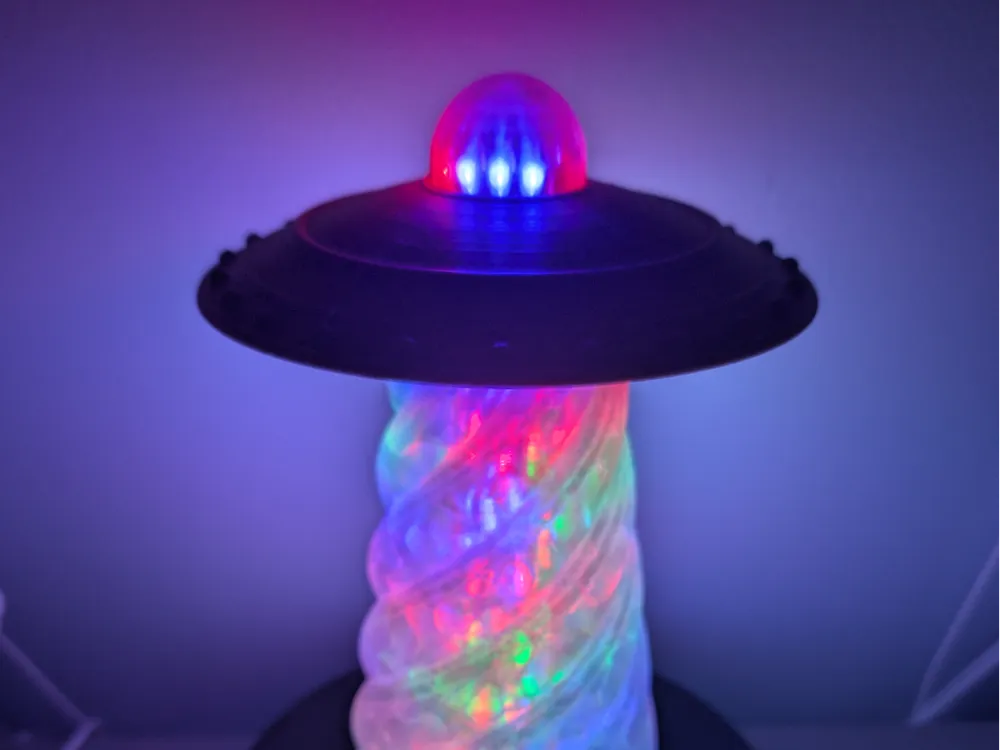
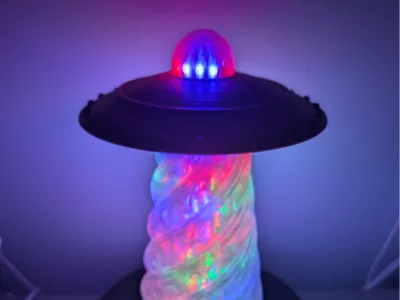
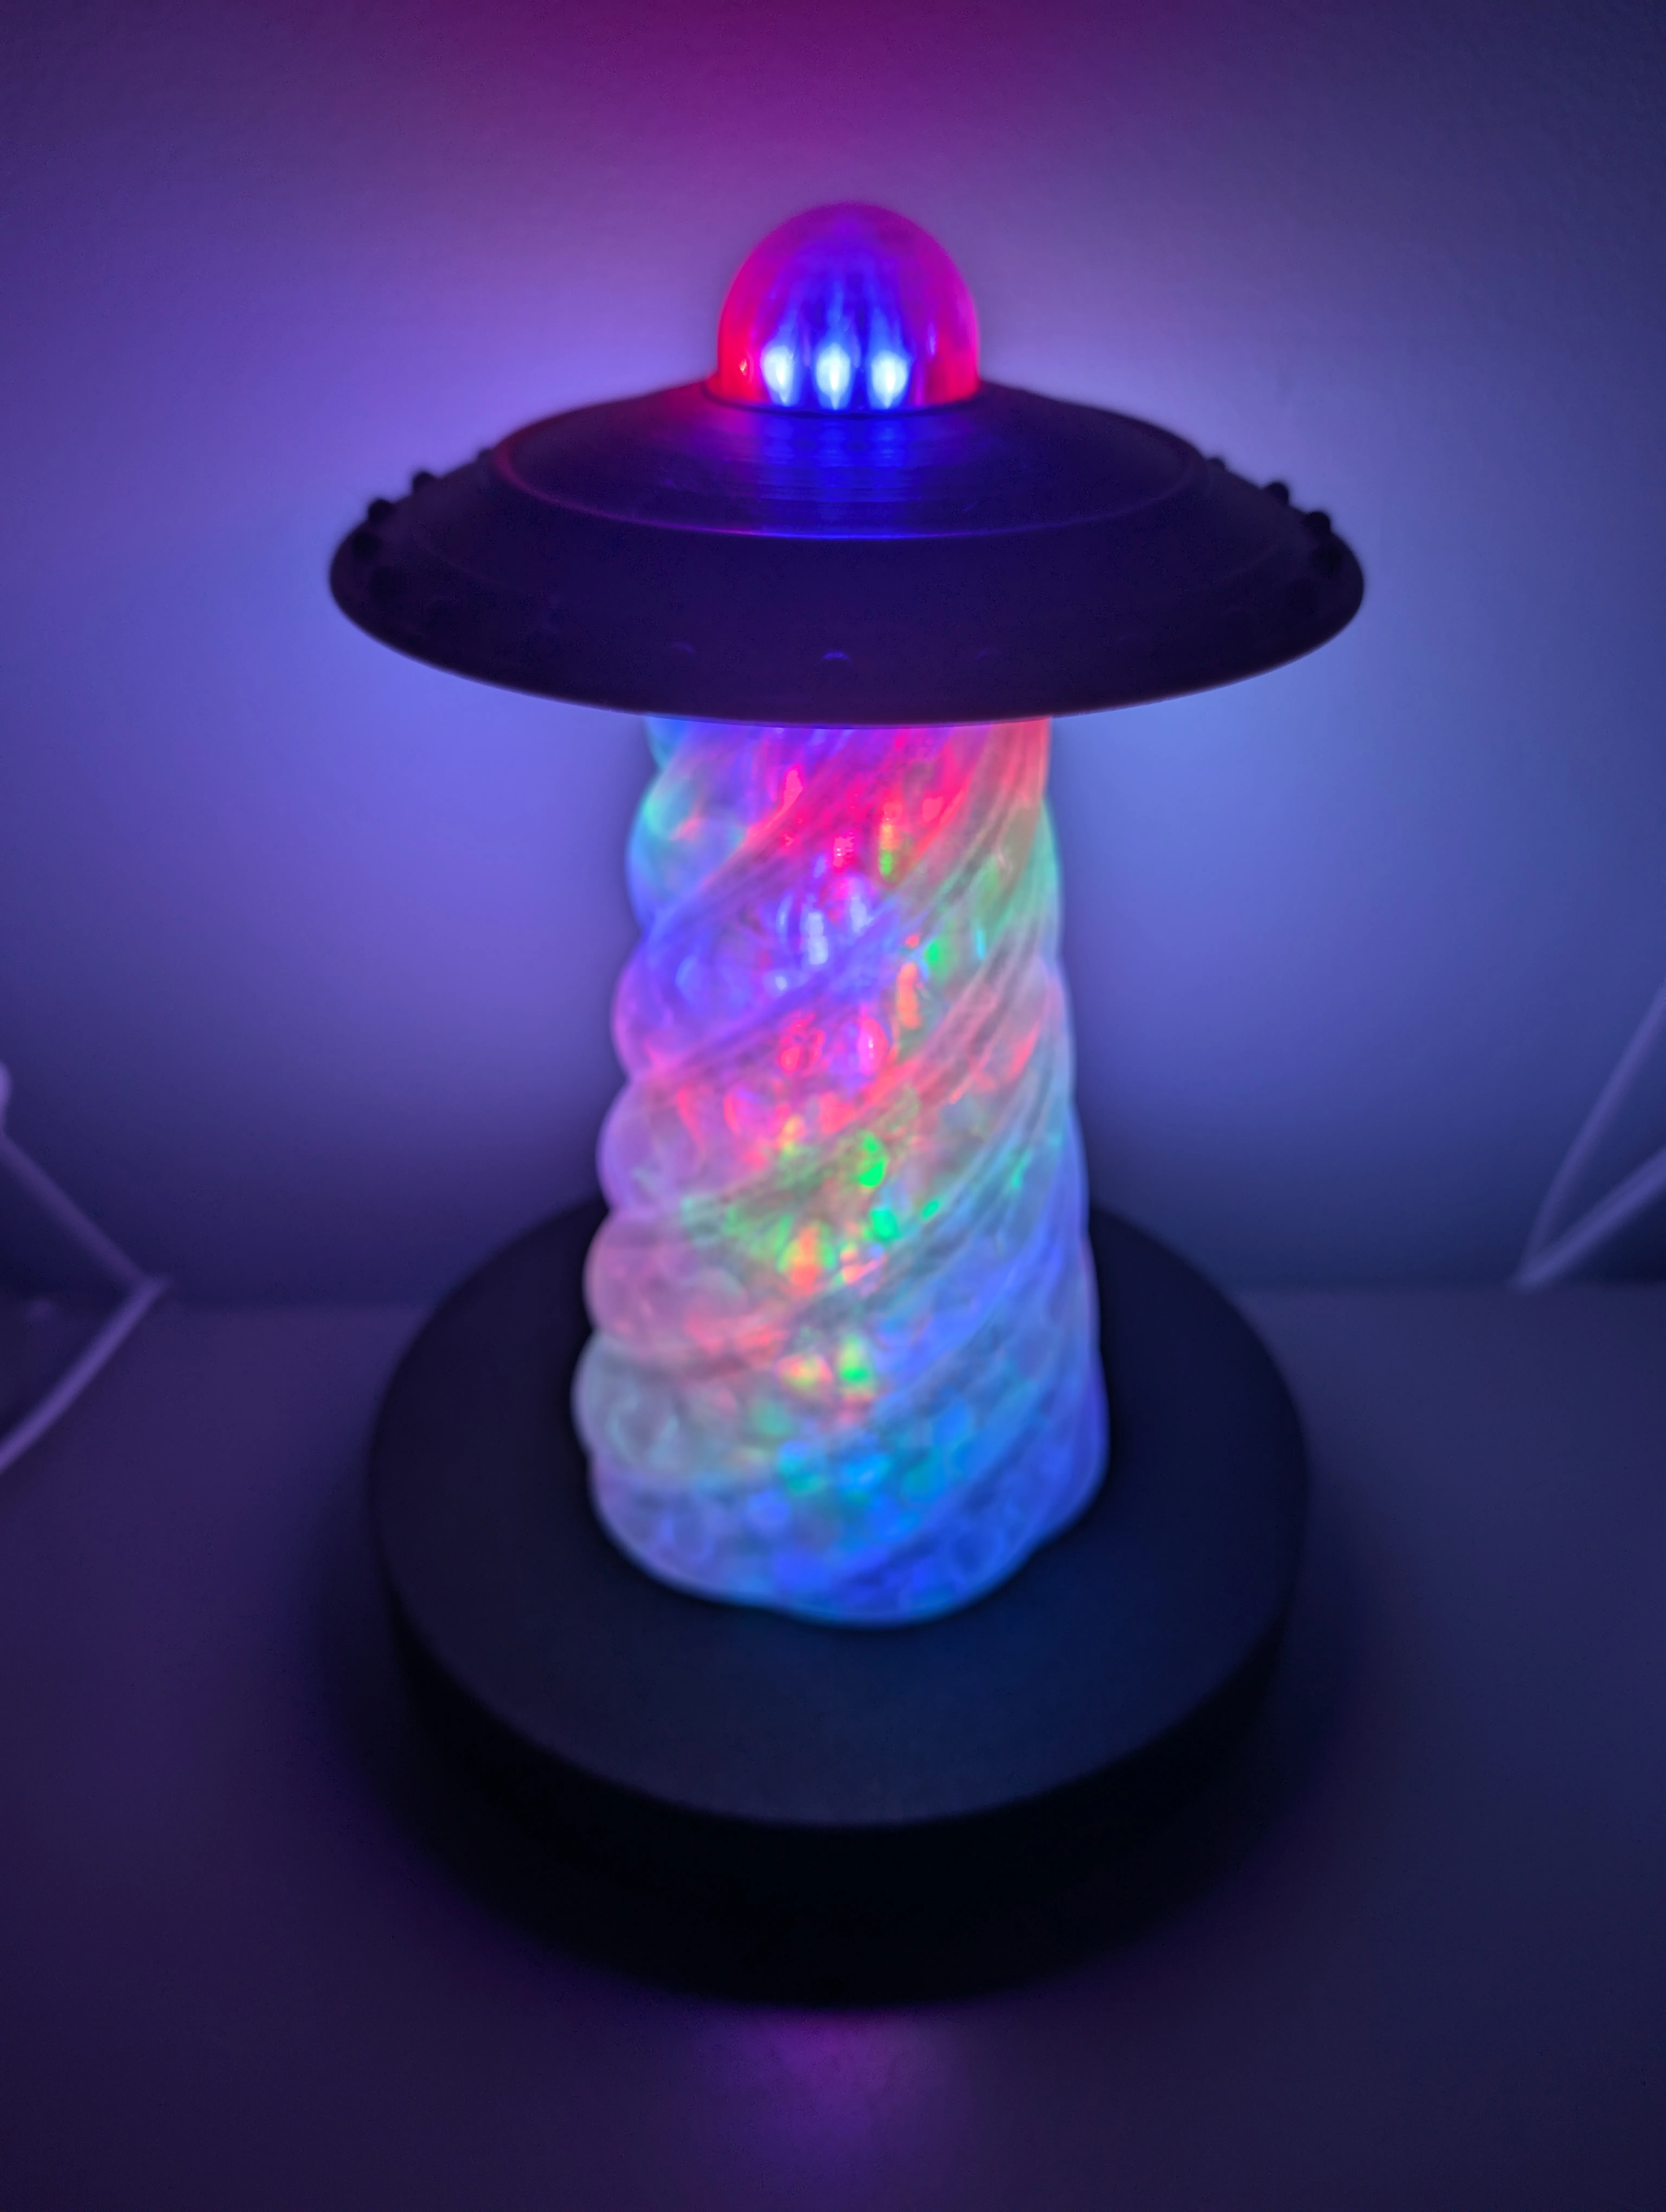
Illuminate your space with a mesmerizing 3D printed UFO lamp featuring a swirling, colorful light show. This unique nightlight adds a touch of otherworldly ambiance to any room. Perfect for sci-fi fans, kids, and anyone looking for a creative and eye-catching piece of home decor.
Requires: Translucent Filament, WLED Strip, WLED Controller, and power brick.
WLED Strip - High Density - https://www.amazon.com/gp/product/B09XXKVB9S/ref=ppx_od_dt_b_asin_title_s00?ie=UTF8&th=1
LED Controller - https://www.amazon.com/gp/product/B07RTGWTVL/ref=ppx_yo_dt_b_search_asin_title?ie=UTF8&th=1
Power Brick - https://www.amazon.com/gp/product/B09281KTS8/ref=ppx_od_dt_b_asin_title_s01?ie=UTF8&psc=1
For translucent filament I used PolyMaker PETG Clear
Assembly Instructions:
- Print the 4 plates
- UFO Body - I used a PolyMaker nebula filament, but you can use what ever cosmetic filament you think looks best
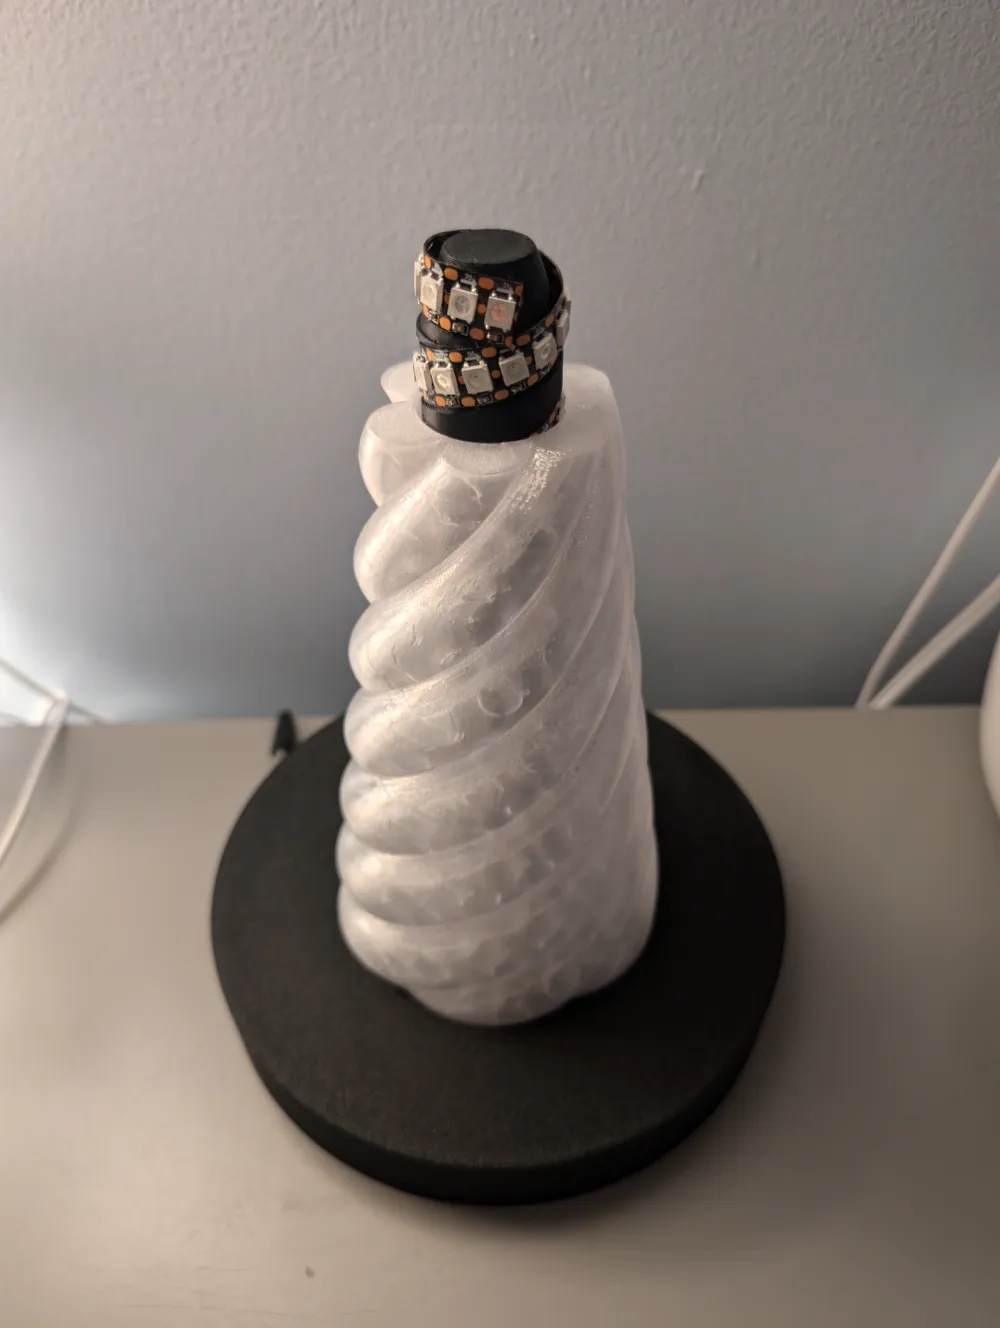
- Beam and Dome - Print in a translucent filament
Base and Led Support Column - 2 plates
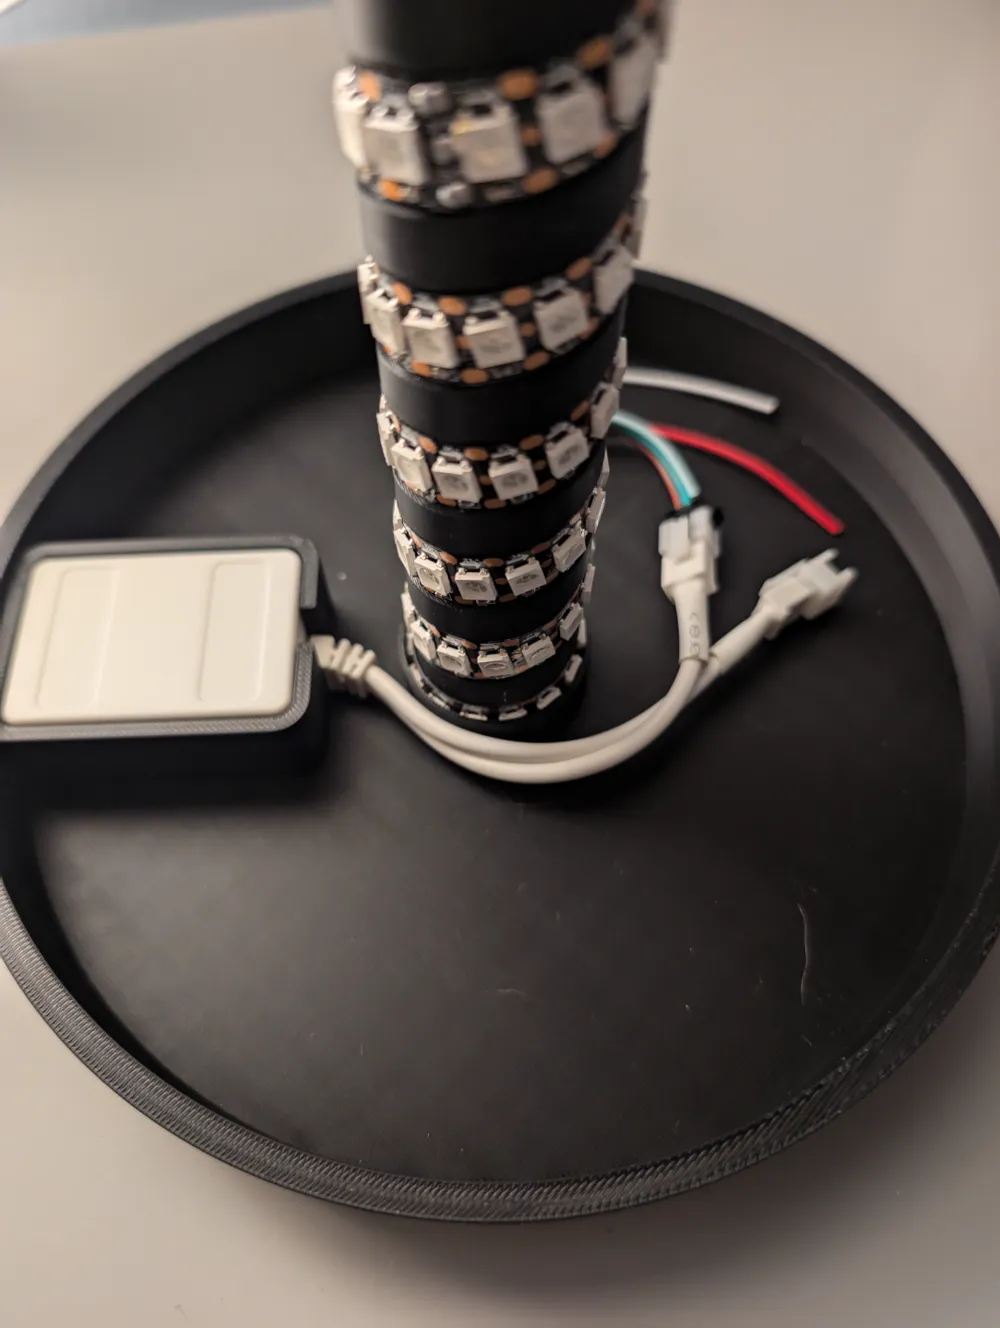
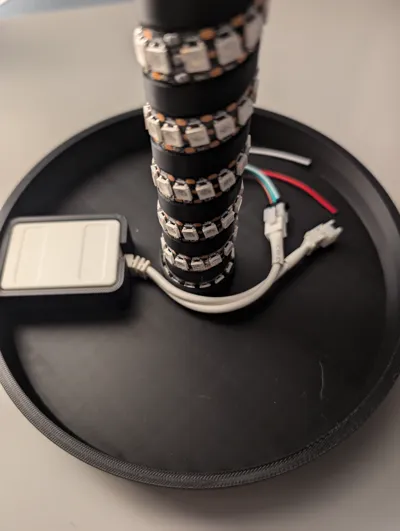
Insert WLED controller into the cut out in the base plate.
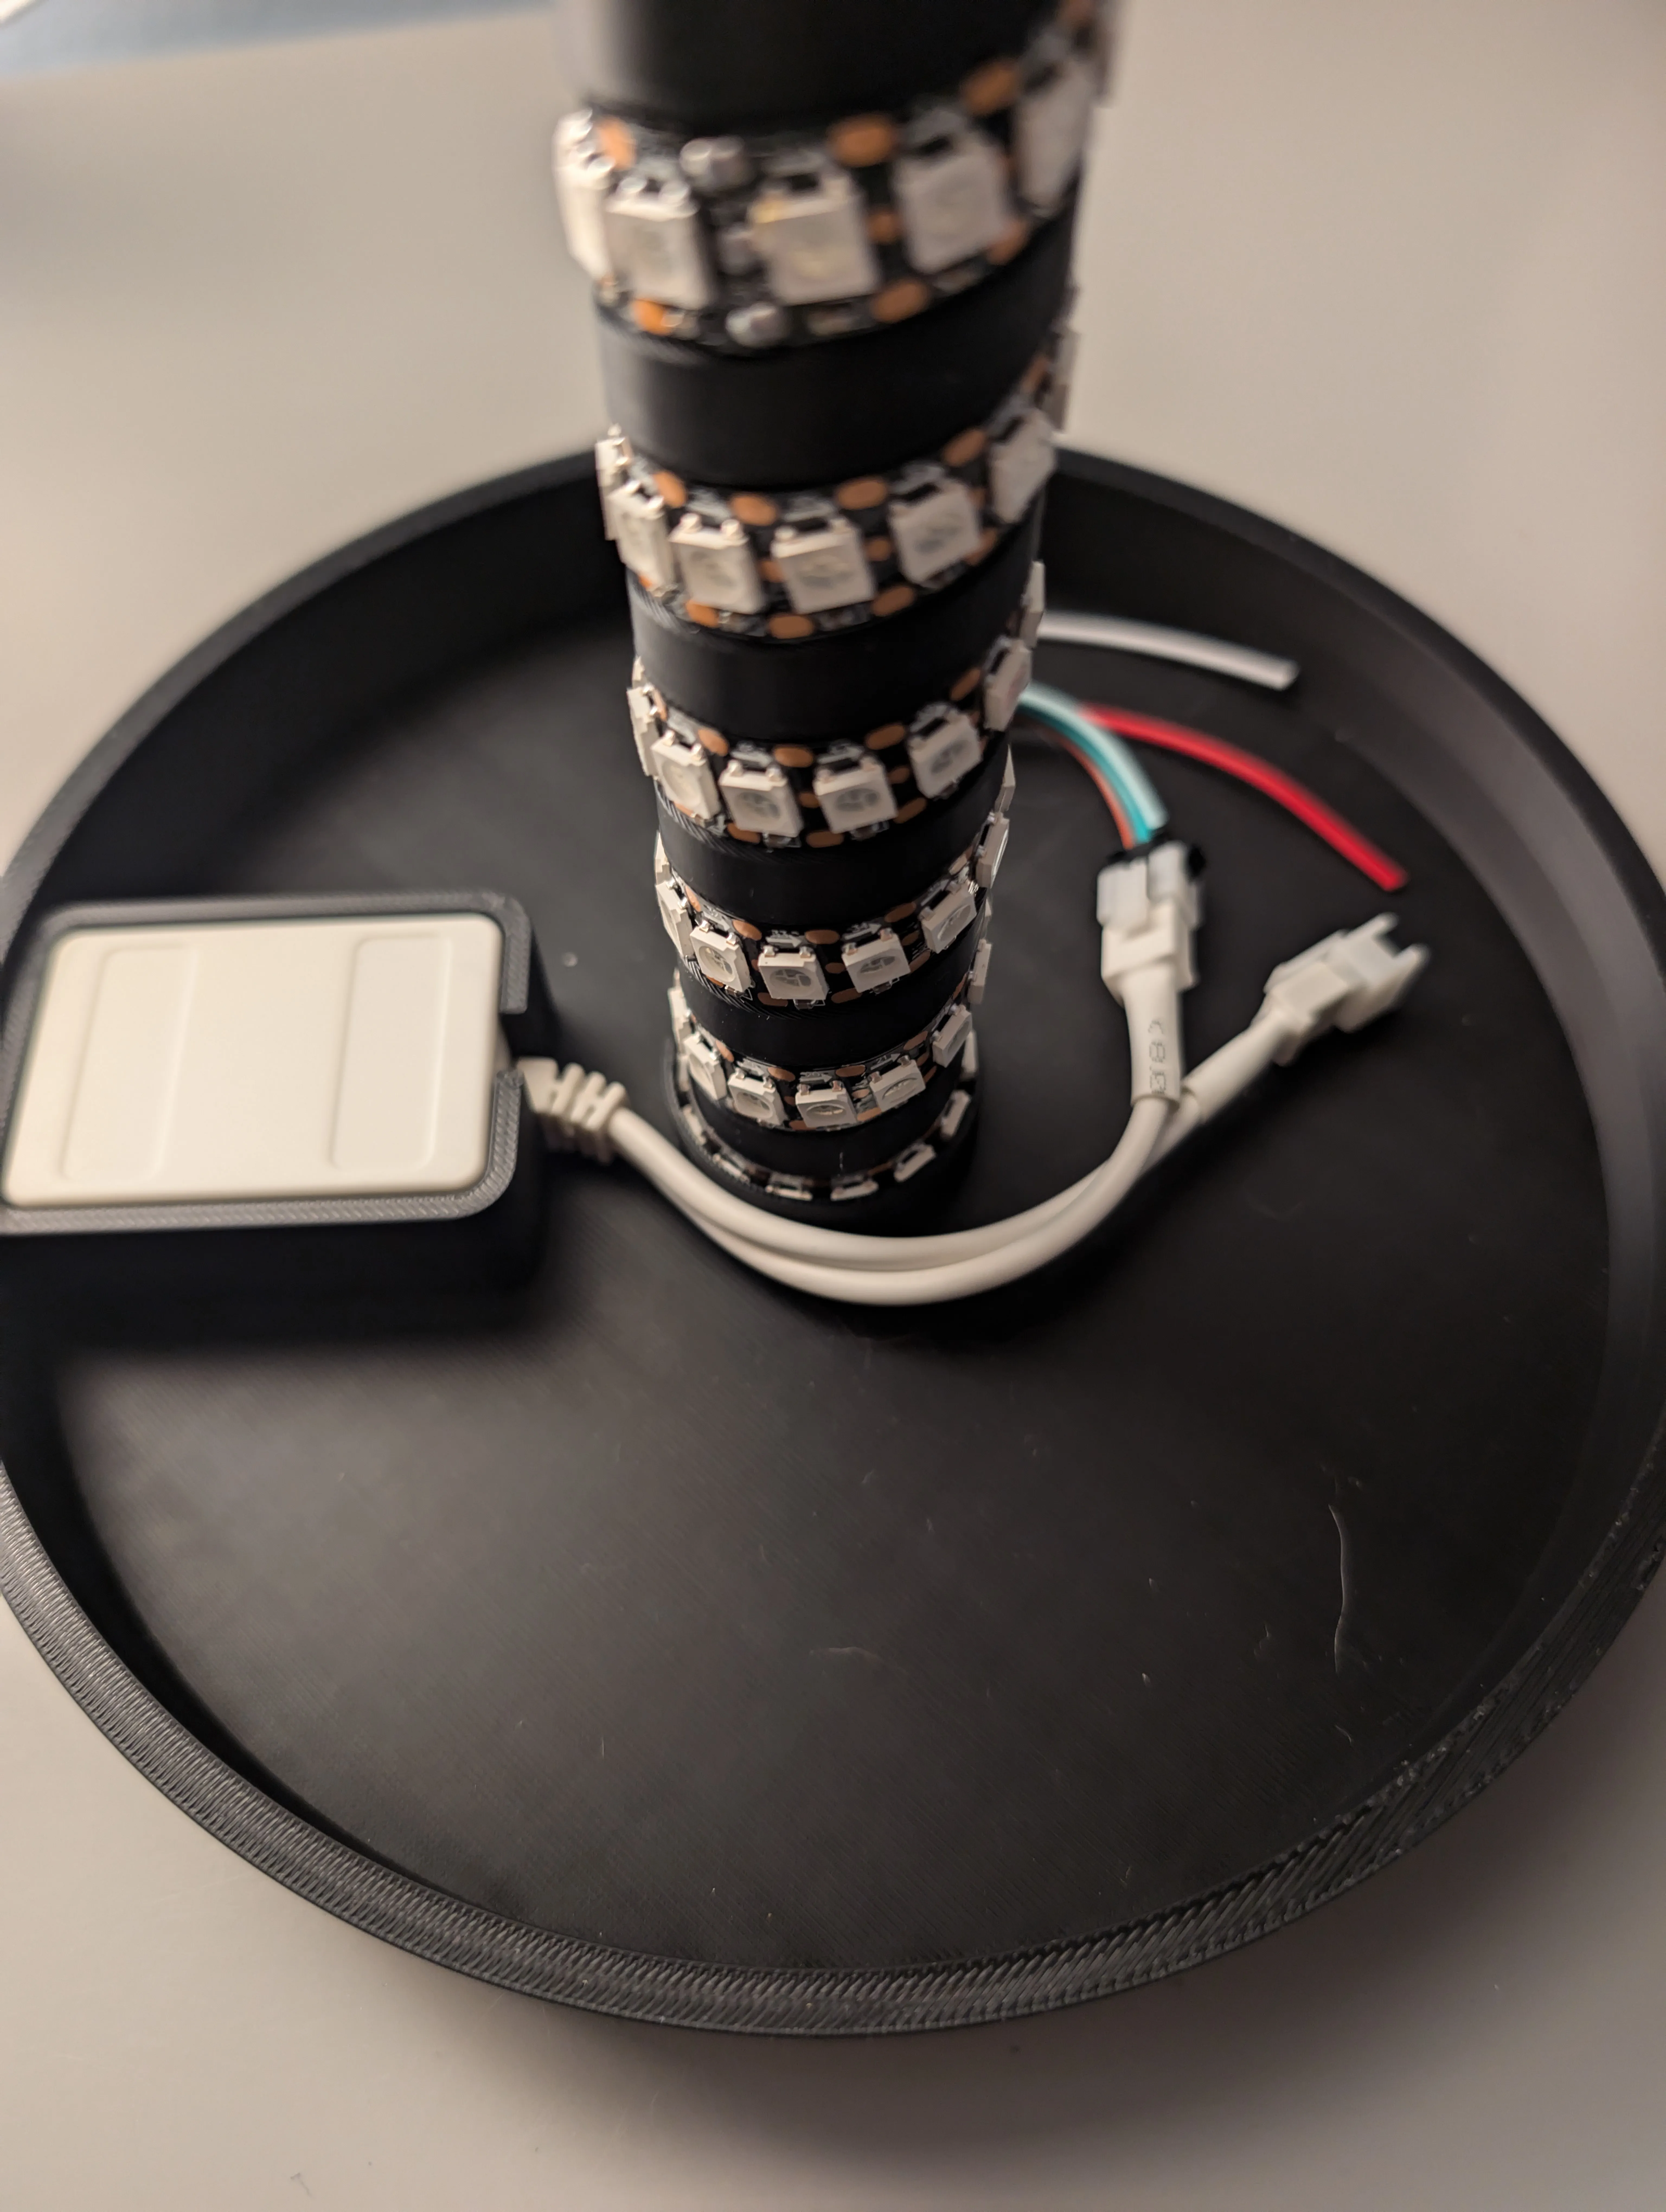
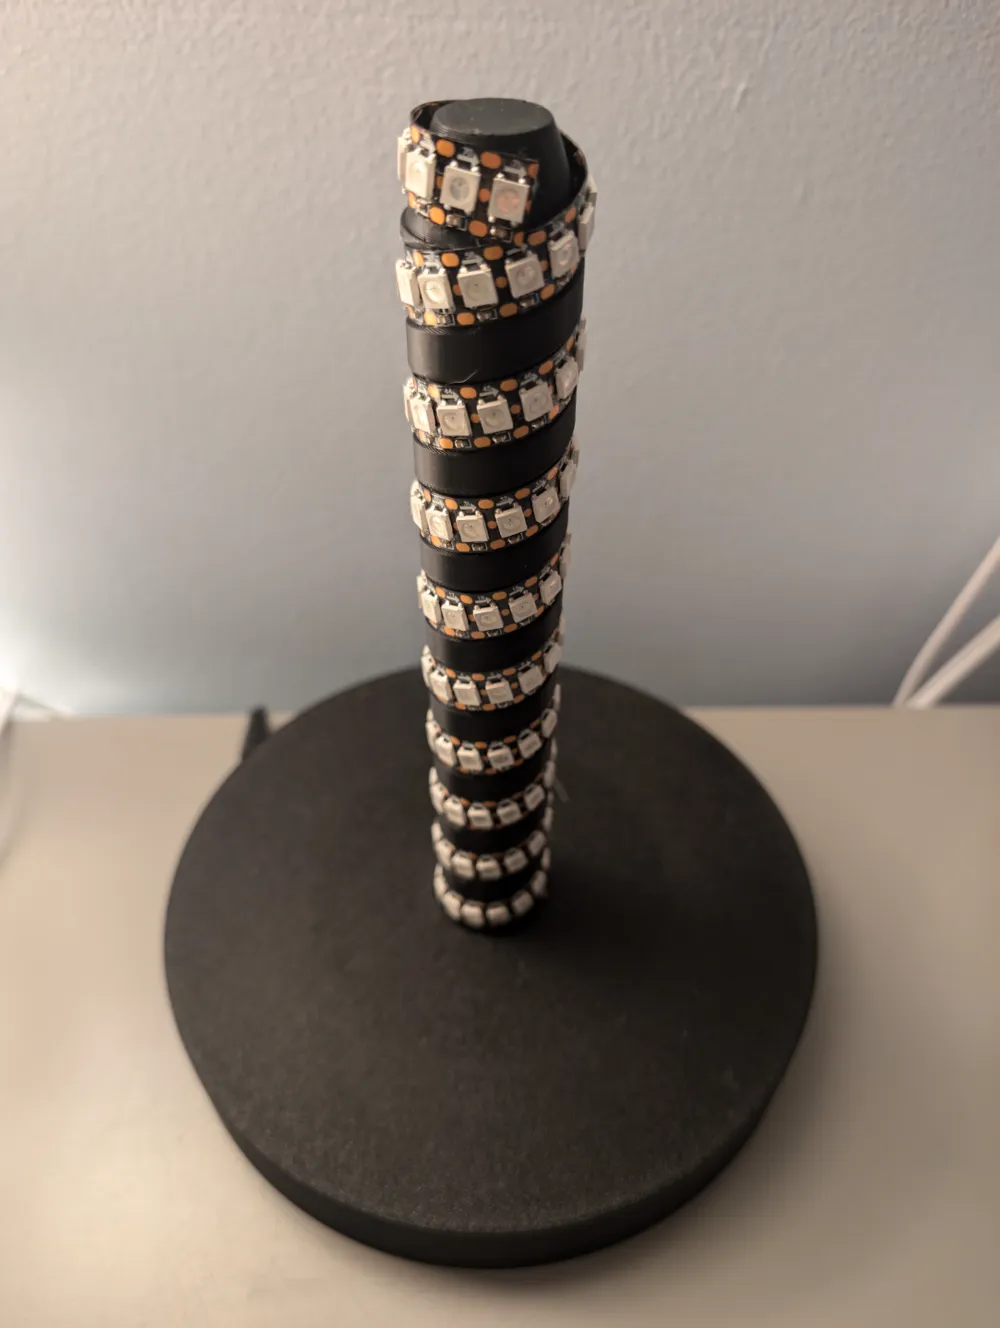
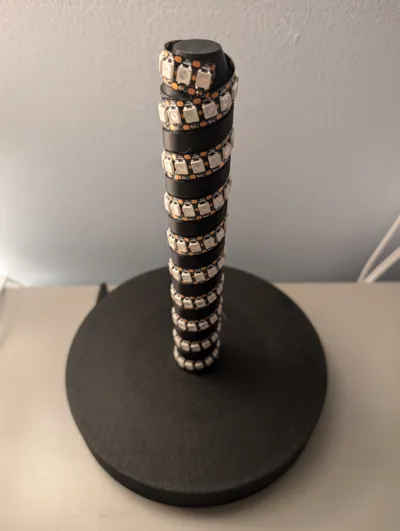
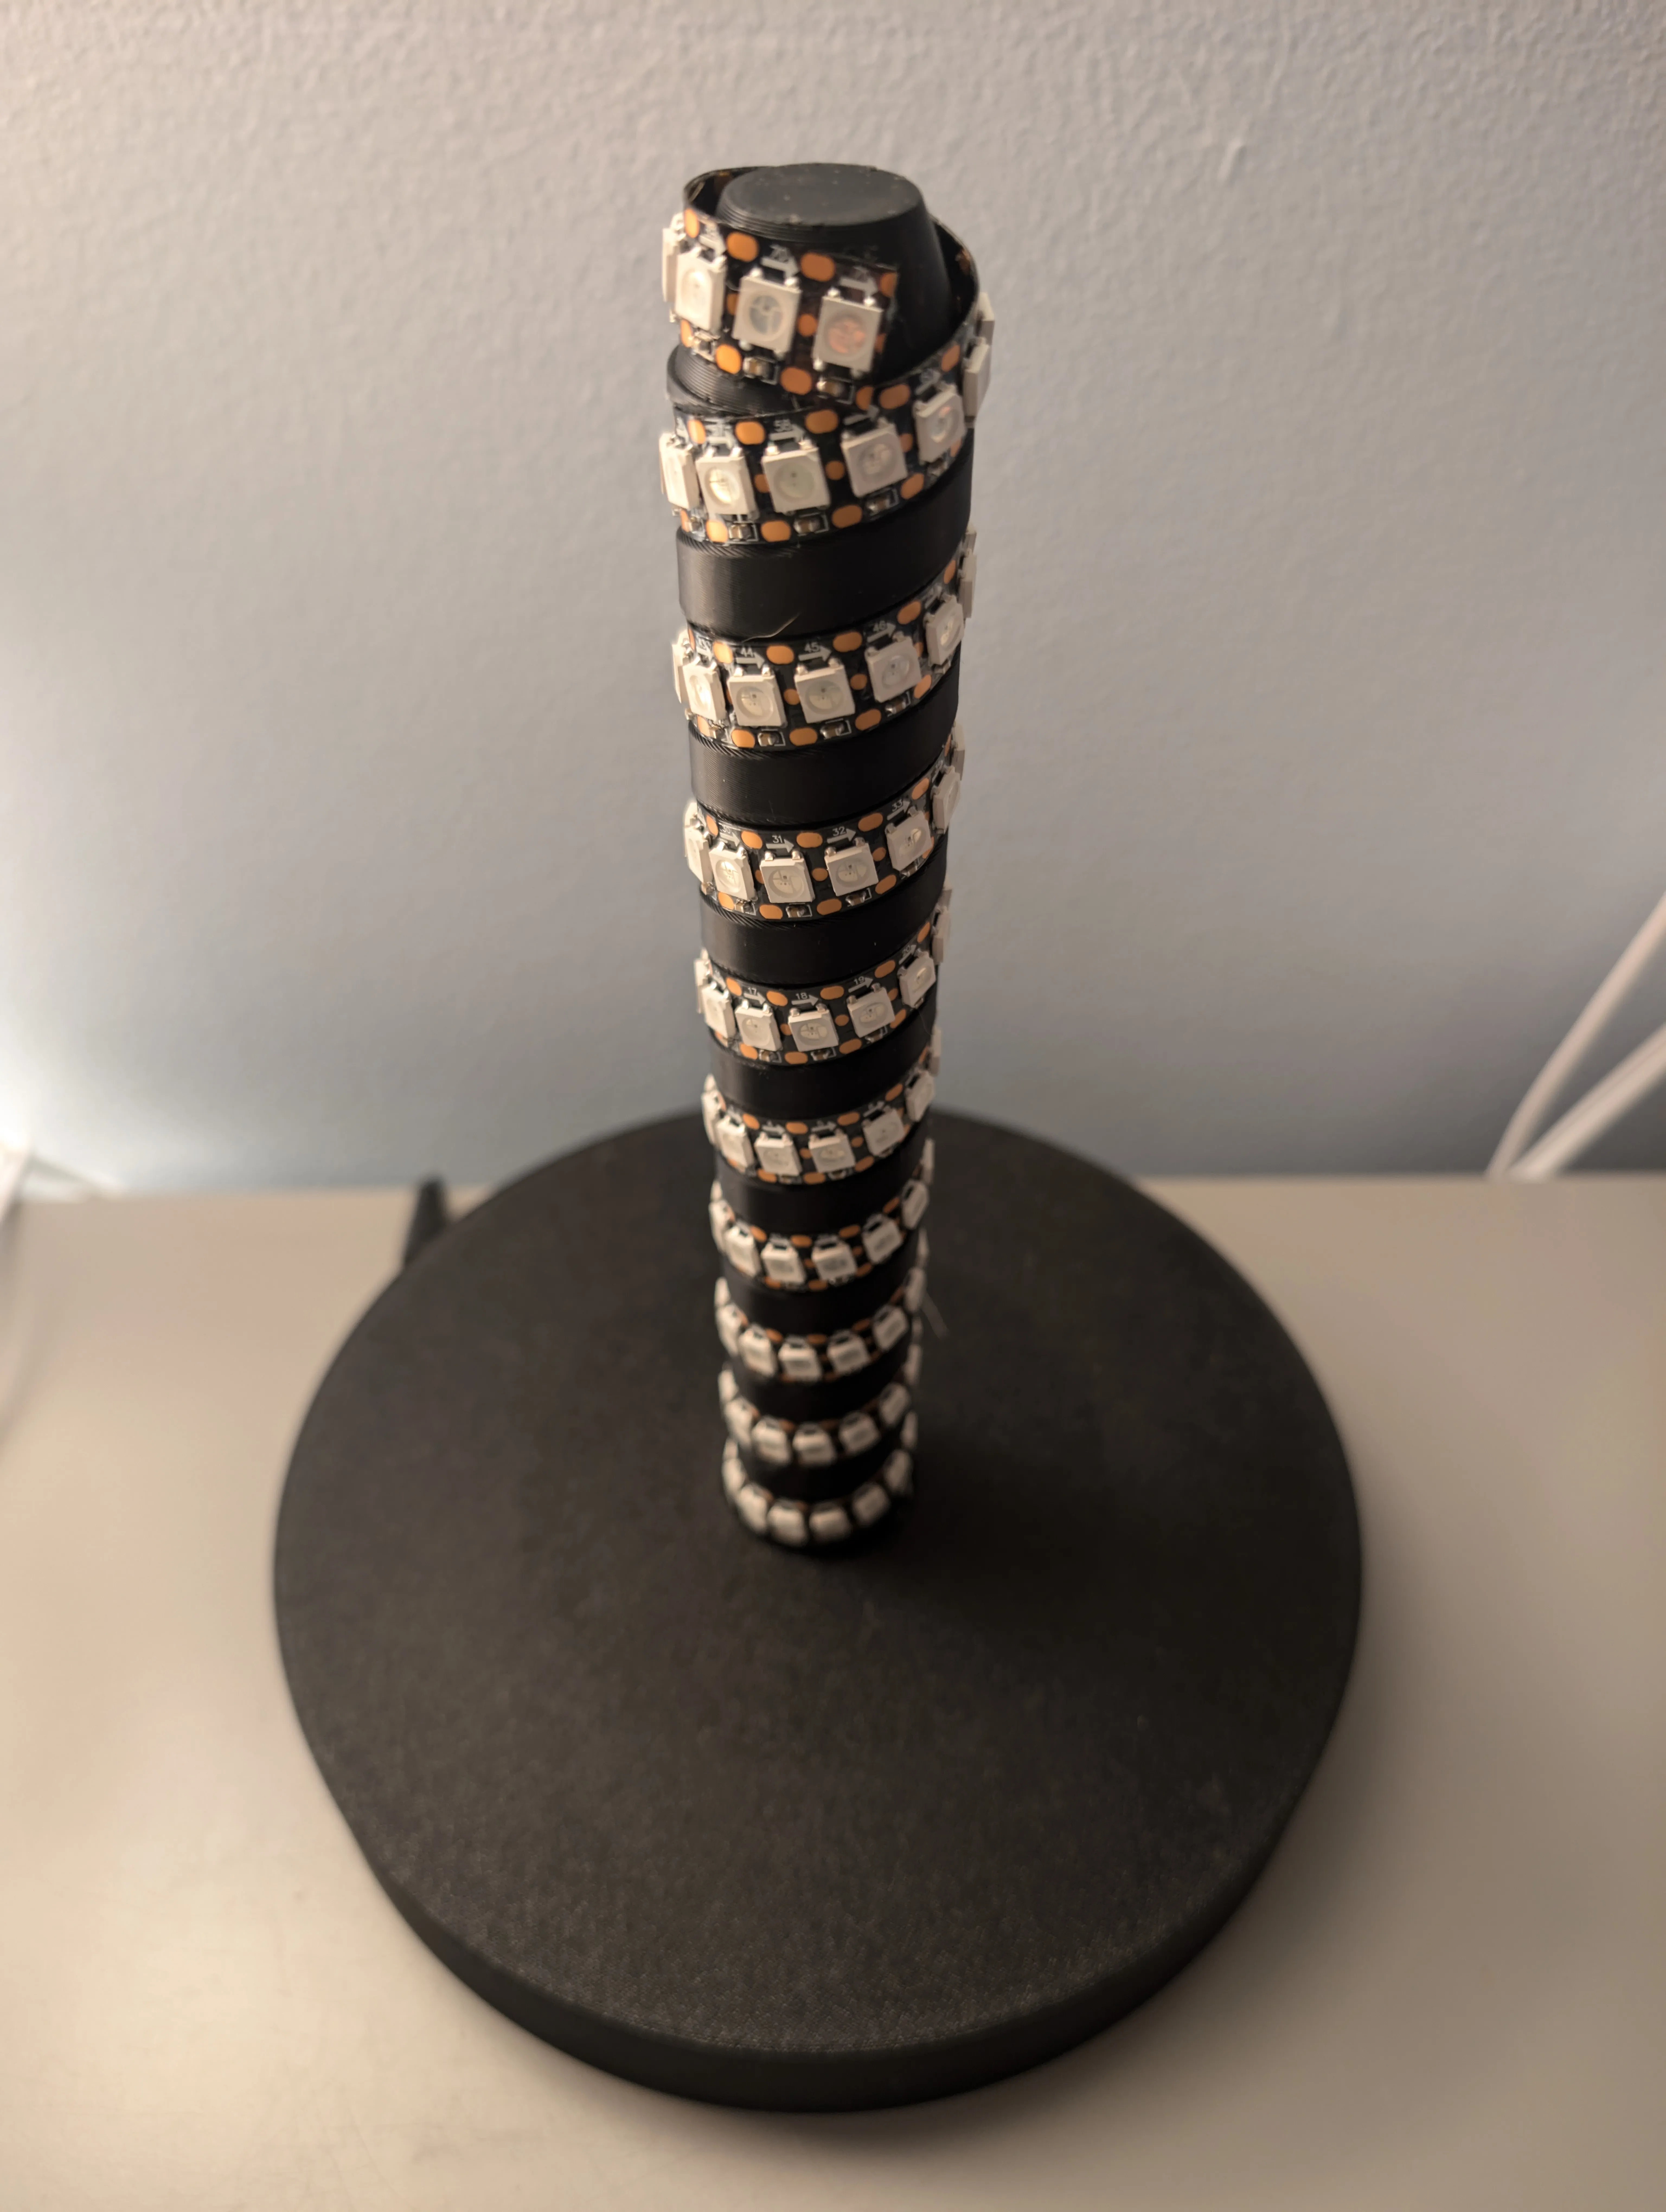
- Wrap WLED strip around the LED column - there is a recess to easily space the WLED strip
Once fully wrapped you will need to trim the end of strip to remove the daisy chain connector
Place base plate cover over the LED column to close the lamp base
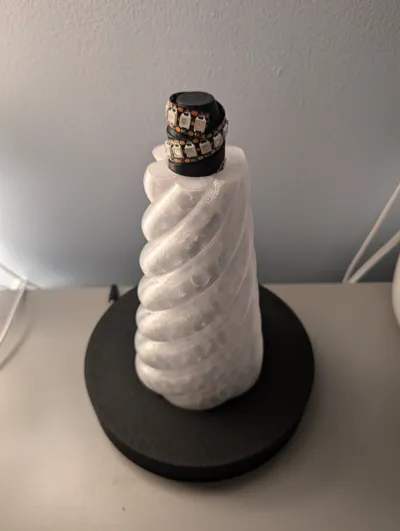
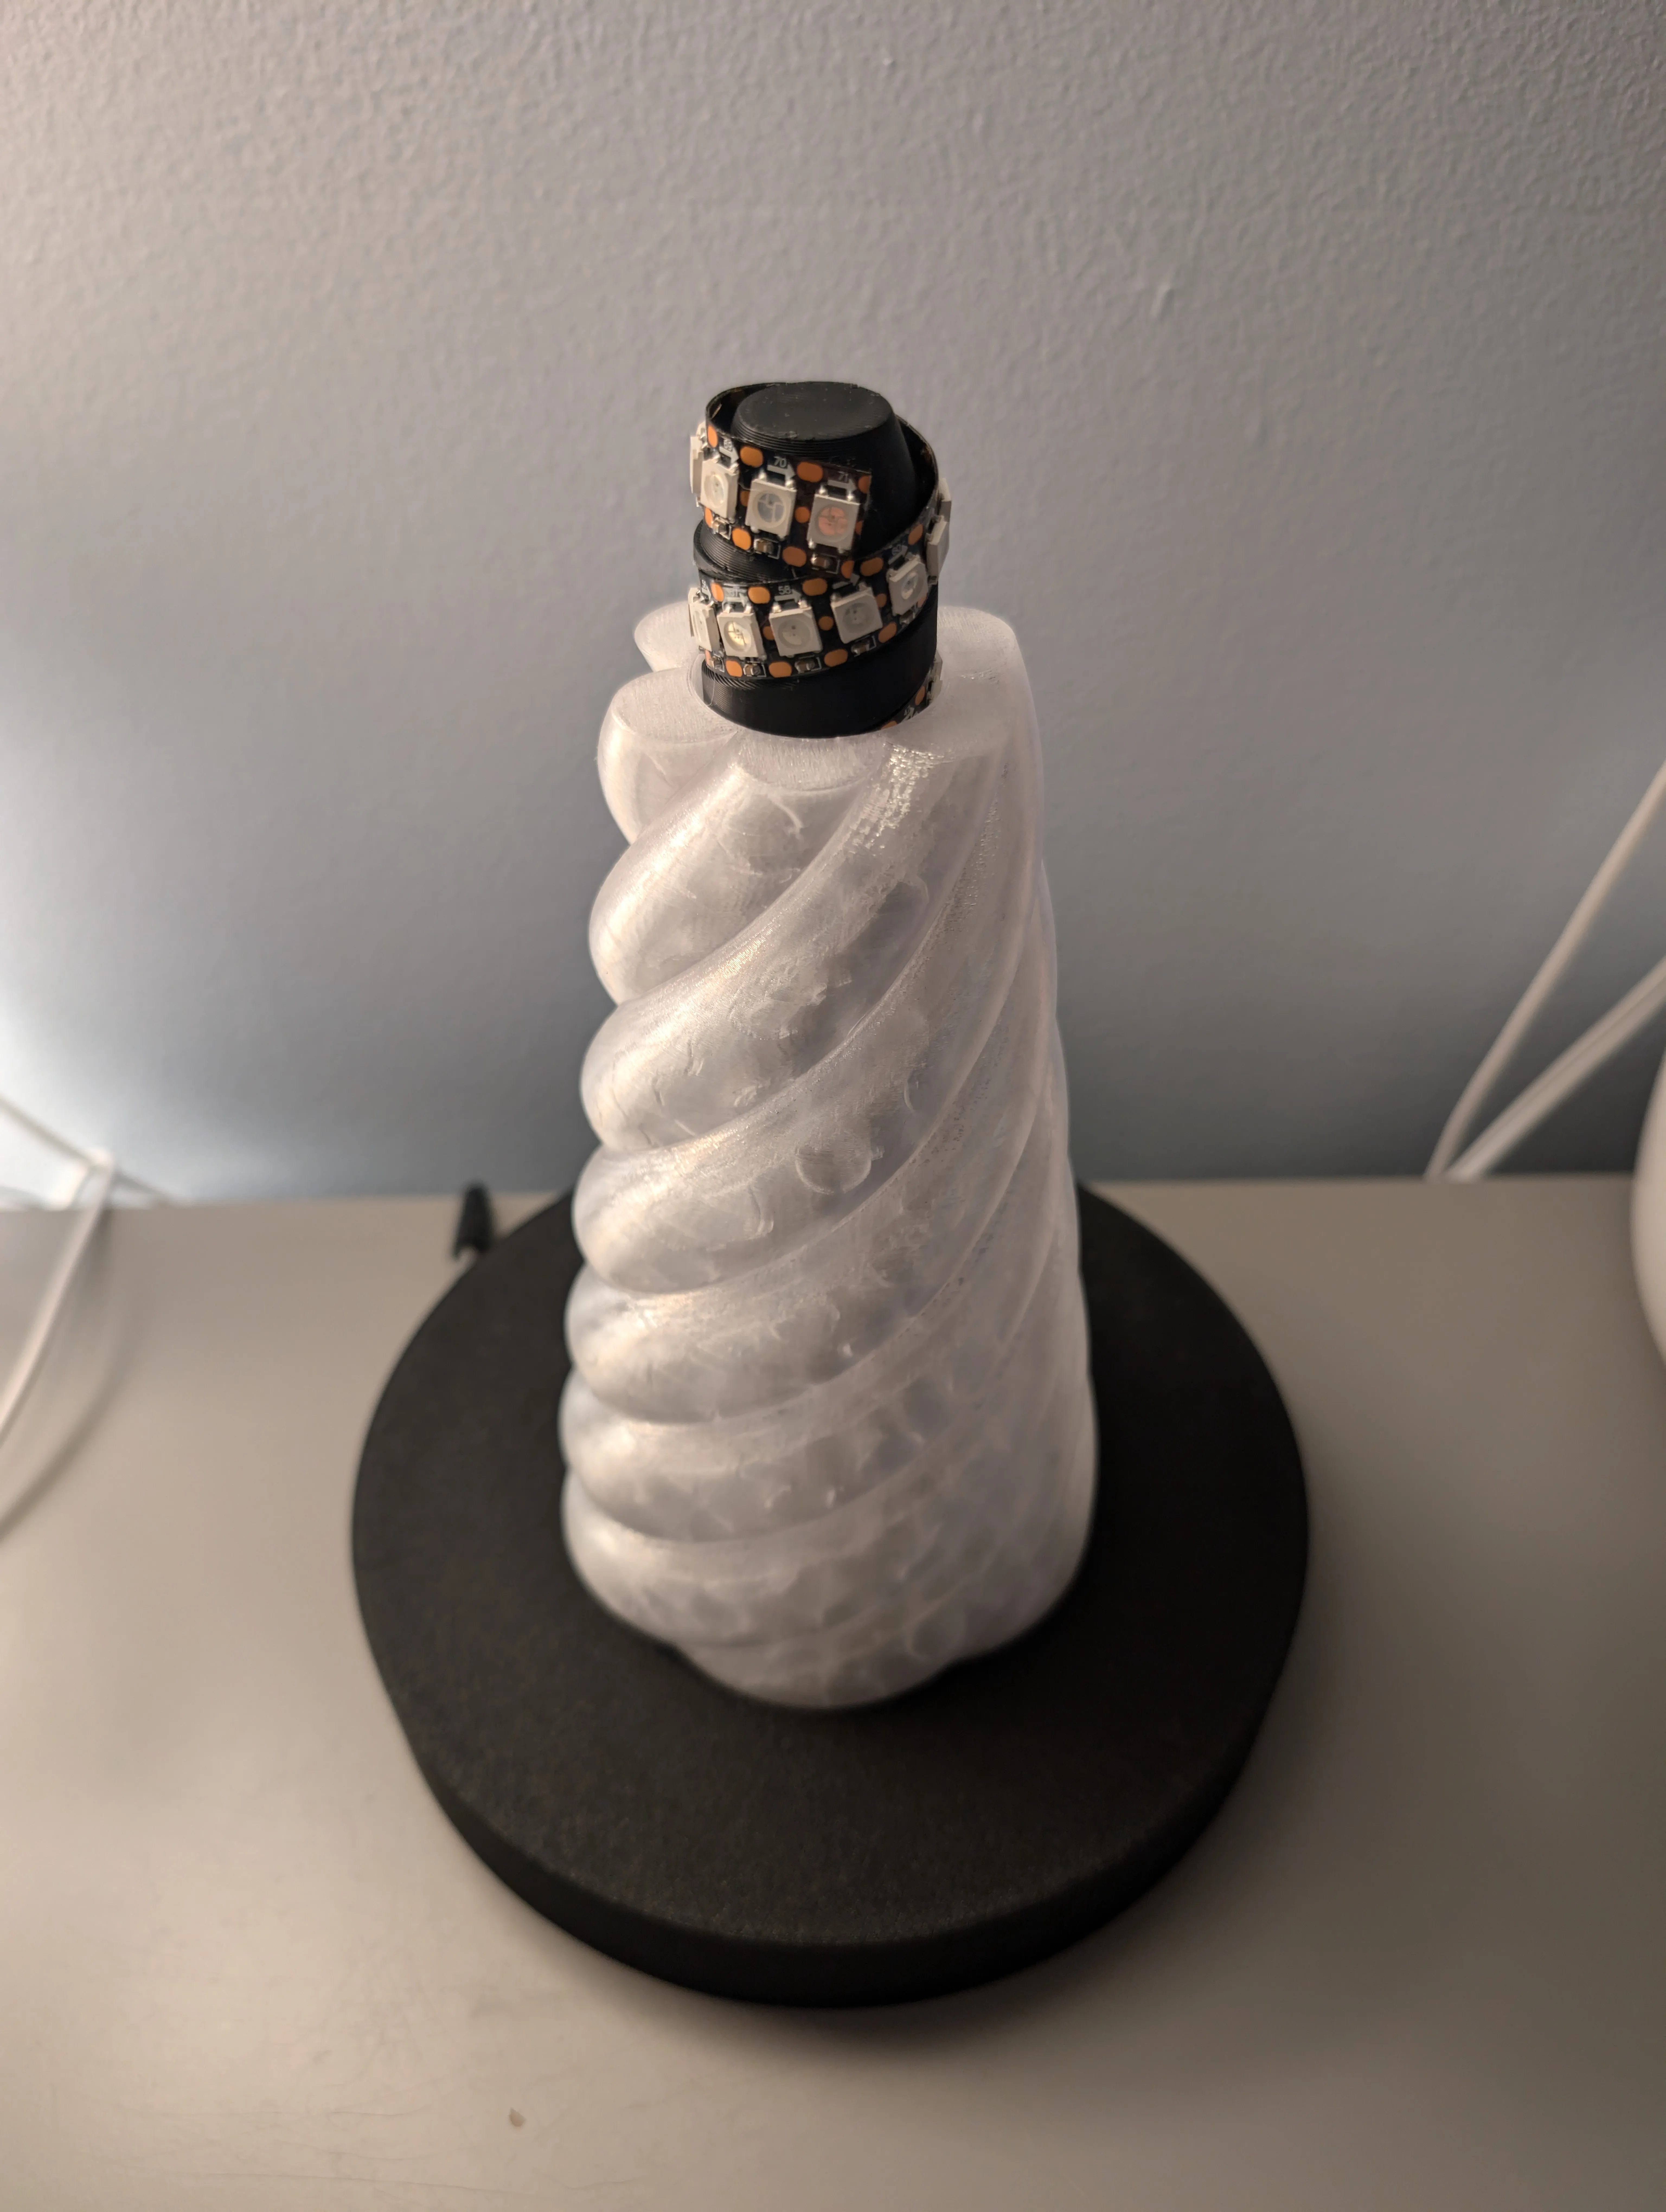
Place the UFO beam over the LED Column
Place UFO body and Dome on top of the beam. The dome should fit snuggly into the UFO body and cover the top of the LED column. Some of the LEDs should be visible in the dome.
Now you are fully assembled and ready to ROCK
License

You shall not share, sub-license, sell, rent, host, transfer, or distribute in any way the digital or 3D printed versions of this object, nor any other derivative work of this object in its digital or physical format (including - but not limited to - remixes of this object, and hosting on other digital platforms). The objects may not be used without permission in any way whatsoever in which you charge money, or collect fees.


Comment & Rating (5)