
2 Screen working Mini Virtual Pinball

Print Profile(1)

Description
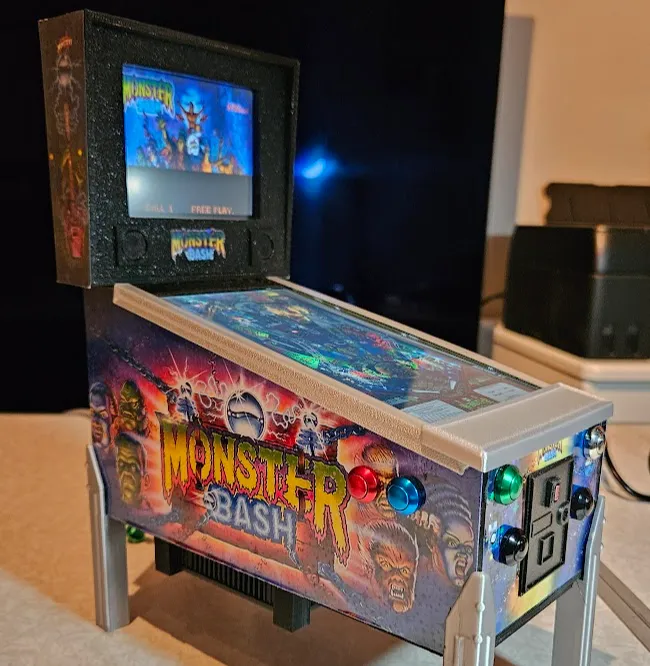
Table-top 100% working Pinball machine with 2 screens, 1 for the play area and another for the backglass and scores, using a mini PC with Windows to run the software
Printed in PETG using a P1S.
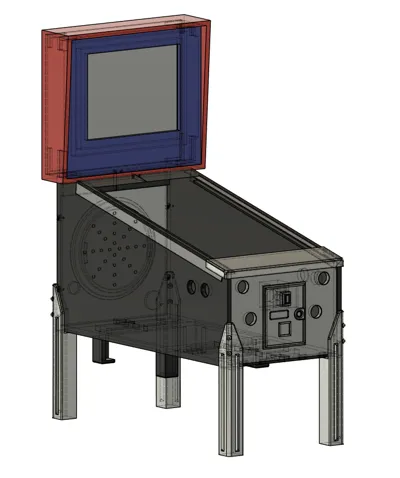
There are two models of the main cabinet body included: One with a plain flat bottom and another with a cut-out to slide your mini PC outside the cabinet (placing the exhaust vents at the bottom, to help cool it down). Each body is split in two to make it easier to print. You do not need to print both bodies. Print the right plate for your requirements.
Part list:

2K 6 inch LCD screen with HDMI controller LS060R1SX01
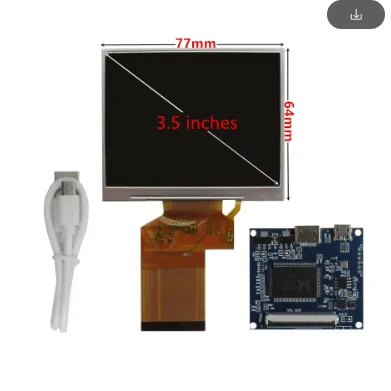
3.5 inch LCD screen for backglass LQ035NC111

Xinmotek 1player USB joystick encoder. (You can use any encoder, but this is one of the smallest I could find, and you will need the space) Get one with cables included.
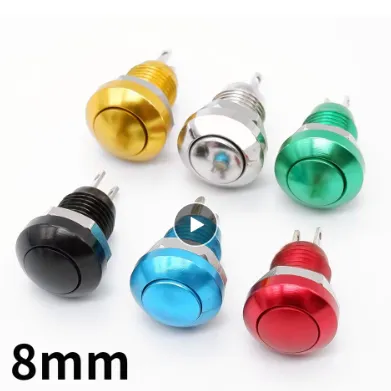
8 mm buttons: 2 on each side, 4 on the front, 1 on the back to turn on the PC

A computer to run your pinball software. I am using a GMKTec G5 Intel Alder Lake mini PC
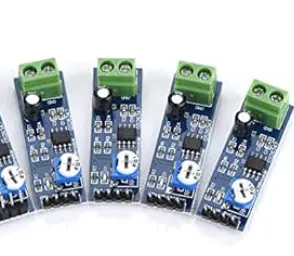
1 or 2 mini amplifier boards for audio. I am using a single LM386 because it's tiny an can be powered from a USB port
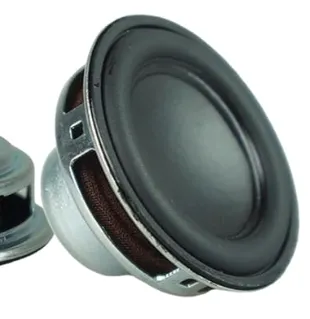
And a speaker, find one that will fit on the back of the 3.5 inch screen
Cables:
Lots of cables. Try to find the shortest and thinnest (or even better, short and flat ribbon) cables. If you can find cables with 90 degree connectors in the right direction it will be easier to fit everything inside.
- HDMI to HDMI (6 inch screen)
- HDMI to miniHDMI (3.5 inch screen)
- USB A male to 2x USB female splitter (the G5 only has 3 USB ports)
- USB A to microUSB x 2 (one to power the 3.5 screen, one to connect the joystick encoder)
- USB A to USB-C (to power the 6 inch screen)
- USB A to sacrifice (to get 5 volts for the amp)
- Minijack male (to connect the PC to the amp)
Tools:
Soldering iron: For the buttons, and wiring the speaker.
Hot glue or epoxy to keep things in place
I used Superglue to mount the legs and some covers, probably could be avoided improving the models a bit.
Boost Me (for free)
This is my first upload. I have created this model from 0, learning Autdesk Fusion as I was progressing on the model.
A boost would encourage me to continue publishing my projects.
License



Comment & Rating (75)