
Snow Peak Orange Lantern Rechargeable Battery snowpeak ES-071

Print Profile(1)

Description
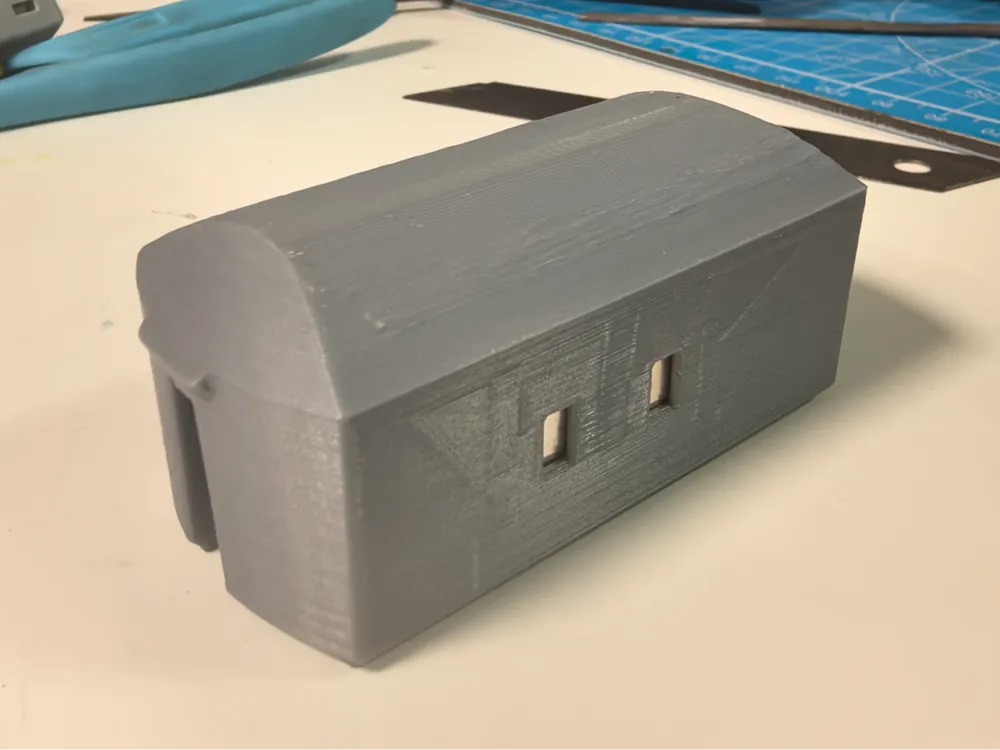
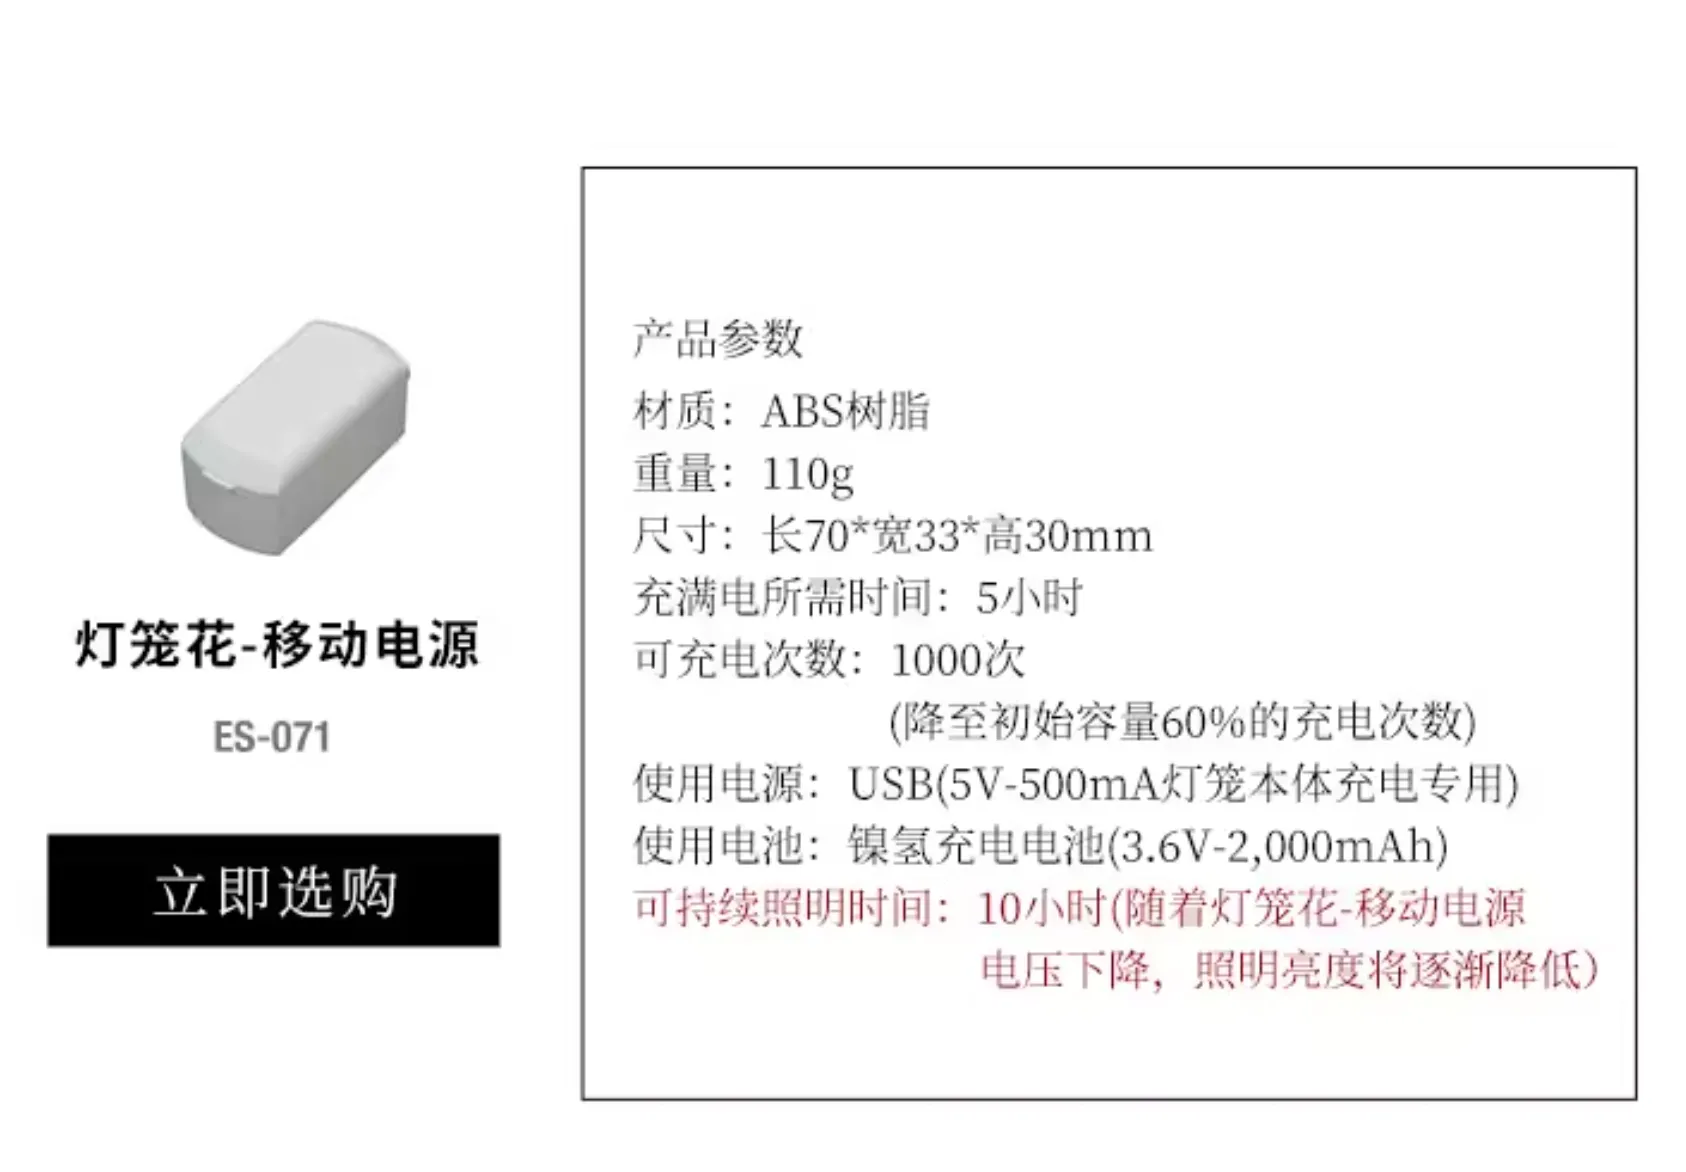
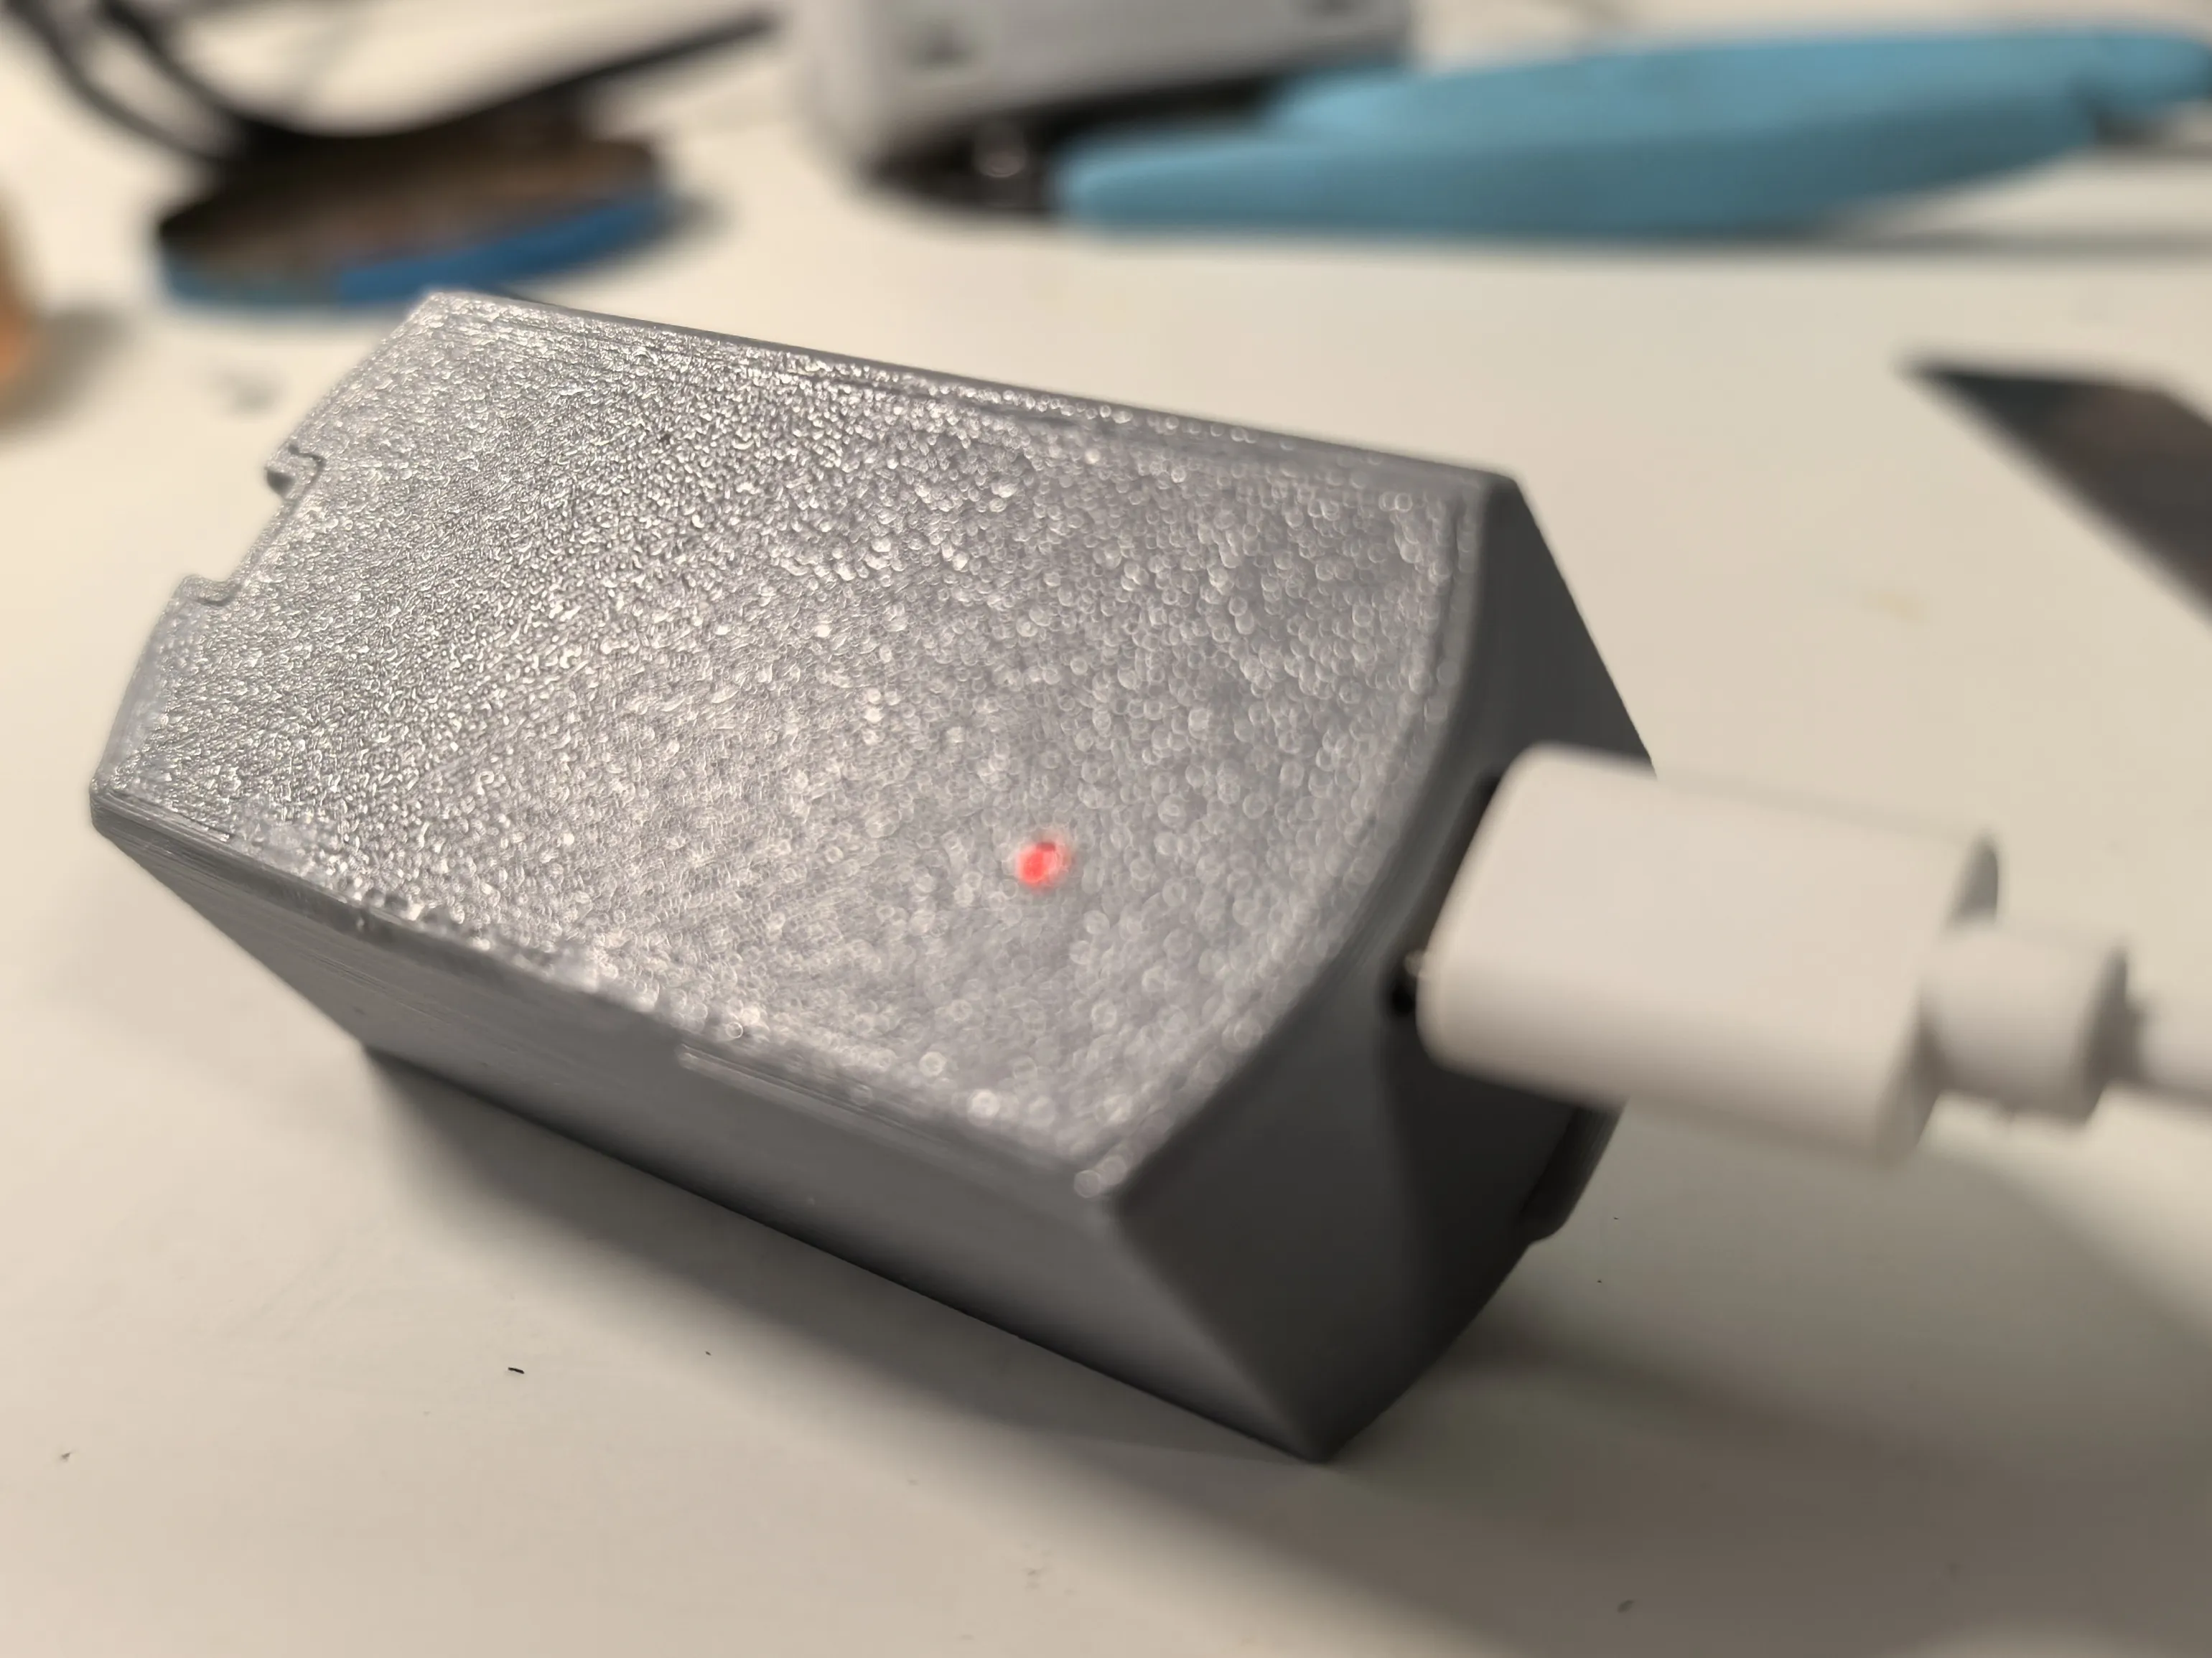
The Snow Peak lanterns, often hailed as the Hermès of outdoor camping, are undeniably exquisite, but their price tags are equally breathtaking. The large orange lantern costs over ¥800, while its accompanying charging battery is sold separately for an additional ¥600. Moreover, the battery is a nickel-hydrogen battery (prone to memory effects), boasting a meager 2000mAh capacity. This prompted me to embark on a DIY project to create my own charging battery, which cost me less than ¥50 and boasts a 3600mAh lithium battery.
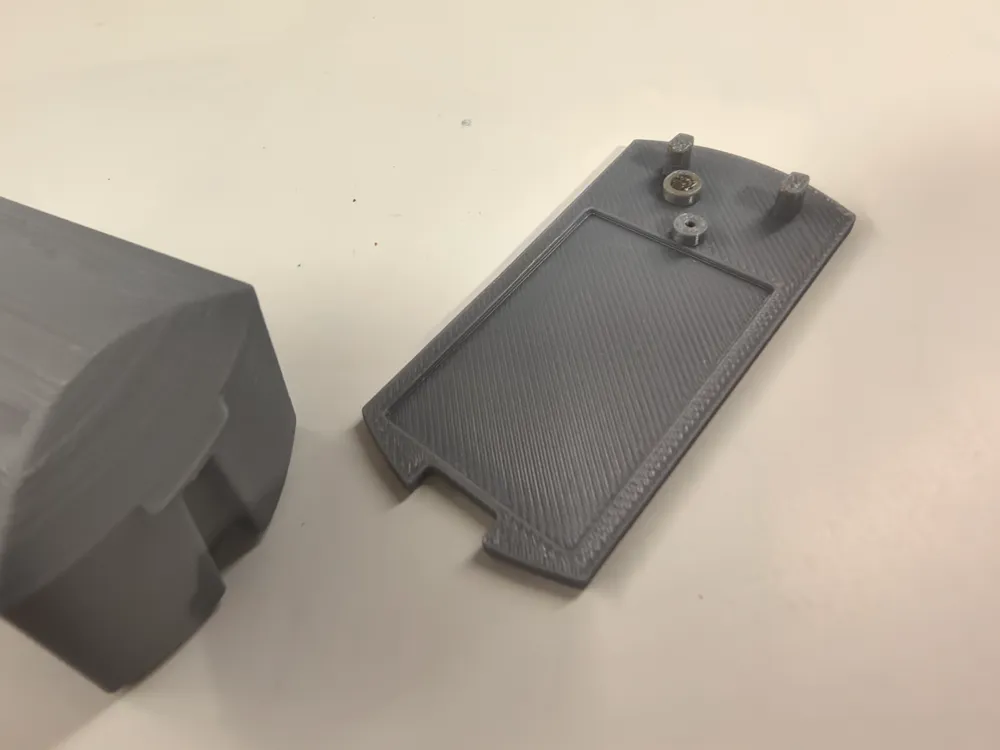
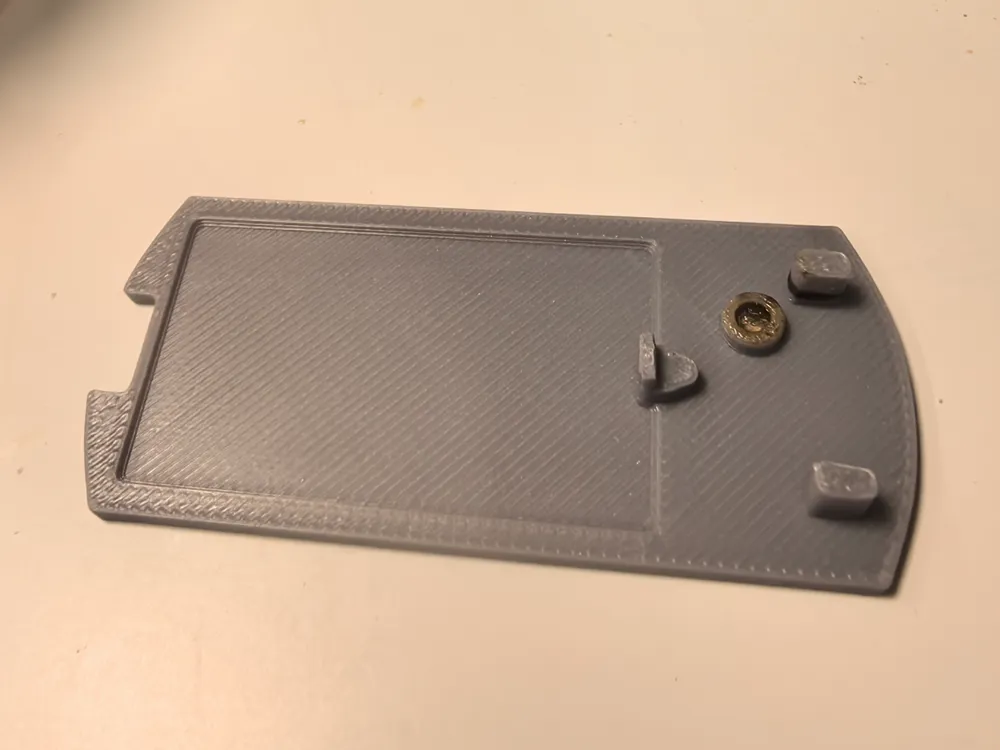
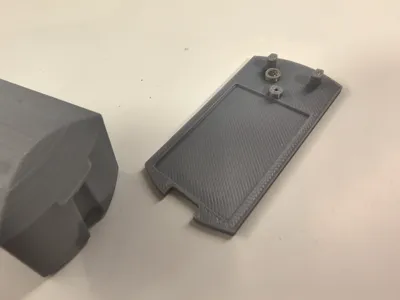
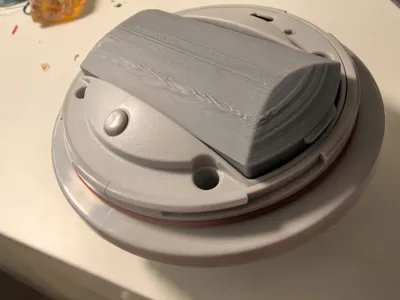
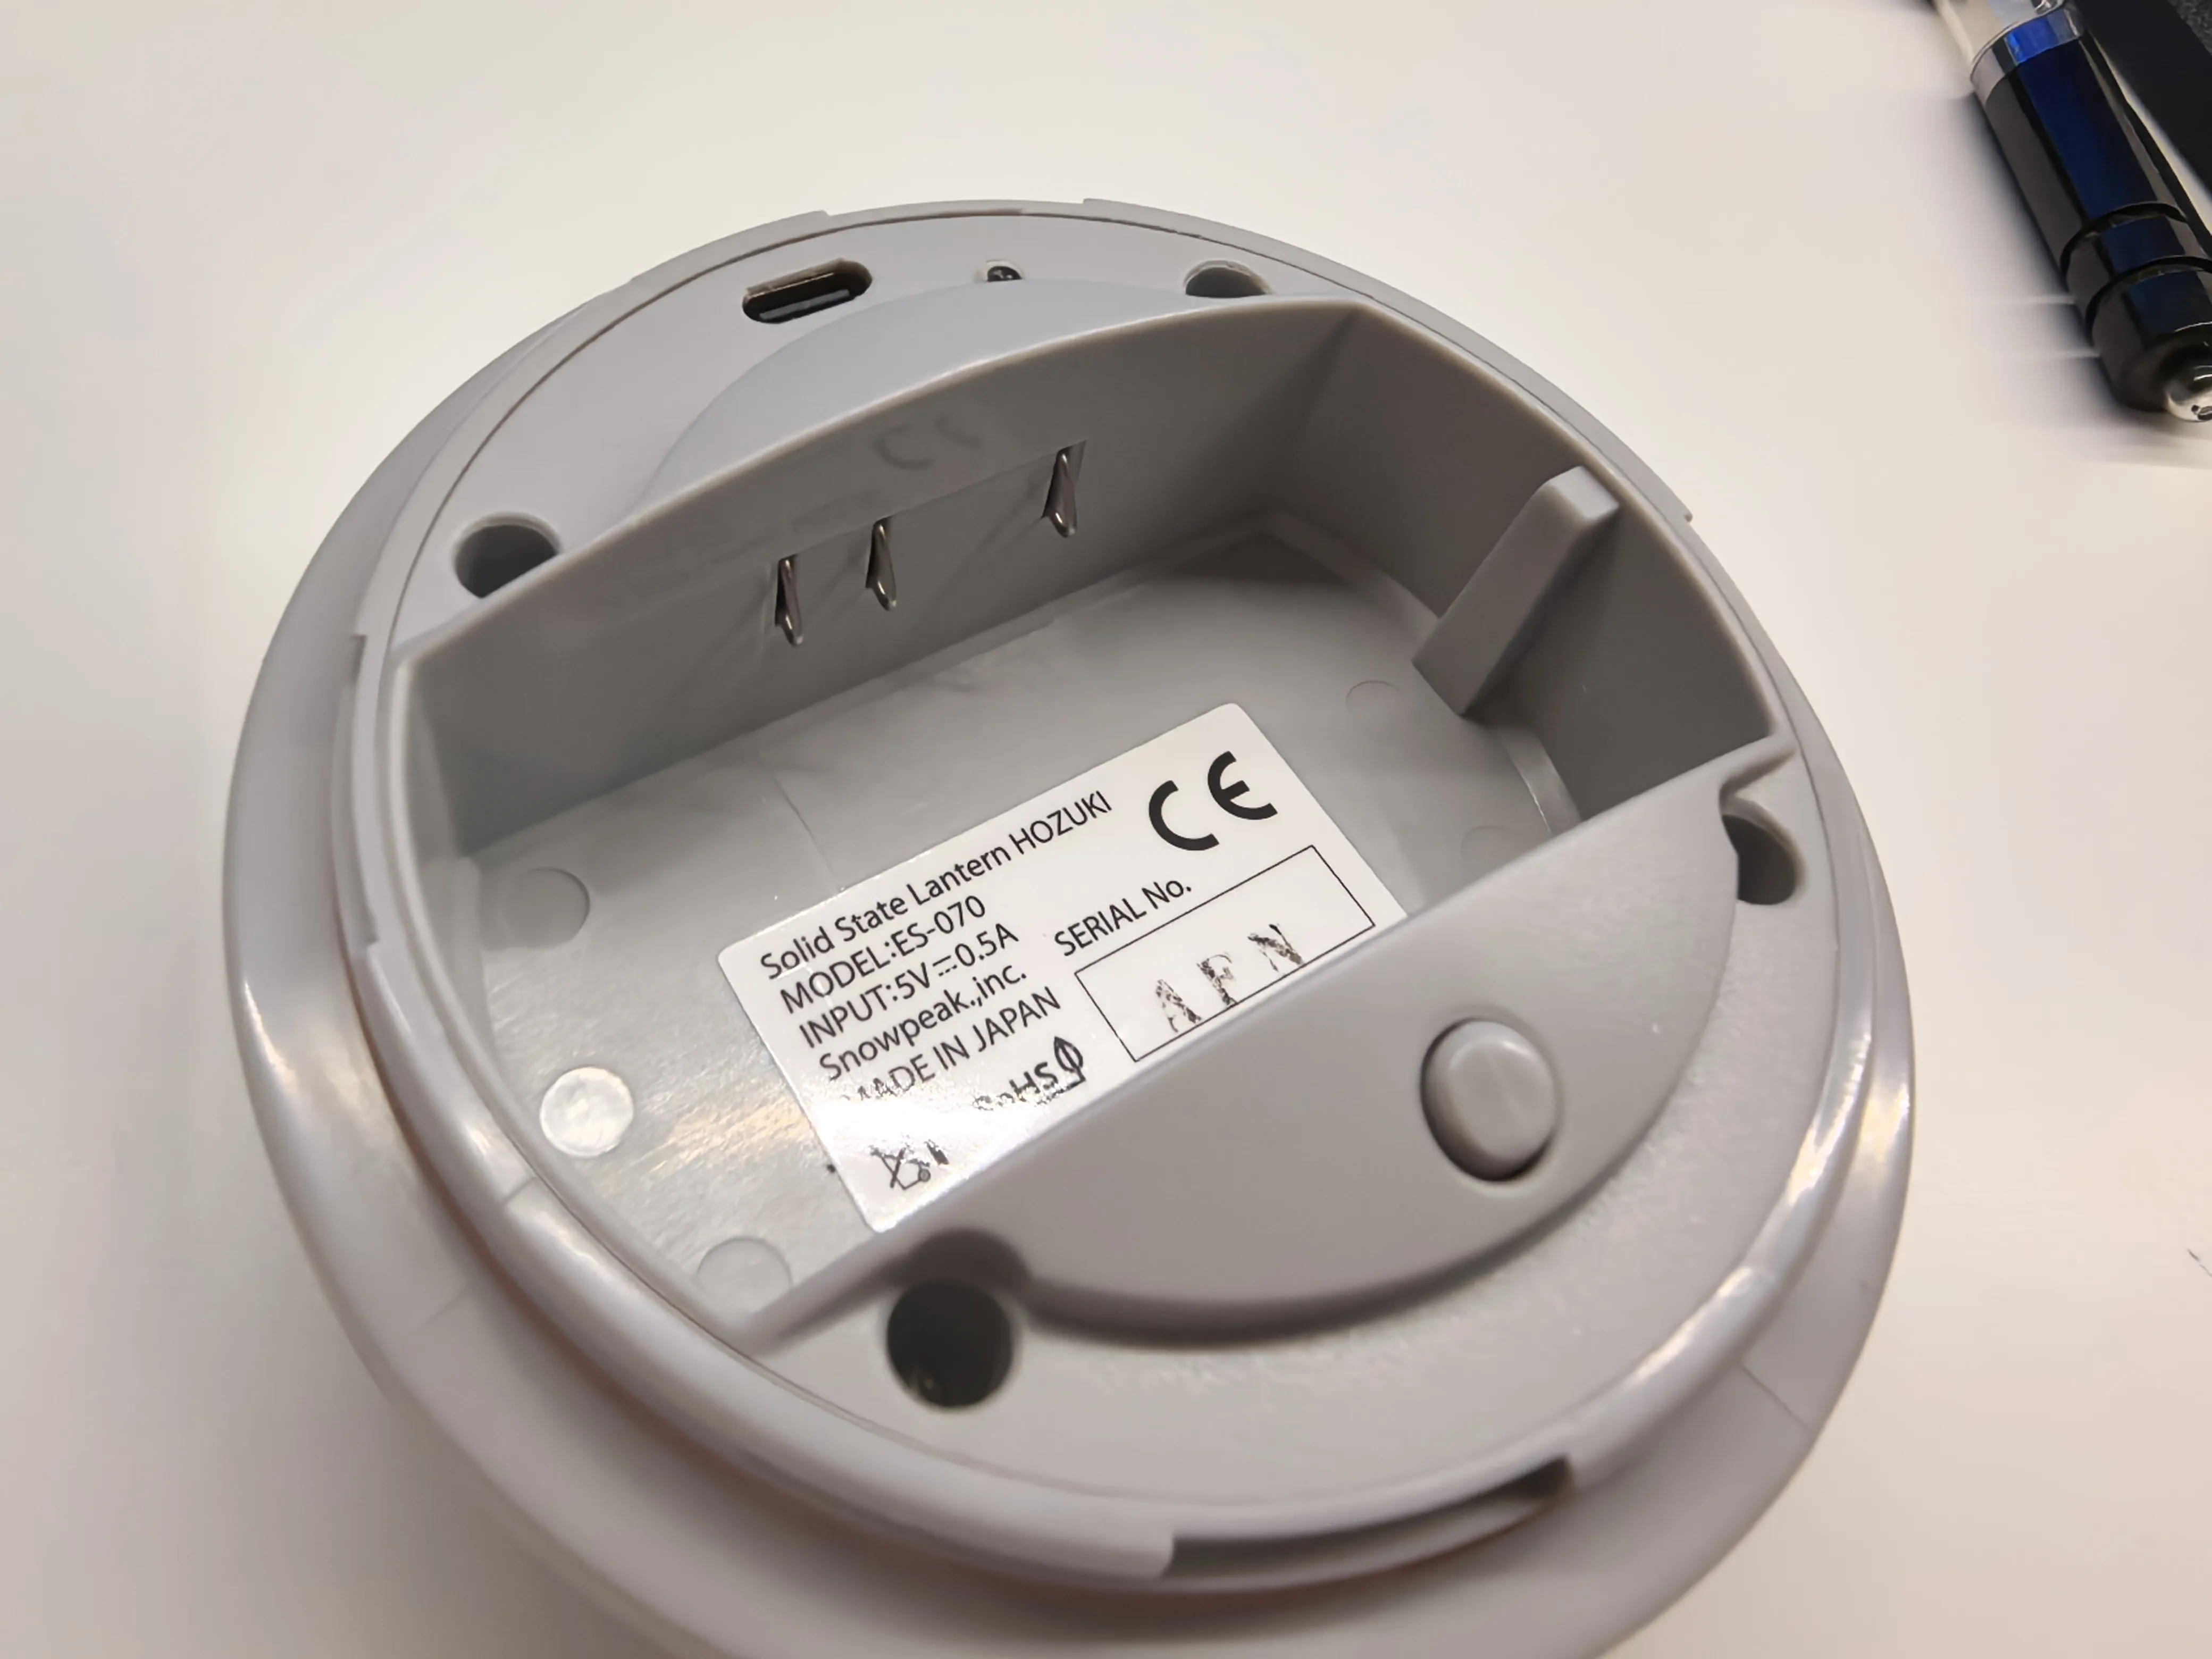
The original lantern’s battery compartment features three contact points. The outermost two are intended for regular batteries, while the middle point is supposedly the positive terminal for the charging battery. However, upon testing, the voltage read a mere 2.6V, whereas a standard nickel-hydrogen battery should deliver 3.6V. This discrepancy suggests that charging might not be feasible. As I was uninterested in delving deeper, I devised two modification schemes:
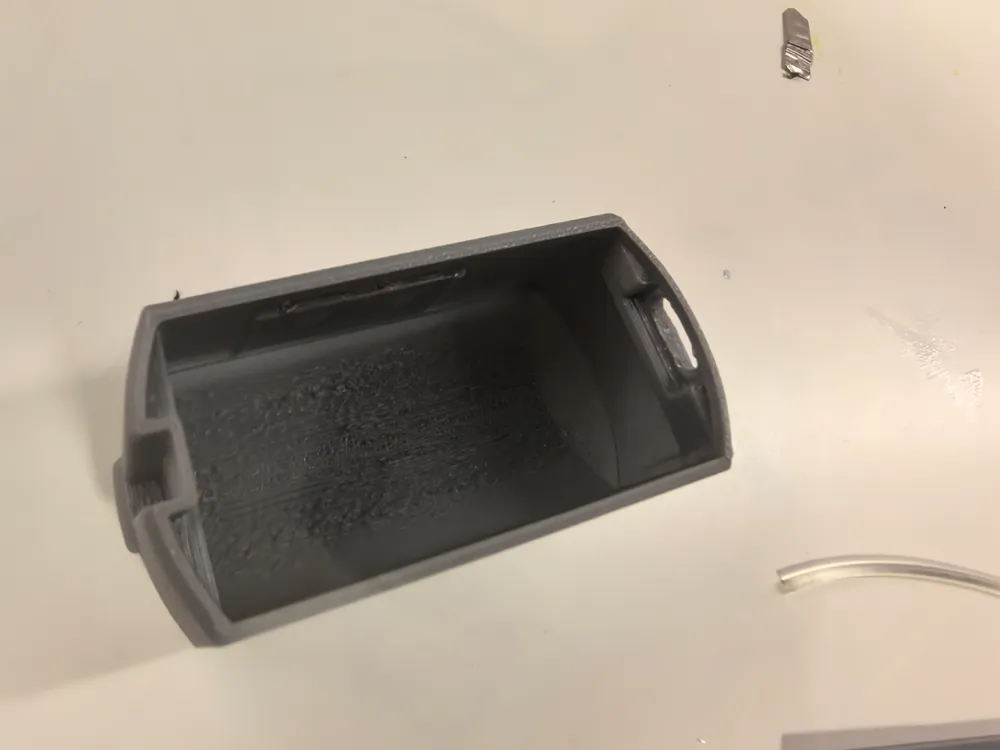
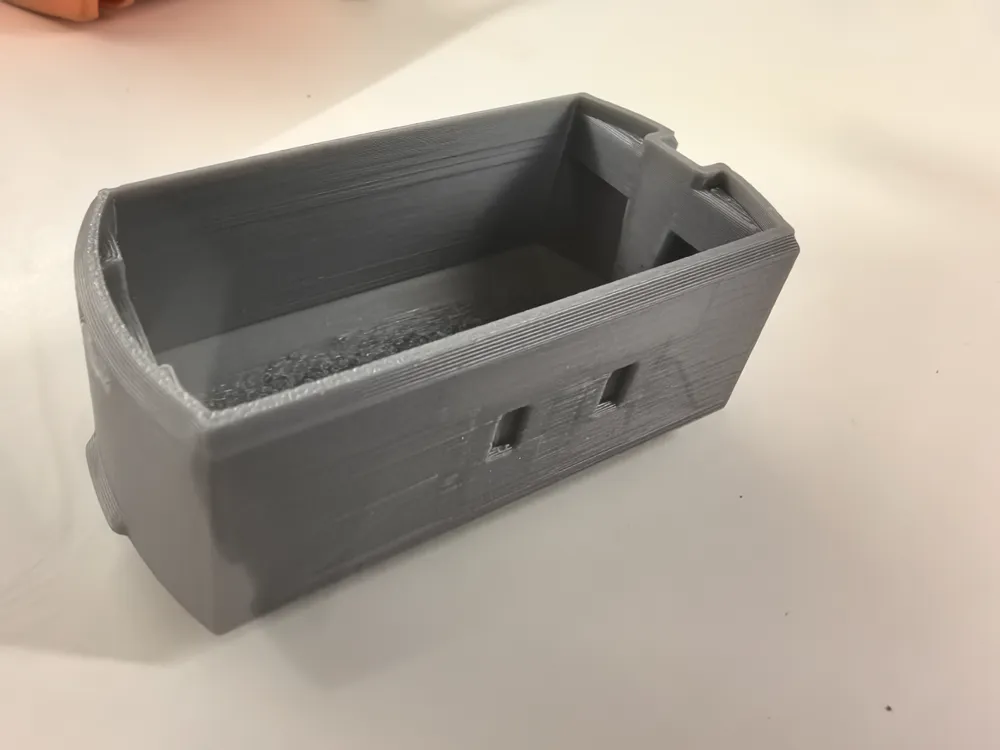
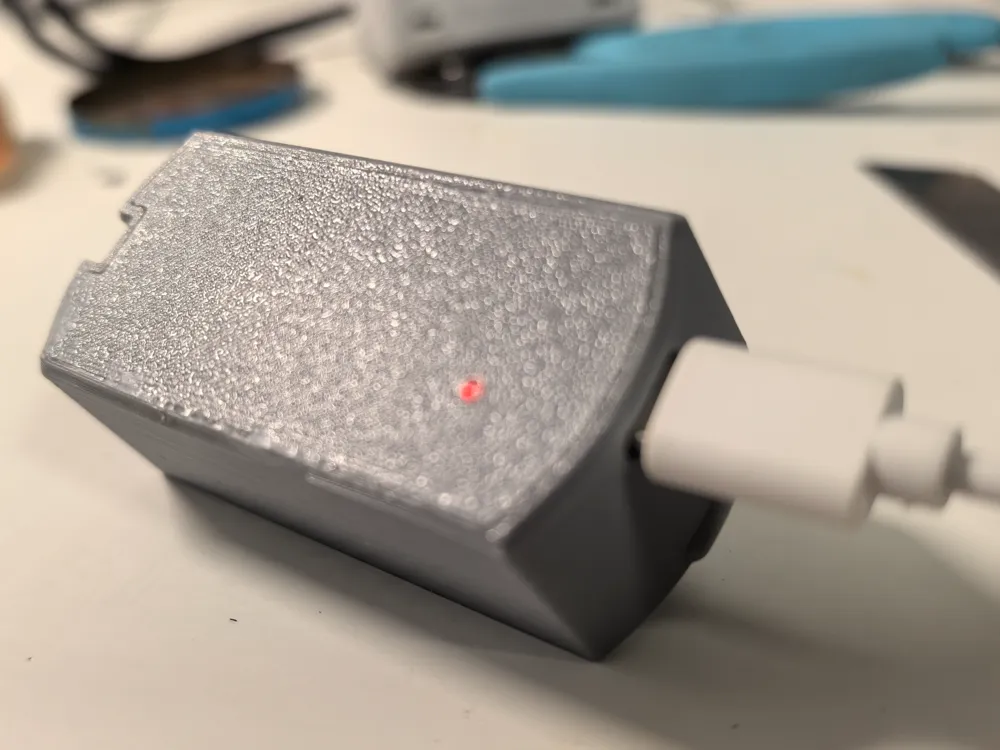
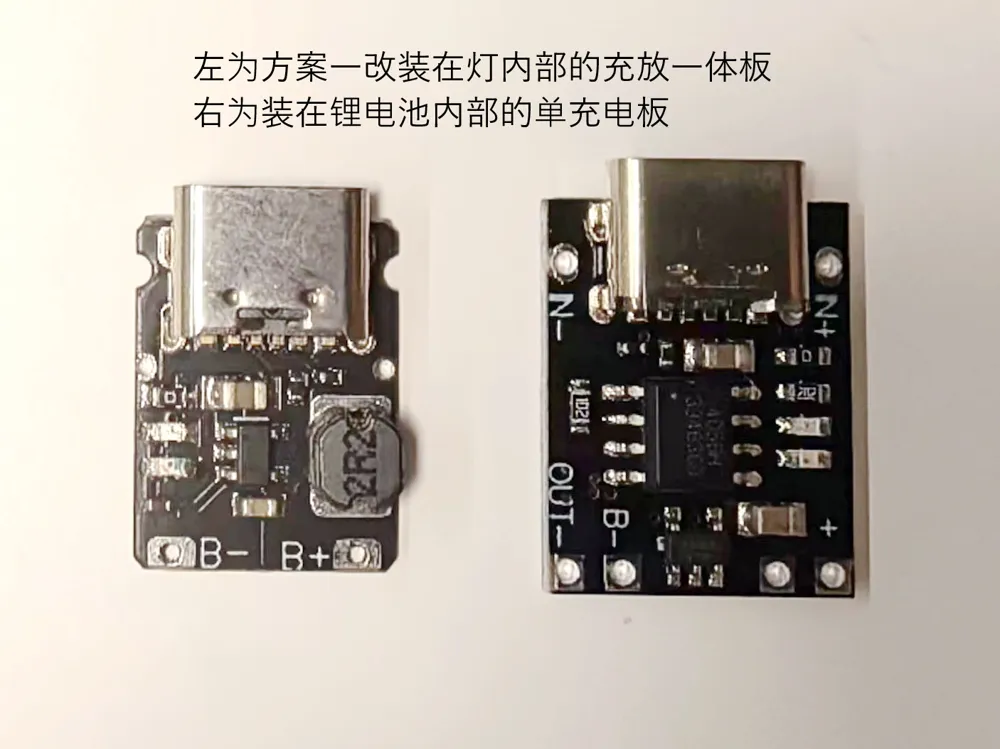
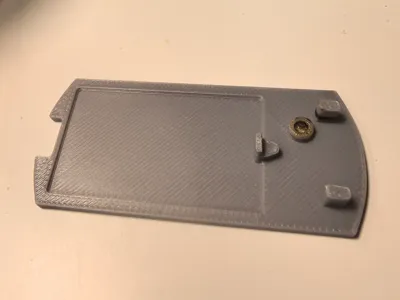
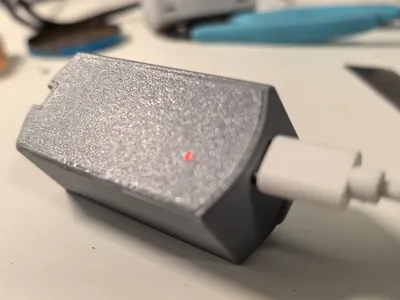
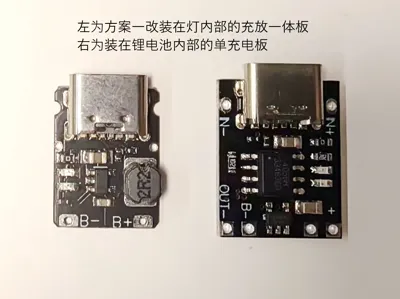
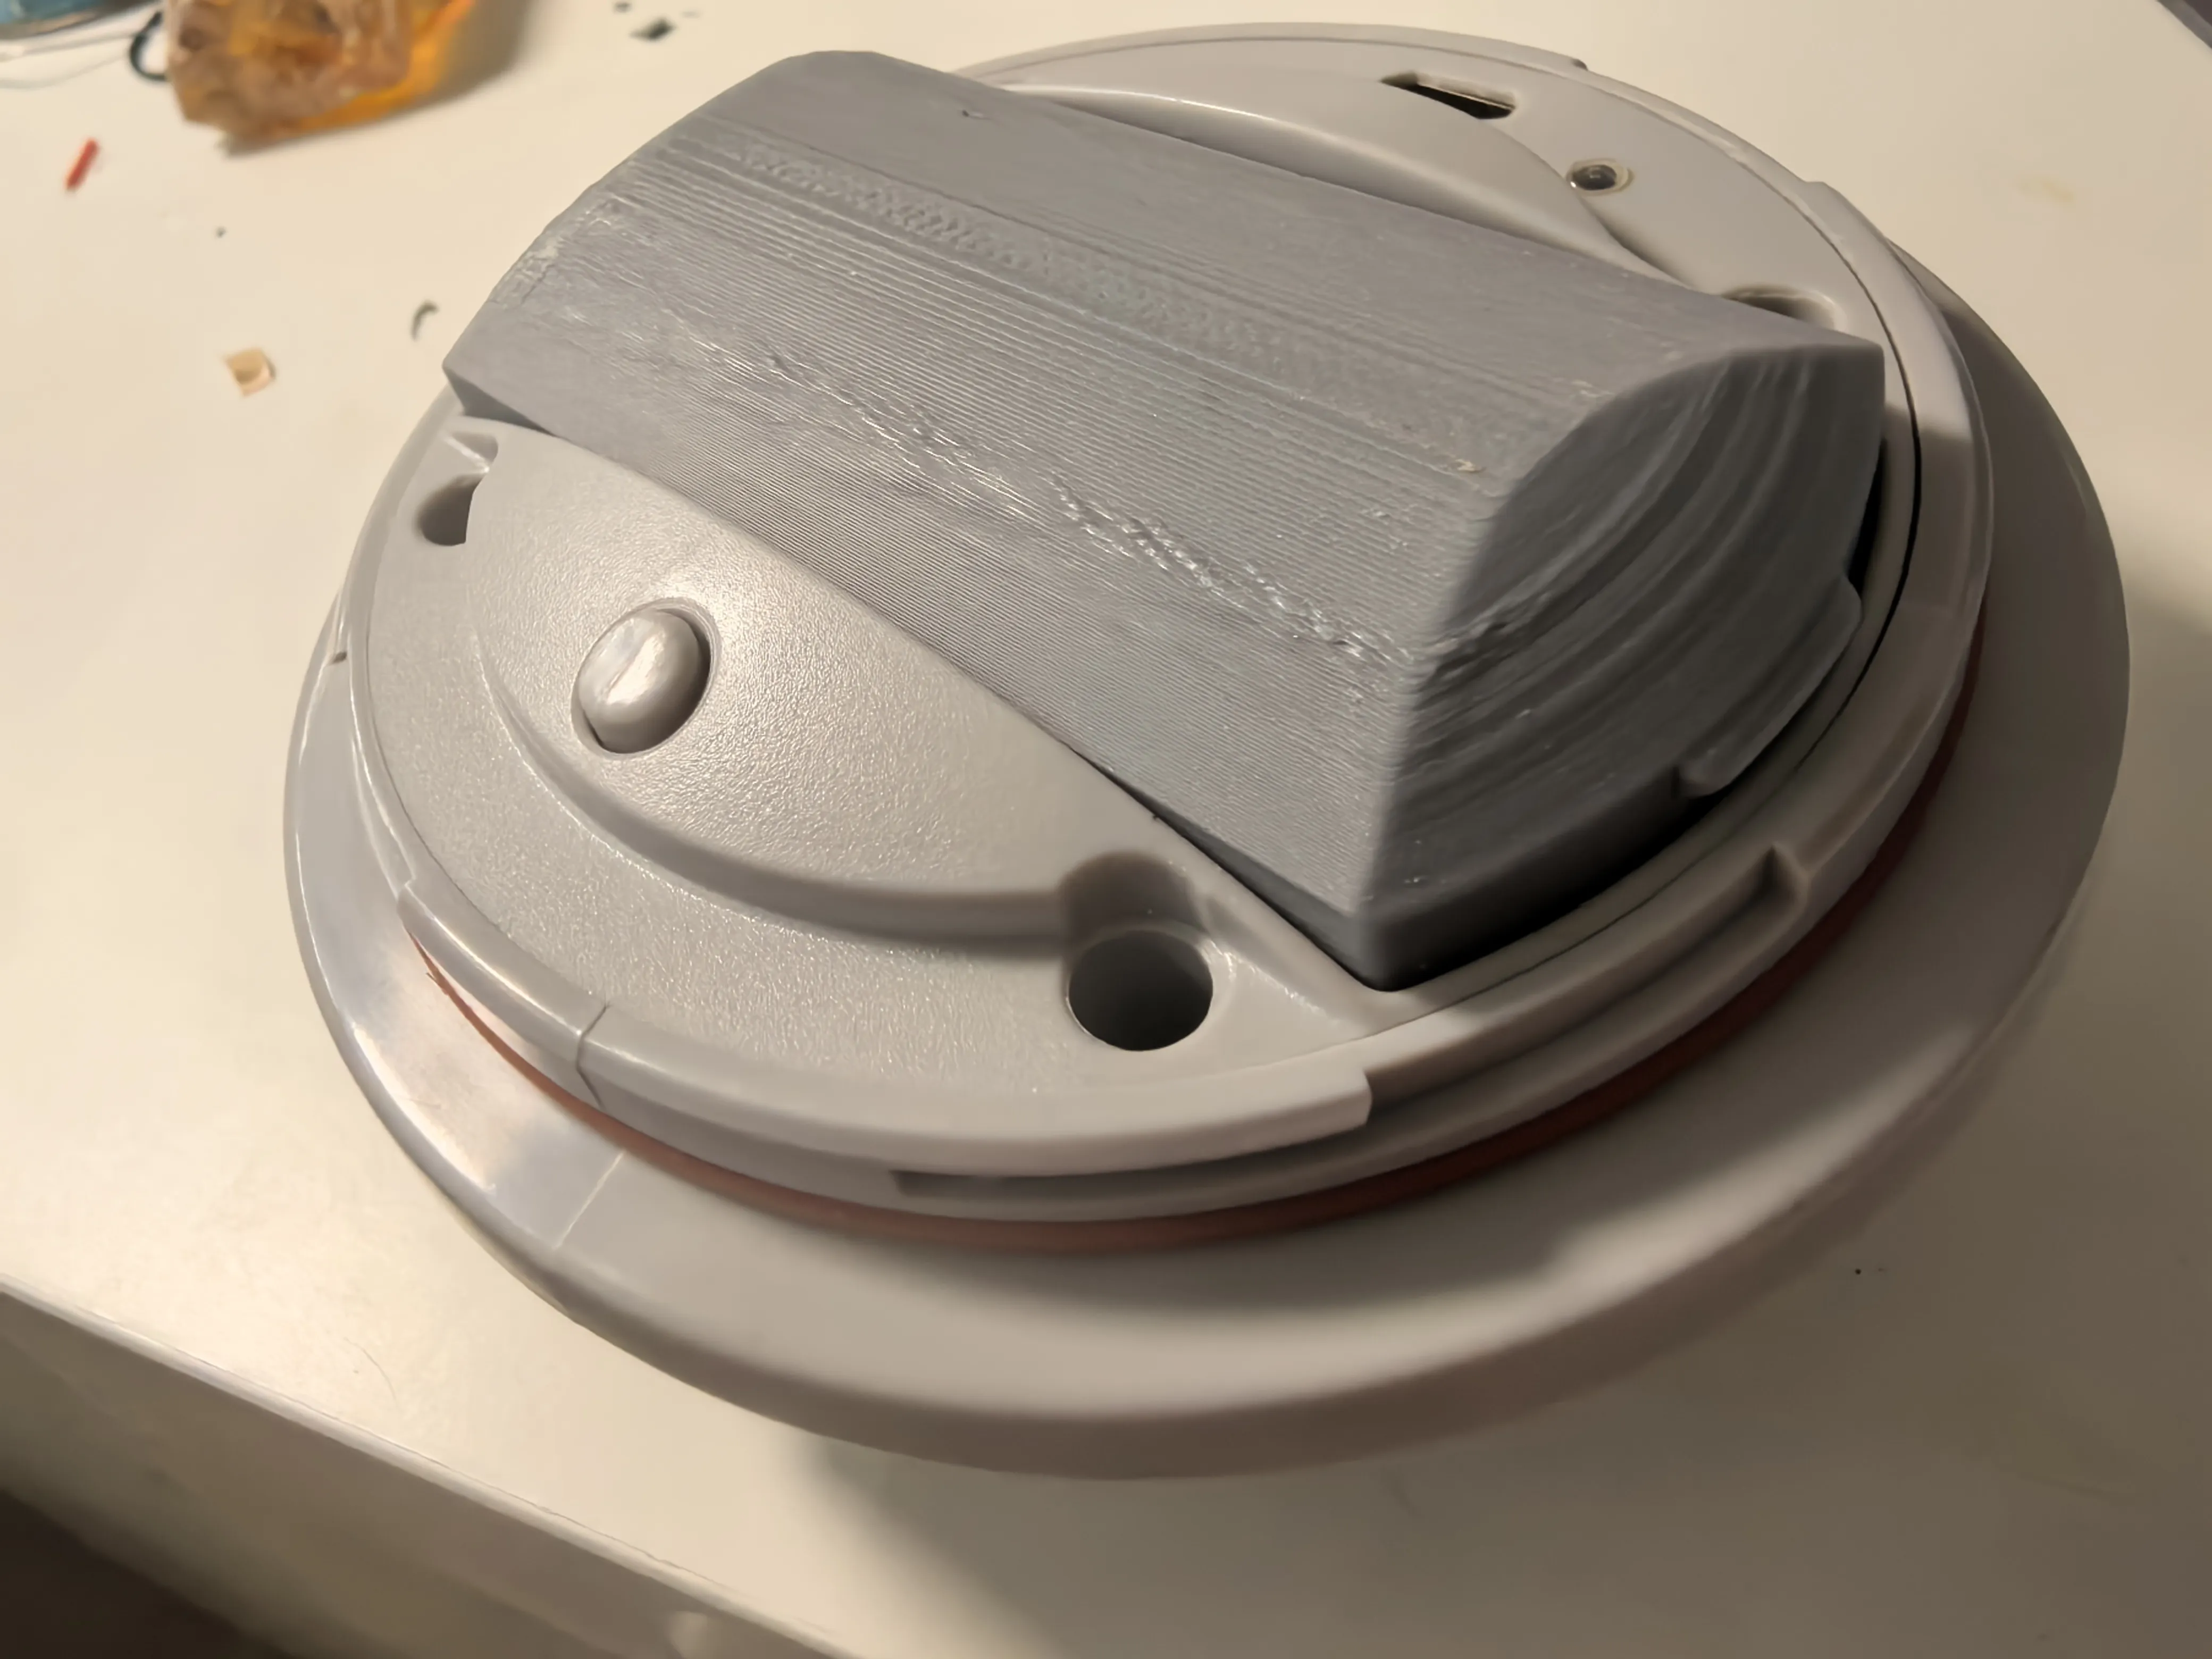
Option one: Modify the lantern’s charging circuitry, concurrently replacing the mini USB connector with a Type-C port. Utilize the original lantern’s middle contact point as the charging terminal, also serving as the power input/output (automatic switching). This is the approach I opted for. Its advantage lies in eliminating the need to remove the battery while charging and using the lantern. The drawback lies in the necessity of modifying internal circuitry, making it comparatively cumbersome and unrelated to 3D printing. This scheme is not recommended, although I have provided an STL file for download for those interested.
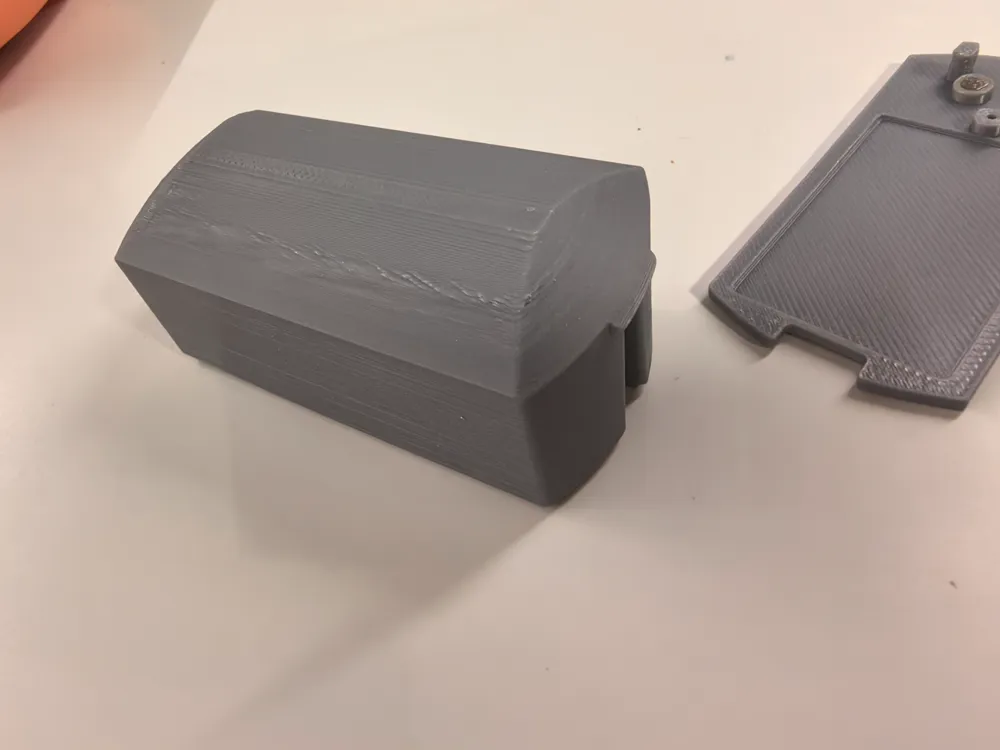
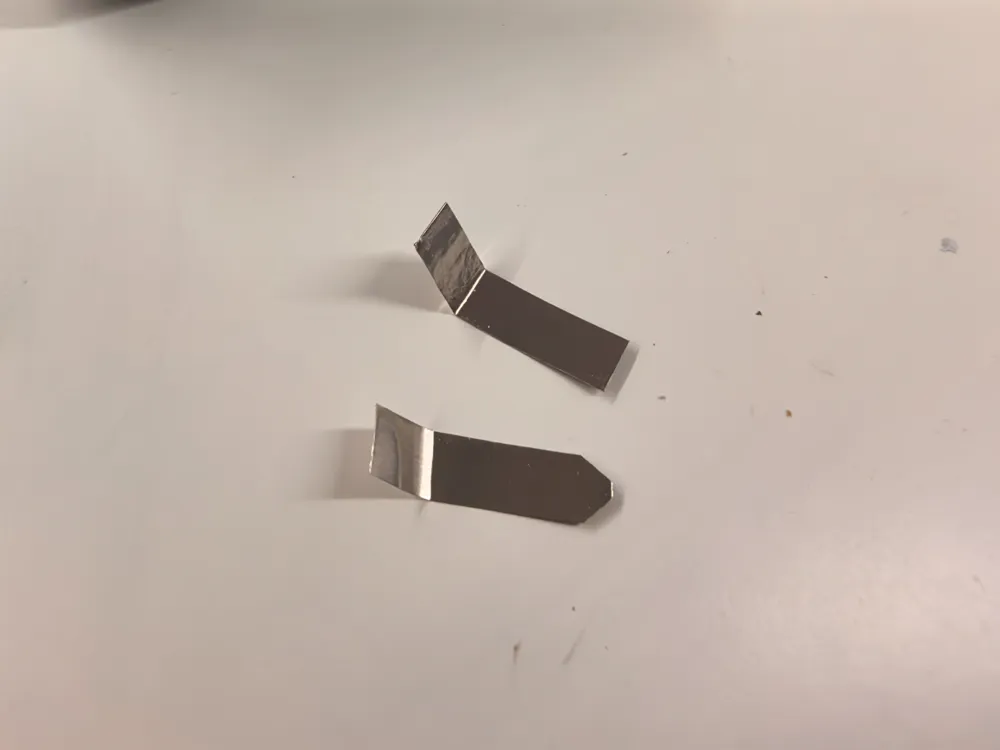
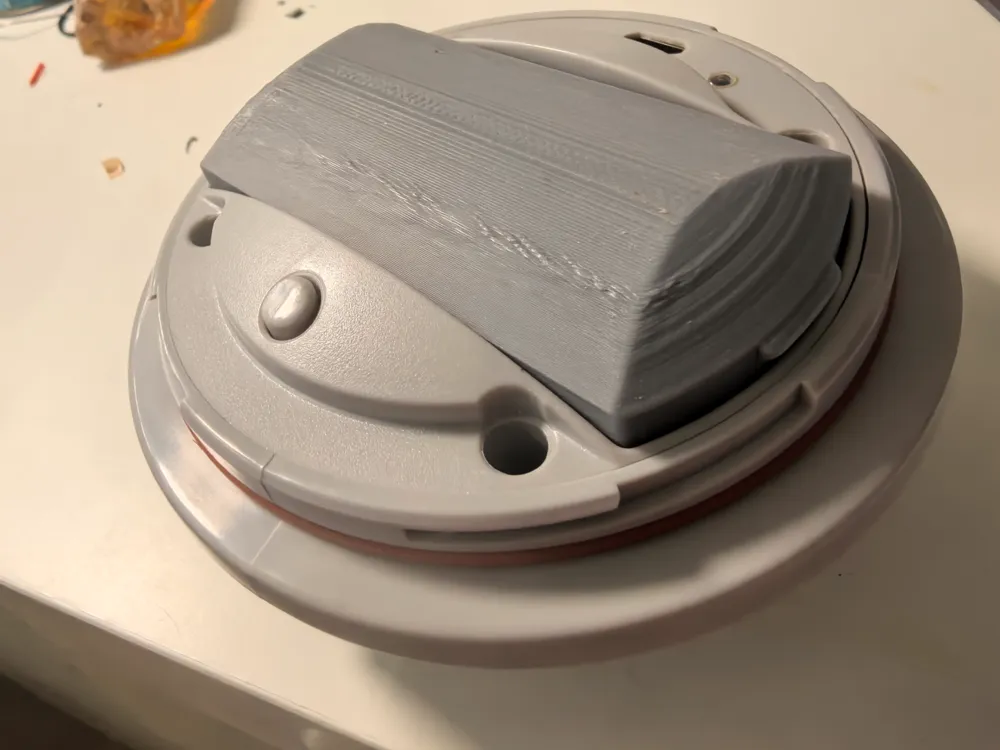
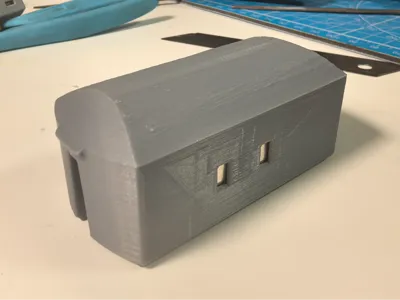
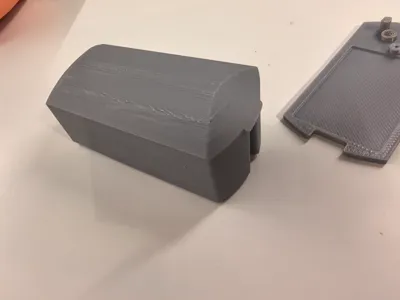
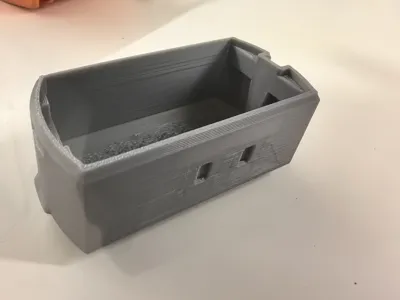
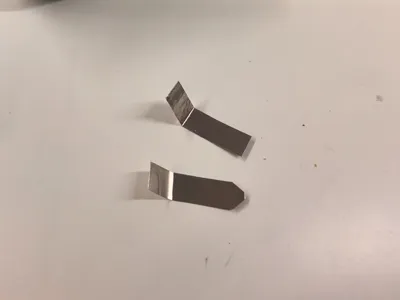
Option two: Utilize the same contact points used for regular batteries to accommodate the charging battery. The battery parameters remain unchanged. The disadvantage is the necessity to remove the battery for charging and subsequent installation. The advantage is its simplicity, as it avoids tinkering with the lantern’s original circuitry. This scheme is highly recommended.
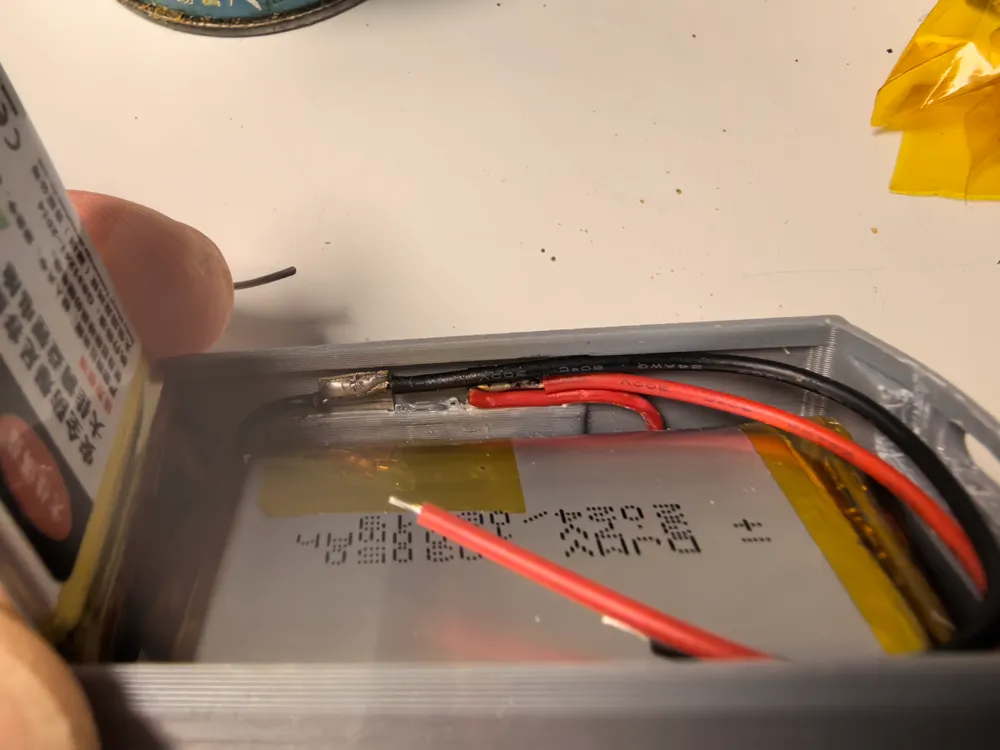
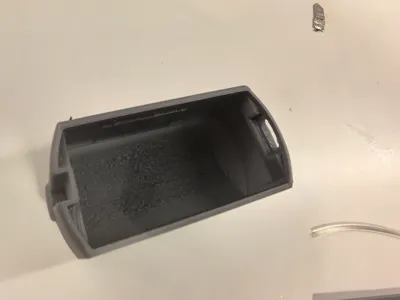
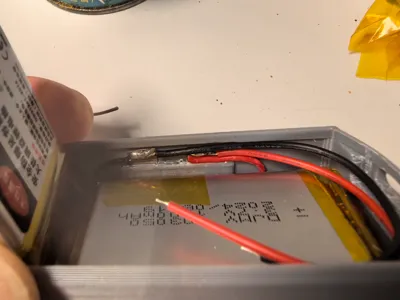
I incorporated two 103050 (1600mAh) lithium polymer batteries and one 403040 (400mAh) lithium polymer battery, connected in parallel, yielding a total capacity of 3600mAh.
License



Comment & Rating (1)