
Victorinox Plus Scales (91mm) - Diverse Designs
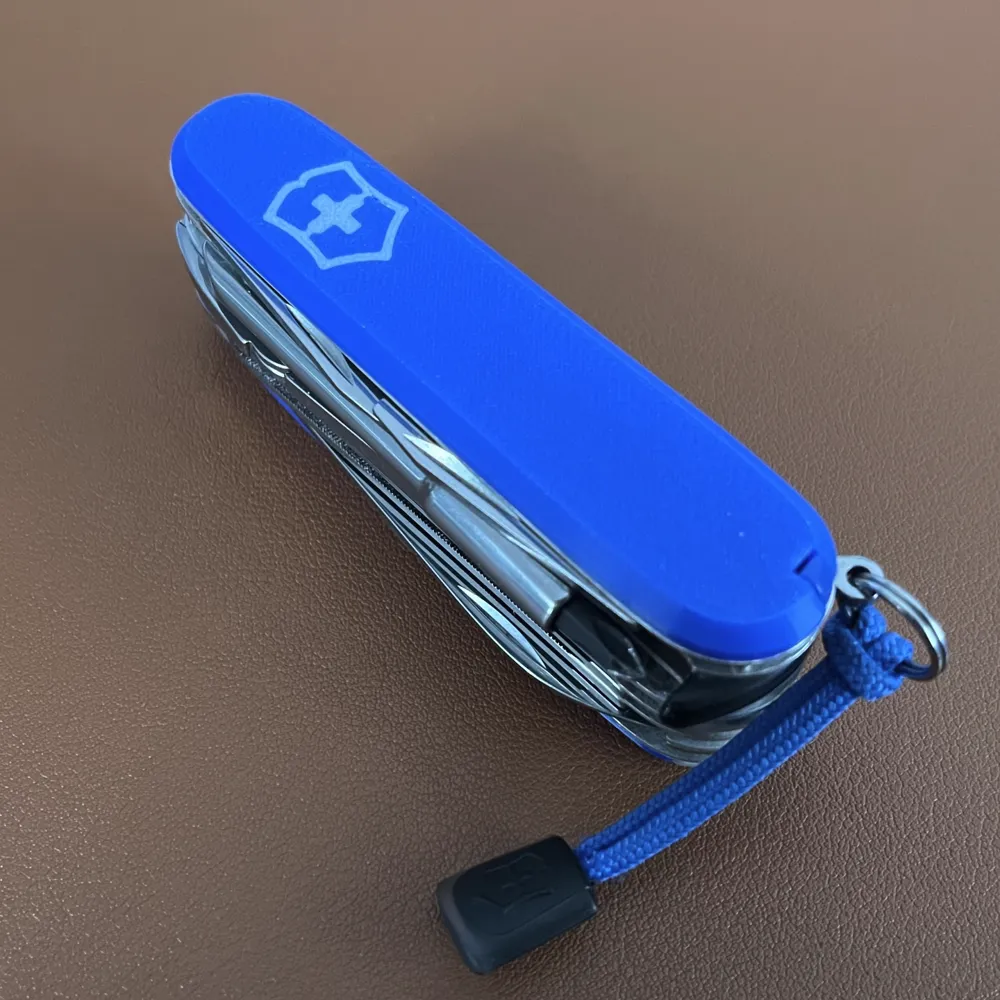
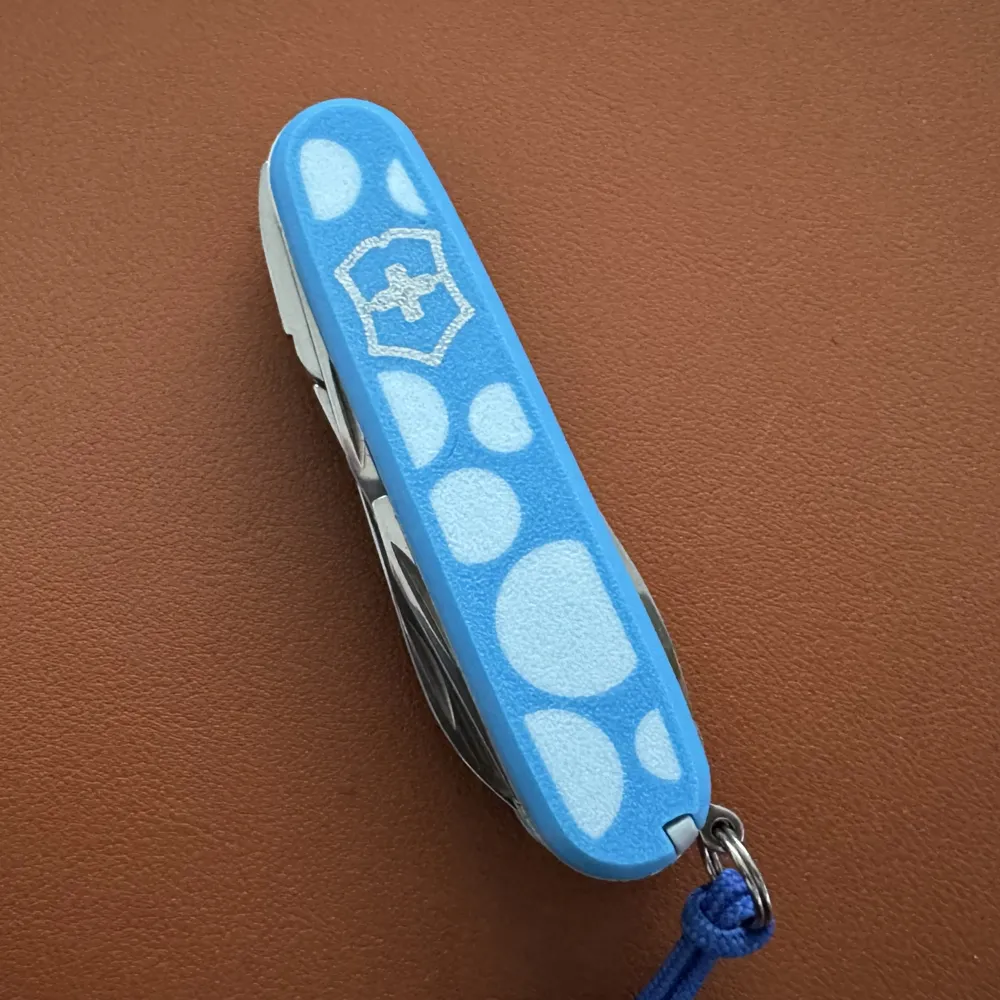
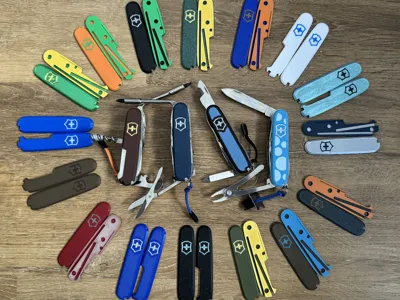
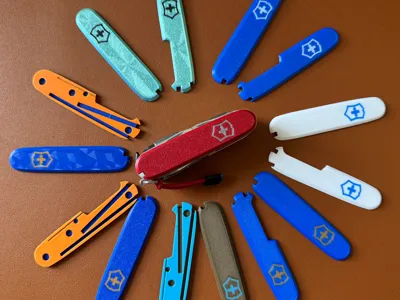
Print Profile(11)


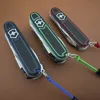
Description
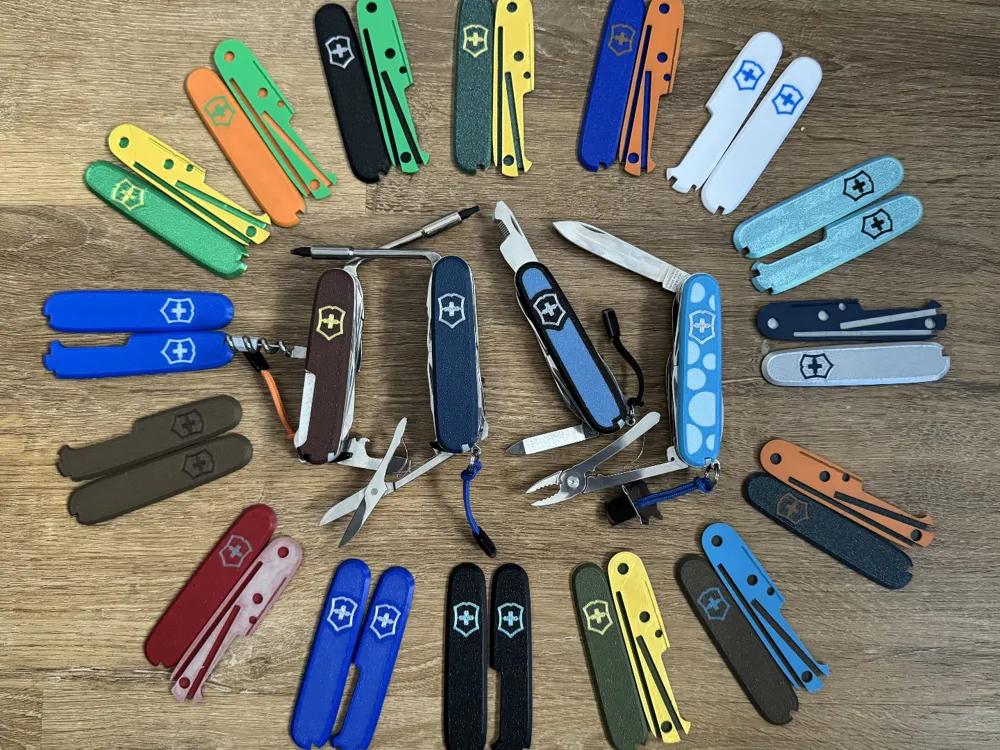
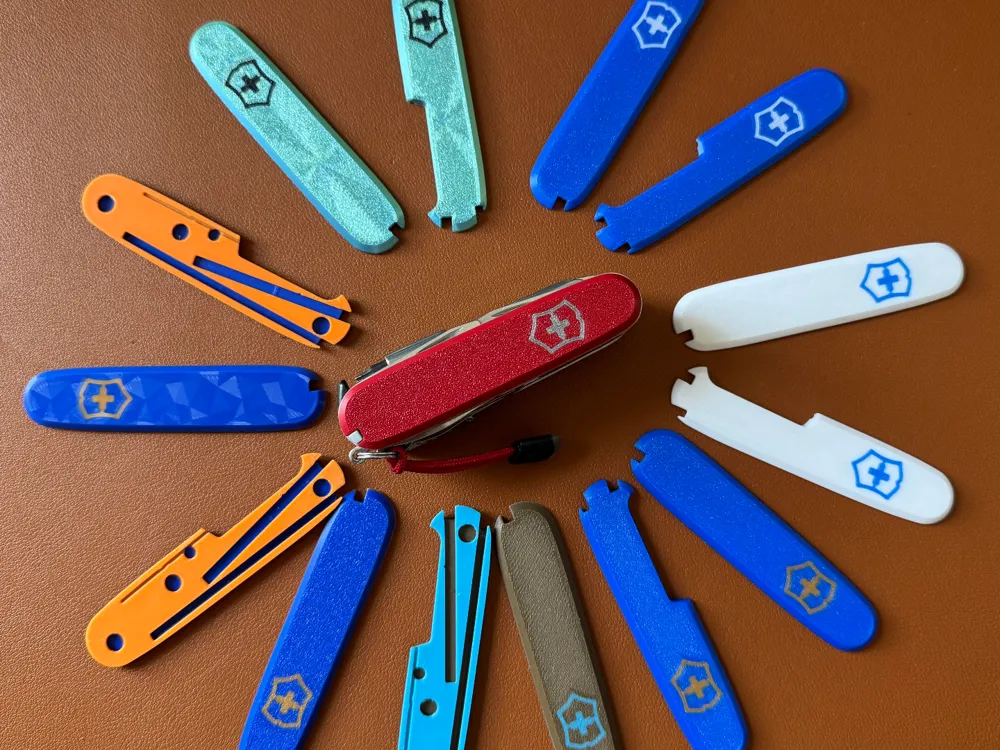
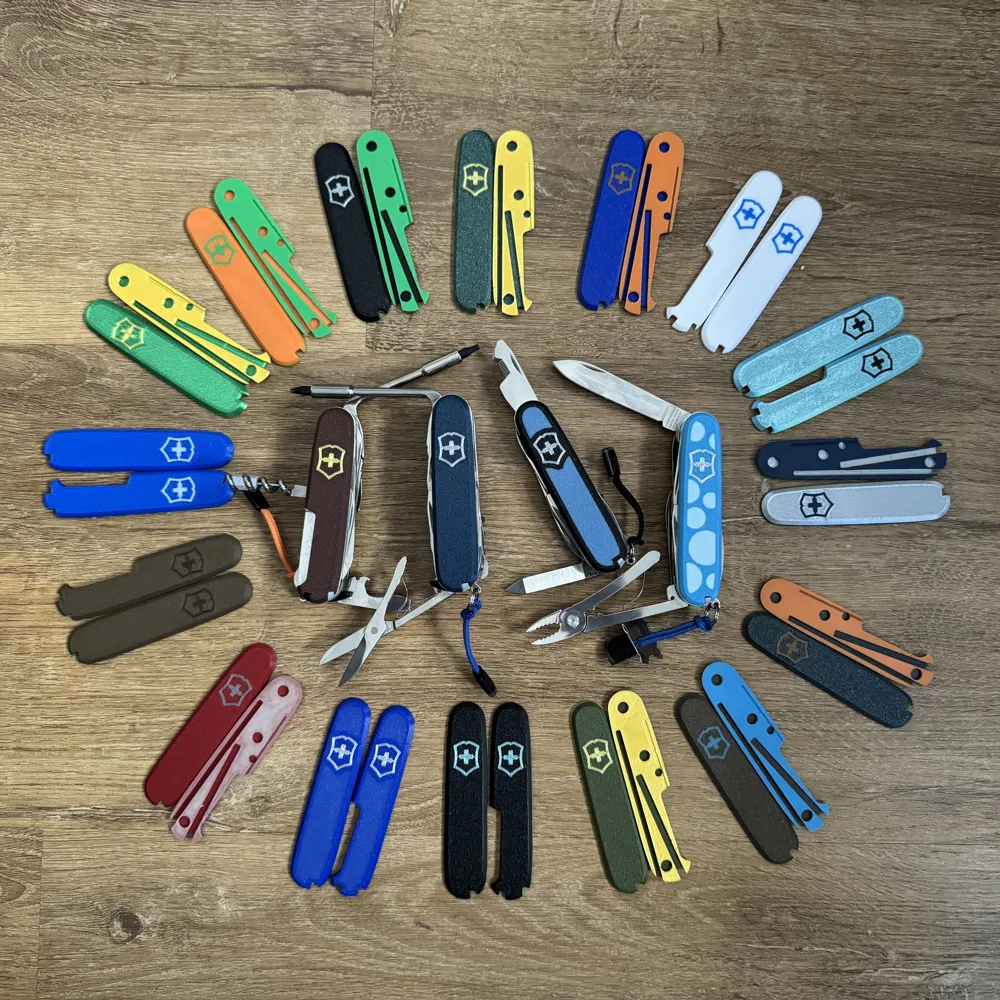
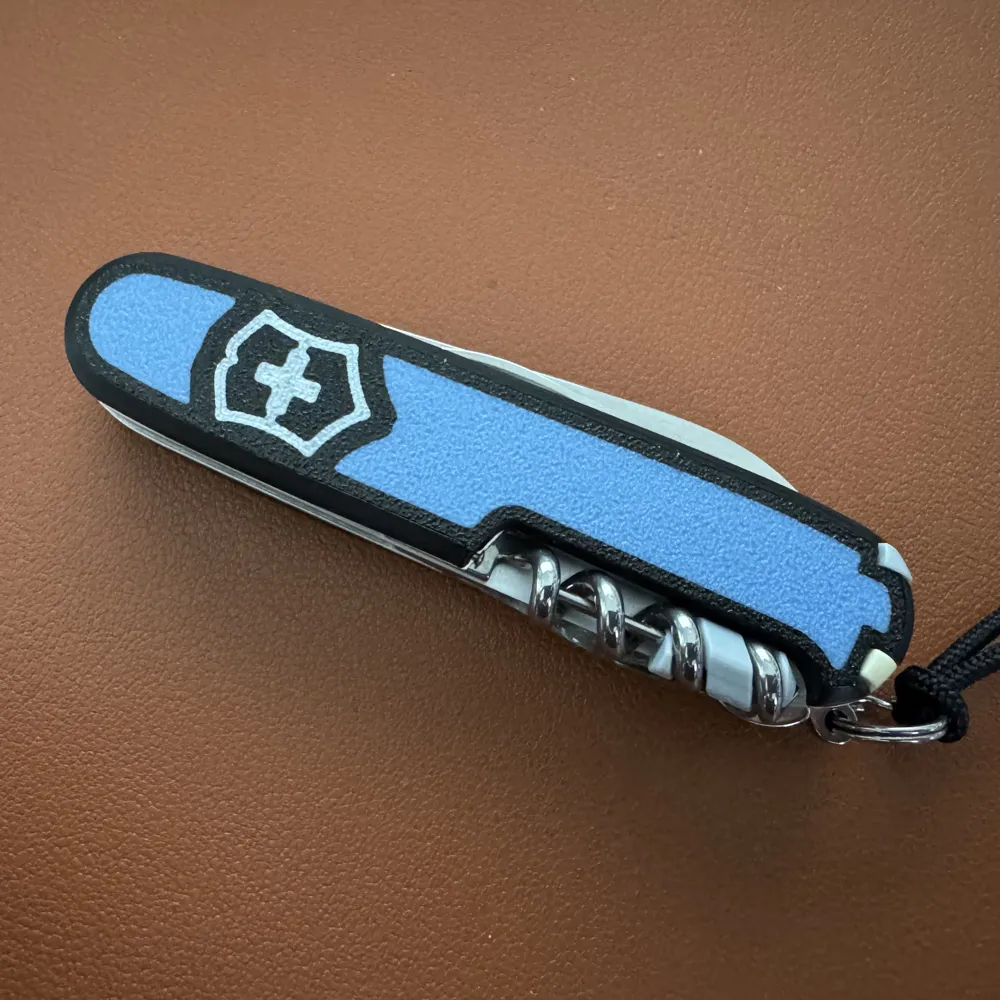
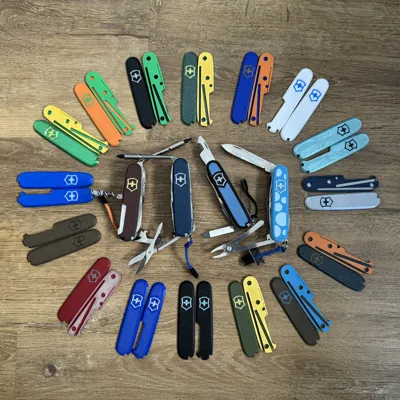
Update: Several print profiles with different approaches can now be found here, thanks also to the great MakerWorld community that supported me with test prints! A quick note: you don't have to choose just one profile of course The scales are fundamentally all the same, meaning you can easily combine different types and, for example, print a back with a logo and add text to a blank front using Bambu Studio. Let your imagination run wild and feel free to send me some pictures or even a boost :) Thanks for your support and happy printing
Update 2: Feel free to also take a look at my new emergency or first responder scales
Update 3: Feel free to also take a look at my new Fallout - Vault-Tec scales
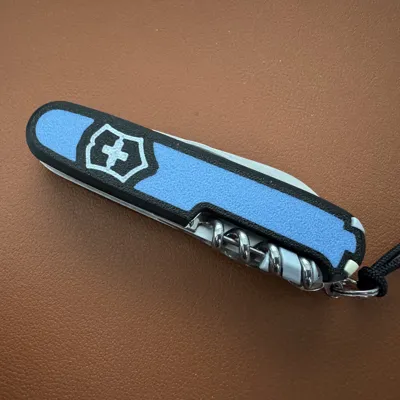
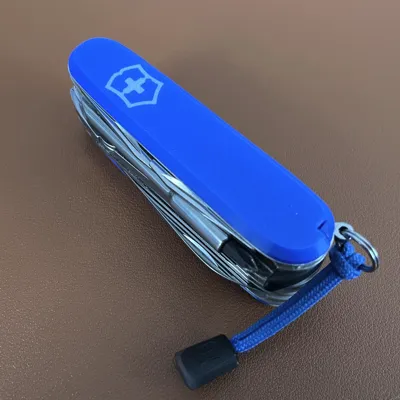
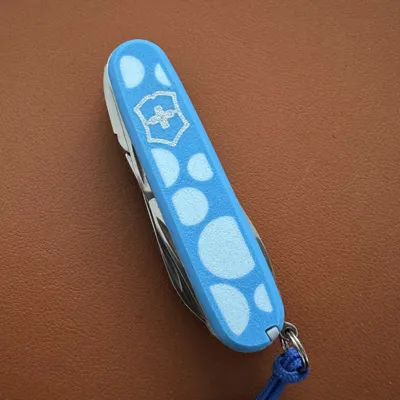
After designing my first model of 3D-printable Victorinox Plus scales, which were 1:1 replicas of the original, I have now decided to create one that has been optimized for 3D printing. This is what you see here. Edges instead of curves ensure a better print result, and slight tapering makes it easier to remove the scale tools (toothpick, tweezers, pen). The logo is now also on both sides and has been slightly enlarged so that it can be printed better
Print instructions:
- print the individual parts with the top facing the print bed (no supports necessary)
- if necessary, use variable layer height for the first layers to achieve a good print result (or use the print profile I provided)
Assembly:
- similar to the originals, these are simply pressed onto the knife
- less force is required, and the scales are less pressed on than "clipped on". So you don't need a vice, the scales can be attached by hand (they are also easier to remove but hold just as well)
- the accessories are then slid into the designated recesses as usual
If you print the model, I would be happy to receive some reviews with pictures to see your color combinations :)
Boost Me (for free)
If you like these scales, I would be very happy to see your prints. And if you really like it, feel free to give this model a boost :)
License

You shall not share, sub-license, sell, rent, host, transfer, or distribute in any way the digital or 3D printed versions of this object, nor any other derivative work of this object in its digital or physical format (including - but not limited to - remixes of this object, and hosting on other digital platforms). The objects may not be used without permission in any way whatsoever in which you charge money, or collect fees.


Comment & Rating (181)