Search models, users, collections, and posts

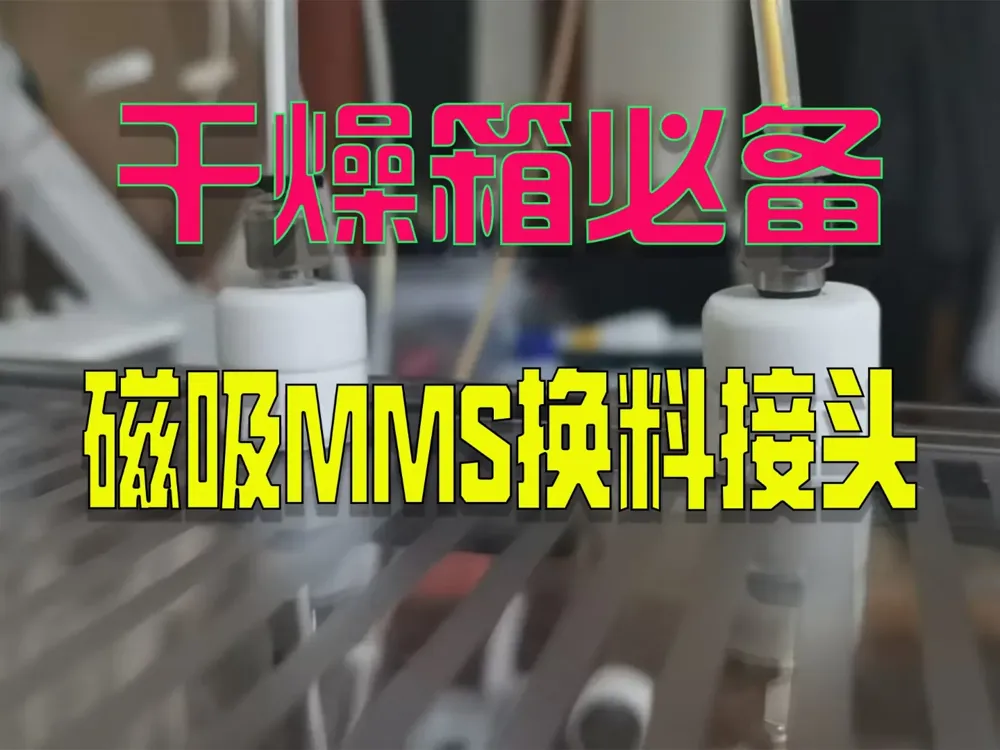
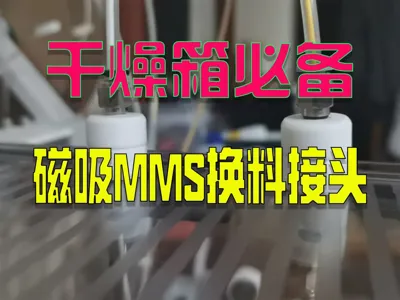
【Must Have】Essential for Drying Box - Magnetic Manual MMS Filament Changeover Connector for Pennies
IP Report
GIF
Print Profile(1)
0.12 printing accuracy, 0.12mm layer, 2 walls, 15% infill
Designer
22 min
1 plate
Open in Bambu Studio
Boost
8
31
1
0
29
7
Released
Description
Content has been automatically translated.
【Must Have】Essential for Drying Box - Magnetic Manual MMS Connector for Pennies
Filament Afraid of Humidity? Get a Drying Box!
Changing Filament in the Drying Box is a Hassle? Use a Magnetic Head!!
I. Introduction
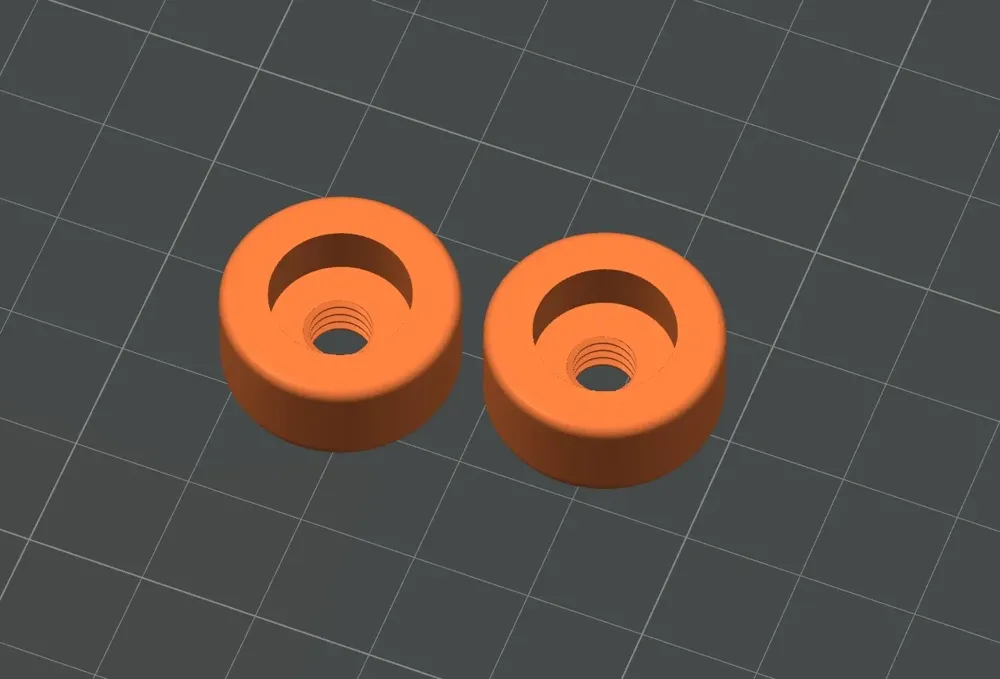
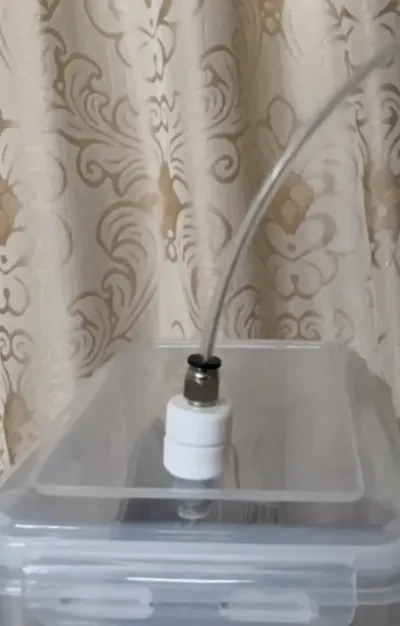
Last week, I made a multi-color stand for the Bambu A1 top-mounted manual AMS lite, and it always felt not very convenient. As a lazy person, I always wanted to save some trouble. One day I saw my magnetic hygrometer box, and I had a flash of inspiration. I designed this magnetic manual MMS filament changeover connector and share it with everyone. It is a must-have for your drying box!
II. Features

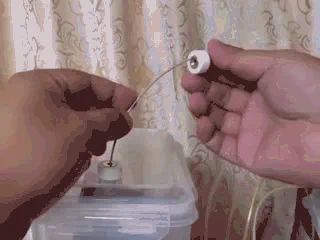
1. Quick and convenient, ultra-fast filament changeover. There is no need to open the drying box. Simply pull open the magnetic connector to achieve filament feeding and unloading. When unloading, simply pull out 2 cm and leave it away from the extruder; when feeding, simply feed a few cm. Relying on the magnetic attraction combination, it is quick and convenient, simple and practical. Filament changeover time is 10 seconds!
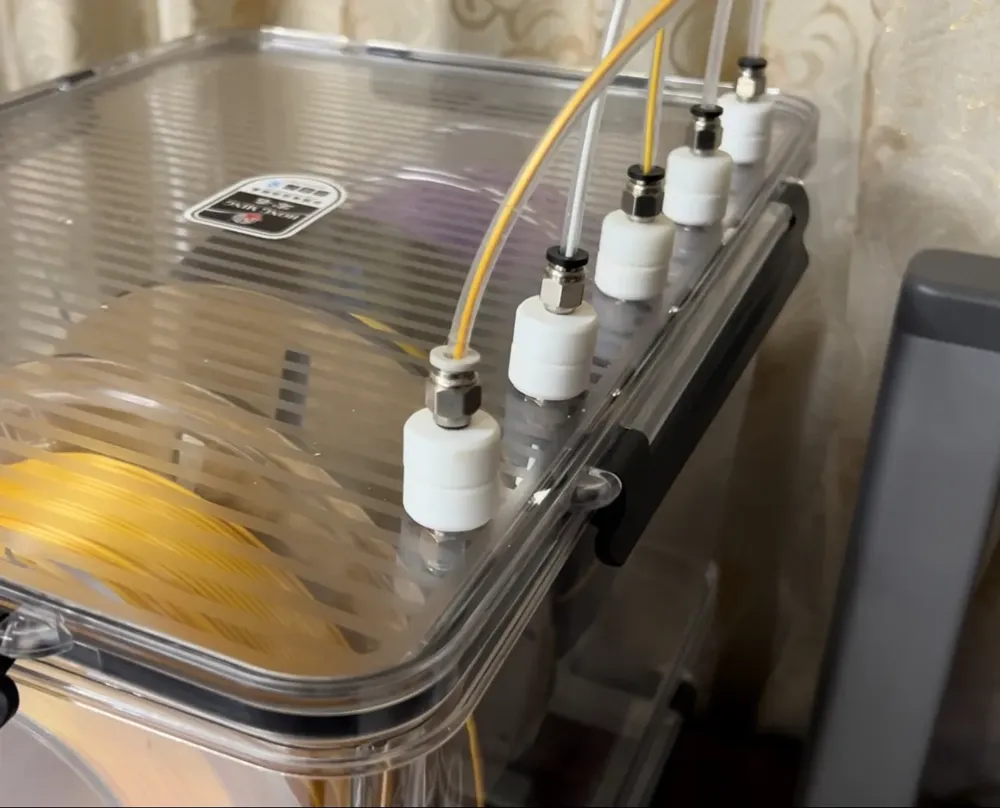
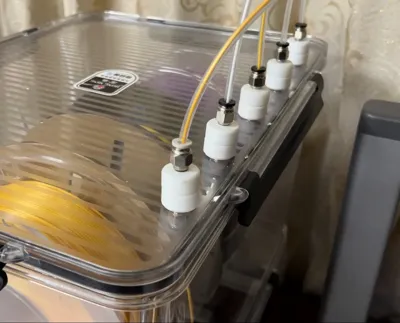
2. Flexible matching, strong adaptability.It can be used for both a single drying box and multiple drying boxes. For more than 4 drying boxes, you can freely expand with a Y-shaped feeding port. At the same time, it is compatible with all printers. Anyone who needs it can use it.
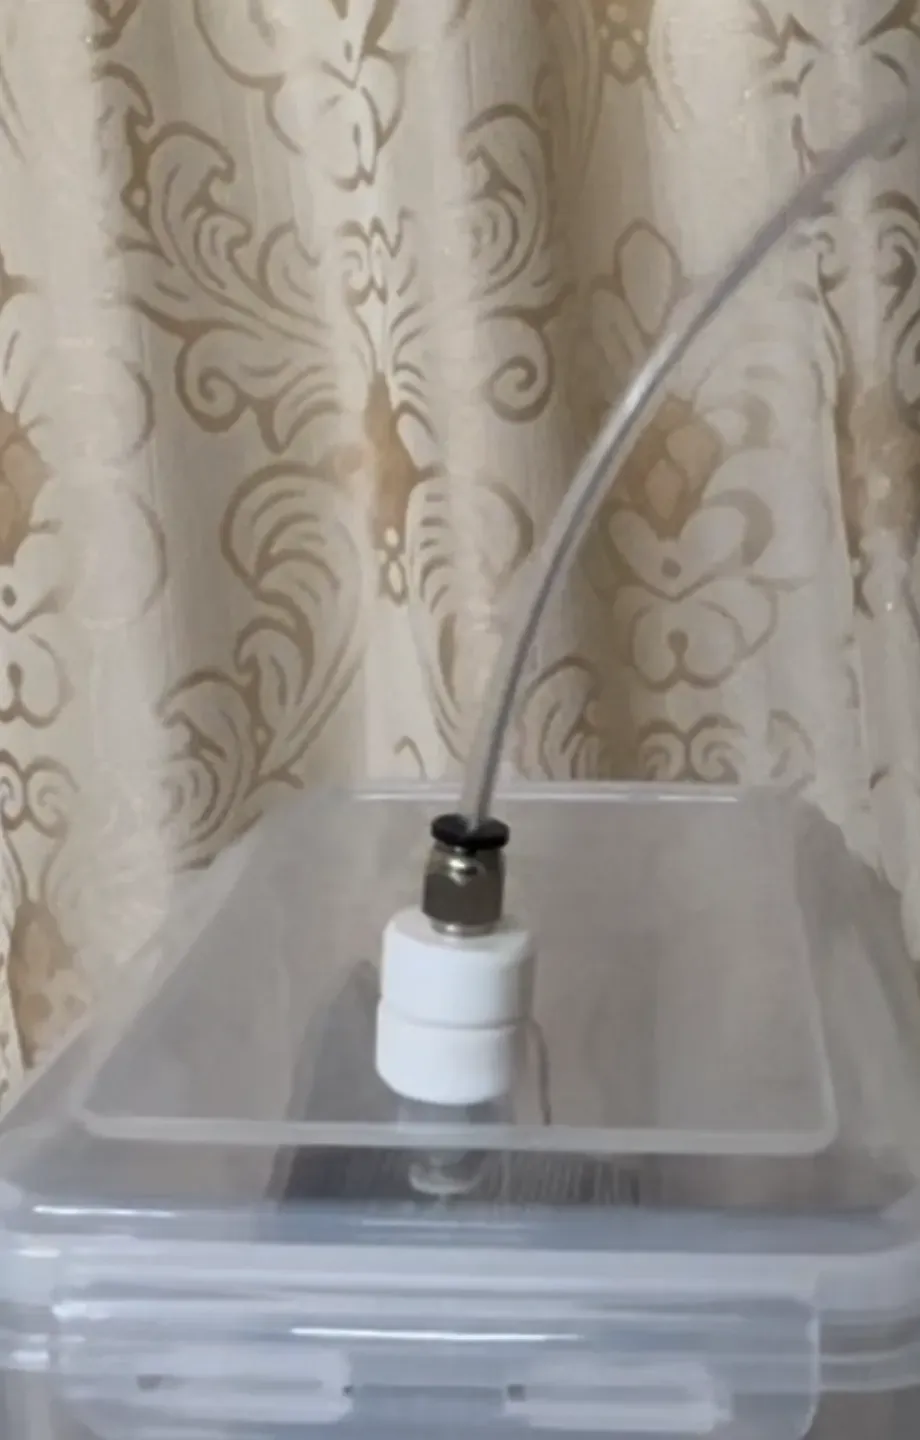
3. Full sealing, ensuring dryness.The magnetic force is used to attract the two ends of the connector together, realizing that the filament does not contact air during printing, keeping it dry. It is recommended to use it with a through-type pneumatic connector for better sealing.
4. Straight in and straight out, smooth and silky.The filament goes directly from the drying box into the extruder through a Teflon tube, effectively reducing the length of the Teflon tube, minimizing friction, and making it smoother.
5. Fast printing, ultra-low cost.A set of connectors only needs less than 4 grams of filament, printing time is 10 minutes, a pair of magnets and pneumatic connectors only cost a few cents, I recommend you try it, you will find, how useful it is!
III. Material List
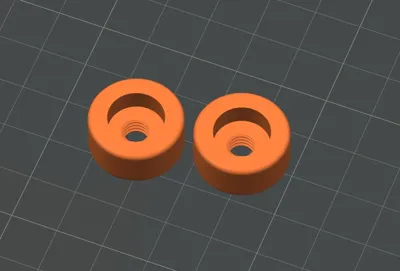
1. Two round magnets with holes, specifications: diameter 12mm, thickness 5mm, hole diameter 4mm.
2. Two PC4-M6 pneumatic connectors, a through-type is recommended.
IV. Tips
1. When printing multiple sets of connectors, pay special attention to the magnetic pole direction of the magnets. Unify the magnetic poles so that you can freely change the connectors between multiple drying boxes to change filaments.
2. If the pneumatic connector is difficult to screw in, you can ask for help from the 3D printing artifact — lighter! Roast the screw hole for 1 second, and you can screw it in smoothly!
Boost Me (for free)
Thanks for boosting! Serving you!
License

This user content is licensed under a Standard Digital File License.
You shall not share, sub-license, sell, rent, host, transfer, or distribute in any way the digital or 3D printed versions of this object, nor any other derivative work of this object in its digital or physical format (including - but not limited to - remixes of this object, and hosting on other digital platforms). The objects may not be used without permission in any way whatsoever in which you charge money, or collect fees.


Comment & Rating (1)