Search models, users, collections, and posts

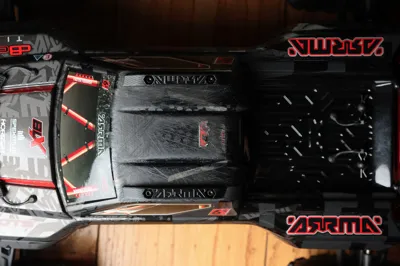
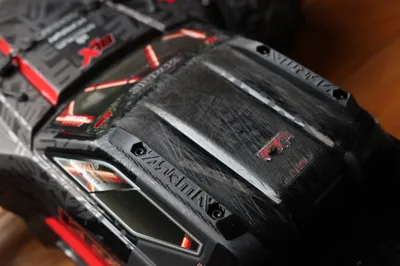
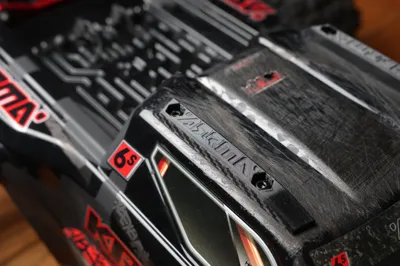
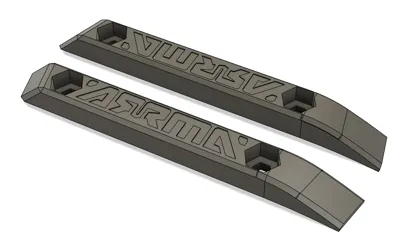
Kraton 6s TPU Roof Skids with Arrma logo
IP Report

Print Profile(1)

0.2mm layer, 2 walls, 100% Solid, Seam aligned, By Object
Designer
1.7 h
1 plate
Open in Bambu Studio
Boost
128
304
43
10
426
214
Released
Bill of Materials
Maker's Supply Kits and Parts
Select all
List other parts
- M4 Hex Nut x 4:
Description
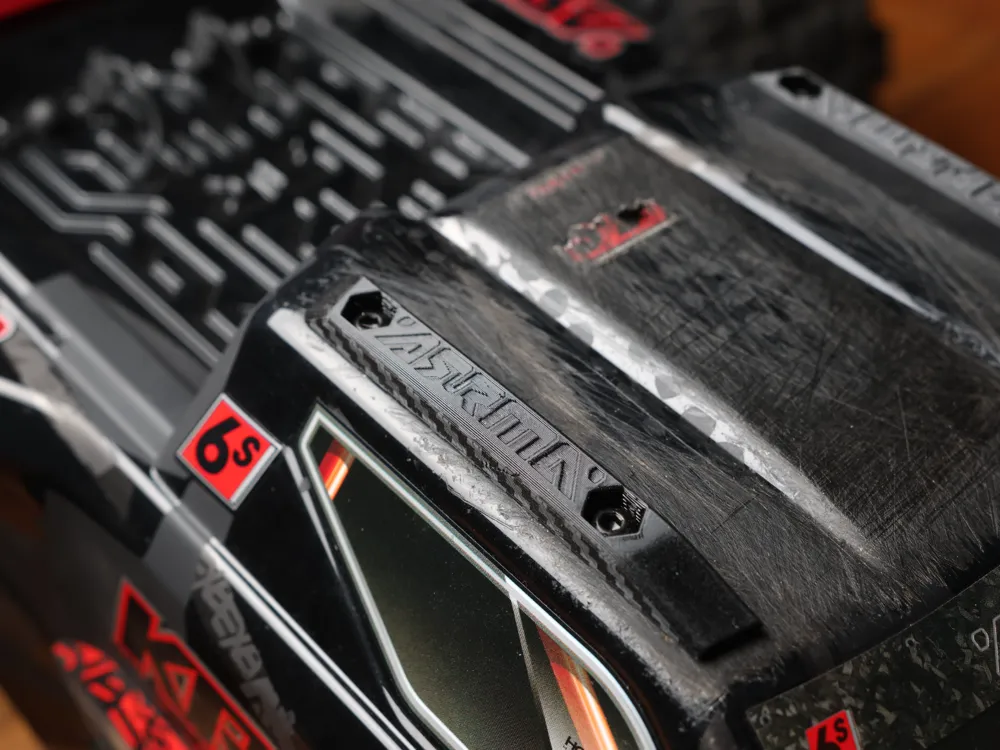
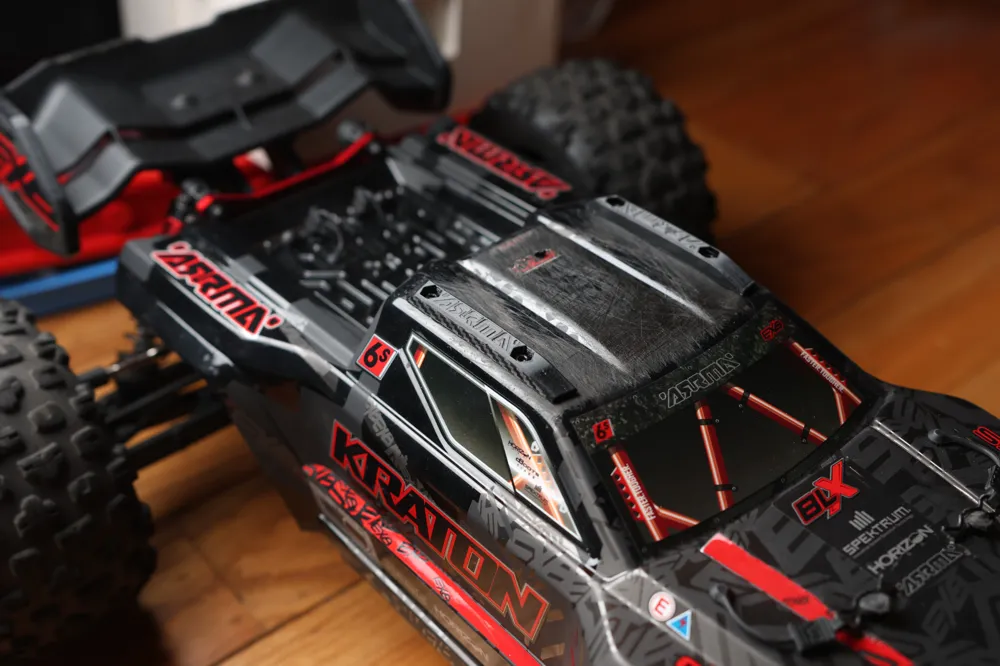
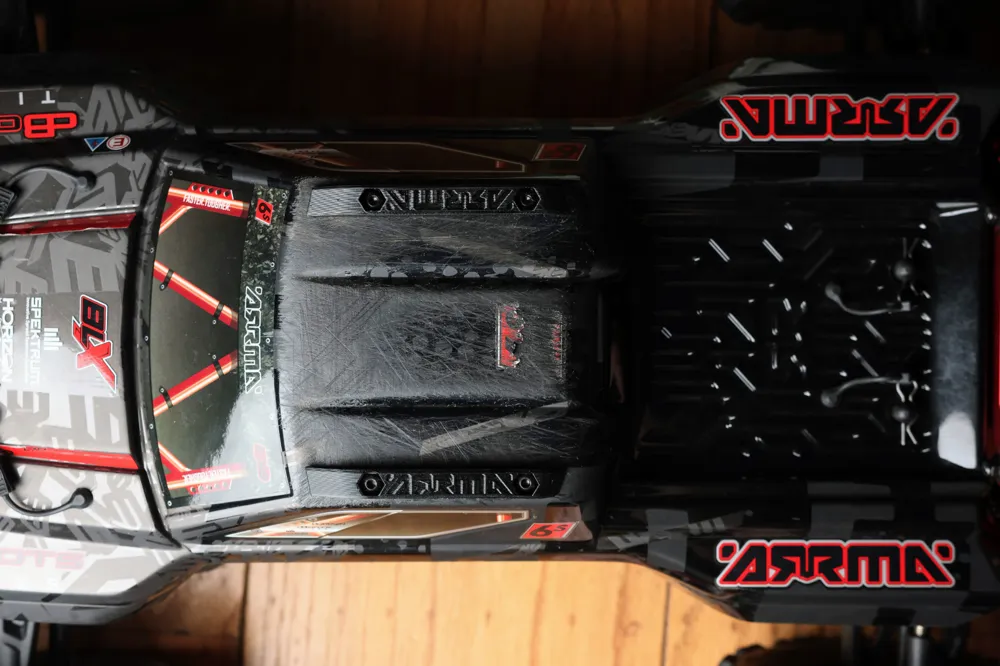
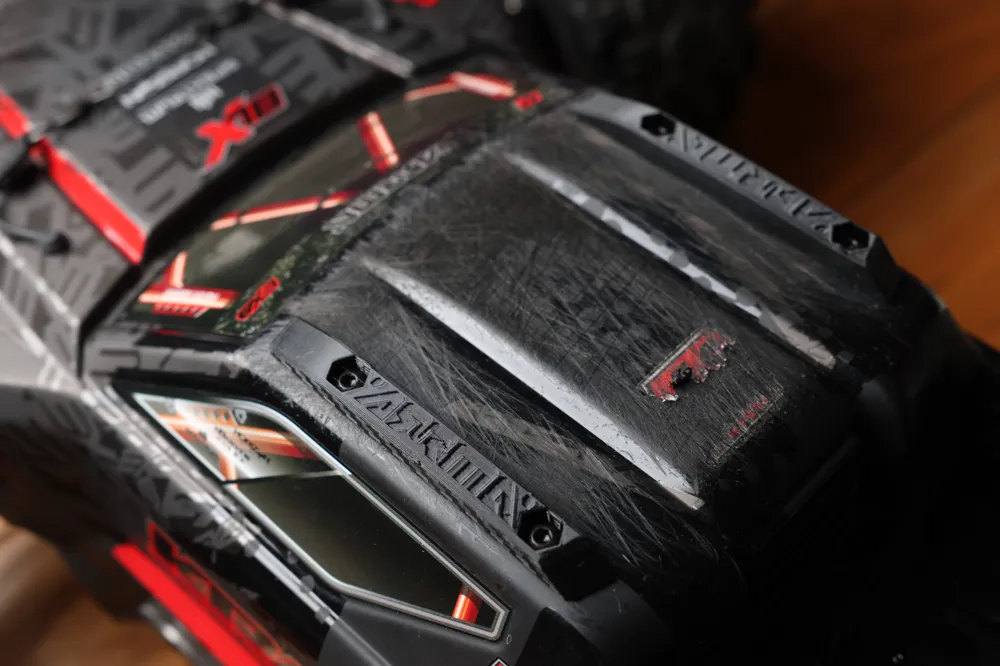
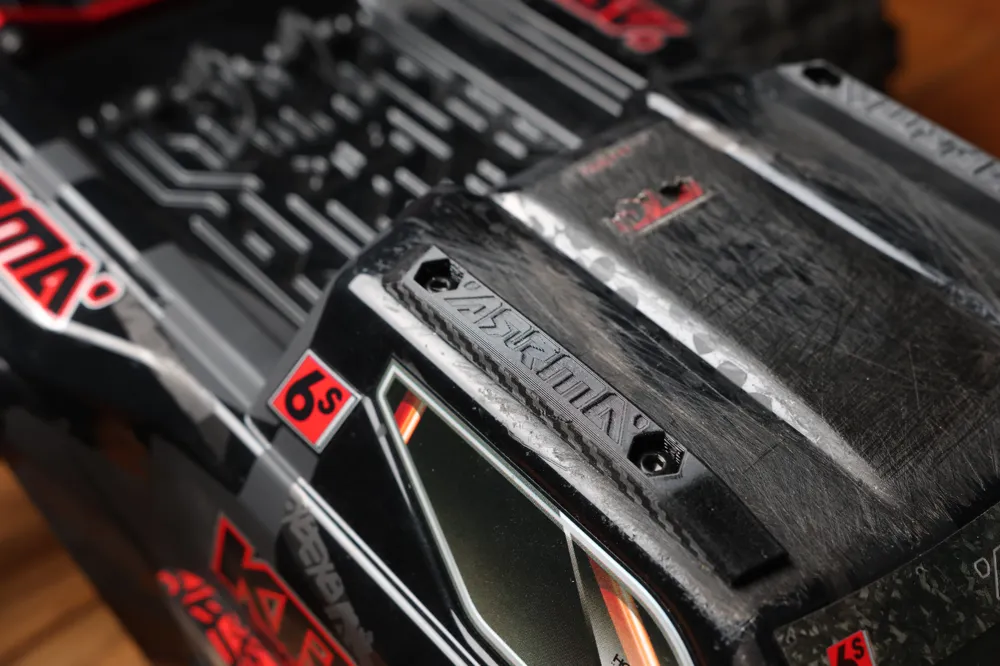
This is a set of TPU roof skids for your Arrma Kraton 6s.
Features
- Protects your roof from scuffs and other damage
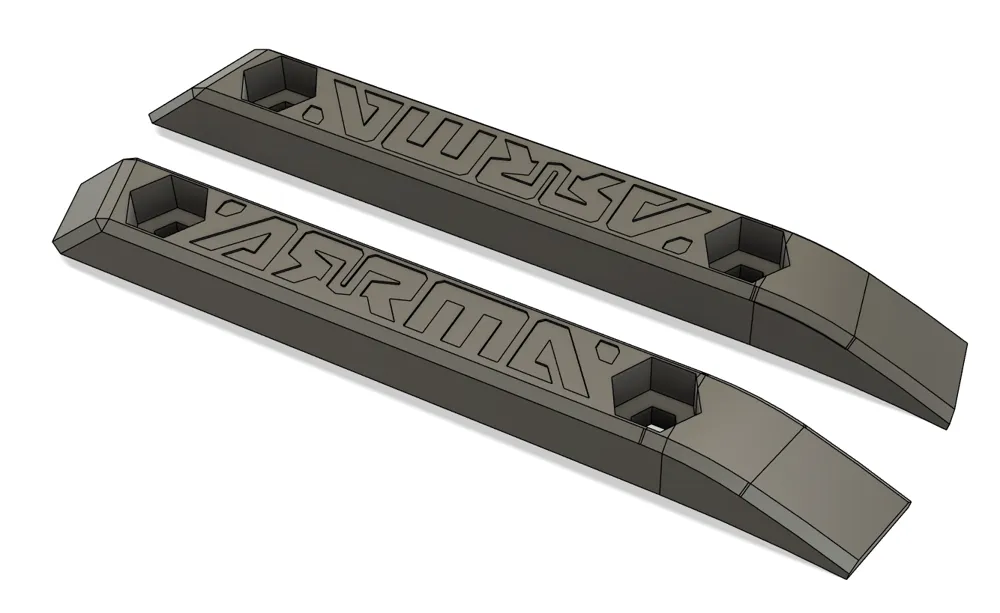
- 7mm tall
- Tapered leading and trailing ends.
- No protruding screw to grind down
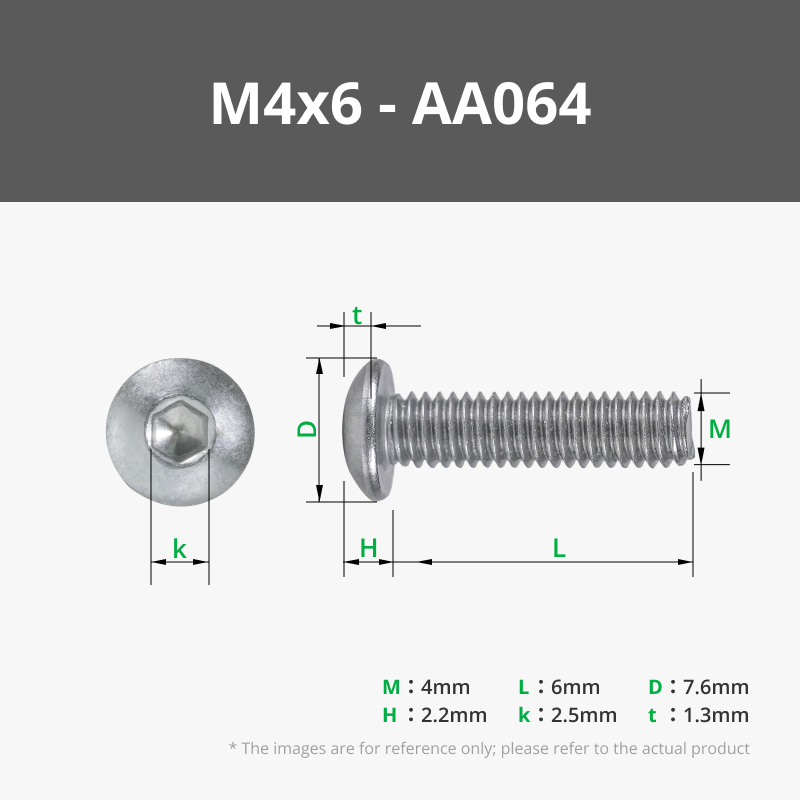
- Counterbore for button-head screw with 2.5mm extra depth
- Uses standard M4 mounting hardware
- M4x6mm button-head screw on top
- M4 Hex Nut underneath
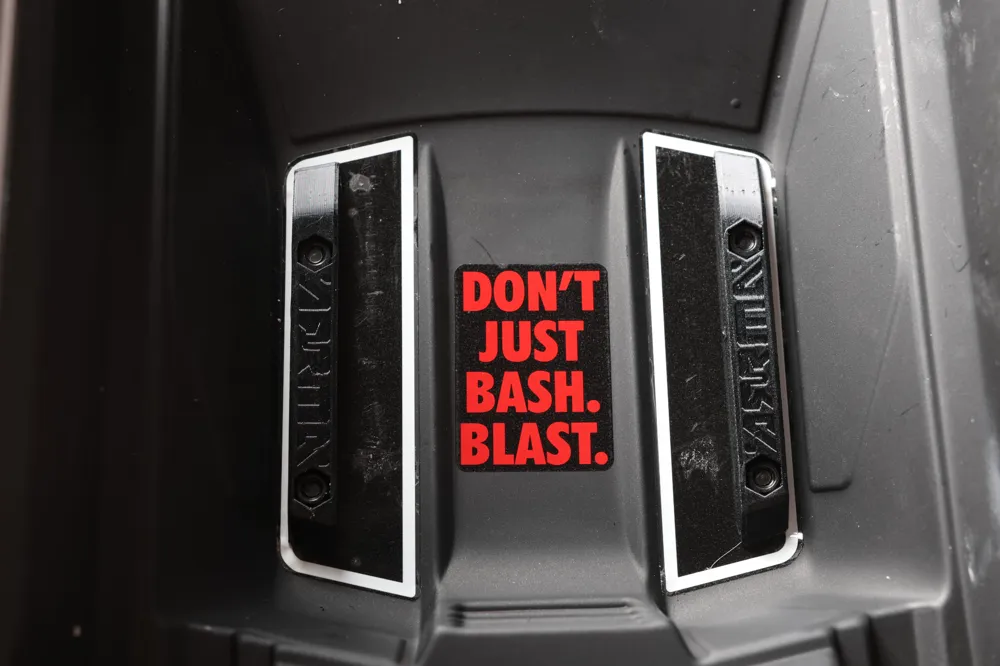
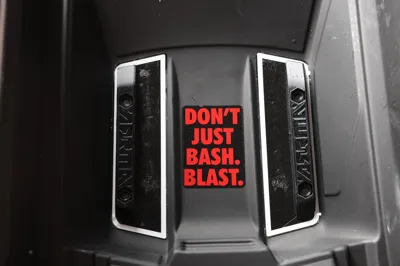
- Supporting pieces underneath body are the same as top pieces
- When the top pieces are worn down, swap them!
- Looks Great!
- Designed to be printed outside-down
- You can use a textured build plate to fit your unique style!
- Arrma logo on the top is printed on the sidewall so it is nice and smooth.
- Designed to be printed outside-down
Assembly
- Note: The default print profile consists of four pieces: two “Lefts” and two “Rights”.
- The opposite type will be paired with each type underneath the body (e.g. left side of vehicle will have Left piece on top of the roof with two screws and a Right piece underneath it with two nuts).
- Start by aligning the bottom piece underneath the body nearly towards the edge to avoid interfering with the stock roll tower.
- See photo for suggested placement.
- Use a body reamer to start holes through the body from the bottom using the holes in the skid a a guide. Ensure the distance between holes is 52mm.
- Once you puncture through, continue reaming the holes from the top of the roof to get a cleaner hole on the outside
- When the hole is just large enough for an M4 screw, carefully tighten down a Left piece on top of the roof with screws to a Right piece underneath it with nuts.
- Repeat this with the Right piece on top paired with a Left piece underneath it.
License

This user content is licensed under a Standard Digital File License.
You shall not share, sub-license, sell, rent, host, transfer, or distribute in any way the digital or 3D printed versions of this object, nor any other derivative work of this object in its digital or physical format (including - but not limited to - remixes of this object, and hosting on other digital platforms). The objects may not be used without permission in any way whatsoever in which you charge money, or collect fees.


Comment & Rating (43)