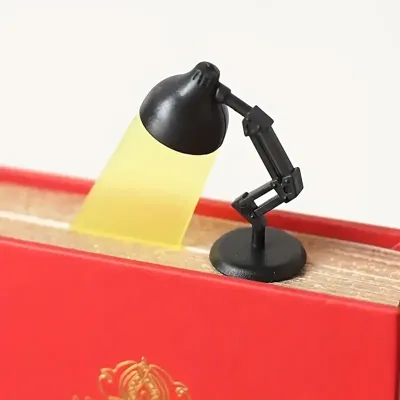
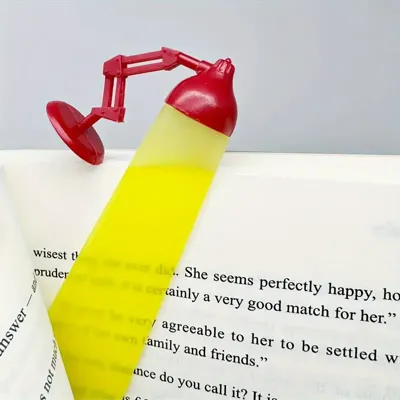
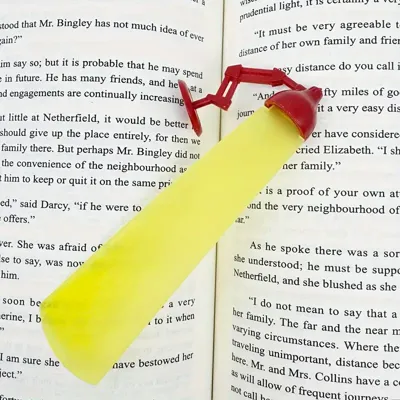
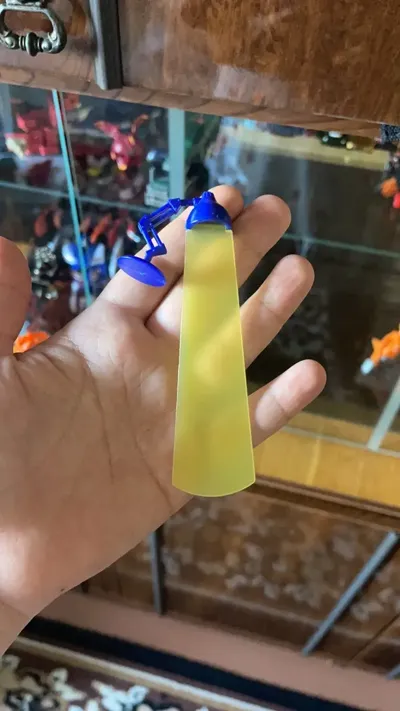
lamp Bookmark


Print Profile(2)


Description
Materials Needed:
- 3D-printed lamp parts (2 parts per lamp)
- Strong adhesive (preferably suitable for plastic)
- Small brush or glue applicator (optional)
- sandpaper (optional)
Assembly Steps:
- Preparation:
- Ensure all 3D-printed parts are clean and dry.
optional use fine sandpaper to smooth the surfaces where the parts will be glued for better adhesion.

- Apply Glue:
Apply a thin layer of glue to the surfaces where the lamp parts will connect. These are likely the areas where the lamp head attaches to the arm.
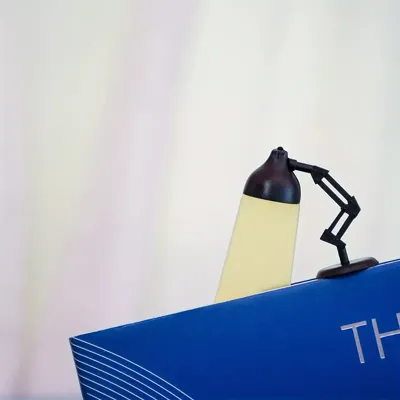
- Join the Parts:
- Carefully align the lamp head with the arm as shown in the image.
Press the parts together firmly, ensuring they are properly aligned.
- Drying Time:
- Allow the glued parts to dry according to the adhesive manufacturer’s instructions, ensuring they are held in place if needed.
Once dry, your 3D-printed lamp should be securely assembled! This one is now ready for use :)
Also check out our entire collection of book marks: collection
Boost Me (for free)
If you want more of this models.
You can always leave a boost :)
Membership
Want to sell my models, you can with buying my comercial License Membership (just press this link :))
License
You shall not share, sub-license, sell, rent, host, transfer, or distribute in any way the digital or 3D printed versions of this object, nor any other derivative work of this object in its digital or physical format (including - but not limited to - remixes of this object, and hosting on other digital platforms). The objects may not be used without permission in any way whatsoever in which you charge money, or collect fees.
Comment & Rating (197)