
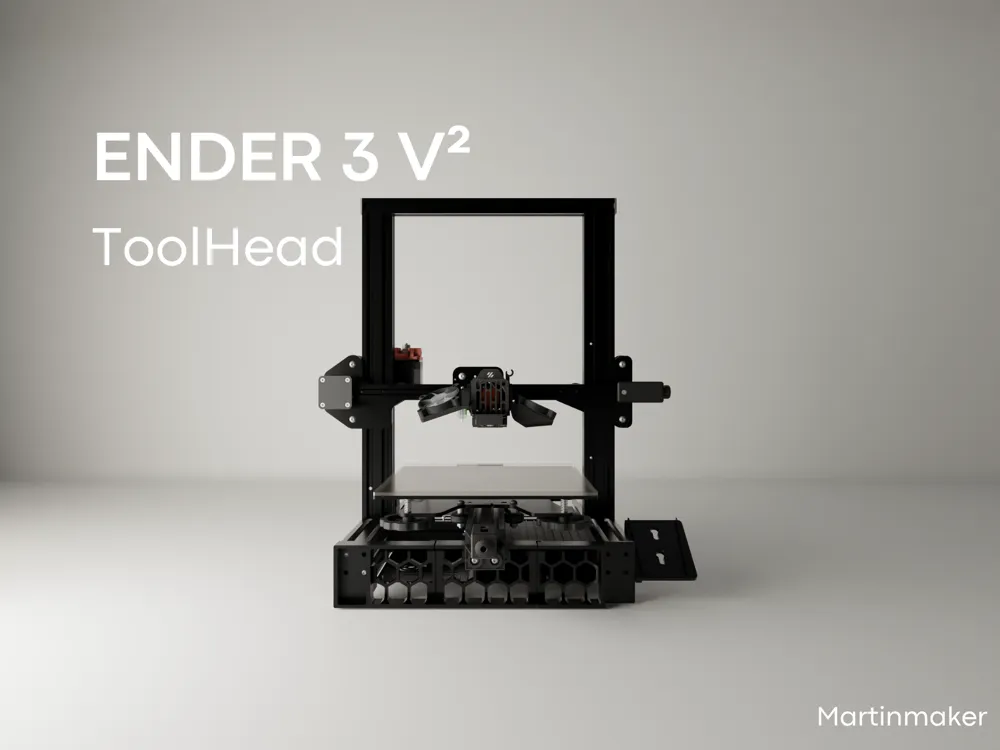
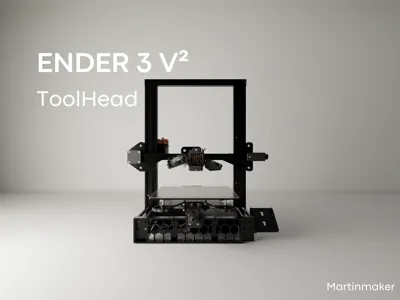
Ender 3 v² ToolHead
Print Profile(1)

Description
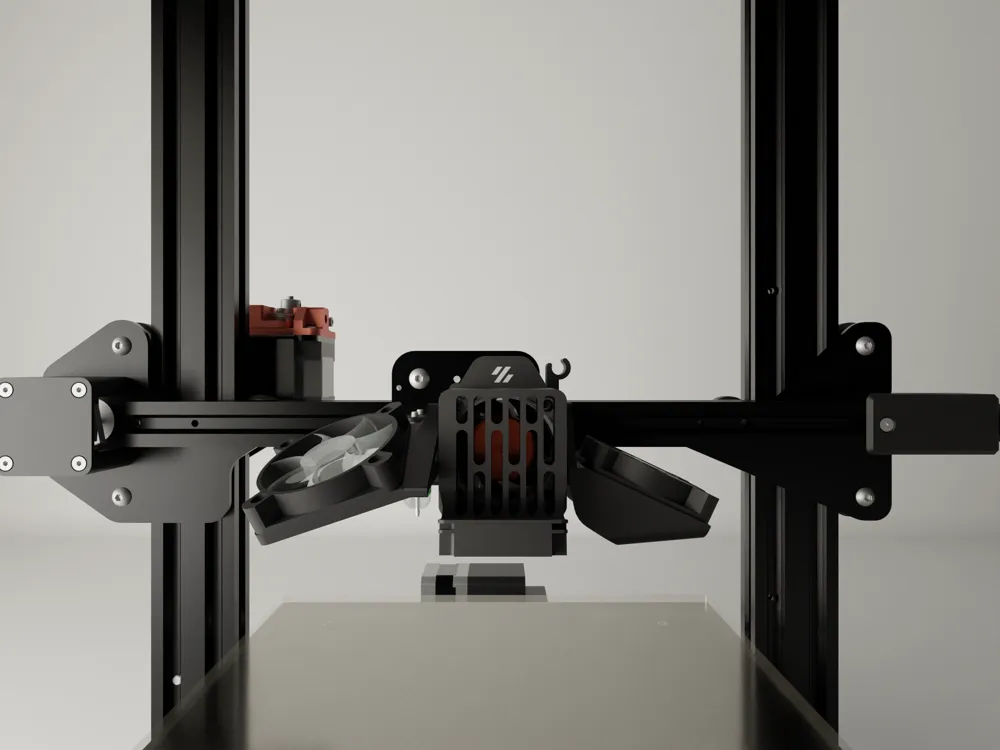
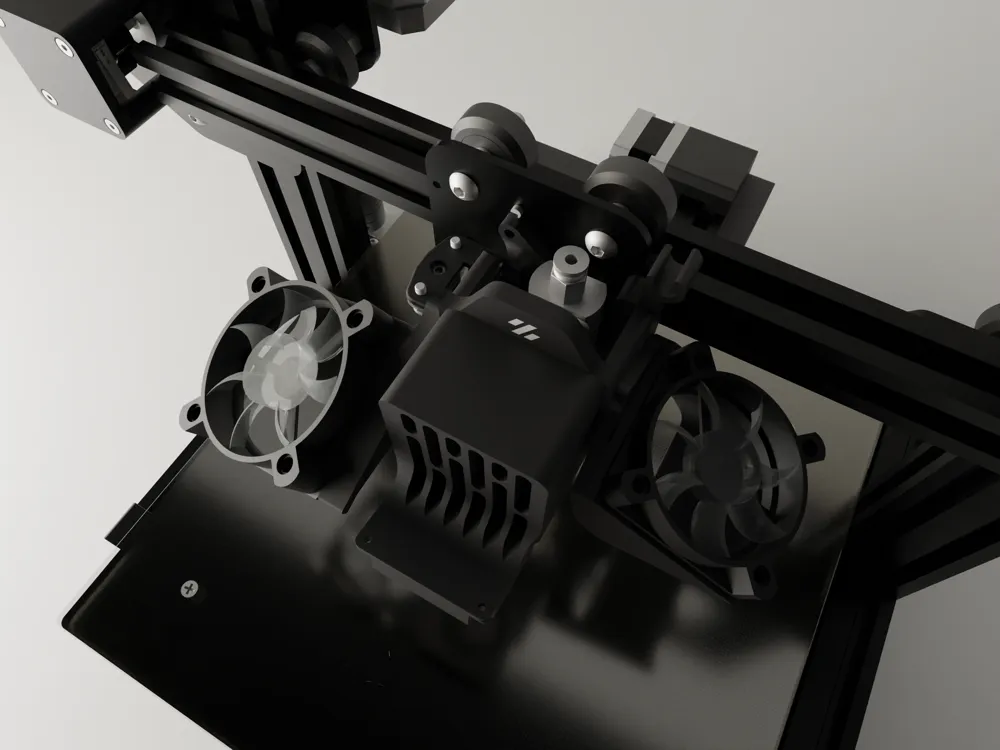
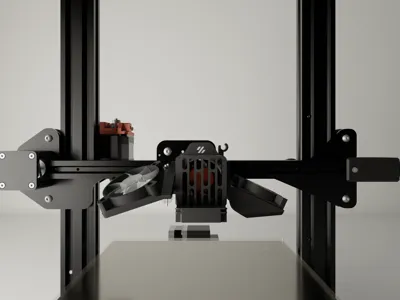
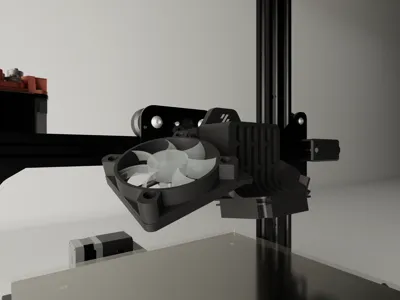
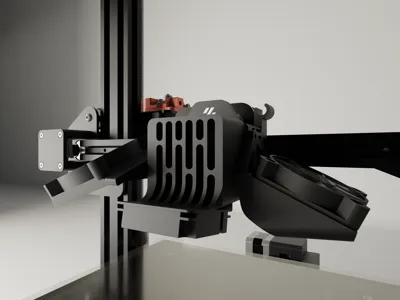
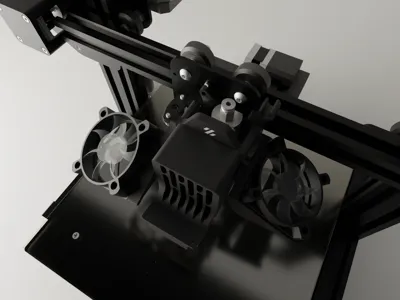
I designed a brand-new print head for my Ender 3 V2. To assemble it, you will need the following components:
- 9 M3 threaded inserts
- 9 M3 screws of various lengths, ranging from 5 mm to 20 mm
- 12 M4 screws
- 2 M2 screws of 5 mm
- 2 M2 screws of 10 mm
- 2 50 mm fans
- 1 Noctua NF-A4x20 fan
Assembly Instructions for the New Print Head
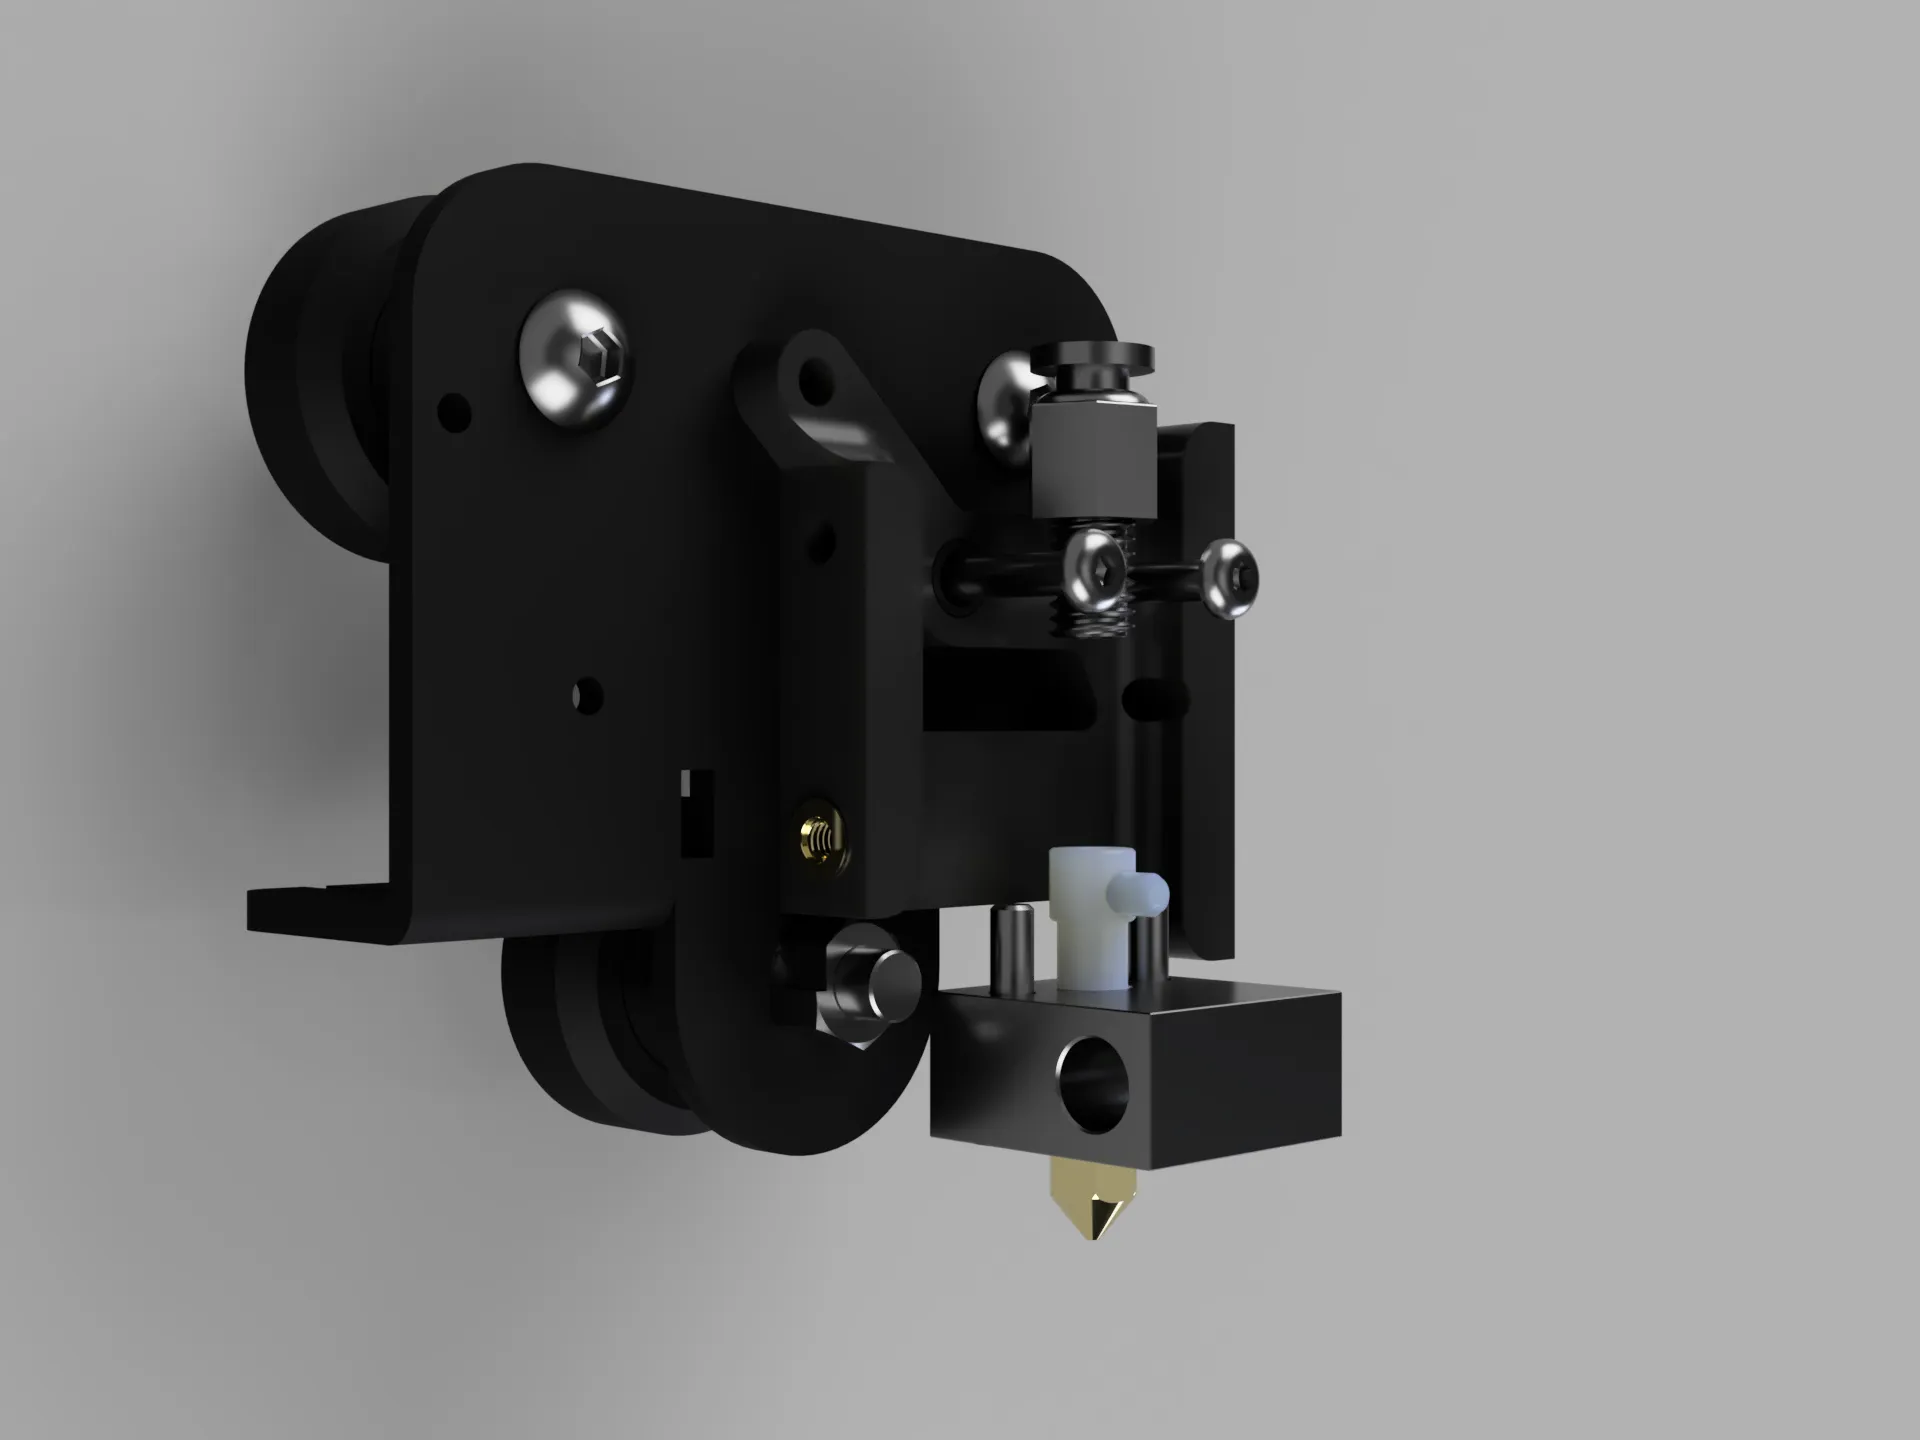
Step 1: Installing the "Liaison" Component
- Insert the "Liaison" part into the holes designed to hold the hotend.
Step 2: Attaching the "Base"
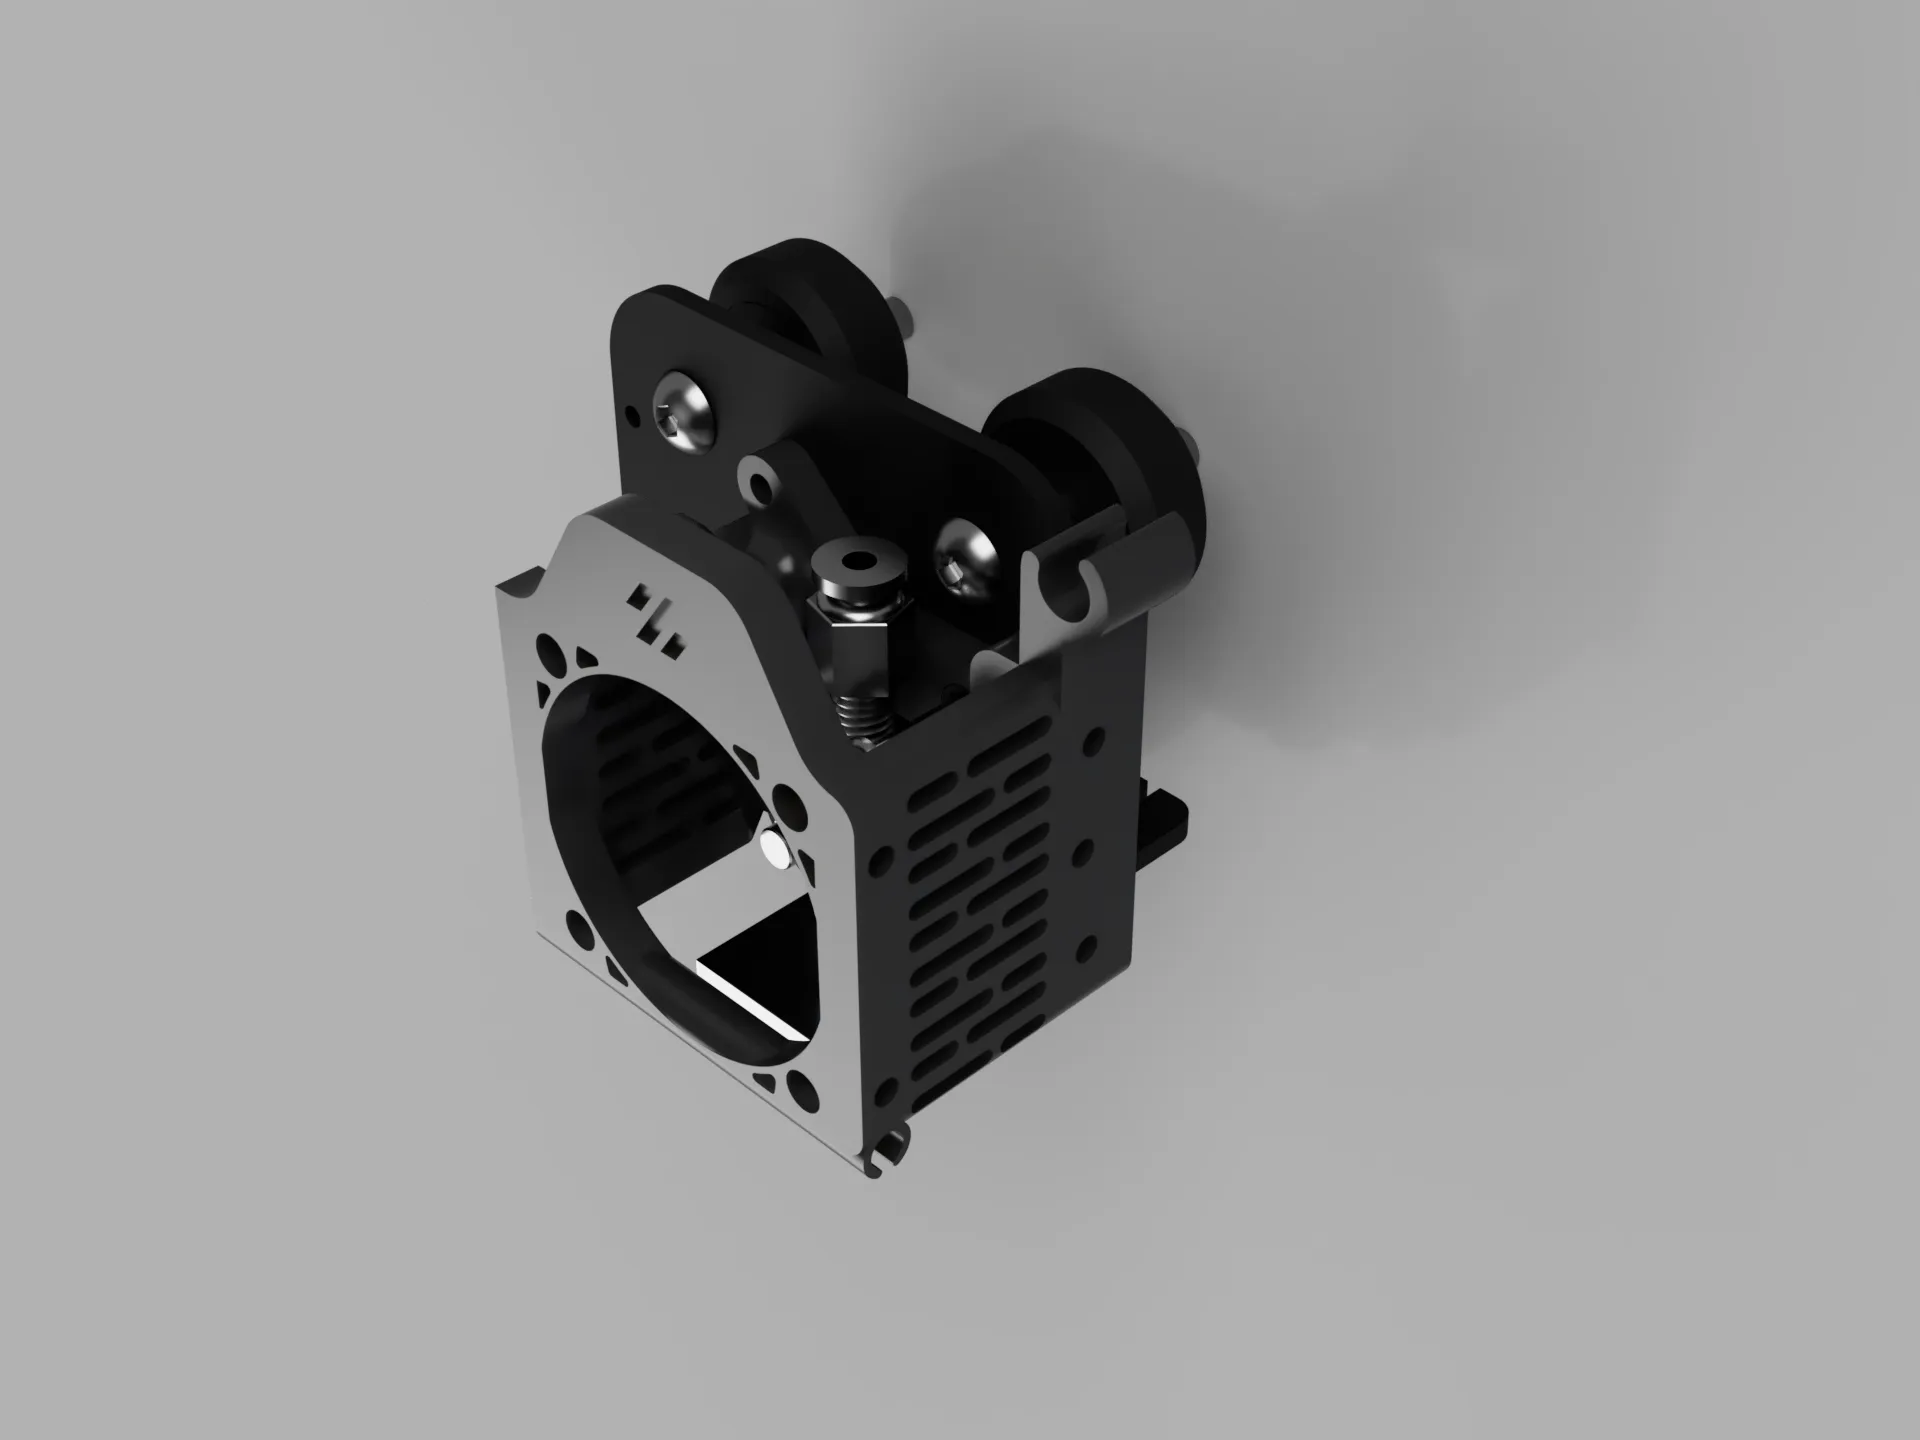
- Align the “Base” with the “Liaison” part, making sure the side holes are properly aligned.
- Secure both parts using M3 screws.
- Note: Ensure that the hotend's heating cable is routed inside the “Base” before proceeding.
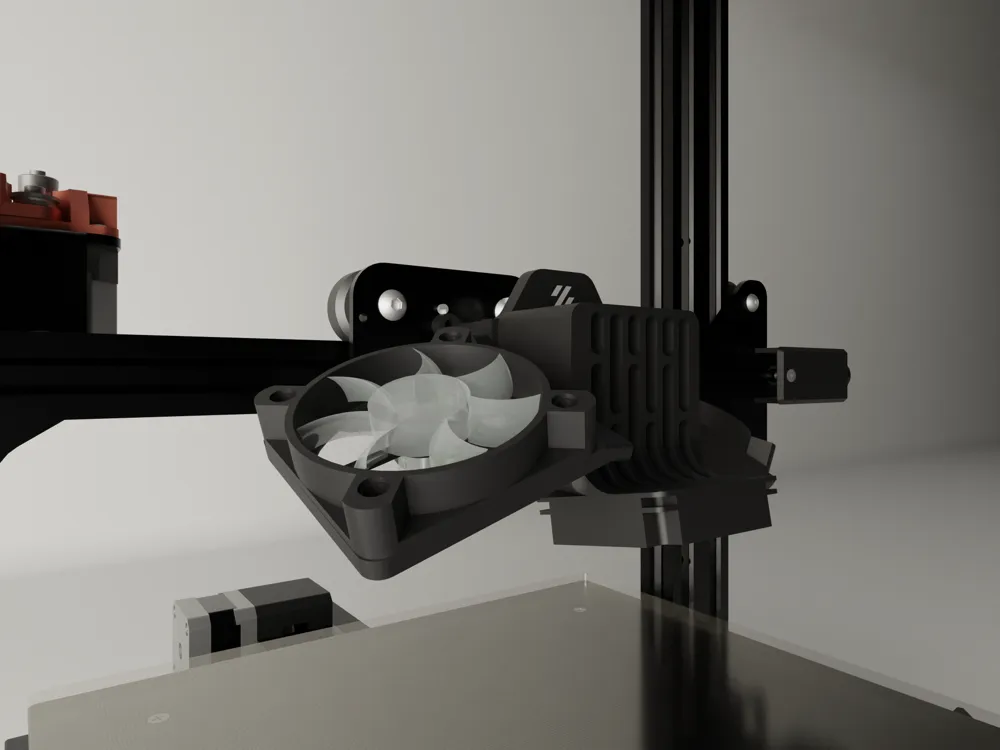
Step 3: Installing "Fan 1" and the 50mm Fan
- Install the first fan, “Fan 1”.
- Then, attach the 50mm fan to its designated spot.
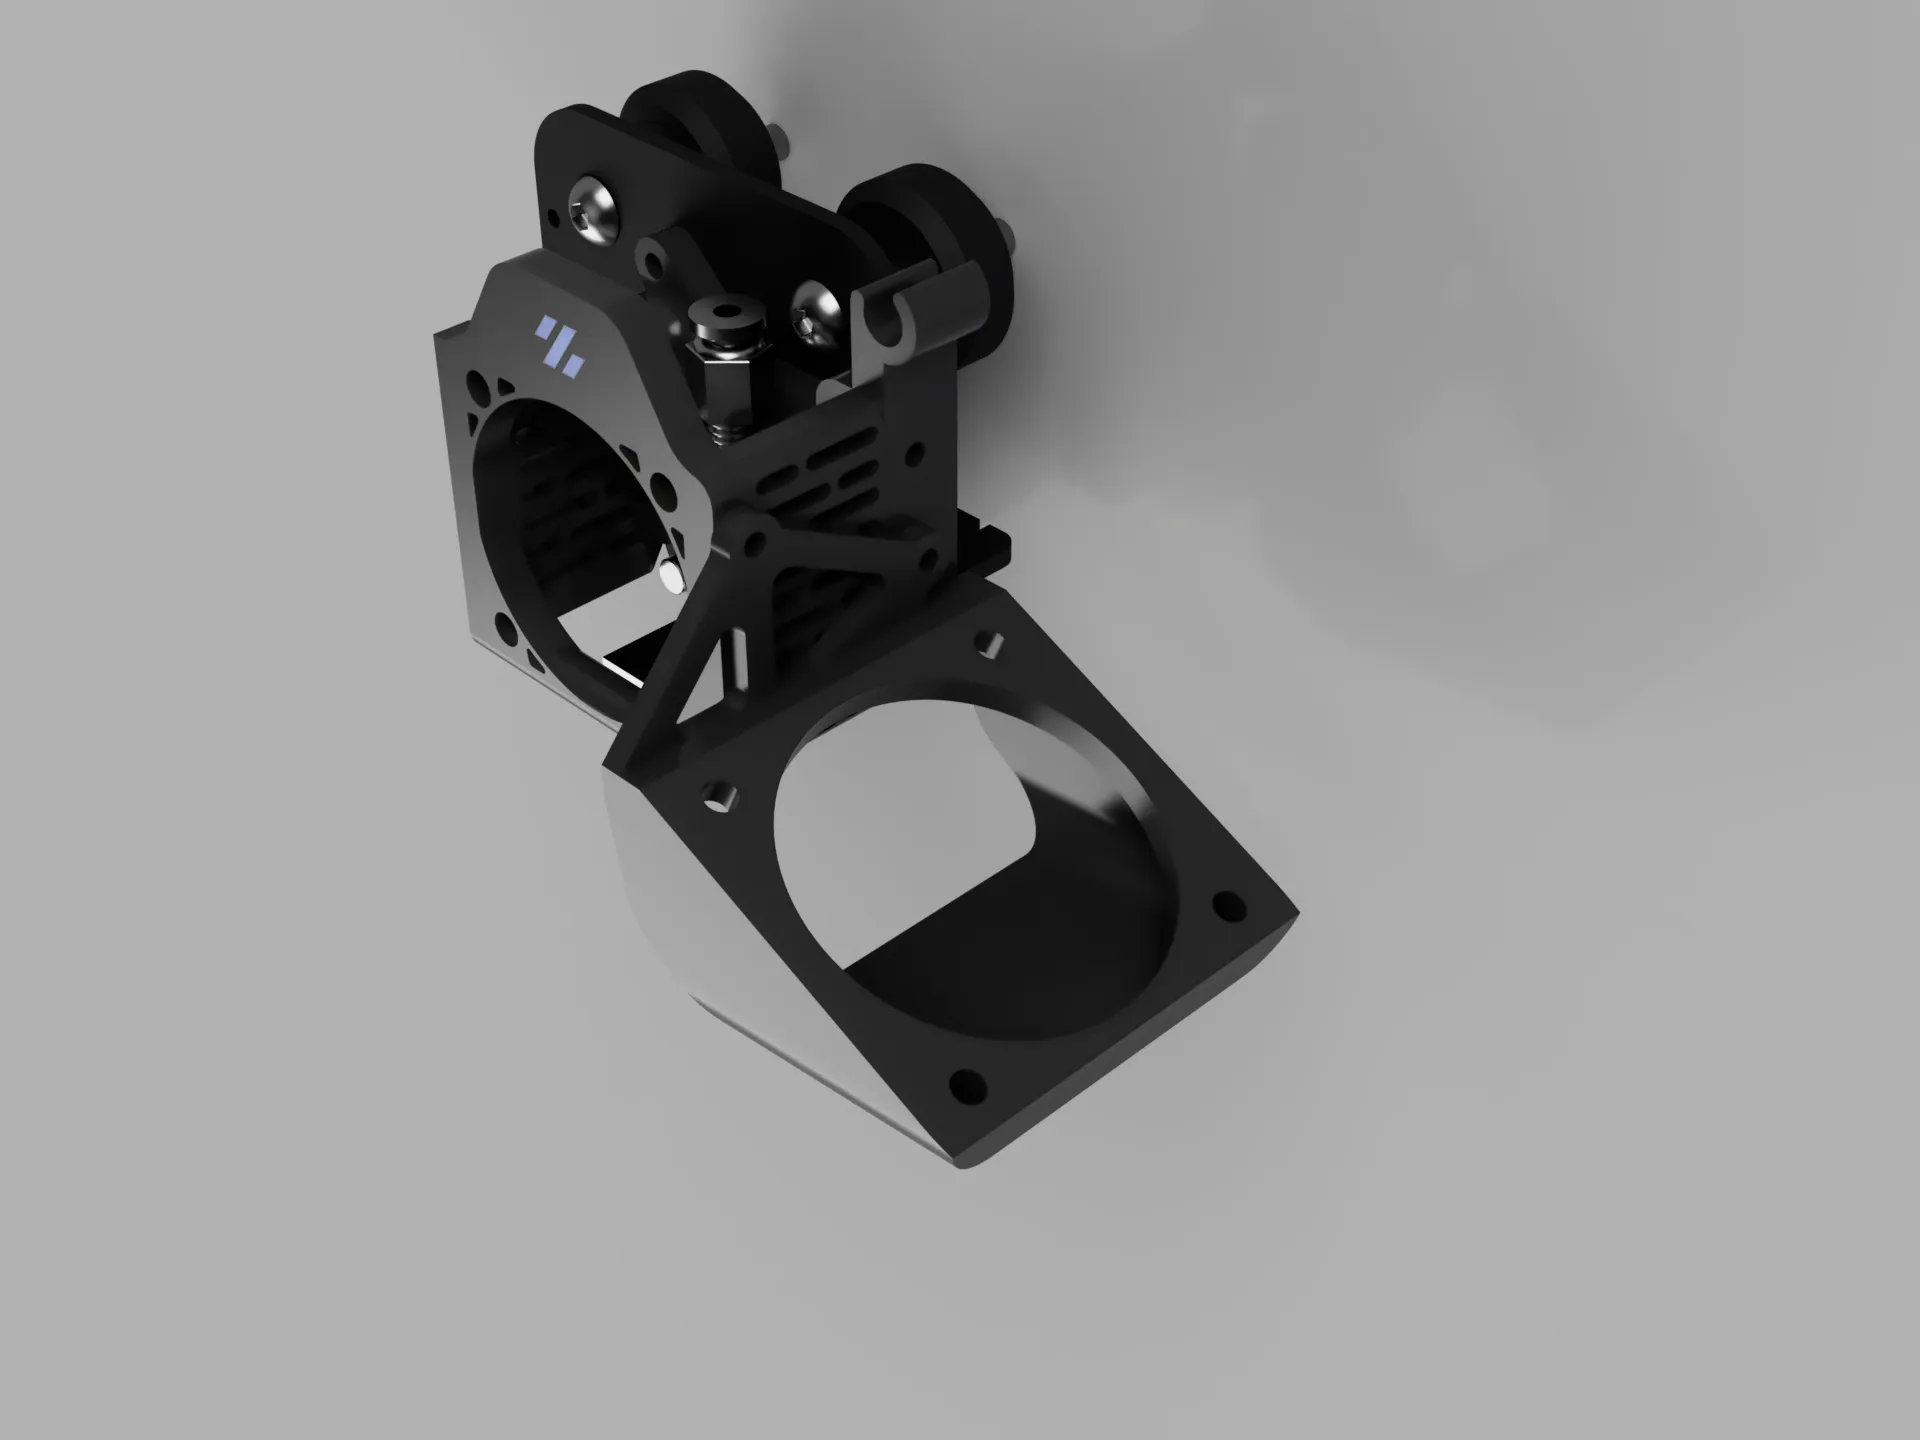
Step 4: Mounting the Noctua Fan
- Attach the Noctua NF-A4x20 fan to the “Base” using M4 screws.
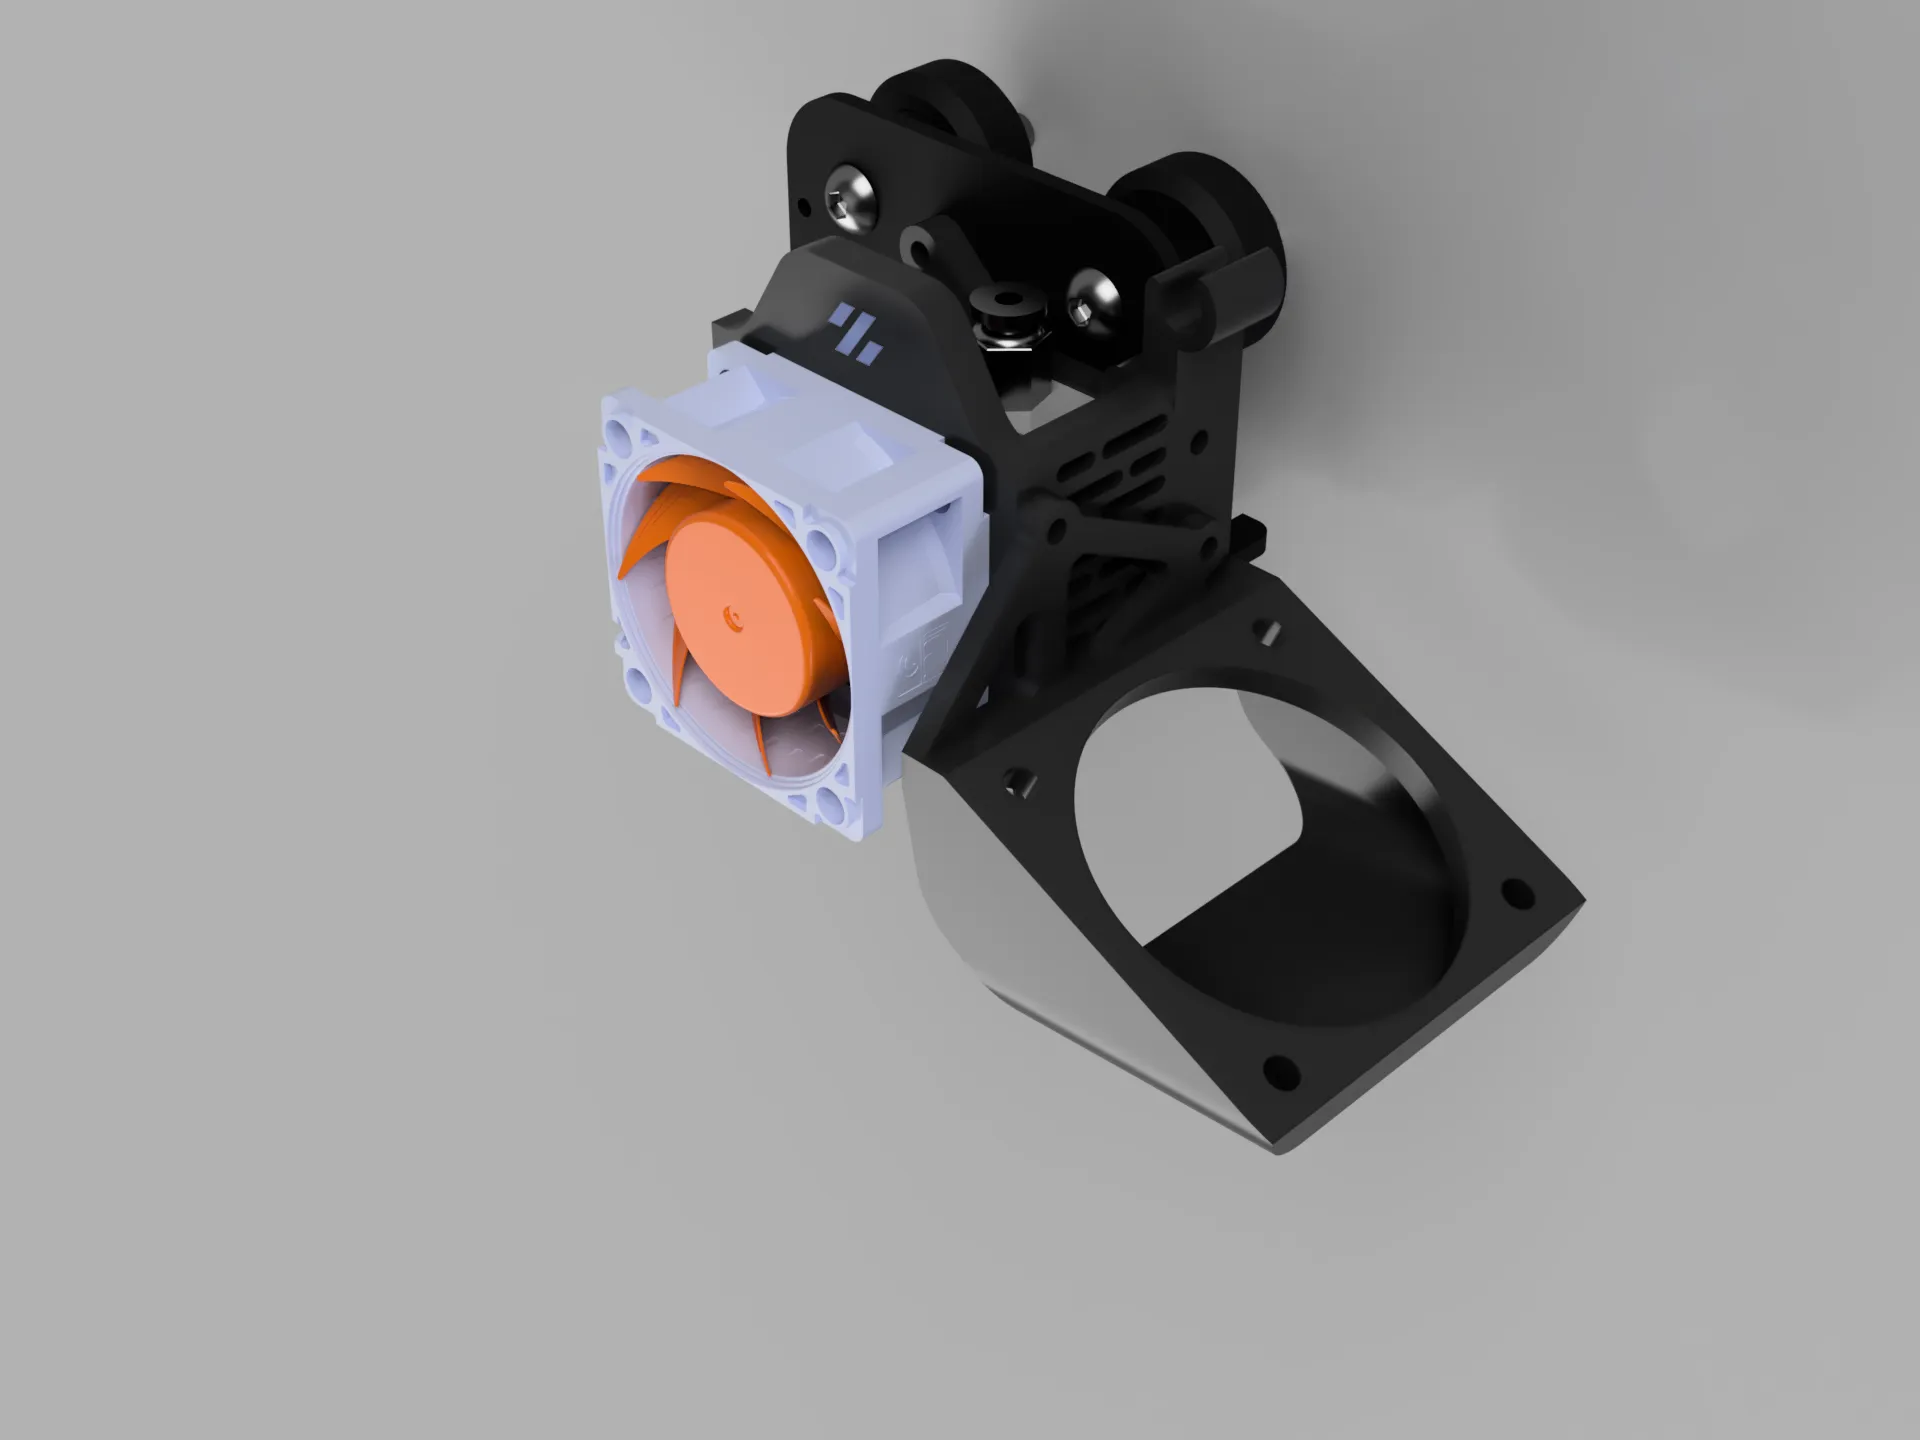
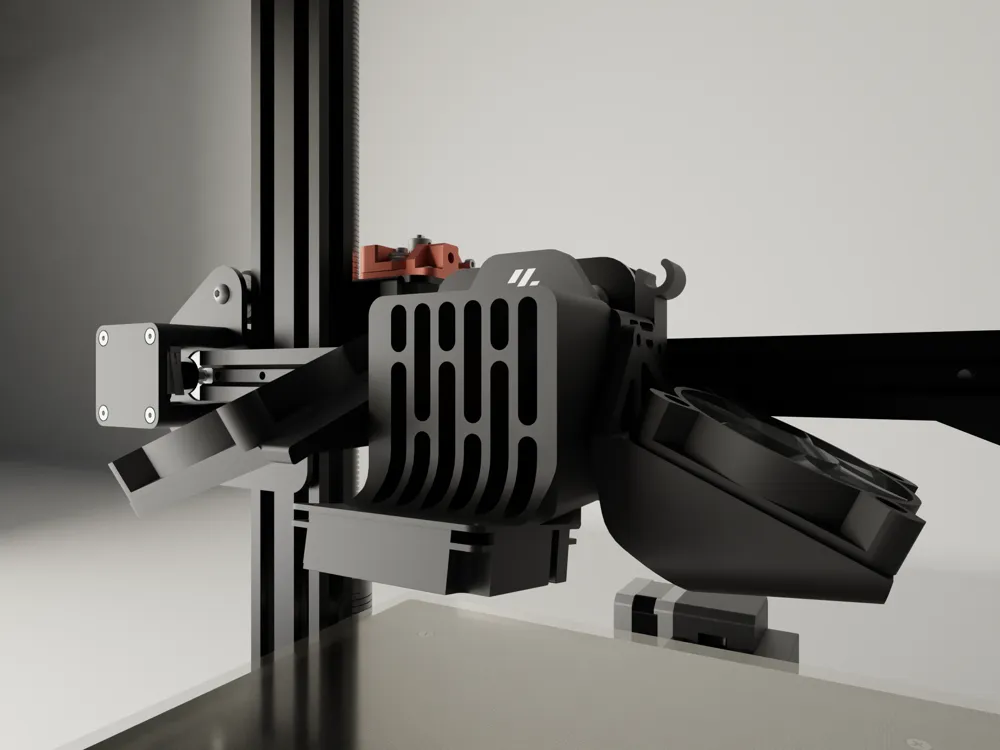
Step 5: Installing the "Protec Cover"
- Place the “Protec Cover” on top, ensuring the original blower fan is installed underneath.
- Secure everything firmly.
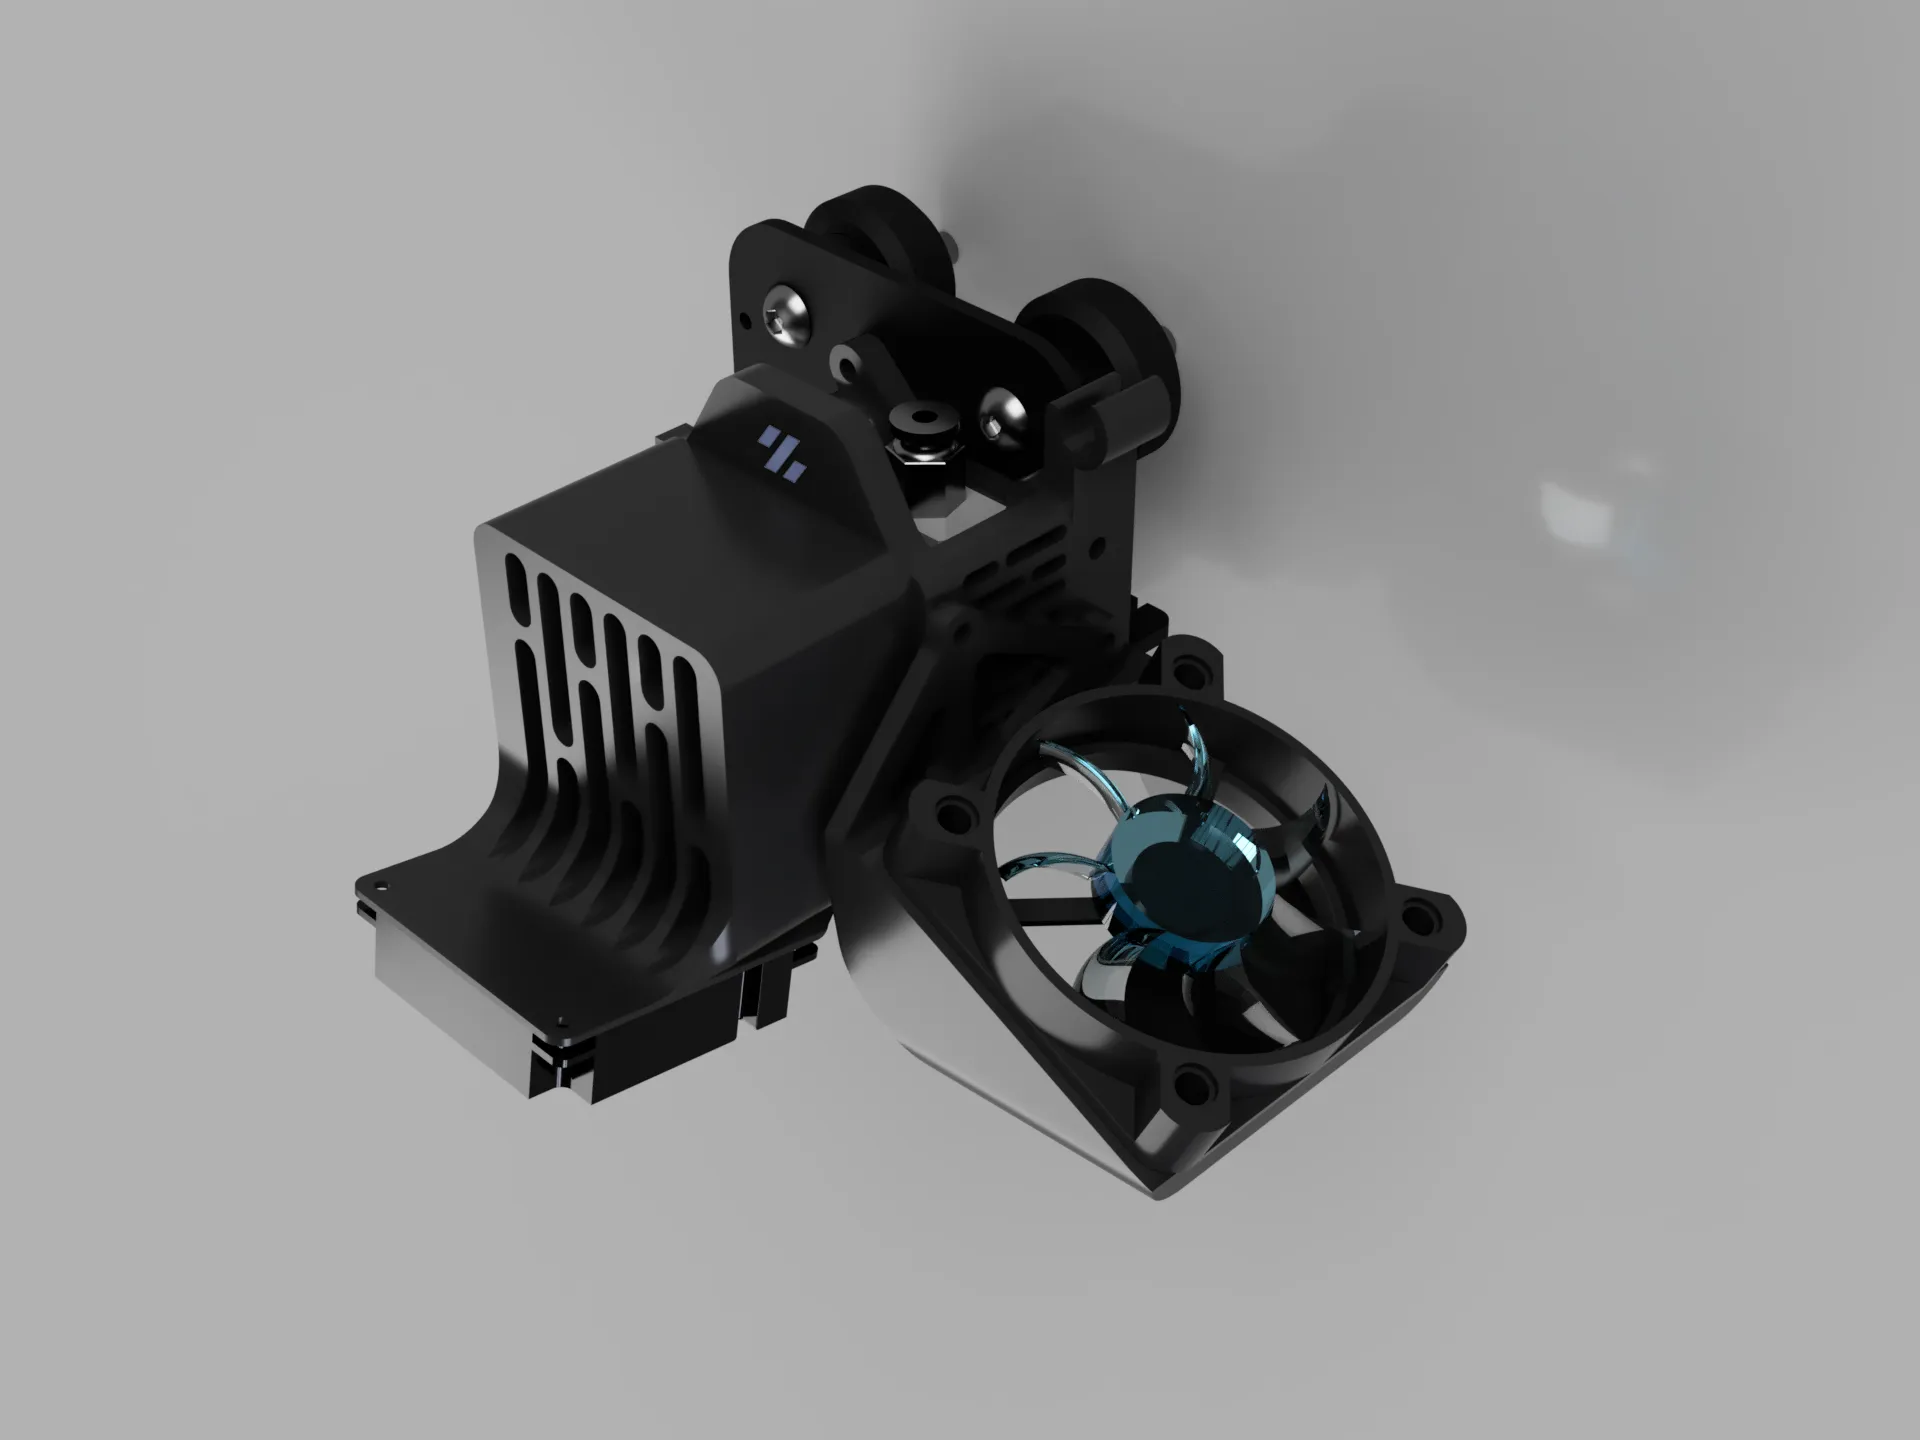
Step 6: Installing the BLTouch
- Mount the BLTouch sensor onto “Fan 2”.
- Then, screw “Fan 2” onto the “Base” to complete the assembly.
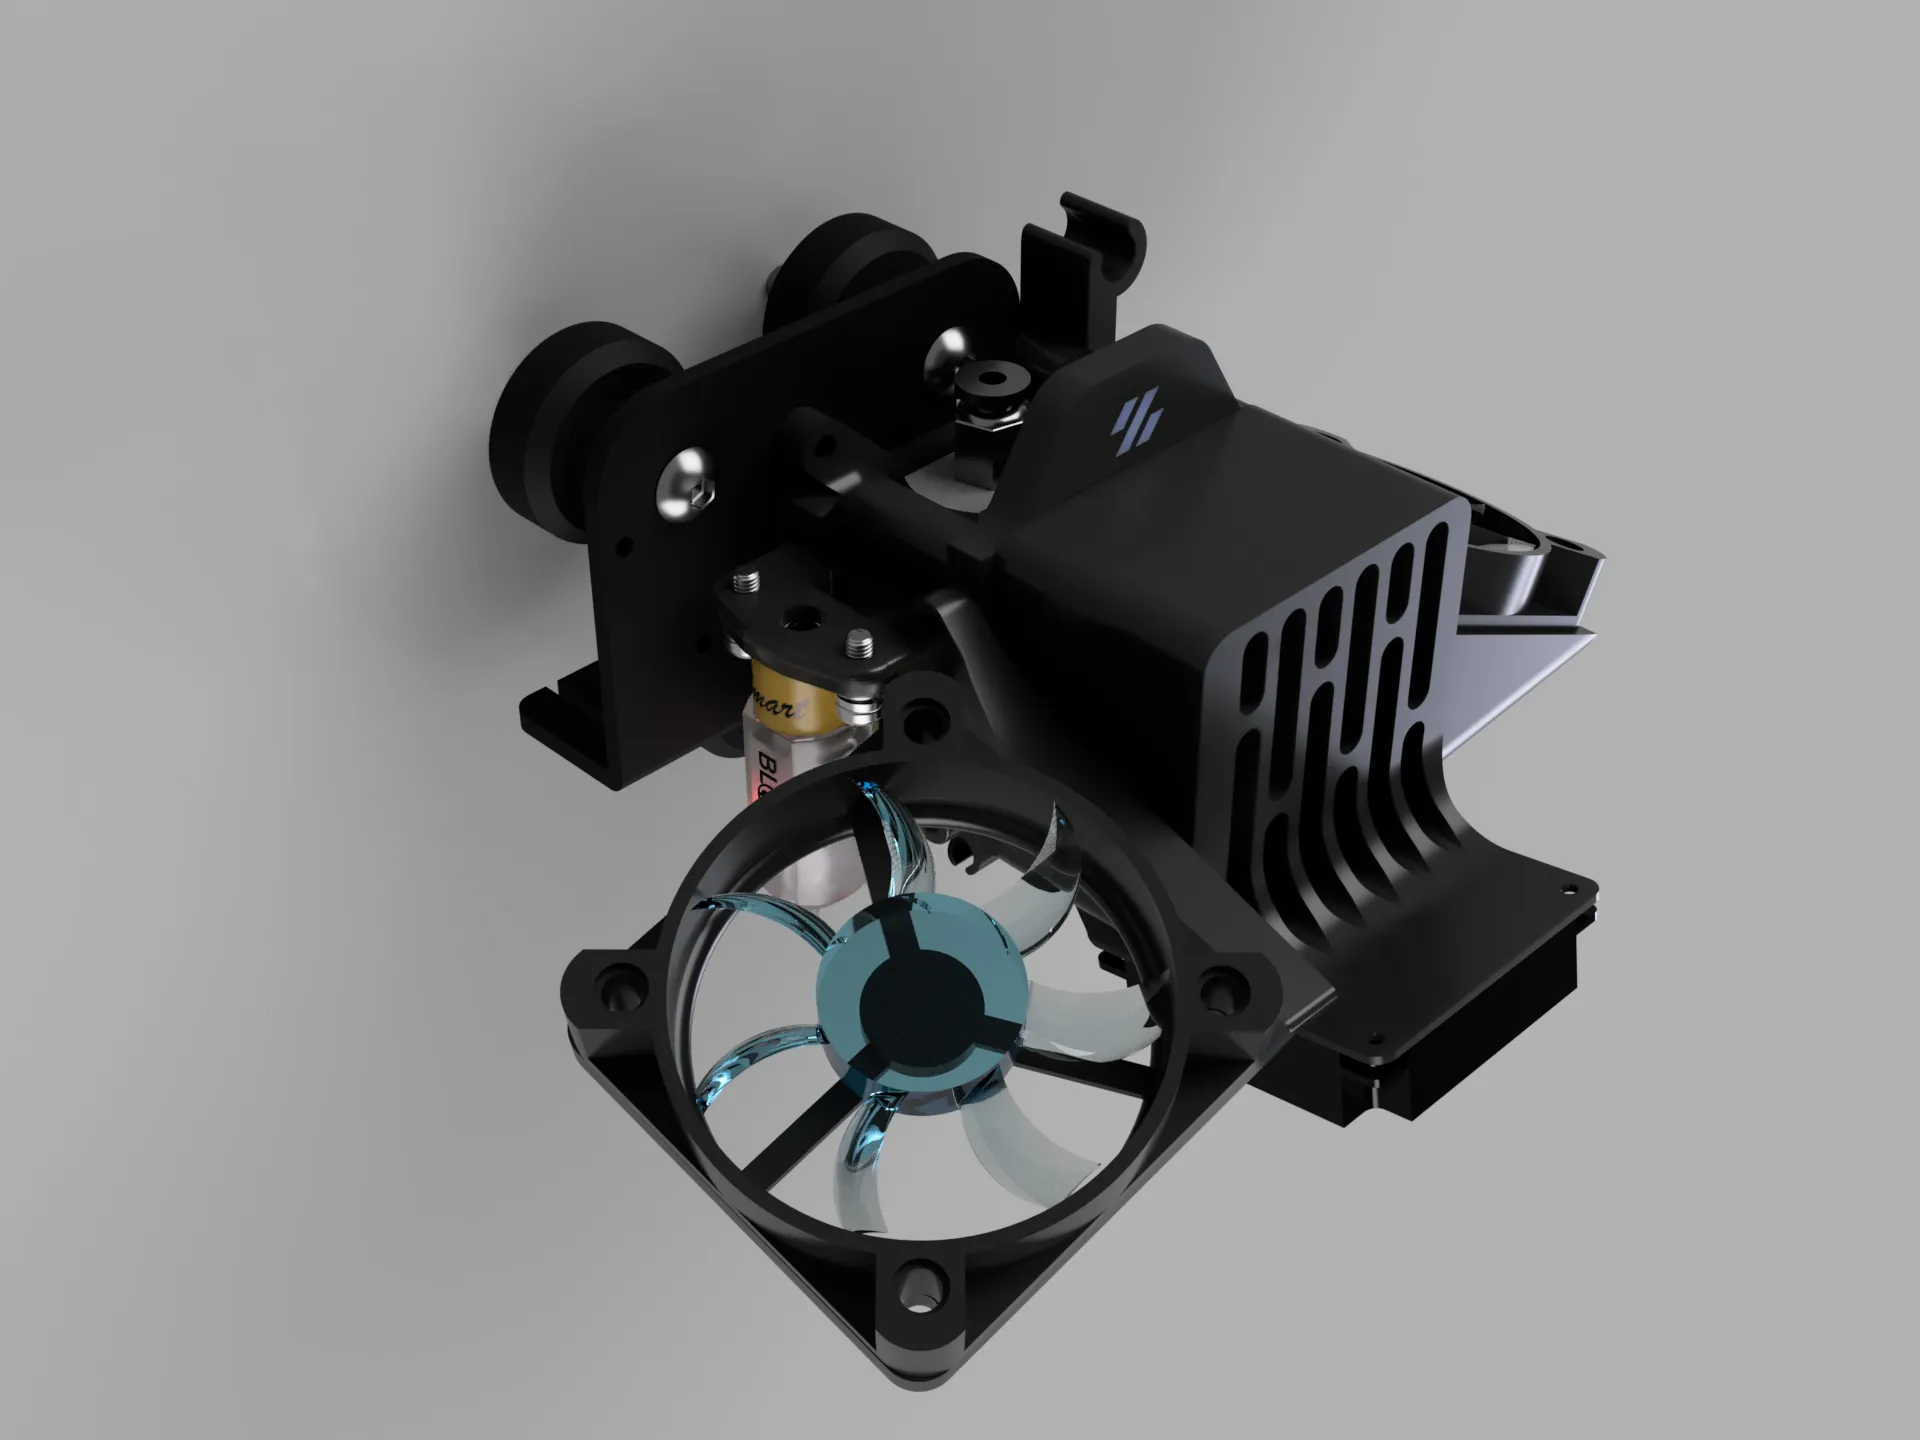
Your new print head is now fully assembled!
License

You shall not share, sub-license, sell, rent, host, transfer, or distribute in any way the digital or 3D printed versions of this object, nor any other derivative work of this object in its digital or physical format (including - but not limited to - remixes of this object, and hosting on other digital platforms). The objects may not be used without permission in any way whatsoever in which you charge money, or collect fees.


Comment & Rating (0)