
Delicate Small Button
Print Profile(1)
Description
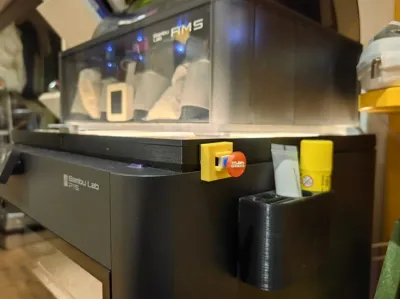
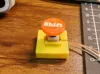
Initially, I just wanted to install a brighter light in my P1S, so I bought 3000k and 6000k lights for comparison. Unexpectedly, both looked quite good. How to choose

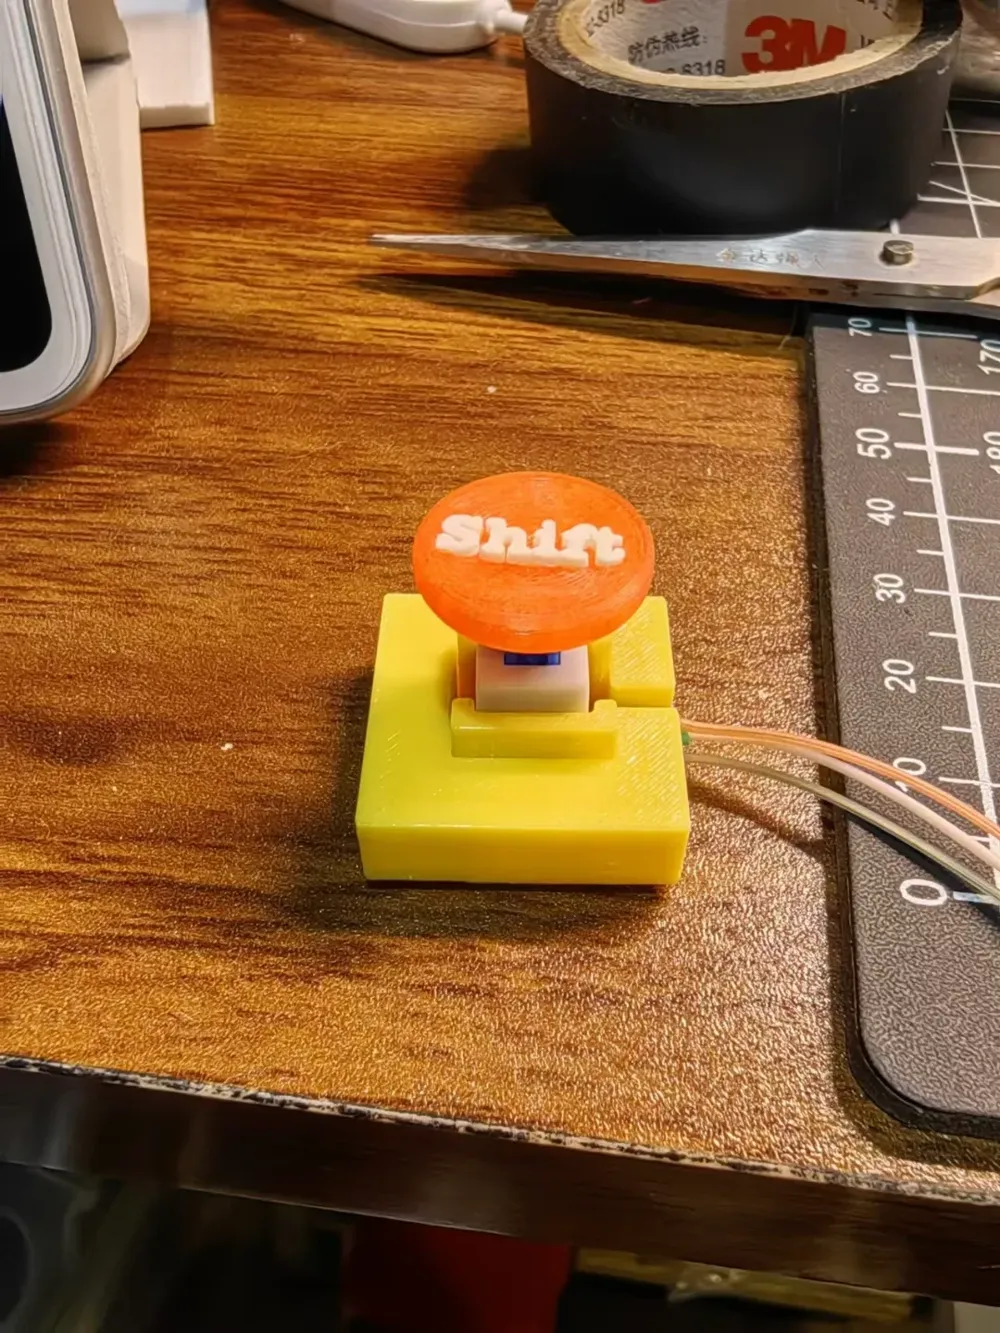
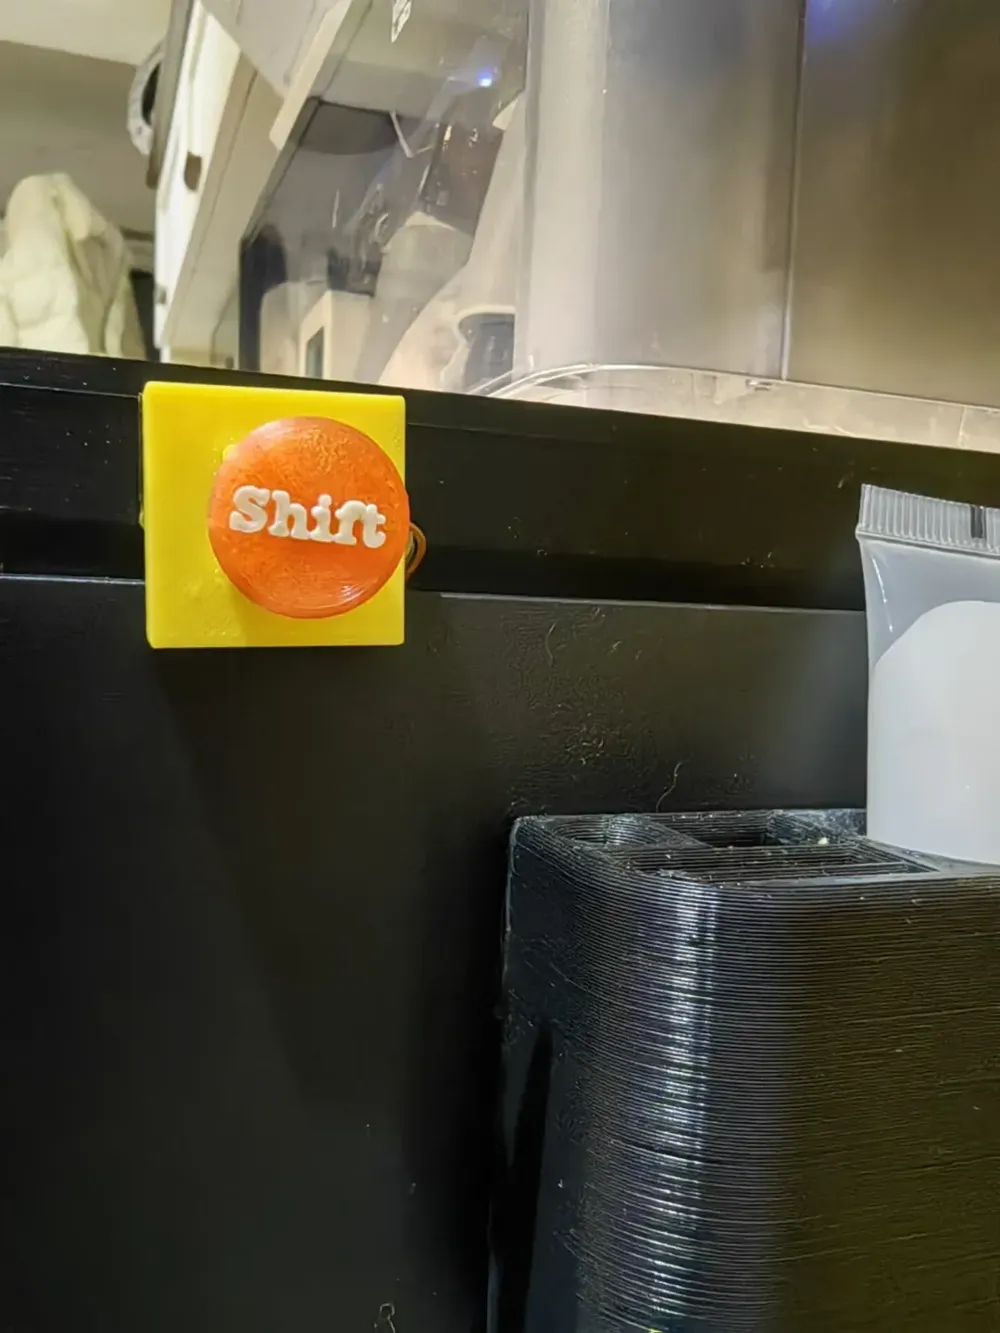
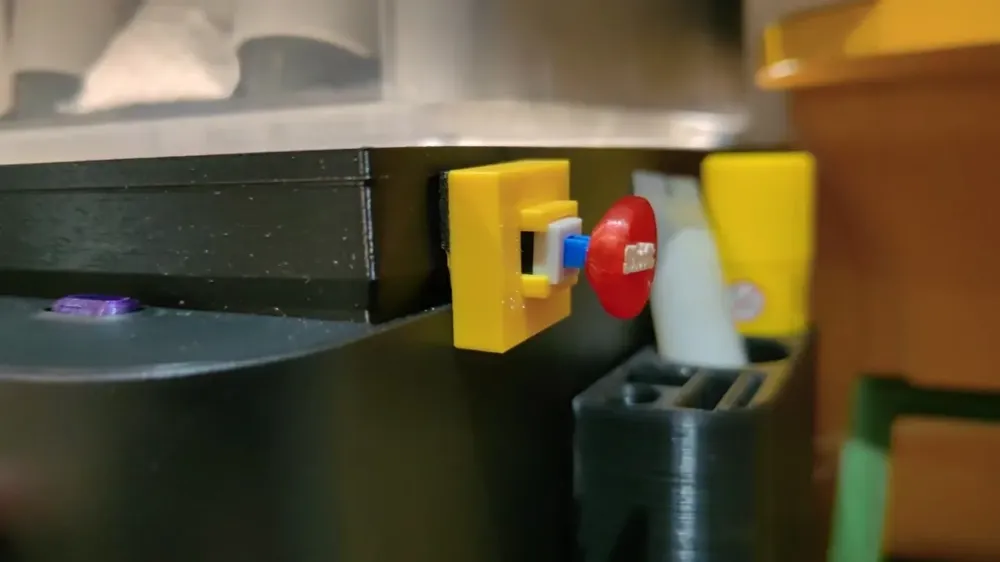

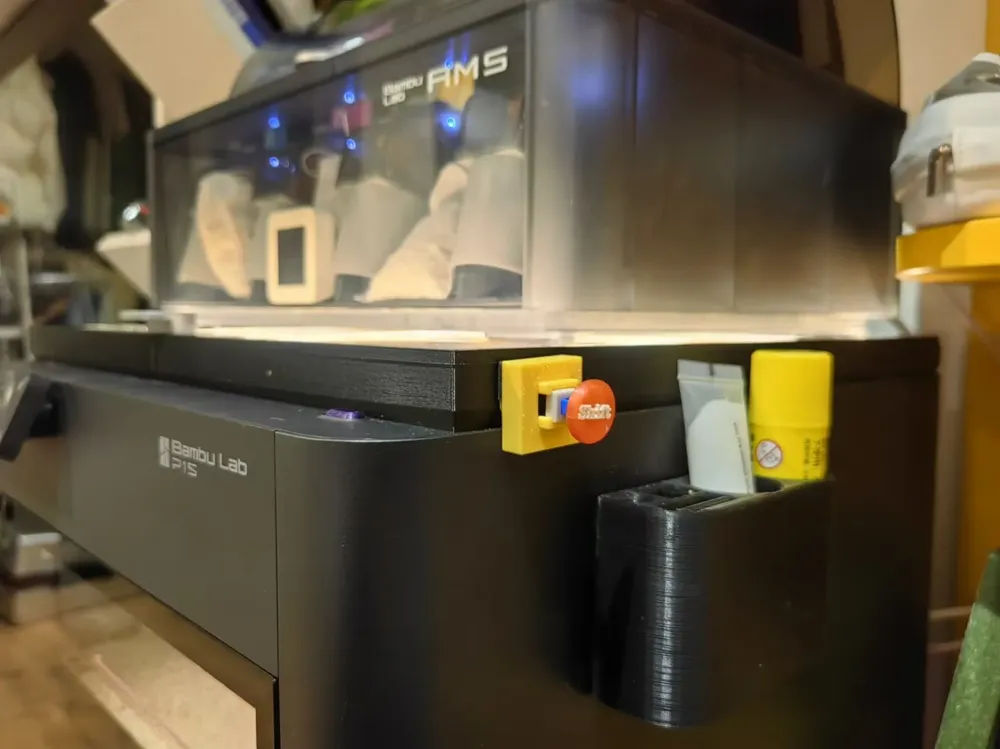
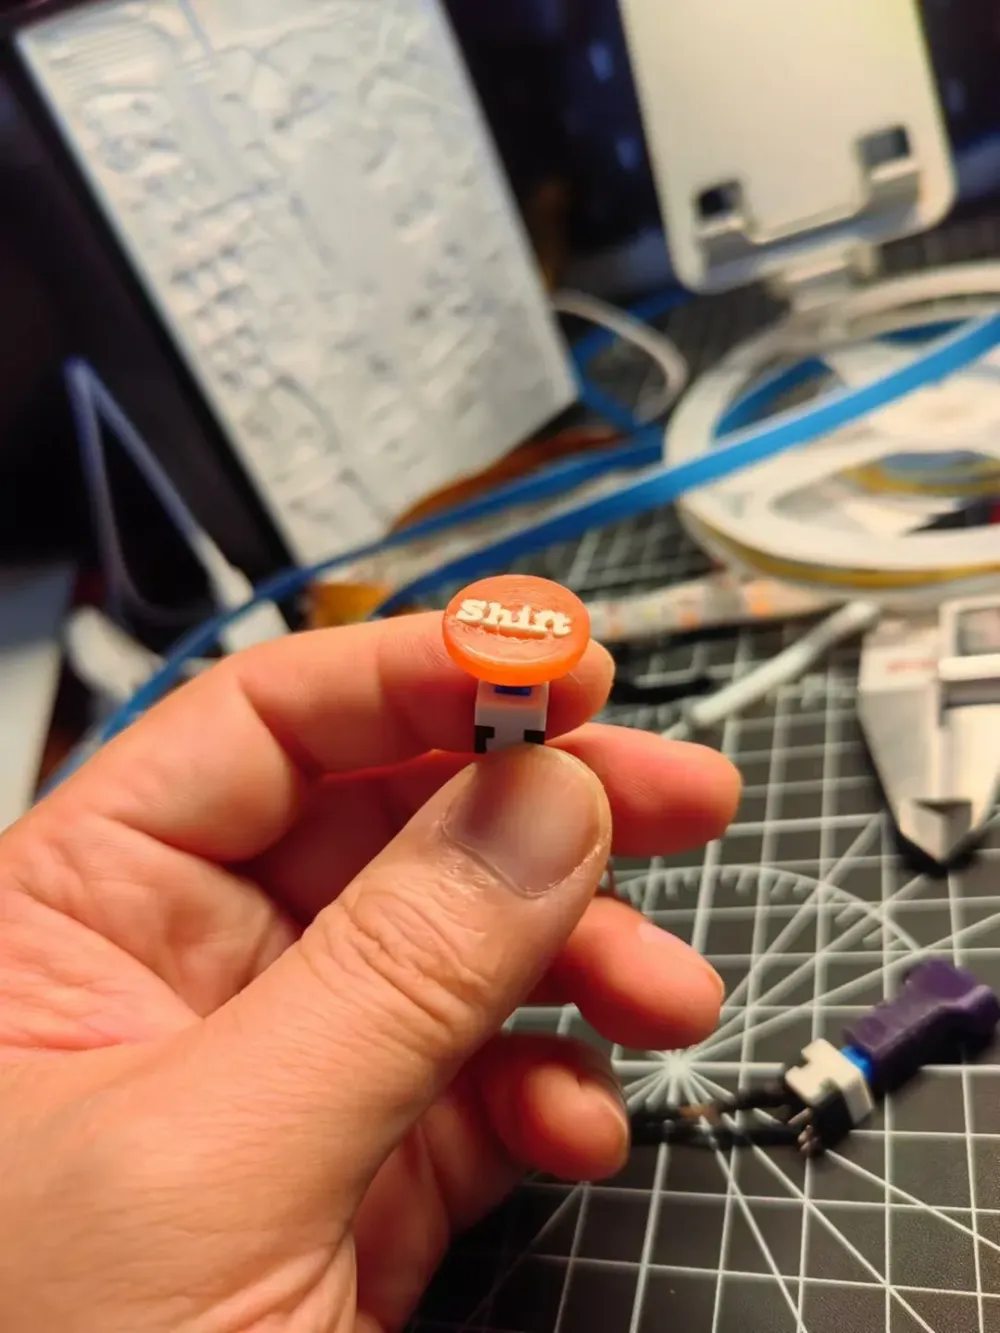
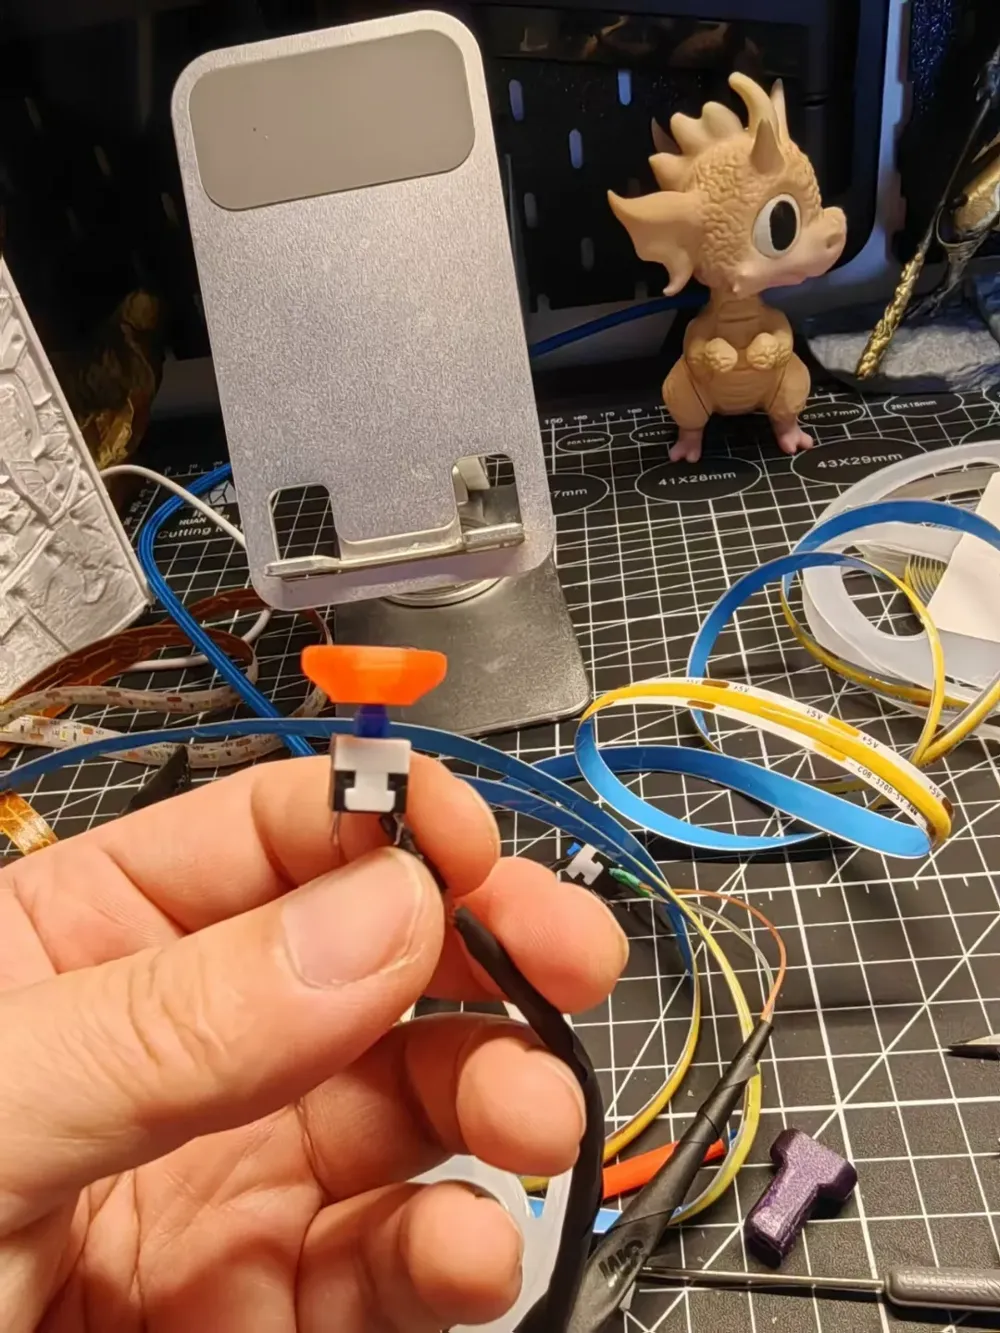
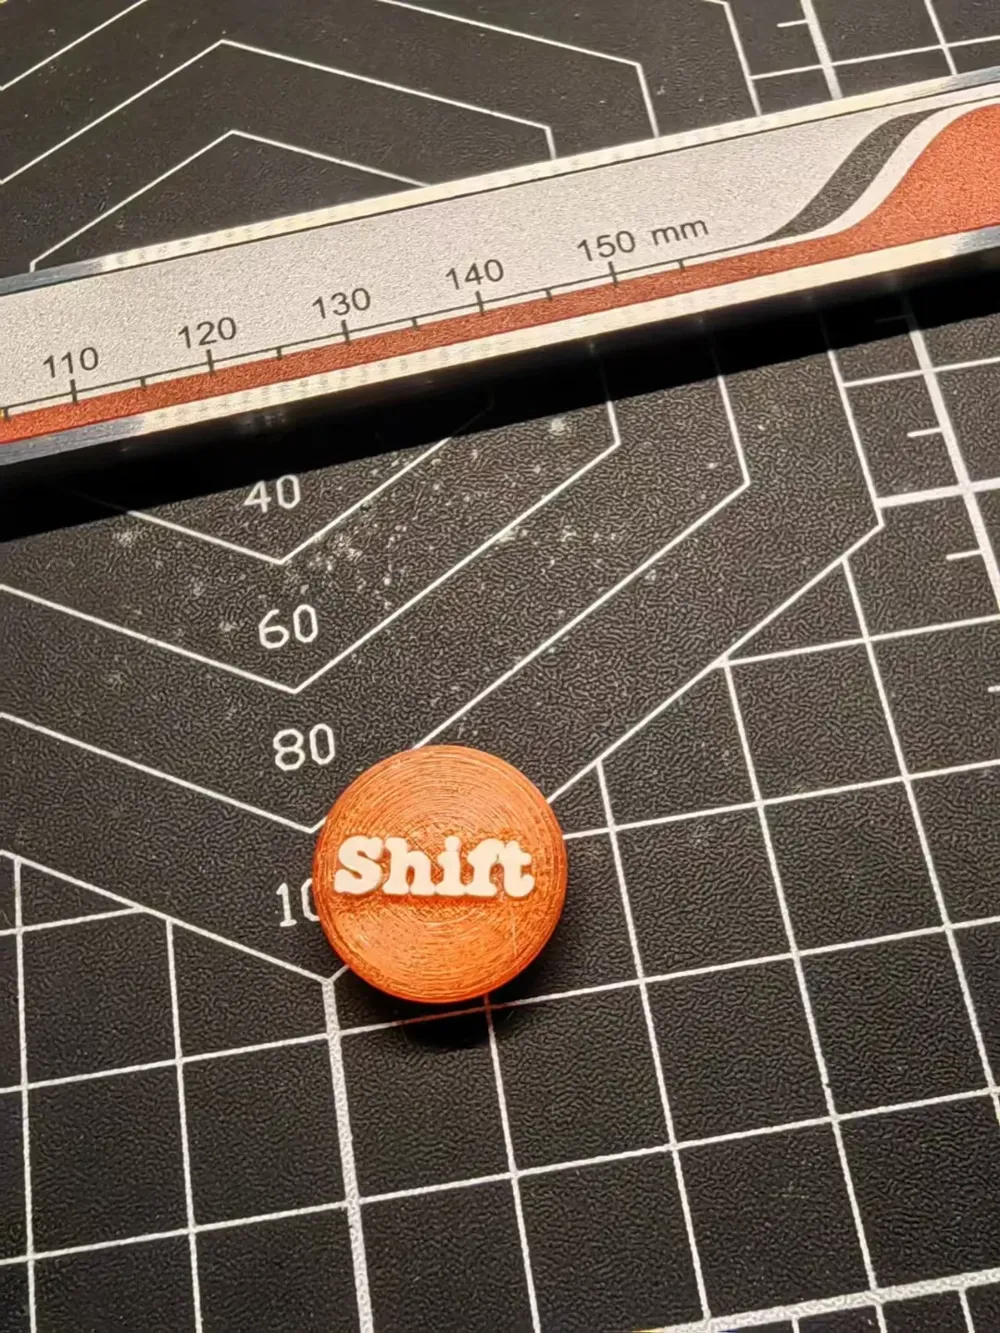
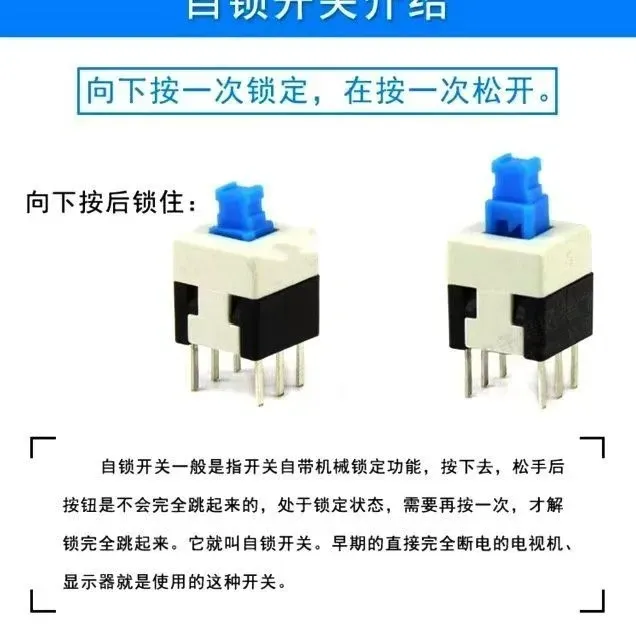
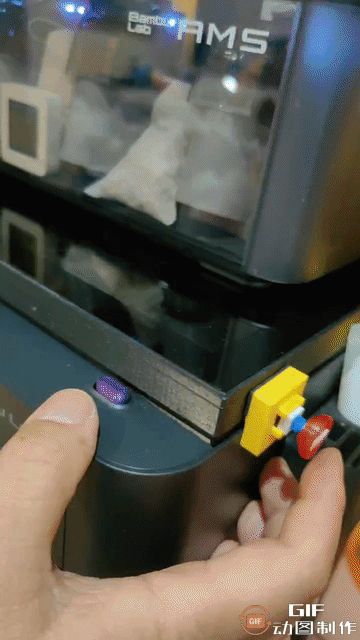
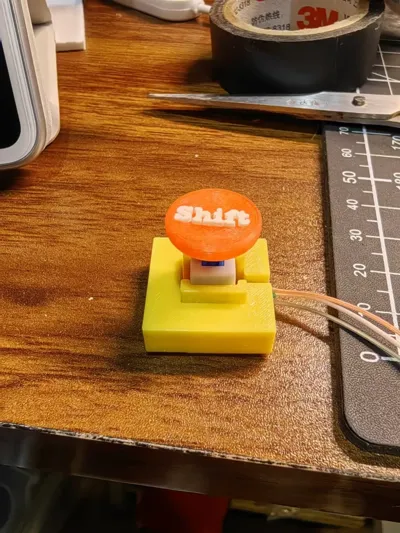
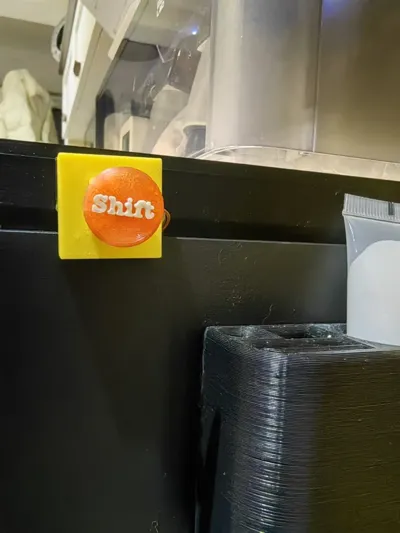
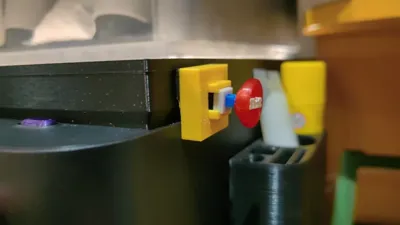
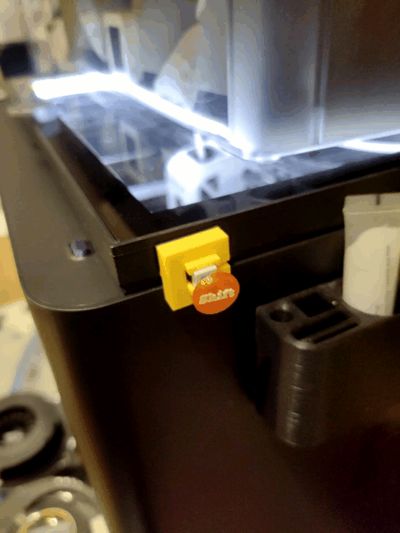
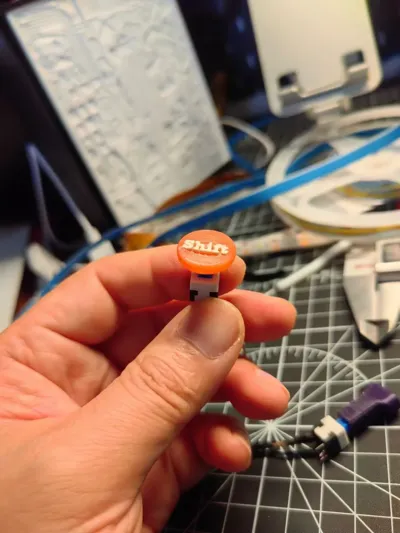
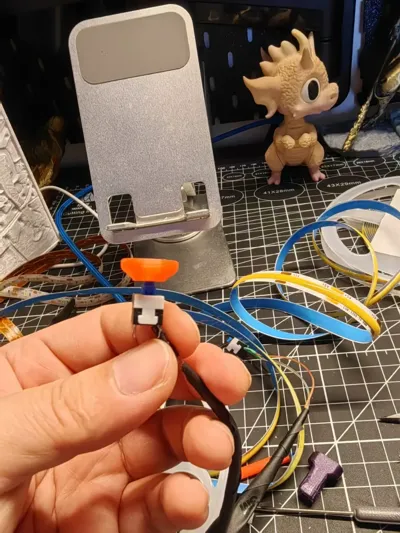
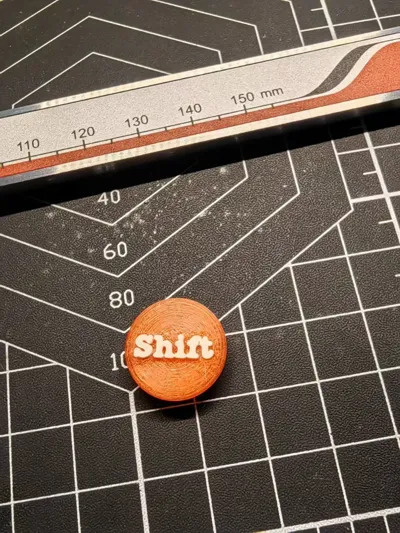
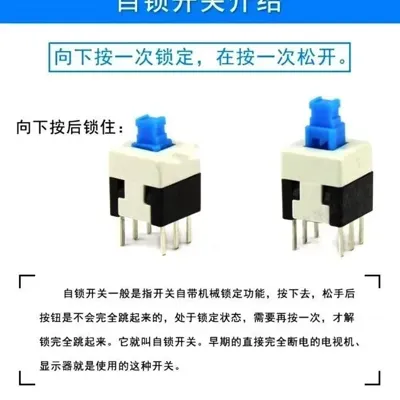
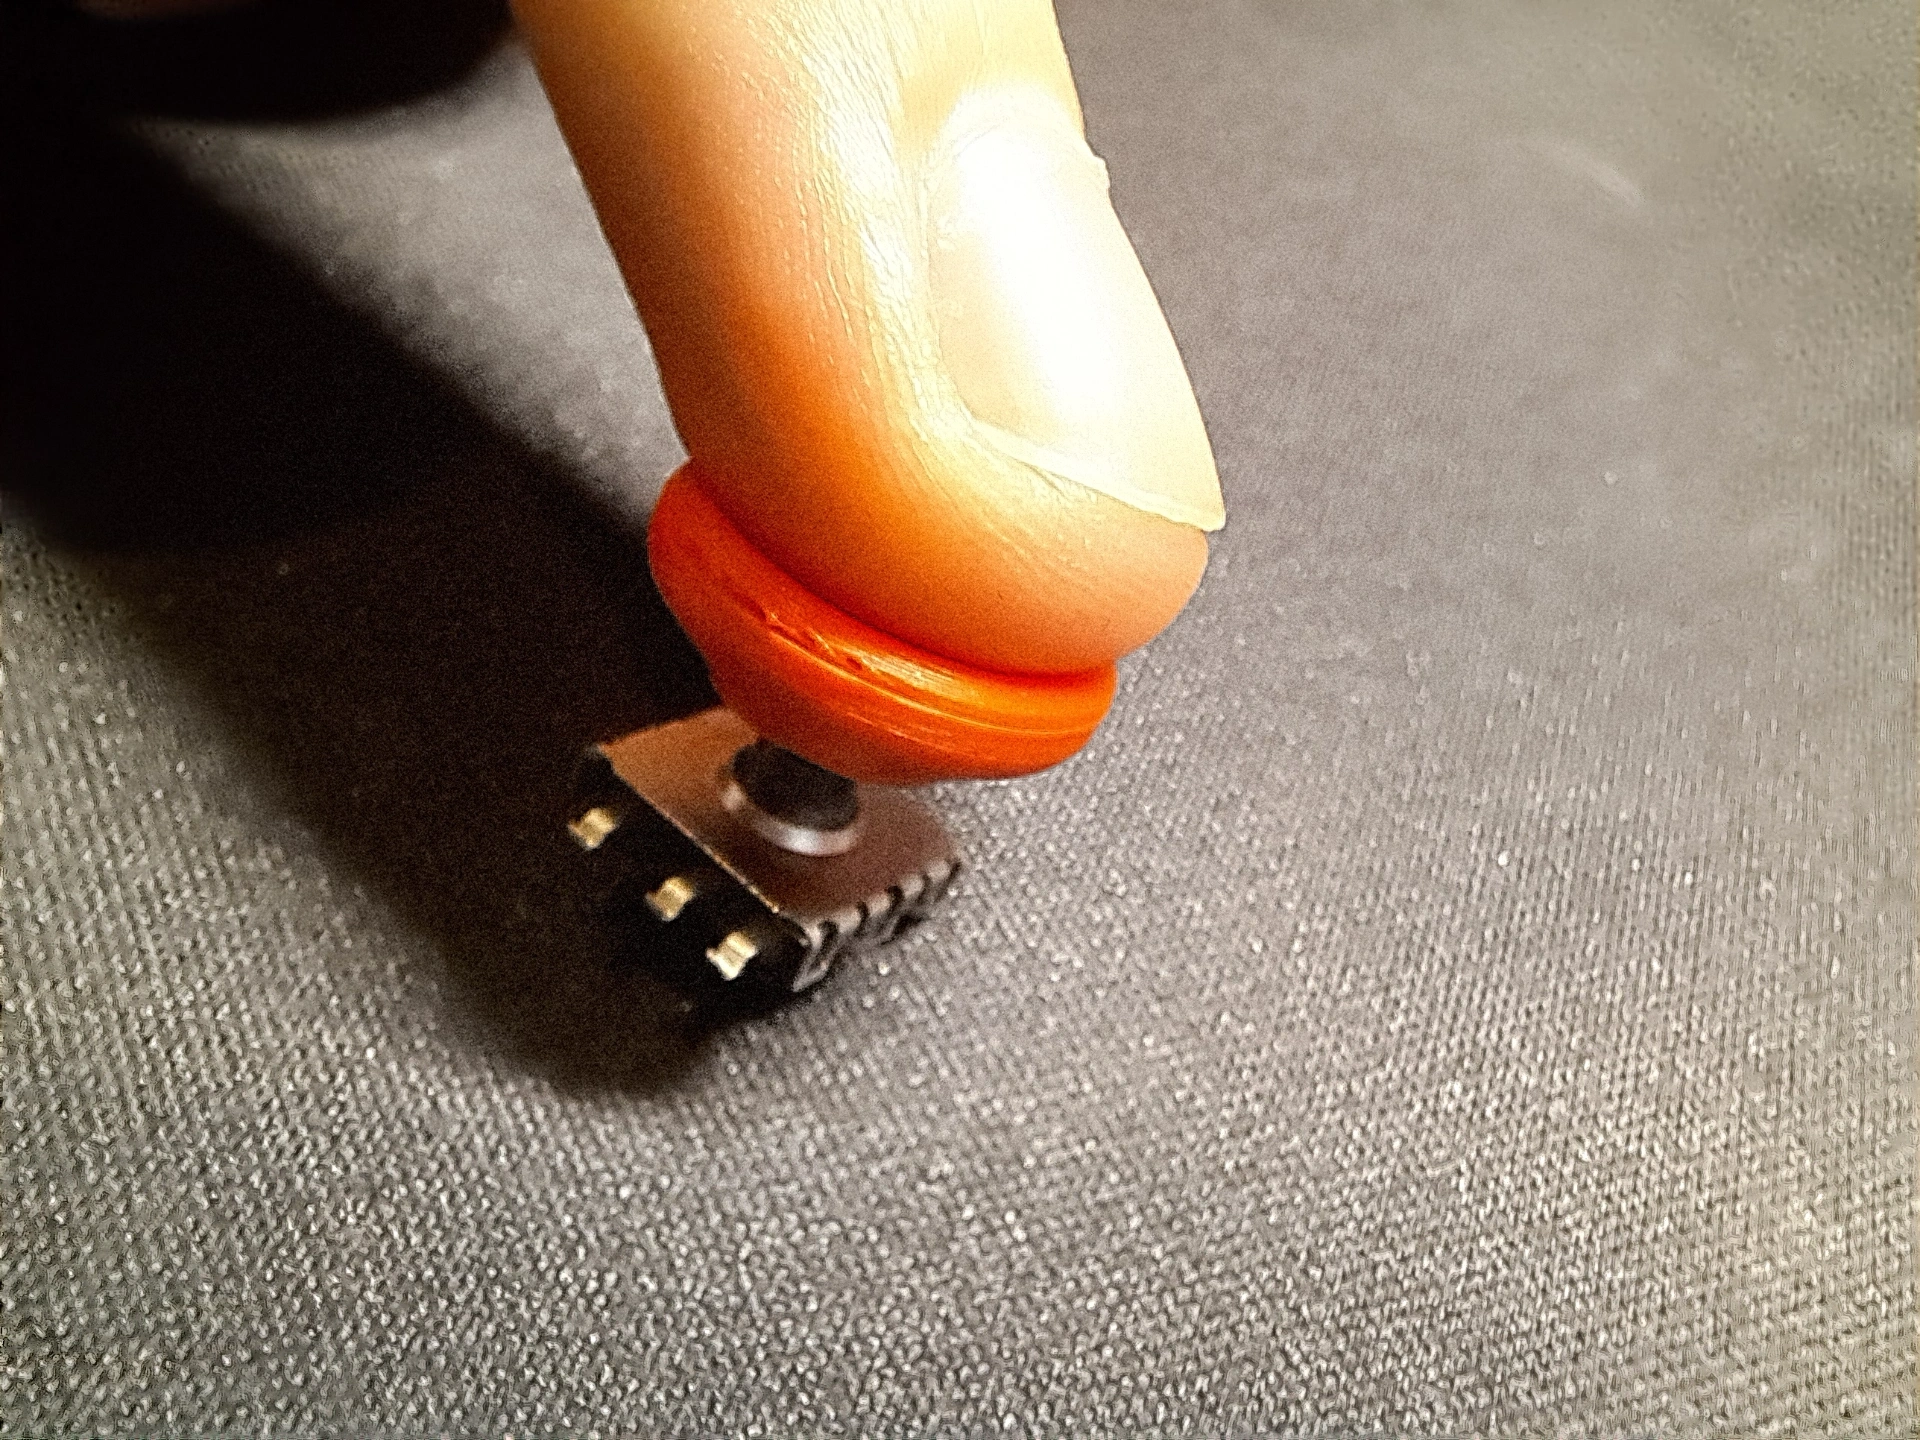
Children make choices. Adults want everything. So I started conceptualizing the circuit and modification plan. Here, I won't go into too much detail about the circuit part, as many can be found on MakerWorld. After resolving the circuit issues, the biggest question was what kind of button to install, and where. I looked at many button designs and finally settled on this rocker button. Since the hole position and size didn't match, I modified it using SU. First, I modified the interface part to match the 8x8mm self-locking button I bought. Next, I added a base, which I redesigned. Then, I added a 1mm thick 'Shift' English label to the button. The final result after printing and assembling was excellent. If you have any questions, feel free to leave a comment and interact. If you like it, please give me a like, thank you haha
ps: 1. The button hole position might vary slightly due to material issues, simply adjust it yourself.
2. There might be prompts for model issues during printing. I don't know where the problem is, as I'm a novice, but it doesn't affect printing, so you can just proceed with printing.
3. The button is designed for an 8mm x 8mm self-locking switch, which is very cheap to buy online, several for just a few yuan.
This remix is based on
License



Comment & Rating (0)